Love this? Save it for later!
Share the inspiration with your friends
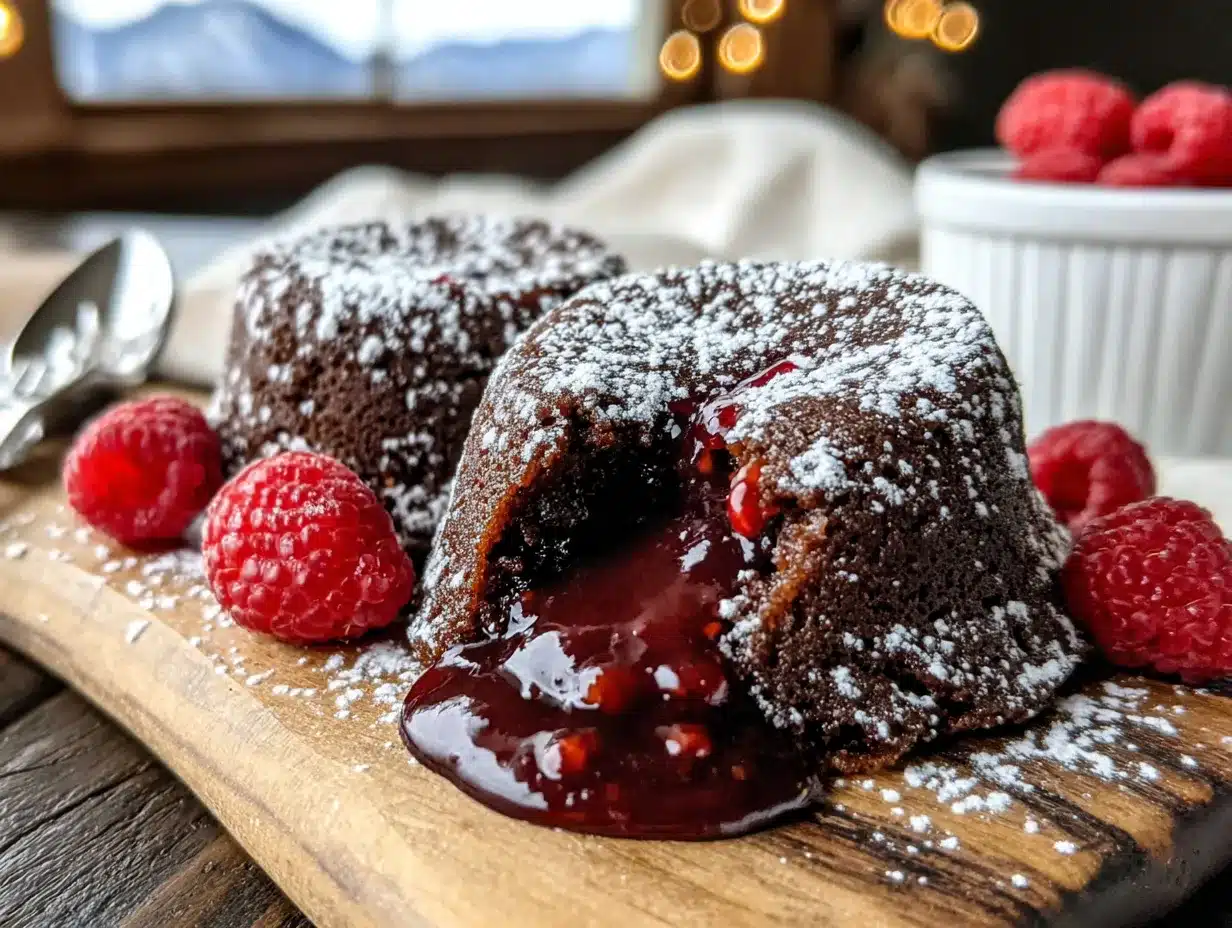
My friend Jen asked why I couldn’t just use a mug. A regular, boring, microwave-safe mug. I was mid-lecture about the importance of proper ramekins for chocolate lava cake—how the angle of the sides dictates the flow of the molten center, how ceramic thickness affects heat distribution. I had a whole spiel ready. But then I stopped. Honestly, I was tired. It was a Tuesday night, and I was trying to show her how to make a dessert for her anniversary without turning her kitchen into a war zone. I grabbed two mismatched mugs from her cabinet, shrugged, and figured we’d end up with chocolate mud puddles. What happened next was pure, unadulterated magic. The cakes domed perfectly, the centers spilled out like a slow-motion chocolate dream, and I had to eat my words along with the raspberry sauce we threw together from a bag of frozen berries. Let me tell you, being wrong has never tasted so sweet. This is that recipe—the best chocolate lava cake for two, born from a moment of giving up control and letting a beginner’s instinct take the wheel. It’s the kind of dessert that makes you feel like a pastry chef even when you’re using a coffee mug, and it’s exactly what you need to impress someone special without breaking a sweat.
Why You’ll Love This Recipe
This isn’t just another lava cake recipe. I’ve tested this thing about a dozen times, tweaking the flour ratio and the chocolate type until it was practically perfect. You get a deeply rich, fudgy cake with a gooey center that flows like liquid gold, all paired with a tart, vibrant raspberry sauce that cuts through the sweetness. It’s a showstopper that looks like you spent hours on it, but here’s the secret—it comes together in under 30 minutes.
- Quick & Easy: From start to finish, you’re looking at about 25 minutes. Perfect for a last-minute date night or when that chocolate craving hits hard.
- Simple Ingredients: You probably have most of these in your pantry right now. Butter, eggs, sugar, flour, and a good chocolate bar. No weird extracts or specialty flours.
- Perfect for Impressing: This is your secret weapon for a romantic dinner, an anniversary, or even just a Tuesday that needs a little upgrade. It serves two, so there’s no awkward leftover situation.
- Crowd-Pleaser: I’ve served these to friends who swear they don’t like “fancy” desserts, and they’ve scraped the ramekins clean. It’s universally adored.
- Unbelievably Delicious: The combination of warm, molten chocolate and cold, tangy raspberry sauce is a flavor and texture match made in heaven. It’s the kind of thing that makes you close your eyes after the first bite.
What makes this version different is the technique. By using a slightly higher ratio of egg yolk to whole egg, I found the cake gets that perfect, custard-like center without being runny. And the raspberry sauce? It’s a two-ingredient wonder that takes five minutes and adds a pop of color and acidity that makes the chocolate taste even richer. This is comfort food reimagined—faster, easier, but with the same soul-soothing satisfaction. It’s the kind of dessert that makes you feel like you’ve pulled off something incredible, even when you know the secret.
What Ingredients You Will Need
This recipe uses simple, high-quality ingredients to create a dessert that tastes far more complex than it is. Each component has a specific job, from providing structure to creating that signature molten center. Here’s what you’ll need for the cakes and the sauce.
For the Chocolate Lava Cakes
- 4 tablespoons (56g) unsalted butter (plus extra for greasing the ramekins or mugs)
- 4 ounces (113g) semi-sweet or dark chocolate, chopped (I prefer Ghirardelli 60% cacao for a balanced richness)
- 1 large egg (room temperature for best incorporation)
- 1 large egg yolk (this extra yolk is the secret to that perfect, creamy center)
- 1/4 cup (50g) granulated sugar
- 1/8 teaspoon salt (don’t skip this—it heightens the chocolate flavor)
- 2 tablespoons (15g) all-purpose flour
- 1/2 teaspoon vanilla extract
For the Raspberry Sauce
- 1 cup (140g) frozen or fresh raspberries (frozen work beautifully and are often sweeter)
- 2-3 tablespoons (25-40g) granulated sugar (adjust based on how tart your berries are)
- 1 teaspoon lemon juice (optional, but it brightens the flavor)
A few quick notes on ingredient selection. For the chocolate, don’t use chocolate chips—they often contain stabilizers that prevent them from melting smoothly. A good-quality chocolate bar chopped into small pieces is your best bet. If you’re dairy-free, you can substitute the butter with a high-quality vegan butter stick (not the spreadable kind in a tub). For a gluten-free version, swap the all-purpose flour with an equal amount of almond flour or a 1:1 gluten-free baking blend. The texture will be slightly different with almond flour—more tender and a bit denser—but still absolutely delicious. I’ve also made this with coconut sugar instead of granulated, and while it gives a slightly deeper, caramel-like flavor, it works perfectly.
Equipment Needed
You don’t need a fancy kitchen to pull this off. That’s the beauty of it. Here’s what you’ll need:
- Two 6-ounce ramekins or microwave-safe mugs (I’ve used both, and honestly, the mugs make for a more casual, fun presentation)
- Small mixing bowls (one for the chocolate mixture, one for the eggs)
- Whisk
- Rubber spatula
- Small saucepan (for the raspberry sauce)
- Baking sheet (to place the ramekins on in case of overflow)
- Fine-mesh strainer (optional, for a seedless raspberry sauce)
If you don’t have ramekins, don’t run out and buy them. Standard 10-ounce coffee mugs work perfectly—just note that the cakes will be slightly wider and a little shorter. The baking time may also decrease by a minute or two since the batter spreads out more. I learned this the hard way when I forgot my ramekins at a friend’s house and had to use her vintage teacups. The cakes turned out adorable, and I actually preferred the shape.
Preparation Method
Let’s get to the fun part. This recipe moves quickly, so I recommend having everything measured and ready to go before you start. Preheat your oven to 425°F (220°C) and place a baking sheet on the middle rack.
- Prepare the ramekins. Generously butter the inside of your two ramekins or mugs. Make sure you get the butter all the way up the sides. Then, dust them with a little cocoa powder or granulated sugar, tapping out the excess. This creates a non-stick surface and gives the cakes a beautiful, slightly crisp exterior. I’ve used flour in a pinch, but cocoa powder adds an extra layer of chocolate flavor that’s worth the extra step.
- Melt the chocolate and butter. In a medium microwave-safe bowl, combine the chopped chocolate and 4 tablespoons of butter. Microwave in 30-second intervals, stirring after each, until completely smooth. This usually takes about 1 minute total. Let it cool for a minute or two while you work on the eggs. You don’t want it hot enough to cook the eggs when you combine them.
- Whisk the eggs and sugar. In a separate bowl, whisk together the whole egg, egg yolk, granulated sugar, and salt until the mixture is thick, pale, and falls in a ribbon when you lift the whisk. This should take about 2 minutes of vigorous whisking. You’re looking for a texture that’s slightly frothy and has lightened in color from deep yellow to a pale lemon shade.
- Combine the mixtures. Pour the egg mixture into the slightly cooled chocolate mixture. Add the vanilla extract. Fold gently with a rubber spatula until just combined. Don’t overmix here—you want to keep as much air in the batter as possible.
- Add the flour. Sprinkle the flour over the top of the batter. Fold it in with the spatula using a gentle, sweeping motion. Stop as soon as you can’t see any white streaks. The batter will be thick, glossy, and smell intensely of chocolate.
- Fill the ramekins. Divide the batter evenly between the two prepared ramekins. It should fill them about three-quarters full. Place them on the baking sheet in the oven.
- Bake. Bake for exactly 12-14 minutes. The edges should look set and slightly puffed, but the center should jiggle when you gently shake the ramekin. This is the most critical step. Overbaking gives you a chocolate cake with no lava, and underbaking gives you a bowl of batter. At 12 minutes, start checking. If the center still looks very wet and loose, give it another minute. You’re aiming for a jiggle, not a wave.
- Make the raspberry sauce while the cakes bake. In a small saucepan, combine the raspberries, sugar, and lemon juice. Cook over medium heat, stirring occasionally, until the berries have broken down and the sauce has thickened slightly, about 5 minutes. For a smooth sauce, press it through a fine-mesh strainer to remove the seeds. I usually leave the seeds in because I don’t mind them, and it saves a step.
- Rest and serve. Remove the ramekins from the oven and let them rest on a wire rack for exactly 1 minute. This is crucial—it allows the cake to pull away from the sides slightly. Run a thin knife around the edge of each ramekin to loosen the cake. Place a plate upside down over the ramekin, then carefully invert it. Give the ramekin a gentle shake, and the cake should release onto the plate. If it sticks, don’t panic. Just serve it right in the ramekin with a spoon. It tastes the same.
- Finish and serve immediately. Spoon the warm raspberry sauce over and around the lava cake. Add a scoop of vanilla ice cream or a dollop of whipped cream if you’re feeling extra indulgent. Serve right away—these cakes wait for no one.
Cooking Tips & Techniques
I’ve made this recipe more times than I can count, and I’ve had my share of failures. Here are the lessons I’ve learned so you don’t have to repeat them.
Don’t overbake. This is rule number one, and it’s the most common mistake. The perfect lava cake has a set exterior and a jiggly center. If you bake it until the center is firm, you’ve lost the lava. Set a timer for 12 minutes and check it. If it needs more time, give it in 30-second increments. Every oven is different, and even the type of ramekin you use can change the baking time by a minute or two.
Use room temperature eggs. Cold eggs can seize the chocolate mixture, leading to a grainy batter. If you forgot to take your eggs out of the fridge, place them in a bowl of warm water for 5 minutes. It works like a charm.
Don’t skip the butter and dusting step. I once thought I could get away with just a quick spray of non-stick cooking spray. The cake stuck to the ramekin like glue, and I ended up with a chocolate mess on my plate. The butter and cocoa powder method is non-negotiable for a clean release.
Make the sauce first if you’re nervous. If you’re worried about timing, make the raspberry sauce before you even start the cake batter. It reheats beautifully in the microwave for 15 seconds. This way, you can focus all your attention on the cakes when they’re in the oven.
For a consistent lava flow, chill the batter. This is a pro tip I picked up from a pastry chef friend. After you fill the ramekins, pop them in the fridge for 10-15 minutes before baking. This sets the outer edge while keeping the center more liquid, giving you an even more dramatic lava effect. I do this when I’m trying to impress guests.
Variations & Adaptations
This recipe is a fantastic base for experimentation. Here are a few variations I’ve tried and loved.
- Peanut Butter Lava Cake: Add a tablespoon of creamy peanut butter to the center of each ramekin before baking. Just spoon the batter in, drop the peanut butter in the center, and cover with a little more batter. The peanut butter melts into a gooey, salty-sweet surprise. Serve with a drizzle of chocolate sauce instead of raspberry.
- Spiced Mexican Chocolate Version: Add 1/4 teaspoon of cinnamon and a pinch of cayenne pepper to the dry ingredients. The warmth of the spices complements the dark chocolate beautifully. Top with a dollop of cinnamon-spiked whipped cream.
- Vegan Adaptation: Use a flax egg (1 tablespoon ground flaxseed mixed with 3 tablespoons water, let sit for 5 minutes) and a vegan butter stick. The texture is slightly less tender, but the lava effect still works. Use dairy-free chocolate chips that are certified vegan. I tested this for a friend with dietary restrictions, and it was a hit.
- White Chocolate Raspberry Swirl: Swap the semi-sweet chocolate for high-quality white chocolate. Swirl a teaspoon of the raspberry sauce directly into the batter before baking. The result is a beautiful pink and white marbled cake with a tart raspberry center.
- Gluten-Free Version: As mentioned, substitute the all-purpose flour with almond flour or a 1:1 gluten-free blend. If using almond flour, reduce the baking time by about 1 minute, as it tends to brown faster.
Serving & Storage Suggestions
These cakes are best served warm, straight from the oven. The contrast between the warm, molten center and a cold scoop of vanilla ice cream is the whole point. I like to dust the plate with a little powdered sugar and arrange a few fresh raspberries around the cake for a beautiful presentation. A sprig of mint adds a pop of color, too.
If you’re serving these at a dinner party, you can prepare the batter up to 24 hours in advance. Fill the ramekins, cover them with plastic wrap, and store them in the refrigerator. When you’re ready to bake, add about 2-3 minutes to the baking time since the batter is cold. This is a game-changer for entertaining—you can enjoy your main course without rushing around the kitchen.
Storage is tricky with lava cakes because they’re meant to be eaten fresh. If you have leftovers (unlikely, but possible), you can cover the ramekins and refrigerate them for up to a day. To reheat, microwave on 50% power for about 20-30 seconds. The center won’t be as molten, but it will still be delicious. I’ve also been known to eat them cold, straight from the ramekin, like a fudgy chocolate pudding. No judgment here.
The raspberry sauce, however, stores beautifully. Keep it in an airtight container in the fridge for up to a week. It’s also fantastic on pancakes, yogurt, or vanilla ice cream.
Nutritional Information & Benefits
Let’s be real—this is a dessert, not a health food. But knowing what’s in it can help you enjoy it mindfully. The nutritional values below are for one lava cake with a generous drizzle of raspberry sauce, without ice cream or whipped cream.
| Nutrient | Amount per Serving |
|---|---|
| Calories | 485 |
| Total Fat | 32g |
| Saturated Fat | 19g |
| Cholesterol | 195mg |
| Sodium | 210mg |
| Total Carbohydrates | 44g |
| Dietary Fiber | 5g |
| Sugars | 34g |
| Protein | 8g |
Dark chocolate is actually a surprising source of antioxidants and minerals like iron and magnesium. The raspberries add a good dose of vitamin C and fiber. While this isn’t something you’d eat every day, it’s a far cry from a processed, packaged dessert. You control the quality of the ingredients, which is always a win in my book. This recipe is naturally vegetarian and can be made gluten-free and vegan with the substitutions mentioned above. It contains dairy, eggs, and gluten in its standard form.
Conclusion
This best chocolate lava cake for two with raspberry sauce is more than just a recipe—it’s a little moment of magic you can create in your own kitchen. It’s proof that you don’t need a pastry degree or a fancy set of equipment to make something truly spectacular. Whether you’re celebrating an anniversary, hosting a small dinner party, or just treating yourself on a quiet night in, this dessert delivers every single time.
I love that this recipe came from a moment of letting go of my own rules. It reminds me that sometimes the best things happen when you stop overthinking and just trust the process. And honestly, the look on someone’s face when they break into that cake and see the chocolate flowing out? It’s priceless.
I’d love to hear how yours turn out. Did you try a fun variation? Did you serve it in a mug or a ramekin? Drop a comment below and let me know. And if you loved this, share it with someone who deserves a little chocolate in their life. Happy baking!
Frequently Asked Questions
Can I make this recipe in a microwave?
Yes, you can make a single serving in a microwave-safe mug. Combine the ingredients in the mug, microwave on high for about 45-60 seconds, and check for doneness. The texture will be slightly different—more like a molten mug cake than a traditional lava cake—but it’s a great quick fix.
Can I use milk chocolate instead of dark chocolate?
You can, but the result will be much sweeter and the lava may be thinner. Milk chocolate has a higher sugar and milk fat content, which changes the structure. If you prefer milk chocolate, reduce the sugar in the recipe by one tablespoon.
Why did my lava cake stick to the ramekin?
This usually happens when the ramekin isn’t buttered thoroughly enough or you skipped the dusting step. Make sure to get the butter into every nook and cranny, and use cocoa powder or sugar to create a non-stick barrier. Letting the cake rest for exactly one minute after baking also helps it release.
Can I double this recipe for a crowd?
Absolutely. This recipe doubles, triples, or quadruples beautifully. Just make sure you have enough ramekins and bake them in batches if your oven is small. The baking time remains the same, but you may need to rotate the baking sheet halfway through for even baking.
Can I freeze the unbaked lava cakes?
Yes! Fill the ramekins, cover them tightly with plastic wrap and then foil, and freeze for up to 2 months. Bake from frozen, adding about 3-5 minutes to the baking time. This is a fantastic make-ahead option for unexpected guests.
Pin This Recipe!
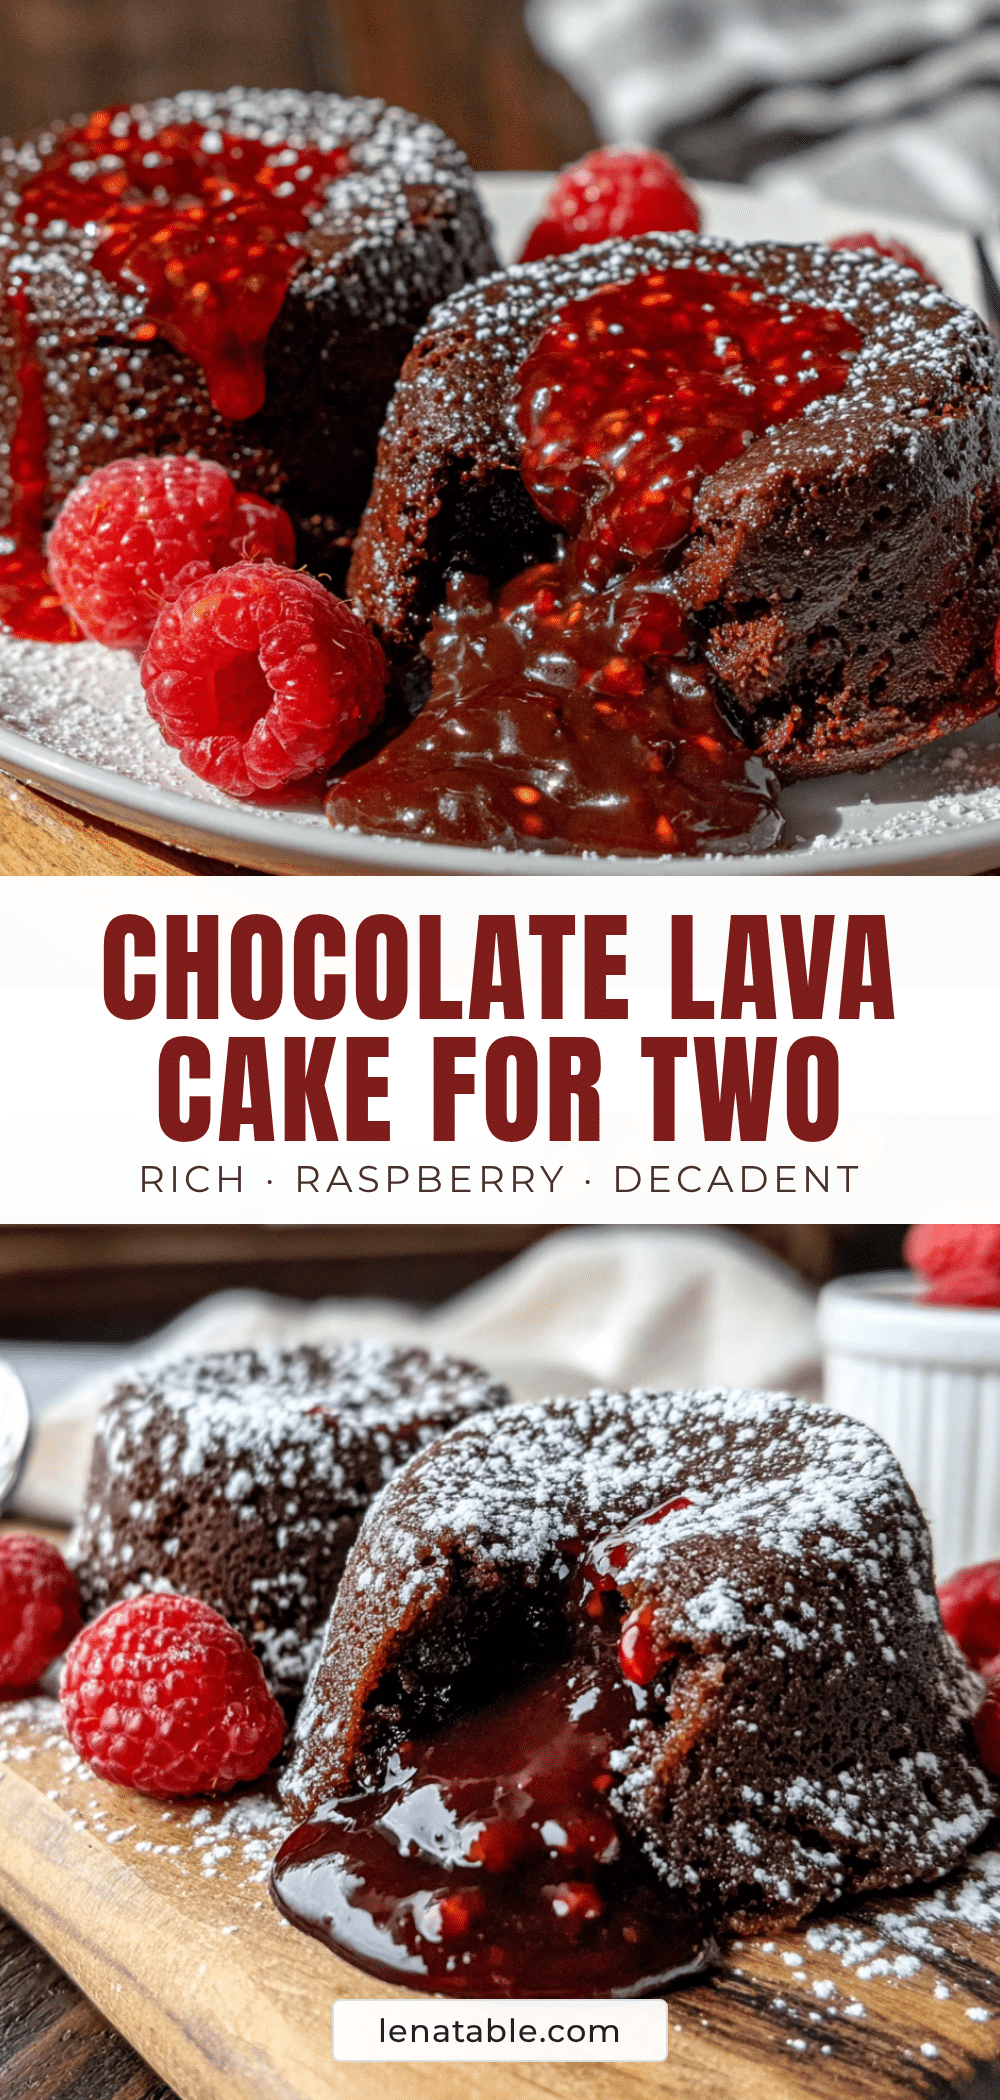
Best Chocolate Lava Cake for Two with Easy Raspberry Sauce
This deeply rich, fudgy chocolate lava cake with a gooey molten center is paired with a tart, vibrant raspberry sauce. It comes together in under 30 minutes and is perfect for impressing someone special without breaking a sweat.
- Prep Time: 10 minutes
- Cook Time: 14 minutes
- Total Time: 24 minutes
- Yield: 2 servings 1x
- Category: Dessert
- Cuisine: American
Ingredients
- 4 tablespoons (56g) unsalted butter (plus extra for greasing)
- 4 ounces (113g) semi-sweet or dark chocolate, chopped
- 1 large egg (room temperature)
- 1 large egg yolk
- 1/4 cup (50g) granulated sugar
- 1/8 teaspoon salt
- 2 tablespoons (15g) all-purpose flour
- 1/2 teaspoon vanilla extract
- 1 cup (140g) frozen or fresh raspberries
- 2–3 tablespoons (25-40g) granulated sugar (for sauce)
- 1 teaspoon lemon juice (optional)
Instructions
- Preheat oven to 425°F (220°C). Place a baking sheet on the middle rack.
- Generously butter the inside of two 6-ounce ramekins or microwave-safe mugs. Dust with cocoa powder or granulated sugar, tapping out excess.
- In a medium microwave-safe bowl, combine chopped chocolate and 4 tablespoons butter. Microwave in 30-second intervals, stirring after each, until smooth. Let cool for 1-2 minutes.
- In a separate bowl, whisk together whole egg, egg yolk, granulated sugar, and salt until thick, pale, and falls in a ribbon, about 2 minutes.
- Pour egg mixture into slightly cooled chocolate mixture. Add vanilla extract. Fold gently with a rubber spatula until just combined.
- Sprinkle flour over the batter. Fold in with a gentle sweeping motion until no white streaks remain.
- Divide batter evenly between the two prepared ramekins, filling about three-quarters full. Place on the baking sheet.
- Bake for exactly 12-14 minutes. Edges should be set and slightly puffed, but center should jiggle when shaken.
- While cakes bake, make raspberry sauce: In a small saucepan, combine raspberries, sugar, and lemon juice. Cook over medium heat, stirring occasionally, until berries break down and sauce thickens, about 5 minutes. For a smooth sauce, press through a fine-mesh strainer.
- Remove ramekins from oven and let rest on a wire rack for exactly 1 minute. Run a thin knife around the edge of each ramekin to loosen.
- Place a plate upside down over the ramekin, then carefully invert. Give a gentle shake to release the cake.
- Spoon warm raspberry sauce over and around the lava cake. Serve immediately.
Notes
For a more dramatic lava effect, chill the filled ramekins in the fridge for 10-15 minutes before baking. Do not overbake; the center should jiggle. Use room temperature eggs to prevent the chocolate from seizing. If using mugs, baking time may decrease by 1-2 minutes.
Nutrition
- Serving Size: 1 lava cake with sau
- Calories: 485
- Sugar: 34
- Sodium: 210
- Fat: 32
- Saturated Fat: 19
- Carbohydrates: 44
- Fiber: 5
- Protein: 8
Keywords: chocolate lava cake, molten chocolate cake, raspberry sauce, dessert for two, easy dessert, romantic dessert


