Love this? Save it for later!
Share the inspiration with your friends
“You know, I never thought I’d be that person who spends hours stirring fruit over the stove, but here I am,” I confessed to my friend as we set up for our weekend brunch. It all started on a crisp Saturday morning when I stumbled upon a dusty, handwritten recipe tucked inside an old cookbook at a flea market. The faded title read Mom’s Old-Fashioned Strawberry Preserves. The script was shaky but full of character, much like the woman who must have penned it decades ago. Honestly, I was curious more than anything—how different could homemade preserves be from the store-bought stuff?
The smell of simmering strawberries and sugar filled my kitchen, and I lost track of time. There was something magical about the way the mixture bubbled and thickened, turning into a luscious, ruby-red jam. I’ll admit, I forgot a jar in the pantry and found it weeks later—crystallized on top but still heavenly inside. That little imperfection made me realize this recipe wasn’t about perfection; it was about love, patience, and those simple moments that make food so special.
Maybe you’ve been there too—searching for a taste that brings back memories or just craving a genuine, real-deal strawberry preserve. This recipe stuck with me because it’s not just a preserve; it’s a story, a ritual, a way to slow down and savor summer all year long. Let me tell you, once you make these Homemade Mom’s Old-Fashioned Strawberry Preserves, you might find yourself reaching for the bread jar more often than you thought possible.
Why You’ll Love This Recipe
After several rounds of testing and tweaking, this recipe has become my go-to for strawberry preserves. It’s not just another jam; it’s a little jar of nostalgia and sunshine. Here’s why it’s earned a permanent spot in my kitchen:
- Quick & Easy: You can have fresh preserves ready in about 45 minutes, making it perfect even if you’re short on time but craving homemade goodness.
- Simple Ingredients: No need for fancy or hard-to-find items—just fresh strawberries, sugar, lemon juice, and a hint of pectin for that perfect set.
- Perfect for Gifts & Gatherings: Whether it’s a cozy breakfast or a thoughtful homemade gift, these preserves always get rave reviews.
- Crowd-Pleaser: Kids and adults alike love the natural sweetness and chunky texture—it’s not too sweet, not too tart.
- Unbelievably Delicious: The old-fashioned technique brings out the deepest strawberry flavor with a rich, velvety texture that feels like a warm hug.
This isn’t just some quick spread; it’s the kind of recipe that I’ve refined to balance sweetness and acidity just right. The trick? Using fresh lemon juice to brighten the flavors and a gentle simmer that preserves the fruit’s natural texture. Honestly, it’s a little piece of summer bottled up, and I’m confident you’ll feel the same once you try it.
What Ingredients You Will Need
This recipe uses simple, wholesome ingredients to deliver bold flavor and satisfying texture without the fuss. Most are pantry staples, and the strawberries are the star, so choose them fresh and ripe for the best results.
- Fresh Strawberries (about 4 cups, hulled and halved) – ripe but firm berries work best to hold shape during cooking.
- Granulated Sugar (2 to 2 ½ cups) – adjust based on your sweetness preference; I prefer the lower end for a more natural fruit taste.
- Fresh Lemon Juice (2 tablespoons) – brightens the preserve and balances sweetness.
- Powdered Pectin (1 tablespoon) – helps the preserve set without making it overly stiff; I recommend Sure-Jell for reliable results.
- Water (¼ cup) – to help dissolve the pectin evenly.
Optional:
- Vanilla Bean or Extract (½ teaspoon) – adds a subtle depth of flavor if you want to get fancy.
- Fresh Mint Leaves – can be added for a refreshing twist during cooking or as garnish.
If you’re looking for a dairy-free or vegan-friendly preserve, rest easy—this recipe is naturally free of animal products. For a lower-sugar version, consider using a natural sweetener like honey or maple syrup, though it may affect setting time slightly. When strawberries aren’t in season, frozen berries can substitute, but fresh always wins for texture and flavor.
Equipment Needed
- Large Heavy-Bottomed Saucepan – essential for even heat distribution to prevent burning during simmering.
- Wooden Spoon or Heat-Resistant Silicone Spatula – for stirring without scratching your cookware.
- Measuring Cups and Spoons – for accurate ingredient amounts.
- Glass Jars with Lids (preferably sterilized) – mason jars or jam jars work great for storing the preserves.
- Fine Mesh Strainer – optional, if you prefer a smoother texture.
If you don’t have a heavy-bottomed pan, a thick stainless steel or enameled cast iron pot can work well too. I once used a regular thin pan and ended up with some scorched bits—that was a mess and a learning moment! For sterilizing jars, boiling them or running them through the dishwasher on a hot cycle is a quick and easy method.
Preparation Method
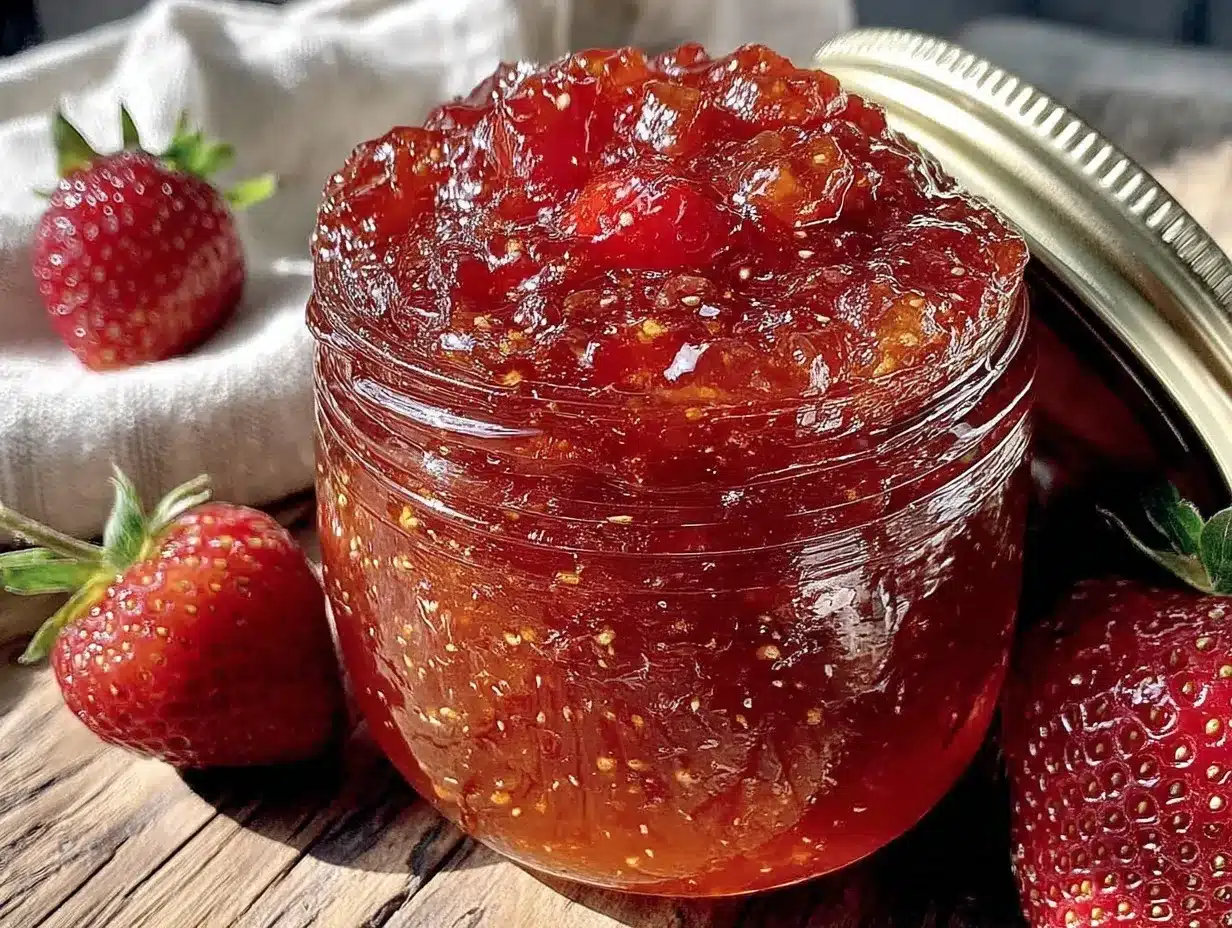
- Prepare the Strawberries: Wash, hull, and halve about 4 cups (about 600 grams) of fresh strawberries. If some are larger, quarter them for even cooking. This step takes about 10 minutes.
- Macerate the Fruit: In your saucepan, combine the strawberries with 2 cups (400 grams) of granulated sugar and 2 tablespoons (30 ml) of fresh lemon juice. Stir gently to coat all the berries. Let this sit for 15-20 minutes to draw out the juices—this step really helps deepen the flavor and soften the fruit.
- Dissolve the Pectin: In a small bowl, mix 1 tablespoon of powdered pectin with ¼ cup (60 ml) water until smooth. Pour this into the strawberry mixture and stir well.
- Cook the Preserves: Place the saucepan over medium heat and bring to a boil while stirring frequently. Once boiling, reduce to medium-low and simmer gently. Keep stirring to prevent sticking, especially around the edges. This simmering should last about 20-25 minutes until the mixture thickens and coats the spoon. You’ll notice the color deepen to a rich red and the bubbling slow down.
- Test the Set: To check if the preserves are ready, place a small spoonful on a chilled plate. Let it cool for a minute, then push it with your finger. If it wrinkles and holds shape, you’re good. If not, continue simmering for a few more minutes and test again.
- Optional Flavor Boost: If you want, stir in ½ teaspoon of vanilla extract or a scraped vanilla bean at the end of cooking for extra warmth.
- Jar the Preserves: Carefully ladle the hot preserves into sterilized glass jars, leaving about ¼ inch (0.5 cm) headspace. Wipe rims clean with a damp cloth and seal tightly. Let them cool completely at room temperature.
- Store or Process: You can refrigerate these for up to 3 weeks or process them in a boiling water bath for 10 minutes if you want to keep them longer on your pantry shelf.
Pro Tip: Stir gently but don’t overmix—preserves that are too mashed lose that delightful chunky texture that makes this recipe special. Also, keep an eye on the heat; too high and the preserves can scorch or become too stiff. Patience here pays off big time.
Cooking Tips & Techniques
Making strawberry preserves at home is pretty straightforward, but a few tricks can save you headaches and boost your results. For one, always use ripe but firm strawberries. Overripe berries might break down too much and make your preserves runny.
When cooking, frequent stirring is key to prevent scorching on the pan’s bottom. I learned this the hard way when I got distracted by a phone call and ended up with a smoky kitchen and a half-ruined batch!
Another tip: the lemon juice isn’t just for flavor—it helps the pectin gel and sets the preserves properly. Skipping it can result in a runny mess, so don’t cut corners here.
Be patient during the simmering stage. It may seem like it takes forever, but that slow reduction intensifies the flavor and thickens the preserve beautifully. If you’re in a hurry, try a wide pan to speed evaporation, but watch carefully so it doesn’t burn.
Lastly, test the set by chilling a spoonful—it’s the most reliable way to know if your preserves are done. Jumping the gun can lead to disappointment later when the jam doesn’t thicken as expected.
Variations & Adaptations
One of the best things about this old-fashioned strawberry preserves recipe is how easy it is to tweak:
- Low-Sugar Version: Reduce sugar by half and add natural pectin or chia seeds to help thicken. The preserve will be less sweet but still delicious and fresh tasting.
- Mixed Berry Twist: Swap half the strawberries for blueberries or raspberries for a vibrant berry blend with a slightly tangier finish.
- Herbal Infusion: Add a few sprigs of fresh thyme or rosemary during simmering. Remove before jarring for a subtle, fragrant note.
- Chunky vs. Smooth: For smoother preserves, briefly pulse the cooked mixture in a blender or use a fine mesh strainer to remove seeds and pulp.
- Jarring for Gifts: Add a cinnamon stick or a vanilla bean pod to the jar before sealing for a pretty presentation and gentle flavor infusion over time.
Personally, I once added a splash of balsamic vinegar to the mix, which surprisingly enhanced the strawberry’s natural sweetness and added a slight tang. It was a hit at my last brunch!
Serving & Storage Suggestions
Serve these preserves spread thickly on toasted sourdough bread or warm biscuits. They’re fantastic spooned over plain yogurt or ice cream for a quick dessert. Honestly, I sometimes sneak a spoonful straight from the jar—no judgment!
Preserves are best enjoyed at room temperature to unlock their full flavor, but they also taste lovely chilled during warmer months. Pair with a hot cup of tea or a buttery croissant for a classic morning treat.
Store in the refrigerator for up to 3 weeks once opened. Unopened jars can be kept in a cool, dark pantry for up to a year if processed properly. For longer storage, freezing is an option but expect a slightly softer texture after thawing.
When reheating, warm gently in a saucepan or microwave to bring back that fresh-from-the-stove taste. Over time, the flavors deepen and meld beautifully, so don’t rush to finish the jar!
Nutritional Information & Benefits
One serving (about 1 tablespoon) of these strawberry preserves contains roughly:
| Calories | 50 |
|---|---|
| Carbohydrates | 13g (mostly natural sugars) |
| Fiber | 1g |
| Vitamin C | 10% of daily value |
Strawberries are packed with antioxidants and vitamin C, which support immune health and skin vitality. This recipe is gluten-free and can be adapted to low-sugar diets. Just be mindful of the sugar content if you’re watching intake.
From my wellness perspective, homemade preserves are a lovely way to enjoy fruit without additives or preservatives. It’s a small joy that connects you to the season and food traditions, which feels good both inside and out.
Conclusion
Making Homemade Mom’s Old-Fashioned Strawberry Preserves is more than a cooking project—it’s a way to slow down, savor the moment, and create something genuinely special. Whether you’re new to preserves or a seasoned jam maker, this recipe’s balance of bright flavor and simple technique makes it a winner every time.
Feel free to tweak the sweetness or add your favorite herbs to make it your own. Honestly, there’s nothing quite like opening a jar of homemade preserves and tasting that burst of summer on toast.
If you give this recipe a try, I’d love to hear how it turns out and any personal twists you add. Drop a comment below or share your story—let’s keep this tradition alive and delicious!
Now, go grab some fresh strawberries and get stirring. Your kitchen (and your taste buds) will thank you.
FAQs
How long can I store homemade strawberry preserves?
Unopened and properly sealed jars can last up to a year in a cool, dark pantry. Once opened, keep refrigerated and consume within 3 weeks for best quality.
Can I use frozen strawberries for this recipe?
Yes, frozen strawberries work well, especially out of season. Just thaw and drain excess liquid before cooking to avoid a runny preserve.
What if my preserves don’t set properly?
If your preserves are too runny, try simmering them a bit longer to reduce liquid. Alternatively, add a little more pectin following the package instructions.
Can I make this recipe without pectin?
Yes, but the preserves might be looser and take longer to set. Cooking longer helps reduce liquid, but texture won’t be as firm as with pectin.
How do I sterilize jars for storing preserves?
Wash jars with hot soapy water, rinse well, and boil them in water for 10 minutes or run them through a dishwasher cycle on high heat before filling.
By the way, if you love strawberry preserves, you might enjoy pairing them with my flaky buttermilk biscuits or serving them alongside classic lemon poppy seed muffins for a truly memorable breakfast experience.
Pin This Recipe!
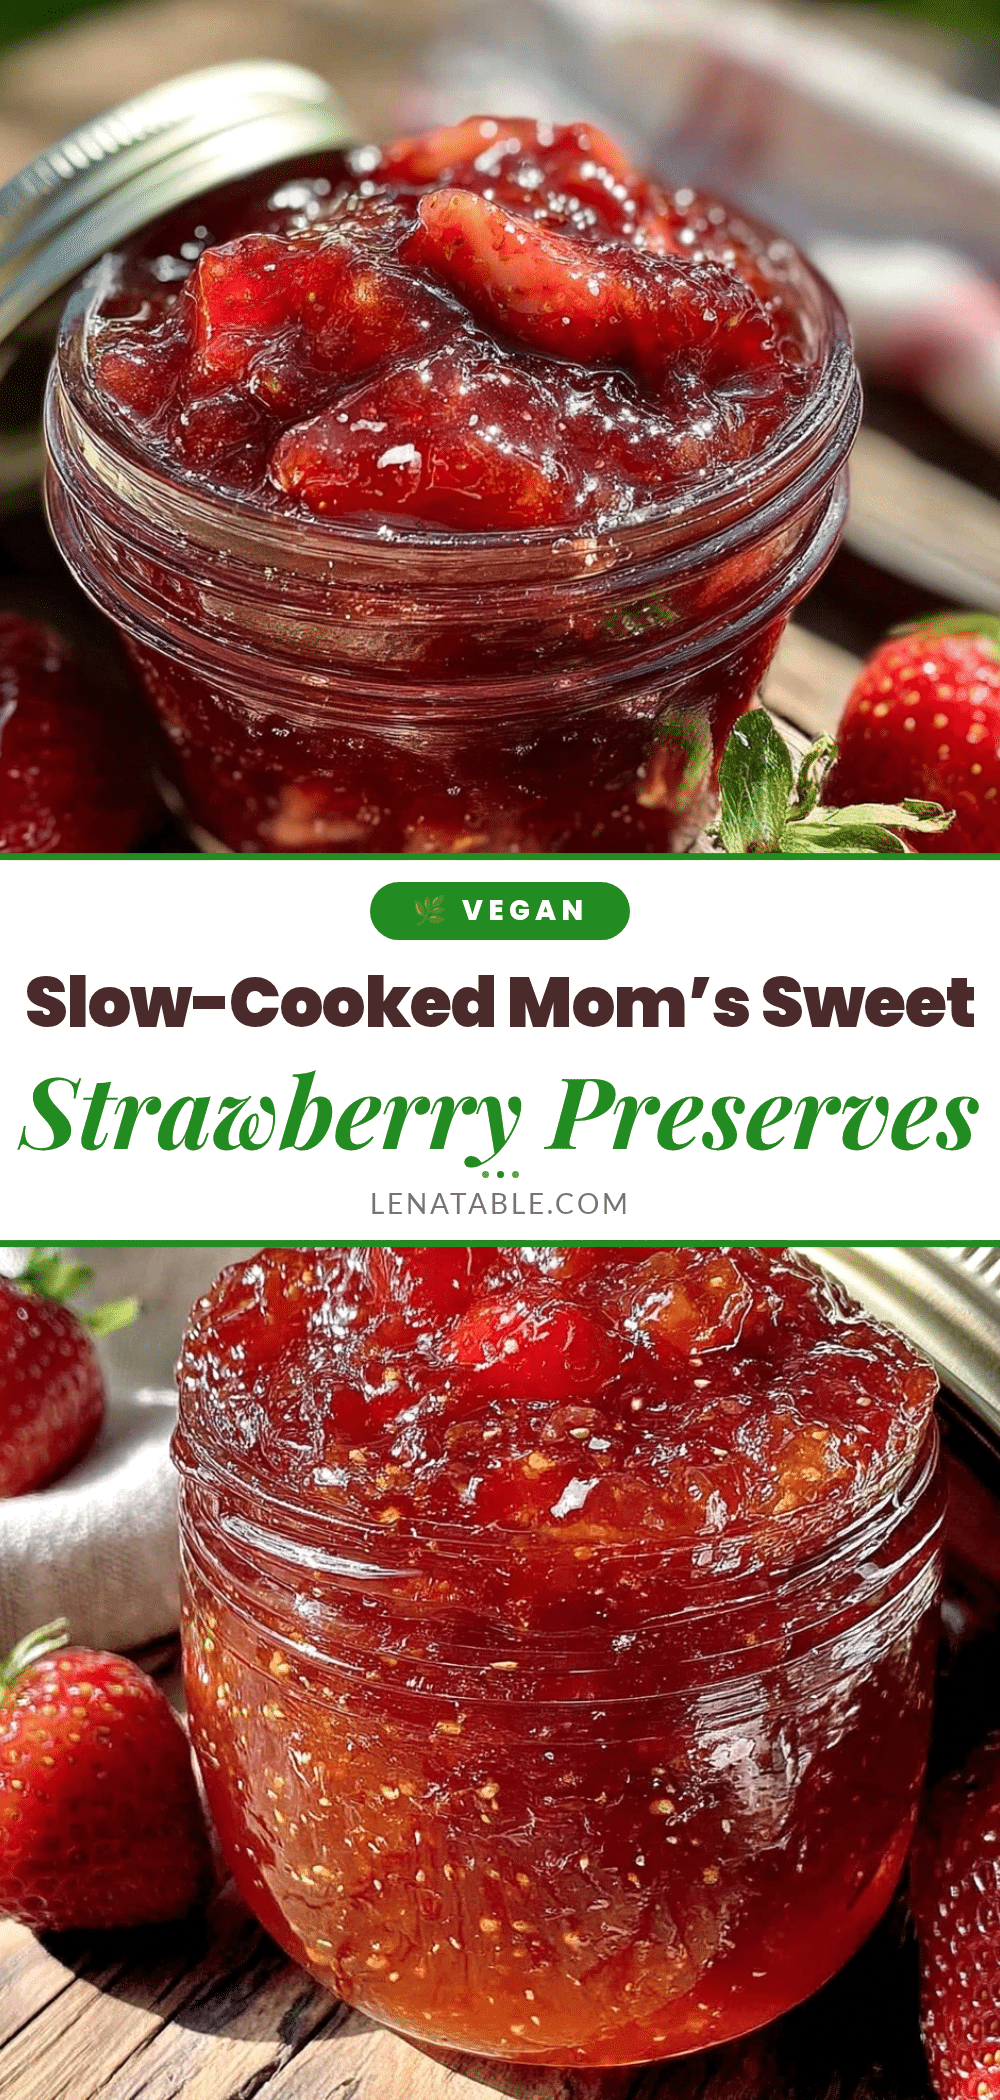
Homemade Mom’s Old-Fashioned Strawberry Preserves
A nostalgic and easy-to-make strawberry preserves recipe using simple ingredients and old-fashioned techniques to create a luscious, chunky jam perfect for gifts, gatherings, and everyday enjoyment.
- Prep Time: 10 minutes
- Cook Time: 35 minutes
- Total Time: 45 minutes
- Yield: About 4 half-pint jars (approximately 8 servings) 1x
- Category: Preserves
- Cuisine: American
Ingredients
- 4 cups fresh strawberries, hulled and halved
- 2 to 2 ½ cups granulated sugar (adjust to taste)
- 2 tablespoons fresh lemon juice
- 1 tablespoon powdered pectin (e.g., Sure-Jell)
- ¼ cup water
- ½ teaspoon vanilla bean or extract (optional)
- Fresh mint leaves (optional)
Instructions
- Wash, hull, and halve about 4 cups (about 600 grams) of fresh strawberries. Quarter larger berries for even cooking.
- In a large heavy-bottomed saucepan, combine strawberries with 2 cups granulated sugar and 2 tablespoons fresh lemon juice. Stir gently to coat all berries. Let sit for 15-20 minutes to macerate.
- In a small bowl, dissolve 1 tablespoon powdered pectin in ¼ cup water until smooth. Pour into the strawberry mixture and stir well.
- Place saucepan over medium heat and bring to a boil while stirring frequently. Reduce to medium-low and simmer gently for 20-25 minutes, stirring often until mixture thickens and coats the spoon.
- Test the set by placing a spoonful on a chilled plate; if it wrinkles and holds shape after cooling, it is ready. If not, simmer a few more minutes and test again.
- Optional: Stir in ½ teaspoon vanilla extract or scraped vanilla bean at the end of cooking.
- Ladle hot preserves into sterilized glass jars, leaving about ¼ inch headspace. Wipe rims clean and seal tightly. Let cool completely at room temperature.
- Store in the refrigerator for up to 3 weeks or process jars in a boiling water bath for 10 minutes for longer shelf storage.
Notes
Use ripe but firm strawberries to maintain texture. Stir frequently to prevent scorching. Lemon juice is essential for proper setting. Test the set on a chilled plate before jarring. For smoother preserves, strain or blend briefly. Optional flavor additions include vanilla, mint, or herbs like thyme or rosemary. Frozen strawberries can be used but drain excess liquid before cooking.
Nutrition
- Serving Size: 1 tablespoon
- Calories: 50
- Sugar: 12
- Carbohydrates: 13
- Fiber: 1
Keywords: strawberry preserves, homemade jam, old-fashioned strawberry jam, easy strawberry preserves, fruit preserves, jam recipe, homemade preserves


