Love this? Save it for later!
Share the inspiration with your friends
“You know that feeling when the summer heat hits just right, and suddenly everyone’s craving something cold and sweet?” I was standing in my backyard last July 4th, juggling a melting watermelon and a grill loaded with burgers, when my neighbor, Jake, ambled over with a cooler. Inside? Not your typical cold drinks, but a stash of root beer and ice cream. “Why don’t we set up a root beer float bar?” he said, grinning like he’d just solved the summer party puzzle.
I wasn’t exactly imagining a fancy setup—more like a casual, no-fuss way to keep everyone happy between fireworks and frisbee games. But honestly, that simple idea turned into the highlight of the afternoon. The fizz of the root beer, the creamy swirl of vanilla ice cream, the laughter of kids and adults alike—something about it just clicked.
Maybe you’ve been there: trying to keep cool, keep guests entertained, and keep things tasty without turning the kitchen into a disaster zone. Let me tell you, this Classic Root Beer Float Bar isn’t just nostalgia on a summer day; it’s the kind of easy, crowd-pleasing treat that brings people together. Plus, it’s ridiculously fun to build your own float masterpiece (and maybe get a little messy in the process—I definitely spilled a bit on the patio that day).
Why does this recipe stay with me? It’s the perfect balance of old-school charm and simple joy. Whether you’re planning your own 4th of July bash or just want a sweet, refreshing break from the heat, this root beer float bar idea feels like the kind of tradition worth passing on.
Why You’ll Love This Recipe
I’ve tested this Classic Root Beer Float Bar idea over several summer celebrations, and honestly, it’s never failed to impress. Here’s why it deserves a spot in your party plans:
- Quick & Easy : Comes together in under 15 minutes, perfect for last-minute gatherings or those busy holiday afternoons.
- Simple Ingredients : No need for fancy or hard-to-find items—just classic root beer, vanilla ice cream, and a few fun toppings.
- Perfect for 4th of July : A sweet, festive treat that keeps the patriotic spirit alive and cools down the crowd.
- Crowd-Pleaser : Kids, adults, and even the picky eaters rave about this nostalgic classic.
- Unbelievably Delicious : The creamy texture and bubbly root beer mix is pure comfort food with a twist.
What makes this root beer float bar stand out? Well, it’s not just about pouring soda over ice cream. I like to offer a few topping options like maraschino cherries, whipped cream, and sprinkles to add that extra festive flair. Plus, using a high-quality, creamy vanilla ice cream (I swear by Tillamook or Blue Bell) really makes the floats sing. And trust me, once you see your guests’ faces light up as they customize their own float, you’ll know this isn’t just any old dessert—it’s a party moment.
What Ingredients You Will Need
This Classic Root Beer Float Bar uses simple, wholesome ingredients to deliver bold flavor and satisfying texture without the fuss. Most of these are pantry staples or easy to grab during your next grocery run.
- Root Beer : About 2 liters (67 fl oz) of your favorite brand. I recommend Barq’s for a traditional bite or A&W for a sweeter finish.
- Vanilla Ice Cream : 1 to 1.5 quarts (approximately 1 to 1.4 liters), preferably full-fat for creaminess. Look for brands with real vanilla bean specks for extra flavor.
- Maraschino Cherries : 1 jar, for that classic float look and a burst of sweetness.
- Whipped Cream : Store-bought or homemade, about 1 can or 1 cup freshly whipped.
- Sprinkles : Red, white, and blue for a festive touch (optional).
- Waffle Cones or Bowls : Optional, for a fun serving twist.
- Optional Mix-ins : Crushed candy canes (great for a minty surprise), chocolate syrup, or caramel drizzle for adventurous float lovers.
If you need to keep things dairy-free, swap the vanilla ice cream with coconut milk-based frozen dessert and choose a root beer brand free of animal products. The float still tastes fantastic!
Equipment Needed
- Large Pitcher or Dispenser : For easy root beer pouring without constant bottle handling.
- Ice Cream Scoop : A sturdy one, preferably with a release trigger; trust me, it makes scooping much easier especially when the ice cream is super cold.
- Glassware : Classic tall glasses or mason jars, about 12 oz (350 ml) capacity each.
- Spoons and Straws : Long spoons for scooping and wide straws to slurp up the float goodness.
- Serving Trays or Tables : To organize toppings and keep everything accessible.
If you don’t have a dispenser, no worries—just pour root beer from the bottle carefully. I’ve used budget-friendly glass tumblers before, and they actually add to the charm. Also, keeping the ice cream in the freezer until the last minute helps avoid messes and melting chaos.
Preparation Method
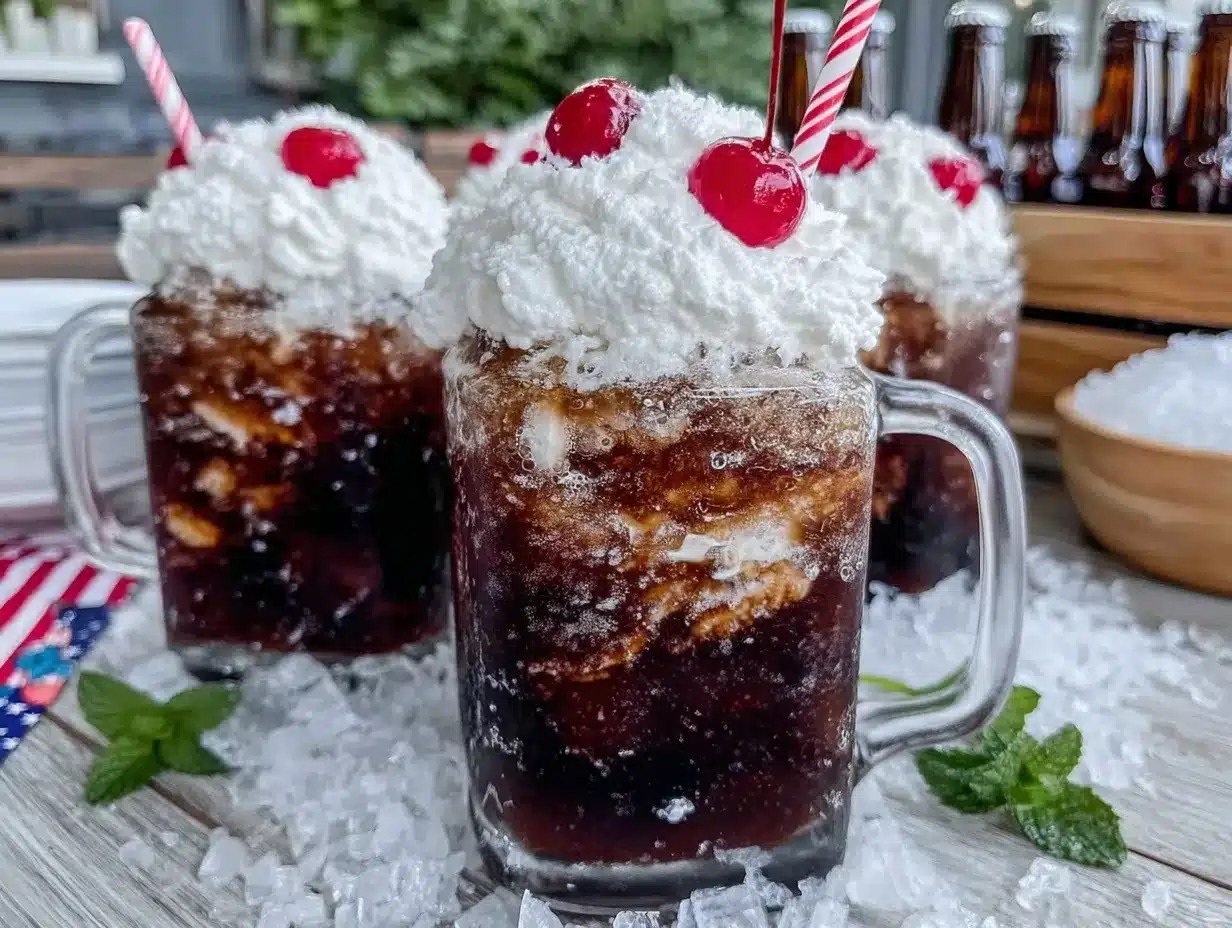
- Chill Your Glasses (10 minutes) – Pop your glasses or jars in the fridge or freezer to get them nice and cold. This helps keep the float frosty longer.
- Set Up the Bar (10 minutes) – Arrange the root beer in a large pitcher or dispenser. Place the vanilla ice cream in a bowl with the scoop nearby. Organize toppings like cherries, sprinkles, and whipped cream in small bowls.
- Scoop the Ice Cream (2 minutes per float) – Add 2 generous scoops of vanilla ice cream into each chilled glass. A good tip: slightly soften the ice cream outside the freezer for 5 minutes to make scooping easier.
- Pour the Root Beer (1 minute per float) – Slowly pour root beer over the ice cream until the glass is nearly full. Go slow to prevent overflow and big foamy messes. The fizz will create a creamy foam cap.
- Add Toppings (2 minutes) – Top with whipped cream, a cherry, and sprinkles or any other fun mix-ins you want to try.
- Serve Immediately – Root beer floats are best enjoyed fresh, so serve right after assembling. If you need to prep ahead, keep the root beer and ice cream separate until ready to serve.
Pro tip: If the root beer is flat or warm, the float won’t have that signature fizz and sparkle. I always keep a backup cold bottle in the fridge just in case. Also, when pouring, tilt the glass slightly to reduce excessive foam. You don’t want a sticky countertop on your holiday!
Cooking Tips & Techniques
There’s more to making a root beer float than just mixing soda and ice cream, believe it or not. Here are some tips I’ve picked up through trial and error (including a few sticky spills):
- Choose Quality Ingredients : The better your root beer and ice cream, the tastier your float. I’ve tried everything from generic store brands to craft sodas, and there’s a noticeable difference.
- Don’t Overfill the Glass : Pour root beer slowly and leave some room for foam. Otherwise, you’ll have a fizzy eruption all over your table.
- Work Fast : Root beer floats melt quickly, so have your toppings and tools ready to go. This keeps the texture perfect.
- Multitasking Tip : While setting up your float bar, keep an eye on the grill or other food prep. I usually enlist a helper for the float station so no one feels left out.
- Homemade Whipped Cream Wins : If you have a few extra minutes, fresh whipped cream tastes better and holds up nicely on the foam.
- Experiment with Float Flavors : Root beer is classic, but I’ve had good results swapping in cream soda or cola for a twist.
Honestly, once you get the hang of balancing the foam and scooping, the rest is pure fun. Just prepare for a few dribbles and spills—part of the charm, right?
Variations & Adaptations
This Classic Root Beer Float Bar is super flexible, which is why it’s been a hit across different celebrations. Here are some ways to mix things up:
- Dairy-Free Version : Use coconut or almond milk-based ice cream and a vegan-friendly root beer. The creamy texture stays satisfying.
- Adult Float : Add a splash of bourbon or spiced rum to the root beer for a grown-up twist. Perfect for 4th of July evenings!
- Seasonal Fruits : Toss in fresh berries or sliced peaches as a topping instead of—or alongside—cherries for a burst of freshness.
- Chocolate Root Beer Float : Drizzle chocolate syrup over the ice cream before pouring root beer for a float that tastes like a soda shop treat.
- Frozen Float Pops : Pour your prepared floats into popsicle molds and freeze for a portable summer treat kids adore.
I once tried a s’mores-inspired float with toasted marshmallows and graham cracker crumbs. It was a messy but delicious hit with the kids—and a great way to combine two classic summer flavors!
Serving & Storage Suggestions
Root beer floats are best served immediately while the ice cream is still firm and the soda is bubbly. I like to serve them in clear glasses so you can see the creamy foam and colorful toppings bubbling at the top. If you want to get festive, add red, white, and blue sprinkles or a small American flag toothpick.
Complement your float bar with light snacks like salty popcorn, grilled corn on the cob, or these easy crispy garlic chicken bites to balance sweet and savory.
For leftovers, store root beer and ice cream separately. The float itself won’t keep well once assembled because of melting and loss of fizz. If you want to save some, scoop leftover ice cream back into the freezer and refrigerate the soda. Before serving again, stir root beer gently—don’t shake it—to bring back some bubbles.
Reheating isn’t really an option here, but if you freeze your floats in molds as suggested, just thaw slightly before enjoying.
Nutritional Information & Benefits
A typical root beer float made with two scoops of vanilla ice cream and root beer contains approximately 300-350 calories per serving, with around 40-45 grams of sugar. While it’s definitely a treat, using quality ice cream with natural ingredients helps avoid artificial additives.
Vanilla ice cream provides calcium and some protein, while root beer is caffeine-free, making this a kid-friendly option. For a lighter version, try smaller scoops or use reduced-sugar root beer and light ice cream alternatives.
Personally, I think treats like this are worth enjoying on special occasions. Balancing them with fresh fruit and plenty of water throughout the day keeps things feeling good overall.
Conclusion
This Classic Root Beer Float Bar is a simple way to add sweetness and smiles to your 4th of July celebration. It’s easy to put together, fun for all ages, and offers that timeless soda shop vibe we all secretly love. Customize it as you please—go classic, get creative, or even make it boozy for the grown-ups.
I keep coming back to this recipe because it’s not just about the flavors, but the memories it creates. The laughter, the sticky fingers, and the shared joy—those moments are what make summer parties unforgettable.
Give this root beer float bar a try at your next gathering and let me know how your guests enjoyed building their own floats. Share your favorite toppings or twists—I love hearing your versions!
Here’s to cold floats and warm memories. Happy 4th of July!
FAQs About Classic Root Beer Float Bar
Can I make a root beer float ahead of time?
It’s best to assemble floats just before serving to keep the soda fizzy and the ice cream from melting. You can prep ingredients and chill glasses ahead, though.
What’s the best root beer brand for floats?
I recommend Barq’s for a bold, slightly spicy flavor or A&W for a sweeter, creamier taste. Both work beautifully with vanilla ice cream.
Are there good non-dairy alternatives for root beer floats?
Absolutely! Use coconut milk or almond milk-based ice creams and make sure your root beer is vegan-friendly. The float still tastes great and is refreshing.
How do I prevent the float from overflowing?
Pour root beer slowly over the ice cream and tilt the glass slightly. This helps control the foam and prevents spills.
Can I use other sodas for floats?
Yes! Cream soda, cola, or even ginger ale can be fun variations. Each adds a different twist to the classic float experience.
Pin This Recipe!
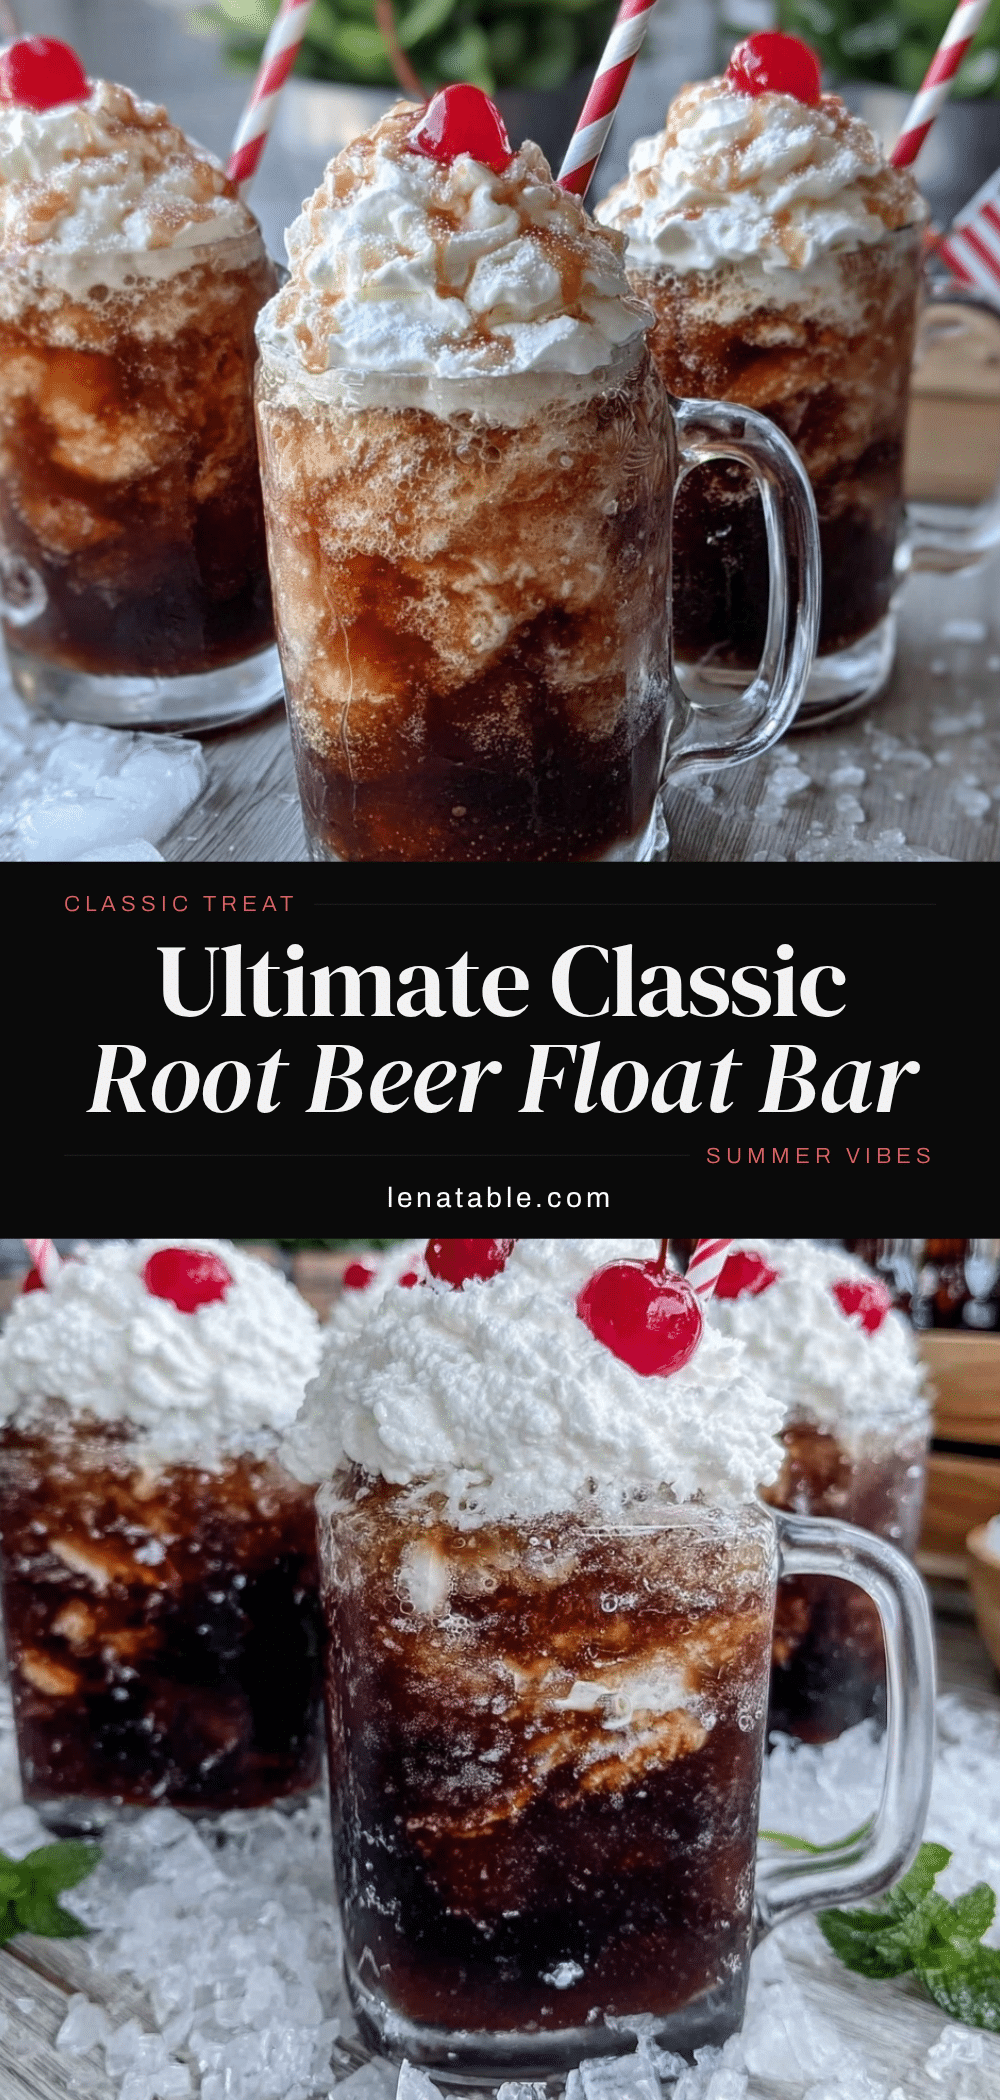
Classic Root Beer Float Bar Ideas for an Easy 4th of July Celebration

A nostalgic and easy-to-make root beer float bar perfect for summer celebrations, featuring classic root beer, creamy vanilla ice cream, and fun toppings to customize your float.
- Prep Time: 15 minutes
- Cook Time: 0 minutes
- Total Time: 15 minutes
- Yield: 6 servings 1x
- Category: Dessert
- Cuisine: American
Ingredients
- 2 liters (67 fl oz) root beer (Barq’s or A&W recommended)
- 1 to 1.5 quarts (approximately 1 to 1.4 liters) full-fat vanilla ice cream
- 1 jar maraschino cherries
- 1 can or 1 cup whipped cream (store-bought or homemade)
- Red, white, and blue sprinkles (optional)
- Waffle cones or bowls (optional)
- Optional mix-ins: crushed candy canes, chocolate syrup, caramel drizzle
Instructions
- Chill your glasses or jars in the fridge or freezer for about 10 minutes to keep floats frosty longer.
- Set up the float bar by arranging root beer in a large pitcher or dispenser, placing vanilla ice cream in a bowl with an ice cream scoop nearby, and organizing toppings like cherries, sprinkles, and whipped cream in small bowls.
- Scoop 2 generous scoops of vanilla ice cream into each chilled glass. Slightly soften the ice cream outside the freezer for 5 minutes to make scooping easier.
- Slowly pour root beer over the ice cream until the glass is nearly full, pouring carefully to prevent overflow and excessive foam.
- Add desired toppings such as whipped cream, a maraschino cherry, and sprinkles or other mix-ins.
- Serve immediately for best taste and texture. Keep root beer and ice cream separate if prepping ahead.
Notes
Keep root beer cold and pour slowly to avoid foam overflow. Slightly soften ice cream before scooping for easier handling. Homemade whipped cream enhances flavor and texture. For dairy-free versions, use coconut or almond milk-based ice cream and vegan-friendly root beer. Floats are best served immediately to maintain fizz and texture.
Nutrition
- Serving Size: 1 root beer float (a
- Calories: 325
- Sugar: 42
- Sodium: 150
- Fat: 14
- Saturated Fat: 9
- Carbohydrates: 45
- Protein: 4
Keywords: root beer float, summer dessert, 4th of July, ice cream float, party dessert, easy dessert, nostalgic treat


