Love this? Save it for later!
Share the inspiration with your friends
Introduction
“You know that feeling when a simple dessert suddenly becomes the highlight of a long day?” That’s exactly what happened to me last summer when I first tried this creamy classic key lime pie. It wasn’t at some fancy restaurant or a tropical beachside shack, but in a tiny café tucked away in a sleepy town I’d just passed through on a whim. The owner, a cheerful woman with a mischievous grin, handed me a slice with a wink and said, “This recipe’s been in my family for ages.” I wasn’t expecting much—a pie is a pie, right? But honestly, the first bite was a revelation. The tangy brightness of the key lime filling, silky smooth and just sweet enough, paired with a buttery graham cracker crust that crumbled perfectly under my fork, made me wish I’d stopped by sooner.
Funny enough, I forgot my phone on the table and had to dash back twice to retrieve it, giving me more chances to chat with her and soak in the kitchen secrets behind that luscious pie. Maybe you’ve been there—caught off guard by a simple treat that somehow feels like a little sunshine on a plate. This recipe stayed with me long after I left, and I kept tweaking it at home until it felt just right. Let me tell you, this version of creamy classic key lime pie with buttery graham cracker crust is the one I reach for whenever I want to impress without fuss.
Why You’ll Love This Recipe
This creamy classic key lime pie isn’t just another dessert. I’ve tested this recipe multiple times—sometimes with guests over, sometimes just for a quiet night—and it always delivers that perfect balance of tang and sweetness you crave. It’s genuinely one of those recipes that feels like it should be complicated, but it’s surprisingly easy to pull off. Here’s why it stands out:
- Quick & Easy: Ready in under 30 minutes, so it’s perfect when you need a last-minute dessert that looks like you spent hours.
- Simple Ingredients: You don’t need any exotic stuff—just pantry staples and fresh key limes or lime juice.
- Perfect for Summer Gatherings: Light, refreshing, and crowd-pleasing at barbecues, picnics, or casual dinners.
- Crowd-Pleaser: Kids and adults alike ask for seconds—trust me, my friends keep begging for this at every get-together.
- Unbelievably Delicious: That creamy filling with a zing of citrus and the buttery graham cracker crust combo is pure comfort food magic.
What makes this recipe different? Honestly, it’s all about the technique. I blend the filling until it’s ultra-smooth, creating a texture that’s silky but holds its shape beautifully. Also, the crust gets a little extra love with browned butter, giving it a deeper, nuttier flavor that complements the tartness perfectly. So, whether you’re making it for a special occasion or just because you deserve a treat, this pie hits the spot every time.
What Ingredients You Will Need
This recipe uses simple, wholesome ingredients to deliver bold flavor and satisfying texture without the fuss. Most are pantry staples or easy to find fresh at your local market. Here’s what you’ll need to create that creamy classic key lime pie magic:
- For the Graham Cracker Crust:
- 1 1/2 cups graham cracker crumbs (about 10 full sheets) – I prefer Honey Maid for the best texture
- 6 tablespoons unsalted butter, browned and cooled slightly (adds a rich, nutty flavor)
- 1/4 cup granulated sugar (balances the tart filling)
- 1/4 teaspoon fine sea salt
- For the Key Lime Filling:
- 4 large egg yolks, room temperature (for that creamy texture)
- 1 can (14 ounces / 400 ml) sweetened condensed milk – I recommend Nestlé for consistency
- 1/2 cup freshly squeezed key lime juice (about 20-25 key limes or substitute with bottled key lime juice if needed)
- 1 tablespoon lime zest (adds bright citrus notes)
- For the Topping (optional but recommended):
- 1 cup heavy whipping cream, chilled
- 2 tablespoons powdered sugar
- 1/2 teaspoon vanilla extract
If key limes aren’t available, regular limes work fine, though the flavor will be a bit less intense. For a dairy-free option, try coconut condensed milk and coconut cream for the topping—just a heads up, texture will vary slightly. Also, if you want a gluten-free crust, almond flour mixed with a bit of coconut sugar can be a nice alternative. I’ve tried it, and while it’s not quite the same, it’s still delicious.
Equipment Needed
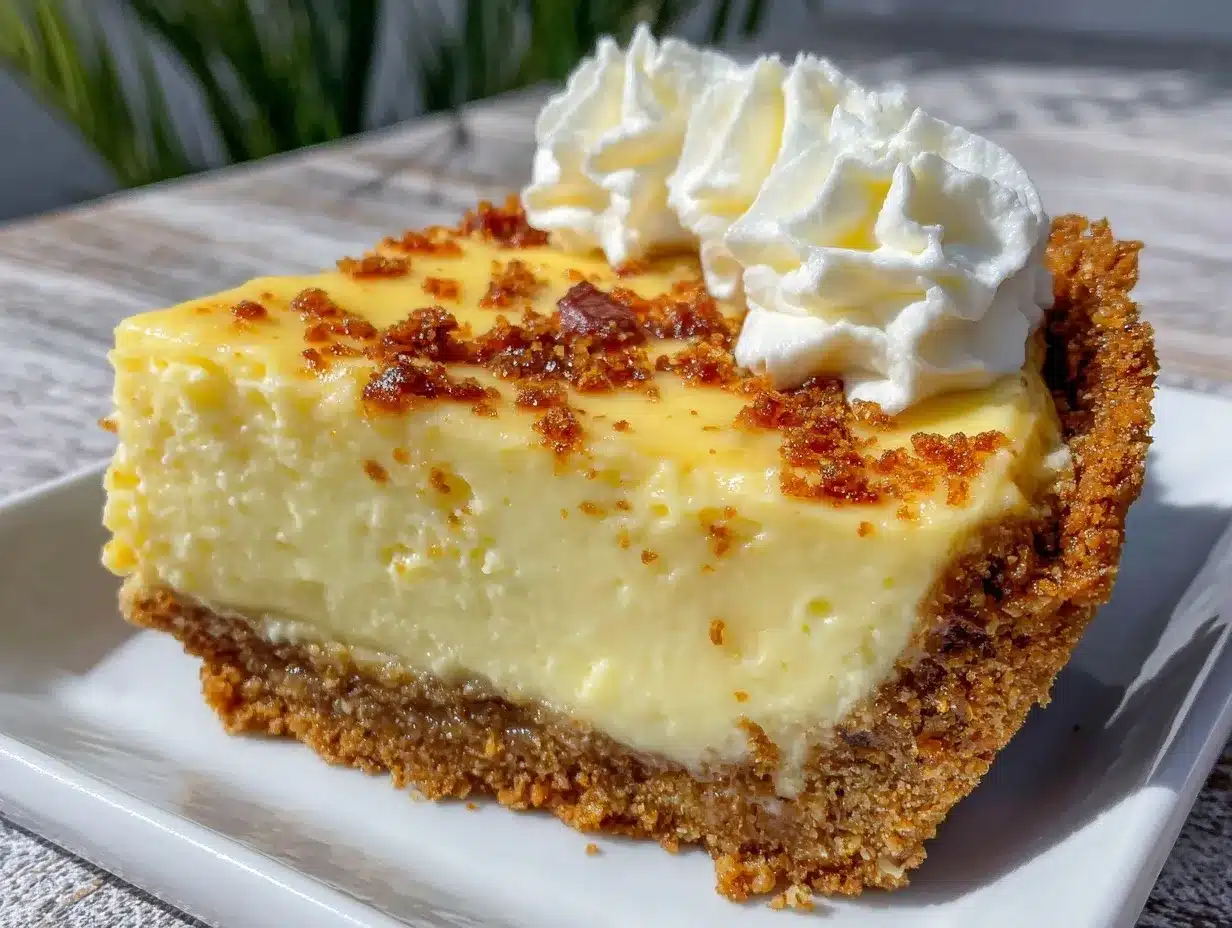
- 9-inch (23 cm) pie dish – glass or ceramic works best for even baking.
- Food processor or blender – to finely crush graham crackers and blend the filling until silky smooth. If you don’t have one, use a rolling pin and a zip-top bag for the crumbs.
- Mixing bowls – medium and large sizes for crust and filling.
- Whisk and spatula – essential for mixing and folding ingredients gently.
- Electric hand mixer or stand mixer (optional but helpful) – makes whipping cream topping effortless.
- Measuring cups and spoons – accuracy is key for baking and balancing flavors.
- Small saucepan – to brown butter for the crust.
I remember once trying to brown butter in a microwave – it’s doable but you have to watch it carefully to avoid burning. A simple saucepan gives you more control. Also, if you don’t have a mixer, whipping cream by hand is a workout but totally possible (just expect a little arm soreness!).
Preparation Method
- Prepare the Graham Cracker Crust: Preheat your oven to 350°F (175°C). In a small saucepan, melt the butter over medium heat, stirring constantly until it turns golden brown and smells nutty (about 5 minutes). Remove from heat and let cool slightly.
- Place the graham crackers in a food processor and pulse until fine crumbs form, or crush them in a sealed plastic bag with a rolling pin.
- Transfer crumbs to a mixing bowl. Add sugar, salt, and browned butter. Stir until the mixture looks like wet sand and holds together when pressed.
- Press the crumb mixture firmly and evenly into the bottom and up the sides of the pie dish. Use the bottom of a glass to pack it tightly for a sturdy crust.
- Bake the crust for 8-10 minutes until set and fragrant. Remove from oven and let cool while you prepare the filling.
- Make the Key Lime Filling: In a medium bowl, whisk the egg yolks until smooth and slightly thickened, about 2 minutes.
- Add the sweetened condensed milk slowly, whisking constantly to combine well without curdling the eggs.
- Stir in the fresh key lime juice and lime zest. The mixture will thicken almost immediately. Don’t worry if it looks a bit loose—that’s perfect.
- Pour the filling into the cooled crust, smoothing the top with a spatula.
- Bake the Pie: Bake the pie at 350°F (175°C) for 12-15 minutes until tiny bubbles appear around the edges but the center is still slightly jiggly (it will firm up as it cools).
- Remove from oven and let cool to room temperature (about 1 hour), then refrigerate for at least 3 hours or overnight for the fullest flavor and best texture.
- Make the Whipped Cream Topping: Just before serving, whip the chilled heavy cream with powdered sugar and vanilla extract until soft peaks form.
- Spread or pipe the whipped cream decoratively over the pie. Garnish with lime slices or extra zest for a fresh look.
Pro tip: If you notice the filling cracking or bubbling too much, your oven temperature might be a bit high—lower it by 10 degrees next time for a smoother finish. Also, keep a close eye during the last minutes of baking because overbaking dries the filling.
Cooking Tips & Techniques
Making a creamy classic key lime pie is all about timing and balance. Here are some tips I’ve picked up after a few trial runs (and a few kitchen messes):
- Browned Butter for Crust: Browning butter adds depth but don’t walk away—it can go from golden to burnt in seconds. Stir constantly and remove from heat as soon as you smell that nutty aroma.
- Whisking Egg Yolks: Whisk the yolks until they’re pale and slightly thickened—this helps the filling set nicely without curdling.
- Fresh Key Lime Juice: Fresh is best for that authentic tartness. If you must use bottled, check the label for pure juice, no added sugars or preservatives.
- Oven Temperature: A moderate oven (350°F / 175°C) is crucial. Too hot, and the filling curdles. Too cool, and it won’t set properly.
- Chilling Time: Don’t skip chilling. The pie firms up and flavors meld better after a good long rest in the fridge.
- Whipped Cream: Chill your bowl and beaters before whipping cream for the best volume and texture.
- Common mistake: baking filling too long. Watch for the telltale jiggle—it should wobble slightly in the center when done.
Variations & Adaptations
There’s plenty of room to make this creamy classic key lime pie your own. Here are some ideas to switch things up:
- Dietary Variation: For a dairy-free pie, swap sweetened condensed milk for coconut condensed milk and use coconut cream for the topping. The pie will have a tropical twist but still be delicious.
- Seasonal Twist: Add a handful of fresh raspberries or blueberries on top or swirl them into the filling before baking for a burst of color and flavor.
- Chocolate Lover’s Adaptation: Mix a tablespoon of cocoa powder into the crust crumbs or add chocolate shavings on top of the whipped cream.
- Crust Swap: Use crushed pretzels mixed with butter and sugar for a salty-sweet contrast that pairs surprisingly well with the tangy filling.
- Personal variation: I once tried adding a teaspoon of grated ginger to the filling—it gave a subtle warmth that balanced the tartness beautifully, especially on chilly nights.
Serving & Storage Suggestions
This pie is best served chilled, straight from the fridge. The creamy texture and bright lime flavor really shine when cold. For presentation, I like to add a few thin lime slices or a sprinkle of extra zest on top of the whipped cream—simple but classy.
It pairs wonderfully with a cup of strong coffee or a light, citrusy cocktail if you’re feeling fancy. And if you’re serving at a summer barbecue, fresh berries or a scoop of vanilla ice cream on the side never hurt.
Store leftovers covered tightly in the refrigerator for up to 3 days. The flavors actually deepen after a day, so it’s great to make ahead. For longer storage, you can freeze the pie (without whipped cream) wrapped well in plastic wrap and foil for up to 1 month. Thaw overnight in the fridge before serving.
When reheating (if you prefer it slightly less cold), let the pie sit at room temperature for 20 minutes—microwaving can ruin that silky texture.
Nutritional Information & Benefits
One slice (1/8 of pie) of this creamy classic key lime pie contains approximately:
| Calories | 320 |
|---|---|
| Fat | 18g |
| Carbohydrates | 38g |
| Protein | 4g |
Key limes are a great source of vitamin C and antioxidants, which support immune health. The eggs provide protein and healthy fats, while the graham cracker crust adds a bit of fiber. While this pie is indulgent, it’s a treat that brings joy and a little sunshine to your day—because, honestly, that’s part of wellness too.
For those watching gluten, swap the crust with gluten-free graham crackers or almond flour crust. If dairy is a concern, try the coconut-based substitutions mentioned earlier.
Conclusion
So there you have it—my creamy classic key lime pie with buttery graham cracker crust recipe that’s easy to make, tastes incredible, and never fails to impress. Whether you’re a seasoned baker or just dipping your toes into pies, this one’s approachable yet special. I love how it brings a bright, fresh pop of flavor after dinner, and how the crust’s nutty richness balances the tang perfectly. Honestly, it’s become my go-to when I want to bring a little happy to the table.
Give it a try, tweak it for your taste, and don’t be shy about sharing your own twists—I’d love to hear how it turns out for you! Drop a comment below or share your photos; nothing makes my day like hearing from fellow key lime pie fans. Happy baking!
FAQs
Can I use regular limes instead of key limes?
Yes, regular limes work just fine. The flavor will be a bit less intense, but still delicious and refreshing.
How long should I chill the pie before serving?
At least 3 hours in the refrigerator is best. Overnight chilling allows the flavors to meld and the filling to set perfectly.
Is it safe to eat the pie since it contains egg yolks?
Yes, because the pie is baked briefly, which cooks the eggs. However, if you’re concerned, you can use pasteurized eggs or look for no-bake key lime pie recipes.
Can I make the pie ahead of time?
Definitely! It keeps well in the fridge for up to 3 days, and flavors actually improve with time.
How do I store leftover pie?
Cover it tightly and refrigerate for up to 3 days. Avoid freezing if you’ve added whipped cream on top, but the plain pie can be frozen for up to a month.
Pin This Recipe!
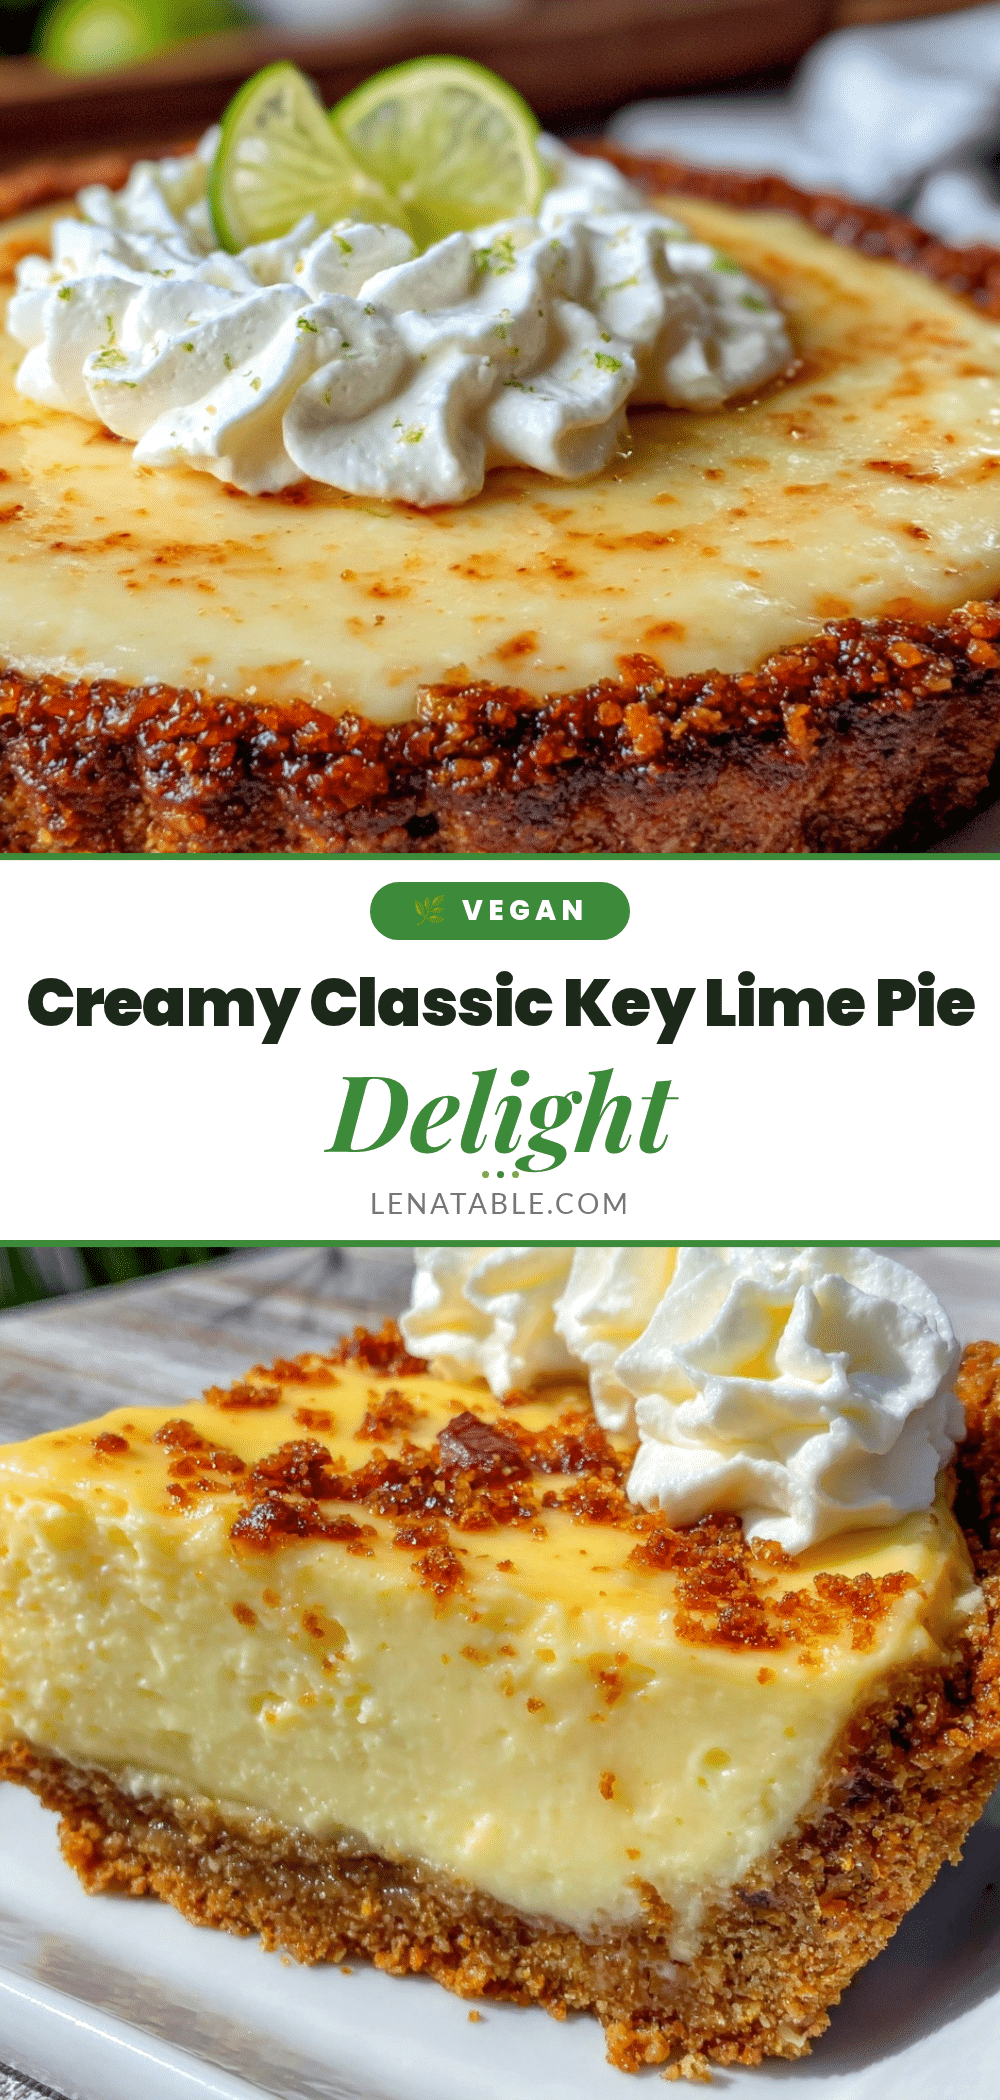
Creamy Classic Key Lime Pie Recipe Easy Homemade with Buttery Graham Cracker Crust

A creamy classic key lime pie featuring a tangy, silky smooth key lime filling paired with a buttery graham cracker crust, perfect for summer gatherings and easy to make at home.
- Prep Time: 15 minutes
- Cook Time: 25 minutes
- Total Time: 4 hours 40 minutes
- Yield: 8 servings 1x
- Category: Dessert
- Cuisine: American
Ingredients
- 1 1/2 cups graham cracker crumbs (about 10 full sheets)
- 6 tablespoons unsalted butter, browned and cooled slightly
- 1/4 cup granulated sugar
- 1/4 teaspoon fine sea salt
- 4 large egg yolks, room temperature
- 1 can (14 ounces / 400 ml) sweetened condensed milk
- 1/2 cup freshly squeezed key lime juice (about 20–25 key limes or bottled key lime juice)
- 1 tablespoon lime zest
- 1 cup heavy whipping cream, chilled (optional topping)
- 2 tablespoons powdered sugar (optional topping)
- 1/2 teaspoon vanilla extract (optional topping)
Instructions
- Preheat oven to 350°F (175°C). In a small saucepan, melt butter over medium heat, stirring constantly until golden brown and nutty smelling (about 5 minutes). Remove from heat and cool slightly.
- Place graham crackers in a food processor and pulse until fine crumbs form, or crush in a sealed plastic bag with a rolling pin.
- Transfer crumbs to a mixing bowl. Add sugar, salt, and browned butter. Stir until mixture resembles wet sand and holds together when pressed.
- Press crumb mixture firmly and evenly into bottom and up sides of a 9-inch pie dish. Use the bottom of a glass to pack tightly.
- Bake crust for 8-10 minutes until set and fragrant. Remove from oven and let cool.
- In a medium bowl, whisk egg yolks until smooth and slightly thickened, about 2 minutes.
- Slowly add sweetened condensed milk, whisking constantly to combine without curdling eggs.
- Stir in fresh key lime juice and lime zest. Mixture will thicken immediately.
- Pour filling into cooled crust and smooth top with spatula.
- Bake pie at 350°F (175°C) for 12-15 minutes until tiny bubbles appear around edges but center is slightly jiggly.
- Remove from oven and cool to room temperature (about 1 hour), then refrigerate at least 3 hours or overnight.
- Just before serving, whip chilled heavy cream with powdered sugar and vanilla extract until soft peaks form.
- Spread or pipe whipped cream over pie and garnish with lime slices or extra zest.
Notes
Brown butter carefully to avoid burning; whisk egg yolks until pale and thickened to prevent curdling; use fresh key lime juice for best flavor; chill pie at least 3 hours for best texture; watch oven temperature to avoid overbaking; whipped cream topping is optional but recommended.
Nutrition
- Serving Size: 1 slice (1/8 of pie)
- Calories: 320
- Fat: 18
- Carbohydrates: 38
- Protein: 4
Keywords: key lime pie, creamy key lime pie, graham cracker crust, easy key lime pie, summer dessert, homemade pie, classic key lime pie


