Love this? Save it for later!
Share the inspiration with your friends
Introduction
“You know that moment when you open the fridge and catch that unmistakable tangy, garlicky aroma? That’s exactly what happened one humid July afternoon when my neighbor, Mrs. Langley, invited me over for a quick chat. She wasn’t one for fancy cooking—more the type to throw together something simple but unforgettable. As I stepped into her kitchen, the scent of fresh dill and garlic hit me like a summer breeze, pulling me right to her counter where a jar of her famous refrigerator pickles sat gleaming.
Honestly, I wasn’t expecting much from a quick pickle recipe, but Mrs. Langley swore by this one she learned from her mother, and I was curious. She handed me a jar with a knowing smile, and that first crisp bite was like a burst of sunshine—sharp, fresh, and just the right amount of garlicky punch. I made a mess trying to jot down the recipe while she laughed and told me, ‘It’s the little things like these pickles that keep summer memories alive.’ Maybe you’ve been there, tasting something so simple but so deeply rooted in nostalgia that it feels like a warm hug?
That day, I took home more than just a recipe; I took home a piece of summer in a jar. Since then, this classic mom’s summer refrigerator garlic dill pickles recipe has been a staple in my kitchen, perfect for those lazy afternoons when you want a quick snack or a zesty addition to your sandwiches. Let me tell you, it’s one of those recipes that’s as comforting as it is easy, and it somehow manages to make every meal a little more special.
Why You’ll Love This Recipe
If you’re like me, you appreciate recipes that bring both simplicity and flavor without fuss. This classic mom’s summer refrigerator garlic dill pickles recipe is exactly that—tested and approved through countless summer cookouts and snack cravings.
- Quick & Easy: Ready to enjoy in just 24 hours, making it perfect for last-minute pickle cravings or spontaneous gatherings.
- Simple Ingredients: You probably have everything on hand—fresh cucumbers, garlic, dill, and pantry staples like vinegar and salt.
- Perfect for Summer: Bright, refreshing, and ideal for barbecues, picnics, or just a cool snack on a hot day.
- Crowd-Pleaser: My kids, picky friends, and even the garlic skeptics rave about these pickles.
- Unbelievably Delicious: The combination of fresh garlic and dill creates a crisp, flavorful bite that feels homemade but professional.
This recipe isn’t your average pickle jar. The key difference? The balance of garlic and dill is just right—not overpowering but bold enough to make you pause and savor. Also, the refrigerator method keeps the crunch alive and fresh, no soggy disappointments here. Honestly, this is the kind of recipe that makes you close your eyes and smile after the first bite. Whether you’re making them for a big family picnic or just your afternoon snack stash, these pickles bring a little burst of summer into your life every time.
What Ingredients You Will Need
This classic mom’s summer refrigerator garlic dill pickles recipe relies on fresh, wholesome ingredients to deliver that bold, tangy flavor and satisfying crunch without any complicated steps.
- Fresh Cucumbers: About 2 pounds (900g) of small to medium Kirby cucumbers or pickling cucumbers, washed and sliced into spears or rounds. These are perfect for crunch and soak up the brine beautifully.
- Fresh Dill: 4-5 sprigs of fresh dill, including the feathery fronds. If you can find dill flowers, even better—they add an authentic touch.
- Garlic Cloves: 4-6 large cloves, peeled and smashed to release their flavor. I like to use organic garlic from my local farmer’s market for the best punch.
- White Vinegar: 2 cups (480ml) of distilled white vinegar—it keeps the brine crisp and clear.
- Water: 2 cups (480ml) of cold water to balance the acidity.
- Pickling Salt or Kosher Salt: 2 tablespoons (use a brand like Diamond Crystal for consistent texture). Avoid iodized table salt to prevent cloudiness.
- Whole Black Peppercorns: 1 teaspoon for subtle spice.
- Red Pepper Flakes: Optional—1/2 teaspoon if you like a little heat.
- Mustard Seeds: Optional—1 teaspoon for a slight tangy warmth.
If you want to swap things up, feel free to use apple cider vinegar for a fruitier note or try dill seeds instead of fresh dill if you’re in a pinch (though fresh is best). For a lower-sodium version, reduce salt slightly but keep at least 1 tablespoon to maintain flavor and preservation. This recipe plays well with what you have, but fresh cucumbers and dill truly make all the difference.
Equipment Needed
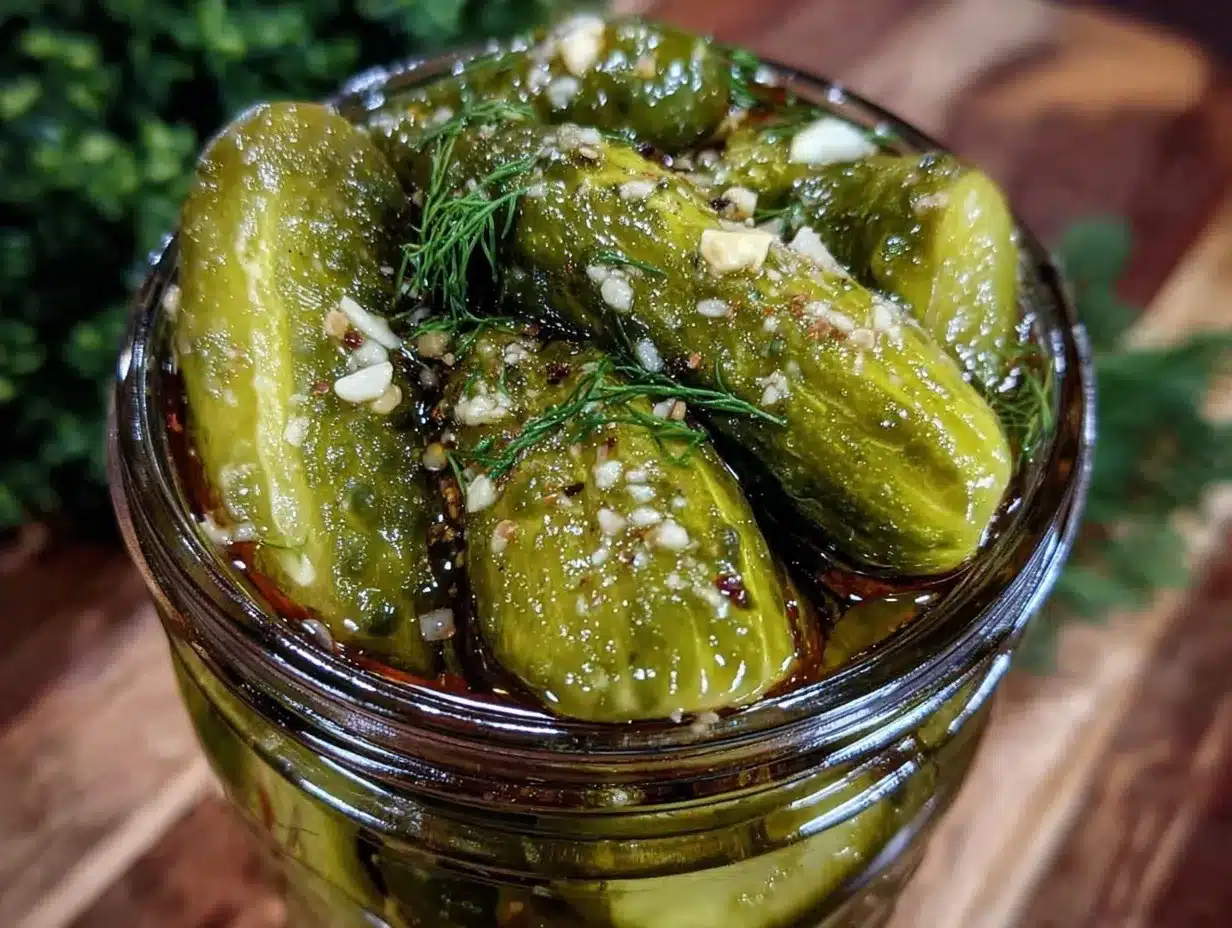
To make these classic mom’s summer refrigerator garlic dill pickles, you don’t need fancy equipment—just the essentials that make the process smooth and mess-free.
- Quart-Sized Mason Jars (or similar glass jars): I usually use two 1-quart (950ml) jars with airtight lids. Glass is best for preserving flavor and avoiding any metallic taste.
- Sharp Knife and Cutting Board: For slicing cucumbers evenly. A mandoline slicer works if you want ultra-thin rounds, but be careful!
- Large Mixing Bowl: To toss cucumbers with salt if you prefer to drain them before pickling.
- Measuring Cups and Spoons: Precise measurements keep the brine balanced.
- Small Saucepan: To warm the vinegar, water, and spices if you want a warm brine (optional, but helps flavors meld).
- Tongs or Jar Funnel: For packing cucumbers neatly into jars without bruising.
If you don’t have mason jars, any clean glass container with a tight lid will do. I once used a repurposed pasta sauce jar in a pinch, and it worked fine—just make sure it seals well. For maintenance, keep your jars and lids spotless to avoid any funky smells or mold. Bonus: using reusable glass jars is great for the environment and your kitchen aesthetics!
Preparation Method
- Prepare the Cucumbers: Wash 2 pounds (900g) of cucumbers thoroughly. Slice them into spears about 3-4 inches long or into 1/4-inch thick rounds, depending on your preference. If you want extra crunch, sprinkle the sliced cucumbers with 1 tablespoon of pickling salt in a large bowl, toss gently, and let them sit for 30 minutes. This step draws out excess moisture. Afterward, rinse the cucumbers under cold water and pat dry with paper towels.
- Make the Brine: In a small saucepan, combine 2 cups (480ml) white vinegar, 2 cups (480ml) water, 2 tablespoons pickling salt, 1 teaspoon whole black peppercorns, 1 teaspoon mustard seeds (optional), and 1/2 teaspoon red pepper flakes (optional). Warm the mixture over medium heat until the salt dissolves completely, about 3-4 minutes. Remove from heat and let cool to room temperature. You can skip warming the brine if you’re in a rush, but it helps marry the flavors.
- Pack the Jars: Into each clean quart-sized jar, place 2-3 smashed garlic cloves and 2-3 fresh dill sprigs. Pack the cucumbers tightly but without crushing them, leaving about 1/2 inch of headspace at the top.
- Pour the Brine: Carefully pour the cooled brine over the cucumbers, ensuring they’re fully submerged. Use a clean utensil to press down if needed. Seal the jars tightly with lids.
- Refrigerate: Place the jars in the refrigerator for at least 24 hours before tasting. The pickles will continue to develop flavor over the next few days and stay crisp for up to 4 weeks.
Tip: If you forget to slice the cucumbers evenly, the thinner pieces may get softer faster. Don’t worry—just enjoy the variety! Also, if your pickles taste too salty or vinegar-forward after the first day, let them sit a bit longer to mellow out. I learned that the hard way the first time I rushed the process.
Cooking Tips & Techniques
Making refrigerator pickles might seem straightforward, but a few tricks make all the difference between a soggy mess and a crisp, flavorful snack.
- Salt Draws Out Moisture: Salting cucumbers before pickling helps keep them crunchy by removing excess water. If you skip this step, be sure to use pickling cucumbers, which are naturally firmer.
- Use Fresh Dill and Garlic: Old or dried dill won’t add the same bright flavor, and garlic loses its punch when too old. I always buy fresh from my farmer’s market, and sometimes even grow my own.
- Don’t Overcrowd Jars: Packing cucumbers too tightly can bruise them and cause uneven pickling. Leave a little breathing room.
- Control Vinegar Acidity: Stick to distilled white vinegar or apple cider vinegar with 5% acidity. Stronger vinegar can overpower the flavors.
- Keep It Cold: Store pickles in the fridge to maintain crunch and prevent fermentation. Leaving them at room temperature can cause them to sour or spoil.
- Patience Is Key: I’m always tempted to eat pickles right away, but waiting at least 24 hours lets the flavors really come together.
Variations & Adaptations
One of the best things about this classic mom’s summer refrigerator garlic dill pickles recipe is how easy it is to tweak based on your tastes or dietary needs.
- Low Sodium: Reduce salt to 1 tablespoon and add a splash of lemon juice for brightness without losing tang.
- Spicy Kick: Add sliced jalapeños or increase red pepper flakes for more heat.
- Herbal Twist: Swap some dill for fresh tarragon or add a couple of bay leaves for a different herbal aroma.
- Fermented Style: Skip the vinegar and use a saltwater brine only for a probiotic-rich fermented pickle, but this requires room temperature aging.
- Sweet & Tangy: Add 1 tablespoon sugar or honey to the brine for a touch of sweetness that balances the garlic.
Once, I tried adding fresh rosemary instead of dill, and while it was interesting, the classic dill flavor really won my heart. Feel free to experiment to find your perfect pickle personality!
Serving & Storage Suggestions
These classic mom’s summer refrigerator garlic dill pickles are best served chilled straight from the fridge. They make an excellent sidekick to burgers, sandwiches, or just as a tangy snack to crunch on anytime.
- Serve With: Potato salad, grilled chicken, or alongside a cheese board for a refreshing contrast.
- Storage: Keep pickles refrigerated in sealed jars for up to 4 weeks. The flavor intensifies and the texture remains crisp if stored properly.
- Reheating: Not applicable—these are meant to be enjoyed cold or room temperature.
- Flavor Development: Flavors deepen over the first week. If you like a sharper bite, eat them sooner; for mellow tang, wait a few days.
Nutritional Information & Benefits
Per serving (approx. 1 pickle spear):
| Calories | 10 |
|---|---|
| Carbohydrates | 2g |
| Fat | 0g |
| Protein | 0.3g |
| Sodium | 350mg |
These pickles are naturally low in calories and fat, making them a guilt-free snack. Cucumbers provide hydration and small amounts of vitamin K, while garlic offers antioxidant properties. The vinegar acts as a natural preservative and may support digestion. Note the sodium content, especially if you’re watching salt intake. If you need a low-sodium version, reduce salt accordingly. Overall, these pickles fit well into gluten-free, vegetarian, and keto diets.
Conclusion
This classic mom’s summer refrigerator garlic dill pickles recipe is a simple way to bring a burst of flavor and nostalgia to your kitchen. It’s easy enough for weeknight prep but special enough to impress guests or brighten any meal. I love how it reminds me of warm summer days and friendly chats over the fence—plus, the crunch and tang never get old.
Give it a try, tweak it to your liking, and share your own pickle stories with friends or family. Let me know how yours turn out in the comments! Remember, the best recipes are the ones you make your own, and hey, isn’t that what cooking is all about?
Frequently Asked Questions
How long do refrigerator pickles last?
Stored properly in the fridge, these pickles stay fresh and crunchy for up to 4 weeks.
Can I use regular cucumbers instead of pickling cucumbers?
While you can, pickling cucumbers are firmer and less watery, giving the best crunch. Regular cucumbers may get softer faster.
Do I need to cook the brine?
Warming the brine helps dissolve the salt and meld flavors, but it’s optional. You can pour it cold if you’re short on time.
Can I make these pickles without garlic?
Yes, but garlic adds a key flavor. You could substitute with other aromatics like shallots or herbs if you prefer.
What’s the difference between refrigerator pickles and canned pickles?
Refrigerator pickles are quick, do not require canning, and must be kept cold. Canned pickles are processed for shelf stability without refrigeration.
By the way, if you enjoy tangy homemade flavors, you might like my crispy garlic chicken recipe that pairs beautifully with these pickles on the side.
Pin This Recipe!
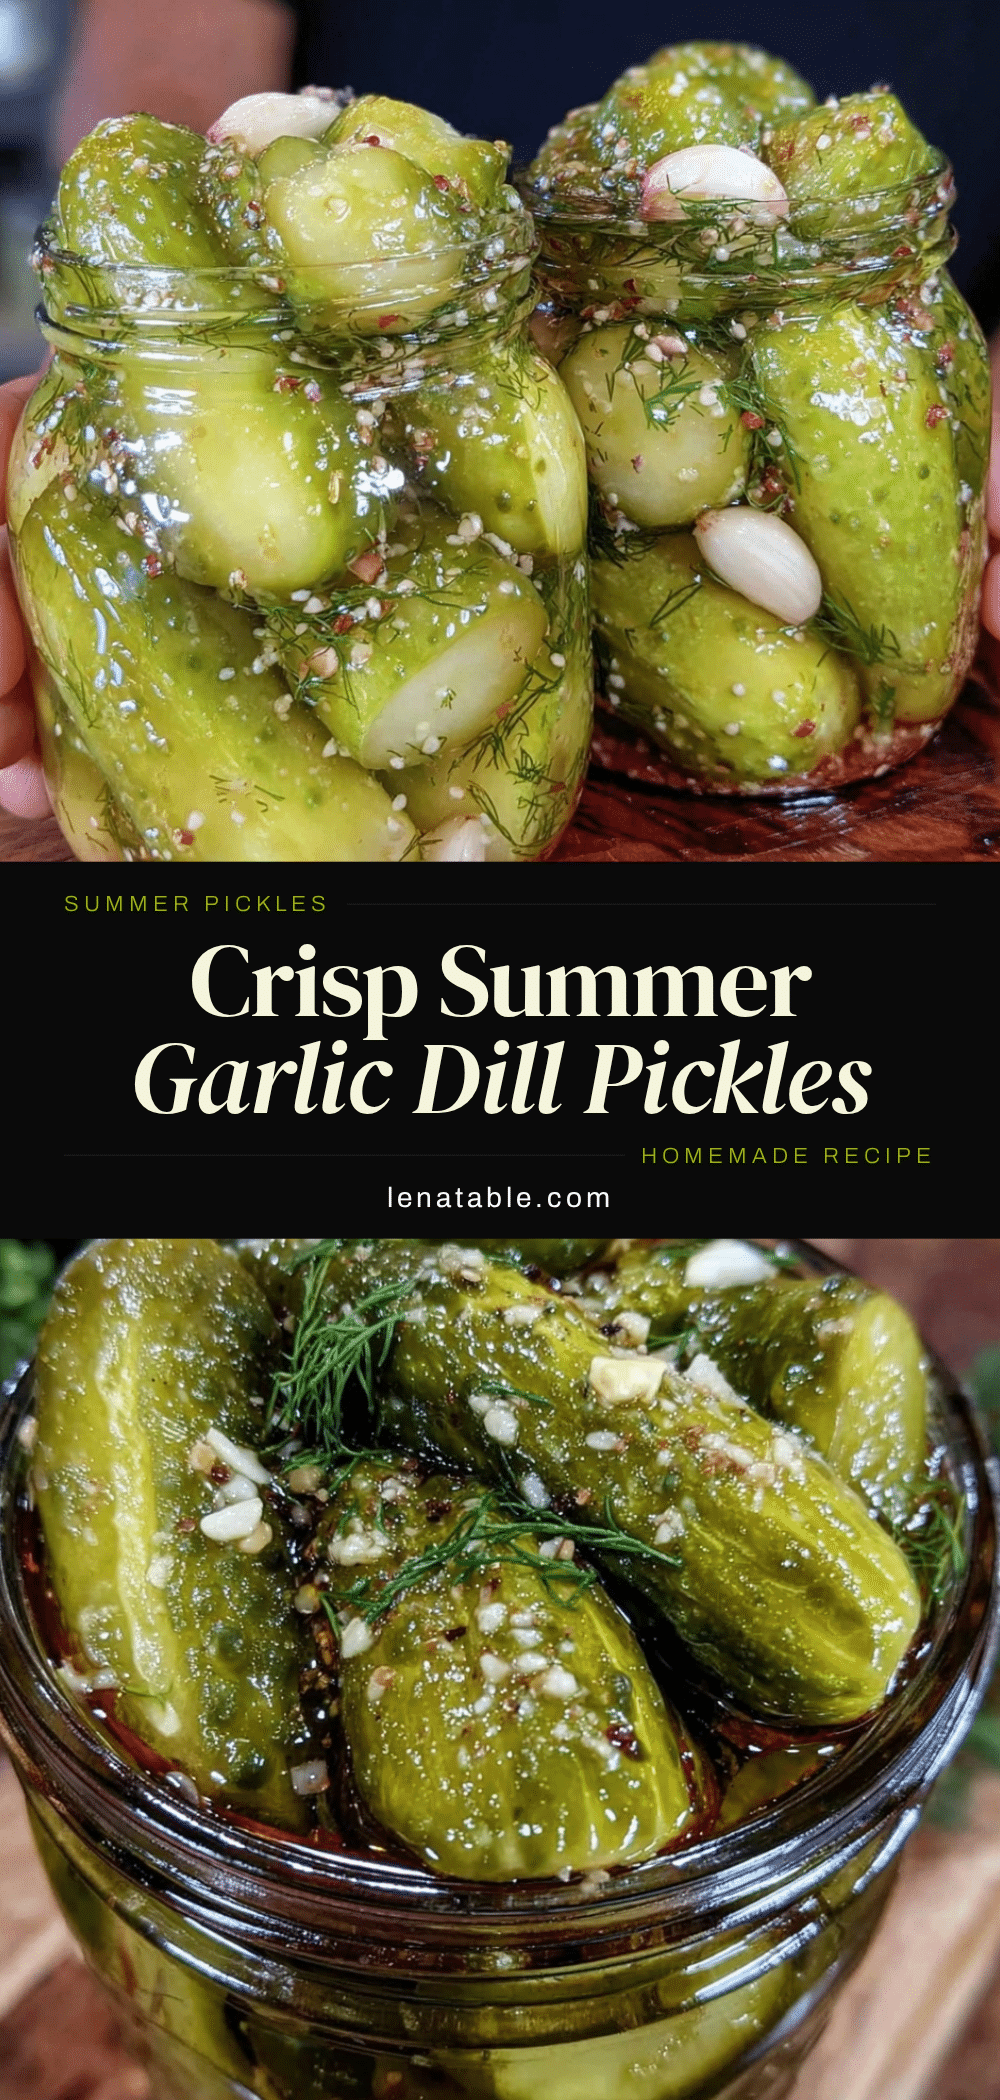
Classic Moms Summer Refrigerator Garlic Dill Pickles

A quick and easy homemade refrigerator pickle recipe featuring fresh cucumbers, garlic, and dill for a crisp, tangy summer snack.
- Prep Time: 40 minutes
- Cook Time: 5 minutes
- Total Time: 24 hours 45 minutes
- Yield: 2 quarts (about 8 servings) 1x
- Category: Side Dish
- Cuisine: American
Ingredients
- 2 pounds (900g) small to medium Kirby cucumbers or pickling cucumbers, washed and sliced into spears or rounds
- 4–5 sprigs fresh dill, including feathery fronds
- 4–6 large garlic cloves, peeled and smashed
- 2 cups (16 fl oz / 480 ml) distilled white vinegar
- 2 cups (16 fl oz / 480 ml) cold water
- 2 tablespoons pickling salt or kosher salt (avoid iodized table salt)
- 1 teaspoon whole black peppercorns
- 1/2 teaspoon red pepper flakes (optional)
- 1 teaspoon mustard seeds (optional)
Instructions
- Wash 2 pounds (900g) of cucumbers thoroughly. Slice into spears about 3-4 inches long or into 1/4-inch thick rounds.
- Optional: Sprinkle sliced cucumbers with 1 tablespoon pickling salt in a large bowl, toss gently, and let sit for 30 minutes to draw out moisture. Rinse under cold water and pat dry.
- In a small saucepan, combine 2 cups white vinegar, 2 cups water, 2 tablespoons pickling salt, 1 teaspoon black peppercorns, 1 teaspoon mustard seeds (optional), and 1/2 teaspoon red pepper flakes (optional). Warm over medium heat until salt dissolves, about 3-4 minutes. Remove from heat and cool to room temperature.
- Place 2-3 smashed garlic cloves and 2-3 fresh dill sprigs into each clean quart-sized jar.
- Pack cucumbers tightly into jars without crushing, leaving about 1/2 inch headspace.
- Pour cooled brine over cucumbers, ensuring they are fully submerged. Use a utensil to press down if needed.
- Seal jars tightly with lids and refrigerate for at least 24 hours before tasting. Pickles will stay crisp and flavorful for up to 4 weeks.
Notes
Salting cucumbers before pickling helps keep them crunchy by removing excess water. Use fresh dill and garlic for best flavor. Do not overcrowd jars to avoid bruising cucumbers. Store pickles in the refrigerator to maintain crunch and prevent fermentation. Flavors improve after at least 24 hours and deepen over the first week. For low sodium, reduce salt to 1 tablespoon and add lemon juice. Optional spices like mustard seeds and red pepper flakes add flavor variations.
Nutrition
- Serving Size: Approximately 1 pick
- Calories: 10
- Sodium: 350
- Carbohydrates: 2
- Protein: 0.3
Keywords: refrigerator pickles, garlic dill pickles, summer pickles, quick pickles, homemade pickles, easy pickle recipe


