Love this? Save it for later!
Share the inspiration with your friends
The hum of the grocery store fluorescent lights was just background noise last Thursday when a sudden whiff of cinnamon and chocolate—just faint enough to be teasing—hit me in the snack aisle. And just like that, I was 10 years old again, crouched on the cold kitchen floor of my old apartment, watching my roommate roll tiny balls of oat and peanut butter into perfect little spheres. I remember the cracked ceramic bowl she used, chipped on one side, and how she’d laugh when I tried to make mine neat but ended up with sticky fingers and a mess on the counter. That moment wasn’t just about the energy balls themselves; it was about that quiet, shared ritual in the middle of a hectic week, a little pause where comfort was something you could hold in your hand. You know that feeling when a simple smell or taste brings back a whole story you almost forgot? Well, that’s exactly why I keep coming back to this Easy No-Bake Energy Balls with Oats and Chocolate Chips recipe. It isn’t just a snack—it’s a little time machine to a moment where everything felt a bit more manageable, even if just for a few minutes.
Why You’ll Love This Recipe
Honestly, this Easy No-Bake Energy Balls with Oats and Chocolate Chips recipe has become my go-to when I need a quick pick-me-up that won’t weigh me down. After a bunch of trial and error (and plenty of sticky fingers), I nailed a version that’s as tasty as it is fuss-free.
- Quick & Easy: Whips up in under 15 minutes—no oven, no stress.
- Simple Ingredients: Made with pantry staples like oats, peanut butter, and chocolate chips—no fancy trips to specialty stores.
- Perfect for On-the-Go: Ideal for busy mornings, afternoon slumps, or a post-workout snack.
- Crowd-Pleaser: Kids, coworkers, and friends keep asking for more—trust me, these disappear fast!
- Unbelievably Delicious: The chewiness of oats paired with melty chocolate chips creates a satisfying texture you’ll crave.
What sets this apart is the balance—the oats bring hearty texture without dryness, and the touch of honey ties everything together with just the right hint of sweetness. Plus, the method is foolproof; you don’t have to worry about baking times or complicated steps. It’s just pure, simple energy in bite-sized form. You might find yourself closing your eyes after the first bite, savoring that perfect mix of flavors that feels like a little boost of happiness.
What Ingredients You Will Need
This recipe calls for straightforward ingredients that come together to create a wholesome, satisfying snack. I always keep these on hand because they’re versatile and store well.
- Old-Fashioned Rolled Oats (1 ½ cups / 135g) – The base for chewiness and fiber; I prefer Bob’s Red Mill for its consistent quality.
- Natural Peanut Butter (½ cup / 125g) – Adds richness and protein; creamy style works best for easy mixing.
- Honey (¼ cup / 85g) – Acts as a natural sweetener and binder; feel free to swap with maple syrup for a vegan option.
- Mini Chocolate Chips (½ cup / 90g) – For that melty, chocolatey surprise in every bite; I use Enjoy Life brand for allergy-friendly goodness.
- Vanilla Extract (1 teaspoon) – Brings depth to the flavor profile.
- Ground Flaxseed (2 tablespoons) – Optional but recommended for extra fiber and a subtle nutty note.
- Chia Seeds (1 tablespoon) – Optional, for a slight crunch and omega-3 boost.
- Salt (a pinch) – Balances sweetness and enhances flavors.
You can easily swap peanut butter with almond or cashew butter if you want a different nutty twist. For gluten-free needs, just ensure you use certified gluten-free oats. In summertime, I sometimes toss in a handful of dried cranberries or chopped nuts to switch things up.
Equipment Needed
You really don’t need much beyond the basics to make these energy balls—one of the reasons I love this recipe so much. Here’s what works best:
- Mixing Bowl: A medium to large bowl (glass or ceramic preferred) to combine ingredients comfortably.
- Spoon or Spatula: For mixing everything together; a silicone spatula is my favorite because it scrapes the sides clean.
- Measuring Cups and Spoons: Accurate measurements make a difference, especially with sticky ingredients.
- Baking Sheet or Plate: To place the formed balls for chilling; I line mine with parchment paper for easy cleanup.
- Refrigerator: Not exactly equipment, but essential for letting the balls firm up.
If you don’t have a scale, measuring cups work just fine. I’ve made these with a handheld mixer once, but honestly, mixing by hand is quicker and less messy. For budget-friendly options, simple plastic bowls and spoons work just as well as pricier kitchen tools. Just make sure your bowl is big enough to avoid spills!
Preparation Method
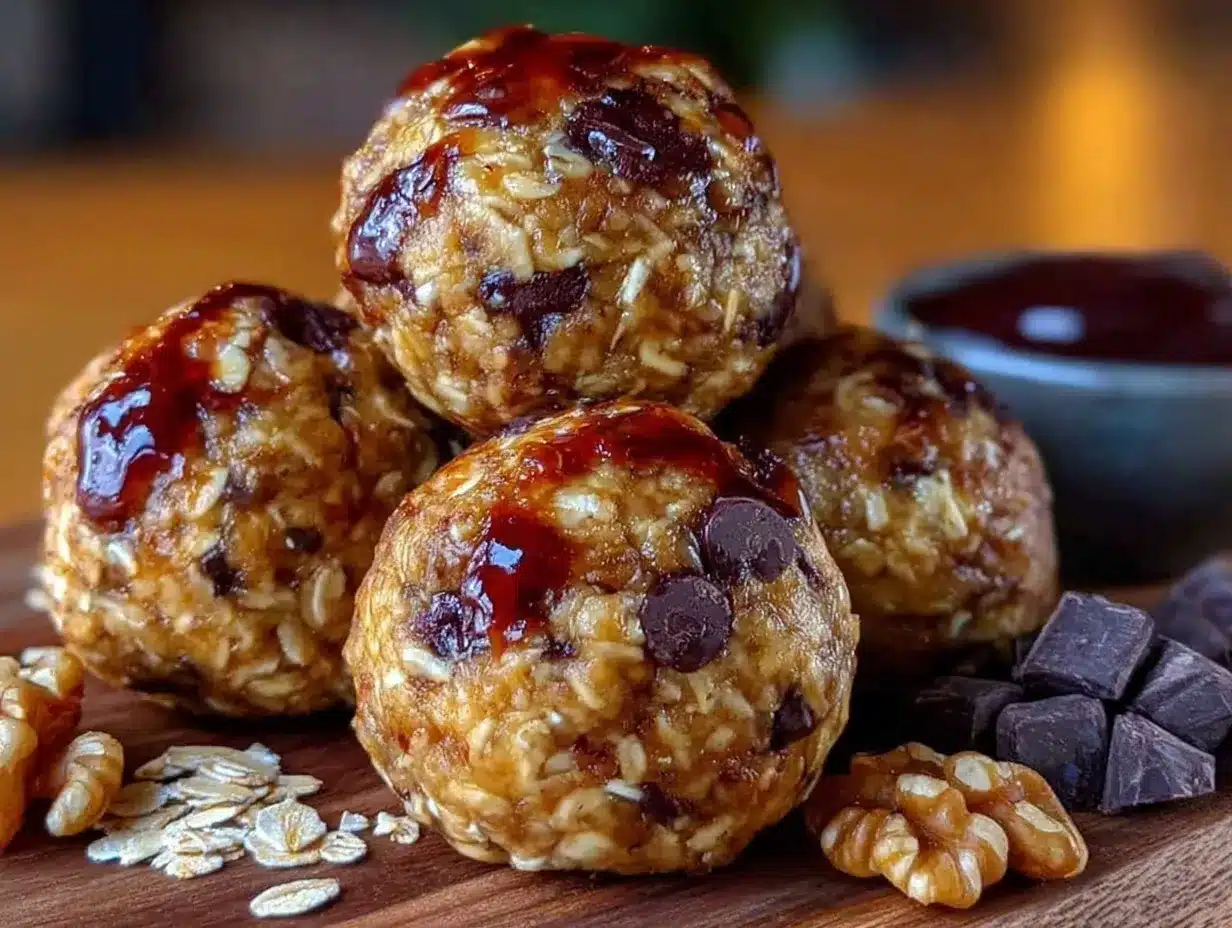
- Gather and Measure Ingredients (5 minutes): Start by measuring out 1 ½ cups (135g) of rolled oats, ½ cup (125g) of natural peanut butter, ¼ cup (85g) honey, ½ cup (90g) mini chocolate chips, 1 teaspoon vanilla extract, 2 tablespoons ground flaxseed, 1 tablespoon chia seeds (optional), and a pinch of salt. Having everything ready makes the process smooth.
- Combine Wet Ingredients (2 minutes): In your mixing bowl, stir together the peanut butter, honey, and vanilla extract until smooth and creamy. If your peanut butter is a bit stiff, warming it slightly in the microwave for 10-15 seconds helps.
- Add Dry Ingredients (3 minutes): Add the oats, ground flaxseed, chia seeds, salt, and chocolate chips to the wet mixture. Use a spatula or spoon to fold everything together gently but thoroughly. The mixture should be sticky but hold together when pressed. If it feels too dry, add a teaspoon of honey or a splash of milk (dairy or plant-based) and mix again.
- Form the Balls (5-7 minutes): Using your hands, scoop out about a tablespoon (roughly 15g) of the mixture and roll it between your palms into a ball. Place each ball on a parchment-lined baking sheet or plate. This part is a little messy, but hey, that’s half the fun!
- Chill to Set (30 minutes minimum): Pop the tray into the refrigerator for at least 30 minutes to let the balls firm up. You can skip chilling if you’re in a rush, but the texture won’t hold as well.
- Store or Serve: Once set, transfer the energy balls to an airtight container. They keep well in the fridge for up to a week or freeze nicely for up to 3 months.
One time, I forgot to chill them and tried to pack them for a hike—total disaster! They fell apart all over my bag. Lesson learned: don’t skip the fridge step, trust me on this.
Cooking Tips & Techniques
Making perfect energy balls is easier than you think, but a few tricks can make your batch foolproof every time.
- Stickiness Balance: If your mixture is too crumbly, add a little more honey or nut butter one teaspoon at a time. Too wet? Toss in extra oats gradually.
- Texture Matters: Use old-fashioned rolled oats, not quick oats, for better chew and structure. Steel-cut oats won’t work here—they’re too hard.
- Chilling Is Key: Letting the balls set in the fridge firms them up and improves texture. If you’re in a hurry, freezing for 10-15 minutes works as a quick fix.
- Mix Gently: Overmixing can make the oats mushy, so fold ingredients just until combined.
- Use a Cookie Scoop: For uniform balls, a tablespoon-sized cookie scoop speeds up rolling and keeps portions consistent.
Honestly, the first time I tried making energy balls, I didn’t pay attention to the oats, and they turned out dense and tough. After switching to rolled oats and respecting the chilling time, it was a game changer. Also, multitasking helps a ton—roll some balls while the others chill!
Variations & Adaptations
This recipe is wonderfully flexible, so feel free to tweak it to your taste or dietary needs.
- Nut-Free Version: Try sunflower seed butter or soy nut butter instead of peanut butter for allergy-friendly energy balls.
- Flavor Twists: Add a teaspoon of cinnamon or a splash of orange zest for a fresh flavor kick. You can also swap the chocolate chips for dried cranberries or raisins.
- Protein Boost: Mix in a scoop of your favorite protein powder (vanilla or chocolate) to fuel your workouts.
- Seasonal Add-Ins: In fall, chopped pecans and pumpkin spice work beautifully. Summer calls for shredded coconut or chopped dried mango.
- Baking Sheet Alternatives: If you want a softer texture, try refrigerating the mixture in a pan and cutting it into bars instead of rolling balls.
One of my favorite personal variations includes swapping half the oats for quinoa flakes, which adds an interesting texture and extra protein. It’s a subtle change but makes these energy balls feel a bit more special.
Serving & Storage Suggestions
These energy balls are best served cold or at room temperature. I like to keep a batch handy in the fridge for a quick snack that’s both satisfying and energizing.
- Serving: Perfect with a glass of cold milk, a cup of coffee, or tea. They also make a great addition to lunchboxes or picnic baskets.
- Storage: Store in an airtight container in the refrigerator for up to 7 days. For longer storage, freeze in a sealed container or ziplock bag for up to 3 months.
- Reheating: No need to reheat; just let frozen balls thaw at room temperature for 10-15 minutes before eating.
- Flavor Development: The flavors actually mellow and deepen after a day or two in the fridge, so if you can wait, they taste even better.
Once, I packed these for a hiking trip, and after a few hours in the cooler, they were the perfect pick-me-up amid the trail. Trust me, the convenience and taste make them my ultimate snack partner.
Nutritional Information & Benefits
Here’s a rough estimate per ball (makes about 20 balls):
| Calories | 90 kcal |
|---|---|
| Protein | 3 grams |
| Fat | 5 grams (mostly healthy fats) |
| Carbohydrates | 10 grams |
| Fiber | 2 grams |
The oats provide slow-digesting carbs and fiber, while peanut butter contributes protein and healthy fats to keep you full and energized. The little bit of honey offers natural sweetness without a sugar crash. Plus, the flaxseed and chia seeds add omega-3s and antioxidants, supporting heart health and digestion. This snack fits nicely into gluten-free, vegetarian, and even vegan diets (with maple syrup swap).
Conclusion
This Easy No-Bake Energy Balls with Oats and Chocolate Chips recipe is a quiet hero for busy days and snack emergencies. It’s simple, fast, and feels like a small act of kindness to yourself every time you make it. I love how it brings back that little nostalgic moment from years ago, but also how it fits perfectly into modern life — no fuss, just good, honest fuel.
Give it a try, tweak it your way, and let me know how you make it your own. Honestly, I can’t wait to hear your stories and see your versions. Share your thoughts or your favorite add-ins in the comments below — I’m all ears!
Here’s to many more sticky-fingered, joyful kitchen moments with these energy balls.
Frequently Asked Questions (FAQs)
Can I use quick oats instead of rolled oats?
Quick oats can be used in a pinch, but the texture will be softer and less chewy. Rolled oats provide the best structure for these energy balls.
How long do these energy balls last?
Stored in an airtight container in the fridge, they last up to 7 days. You can freeze them for up to 3 months for longer storage.
Can I make these energy balls without chocolate chips?
Absolutely! You can substitute chocolate chips with dried fruit, nuts, or seeds depending on your preference.
Are these energy balls gluten-free?
Yes, as long as you use certified gluten-free oats, this recipe is gluten-free friendly.
Can I add protein powder to this recipe?
Yes, adding a scoop of your favorite protein powder can boost the protein content. Just adjust the wet ingredients slightly if the mixture feels too dry.
By the way, if you enjoy snacks like these, you might appreciate the homemade goodness of crispy garlic chicken or the simple pleasure of banana oatmeal muffins for your next cozy kitchen adventure.
Pin This Recipe!
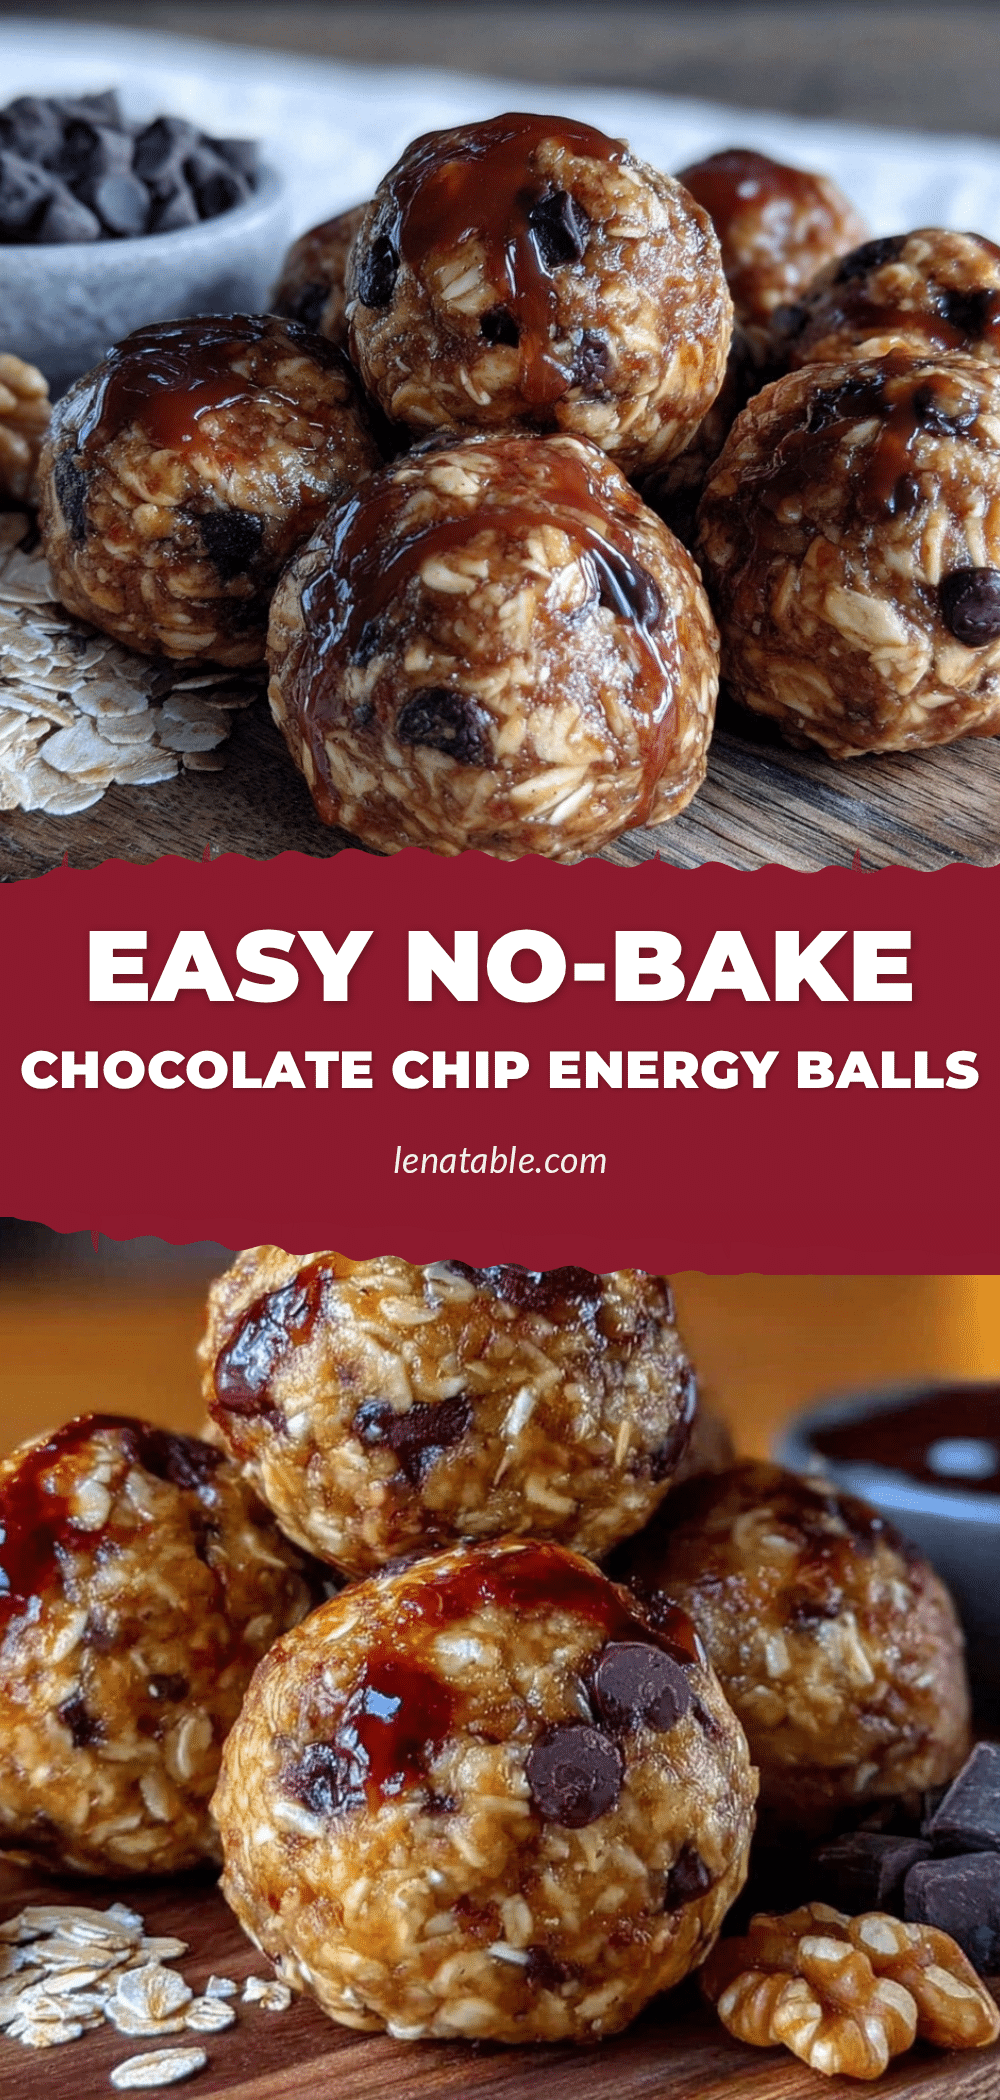
Easy No-Bake Energy Balls with Oats and Chocolate Chips

A quick and fuss-free no-bake snack made with oats, peanut butter, honey, and chocolate chips, perfect for on-the-go energy boosts.
- Prep Time: 10 minutes
- Cook Time: 0 minutes
- Total Time: 40 minutes
- Yield: 20 balls 1x
- Category: Snack
- Cuisine: American
Ingredients
- 1 ½ cups (135g) old-fashioned rolled oats
- ½ cup (125g) natural peanut butter (creamy)
- ¼ cup (85g) honey (or maple syrup for vegan option)
- ½ cup (90g) mini chocolate chips
- 1 teaspoon vanilla extract
- 2 tablespoons ground flaxseed (optional)
- 1 tablespoon chia seeds (optional)
- Pinch of salt
Instructions
- Gather and measure all ingredients.
- In a mixing bowl, stir together peanut butter, honey, and vanilla extract until smooth and creamy. Warm peanut butter slightly if stiff.
- Add oats, ground flaxseed, chia seeds, salt, and chocolate chips to the wet mixture. Fold gently until combined. If too dry, add a teaspoon of honey or splash of milk and mix again.
- Scoop about 1 tablespoon (15g) of mixture and roll into balls. Place on a parchment-lined baking sheet or plate.
- Chill in the refrigerator for at least 30 minutes to set.
- Store in an airtight container in the fridge for up to 7 days or freeze for up to 3 months.
Notes
Use old-fashioned rolled oats for best texture; quick oats can be used but will be softer. Chilling is essential for firm texture. Adjust stickiness by adding honey or oats as needed. Use a tablespoon-sized scoop for uniform balls. Variations include nut-free butters, adding protein powder, or swapping chocolate chips for dried fruit.
Nutrition
- Serving Size: 1 energy ball
- Calories: 90
- Fat: 5
- Carbohydrates: 10
- Fiber: 2
- Protein: 3
Keywords: no-bake, energy balls, oats, peanut butter, chocolate chips, healthy snack, quick snack, vegan option, gluten-free


