Love this? Save it for later!
Share the inspiration with your friends
There used to be this tiny café tucked away on a quiet street in Burlington, Vermont, that made the most charming apple-shaped cookies decorated like little books. When they suddenly closed one chilly October, I was honestly crushed. I mean, those cookies weren’t just treats—they were like edible stories, perfect for autumn afternoons with a warm cup of cider. After about a dozen attempts—some with royal icing disasters and others where the apple shape looked more like a sad blob—I finally nailed my version of these Easy No-Bake Apple Book Cookies with Royal Icing. Let me tell you, it wasn’t just about recreating a recipe; it was about capturing a feeling I kept chasing every fall. Maybe you’ve been there, craving that one special snack that disappears just when you need it most. This recipe stuck with me because it’s simple, sweet, and has that homemade charm that brightens up any cozy moment.
Why You’ll Love This Recipe
Honestly, these Easy No-Bake Apple Book Cookies with Royal Icing have become my go-to fall treat because they’re just so straightforward, yet impressive. I’m not kidding when I say you don’t need fancy tools or hours in the kitchen.
- Quick & Easy: Ready in under 30 minutes, these cookies are perfect for last-minute fall gatherings or a fun afternoon project with kids.
- Simple Ingredients: No trips to specialty stores needed—most of these ingredients are pantry staples or easy to find at your local market.
- Perfect for Fall Occasions: Whether it’s a school party, a cozy book club, or just a weekend treat, these cookies fit right in with the season.
- Crowd-Pleaser: The cute apple-book design always gets smiles, and the flavor combo of apple and sweet royal icing is a winner with both kids and adults.
- Unbelievably Delicious: The texture is soft but holds up well, and the royal icing adds that smooth, glossy finish that makes these cookies feel special.
This isn’t just another cookie recipe. The secret lies in the no-bake method that keeps things simple, paired with a royal icing technique that gives the perfect smooth finish without fuss. Honestly, it’s one of those recipes that makes you pause and appreciate the little details—like the way the icing catches the light or how the apple shape feels in your hand. It’s fall comfort with a creative twist, and I’m excited to share the joy with you.
What Ingredients You Will Need
This recipe uses straightforward, wholesome ingredients to deliver a cozy fall flavor and a delicate texture without complicated steps. Most of these are pantry staples, and you’ll find the rest easily at any grocery store.
- For the Cookie Base:
- 1 ½ cups (150g) rolled oats (for texture and chewiness)
- 1 cup (100g) finely chopped apples (fresh and crisp works best)
- ½ cup (120ml) apple juice or apple cider (adds natural sweetness and moisture)
- ½ cup (130g) almond butter or peanut butter (for binding and flavor)
- ⅓ cup (80ml) honey or maple syrup (natural sweetener)
- 1 tsp ground cinnamon (classic apple spice)
- ½ tsp vanilla extract (for warmth)
- Pinch of salt (balances flavor)
- For the Royal Icing:
- 2 cups (240g) powdered sugar (sifted for smooth icing)
- 1 large egg white (room temperature, for binding and shine)
- 1 tsp fresh lemon juice (helps with consistency and brightness)
- Food coloring (red, green, and brown recommended to decorate apple and book details)
I prefer using natural almond butter from Barney Butter for its creamy texture, but peanut butter works just as well if that’s what you have. When it comes to powdered sugar for the royal icing, C&H Sugar has always given me the smoothest results. If fresh eggs make you nervous, you can use pasteurized egg whites available in cartons.
For a seasonal twist, try swapping in fresh pears instead of apples or adding a pinch of nutmeg for extra warmth. And if you need a gluten-free option, make sure your oats are certified gluten-free.
Equipment Needed
Since these are no-bake cookies, the equipment list is delightfully short. You’ll need:
- A large mixing bowl (preferably glass or stainless steel for easy cleanup and no lingering smells)
- Measuring cups and spoons (precision matters for icing consistency)
- A fine grater or food processor (to finely chop or grate apples)
- Mixing spoon or spatula (a silicone spatula works great for folding ingredients)
- Parchment paper or a silicone baking mat (to shape and set cookies without sticking)
- Small piping bags or plastic sandwich bags with the tip snipped (for decorating with royal icing)
If you don’t have piping bags, I’ve used a small zip-top bag successfully by cutting a tiny corner off. For icing, a smooth surface is key, so a flat tray lined with parchment paper saved me from sticky messes more than once. No fancy tools needed here—just patience and a steady hand for decorating.
Preparation Method
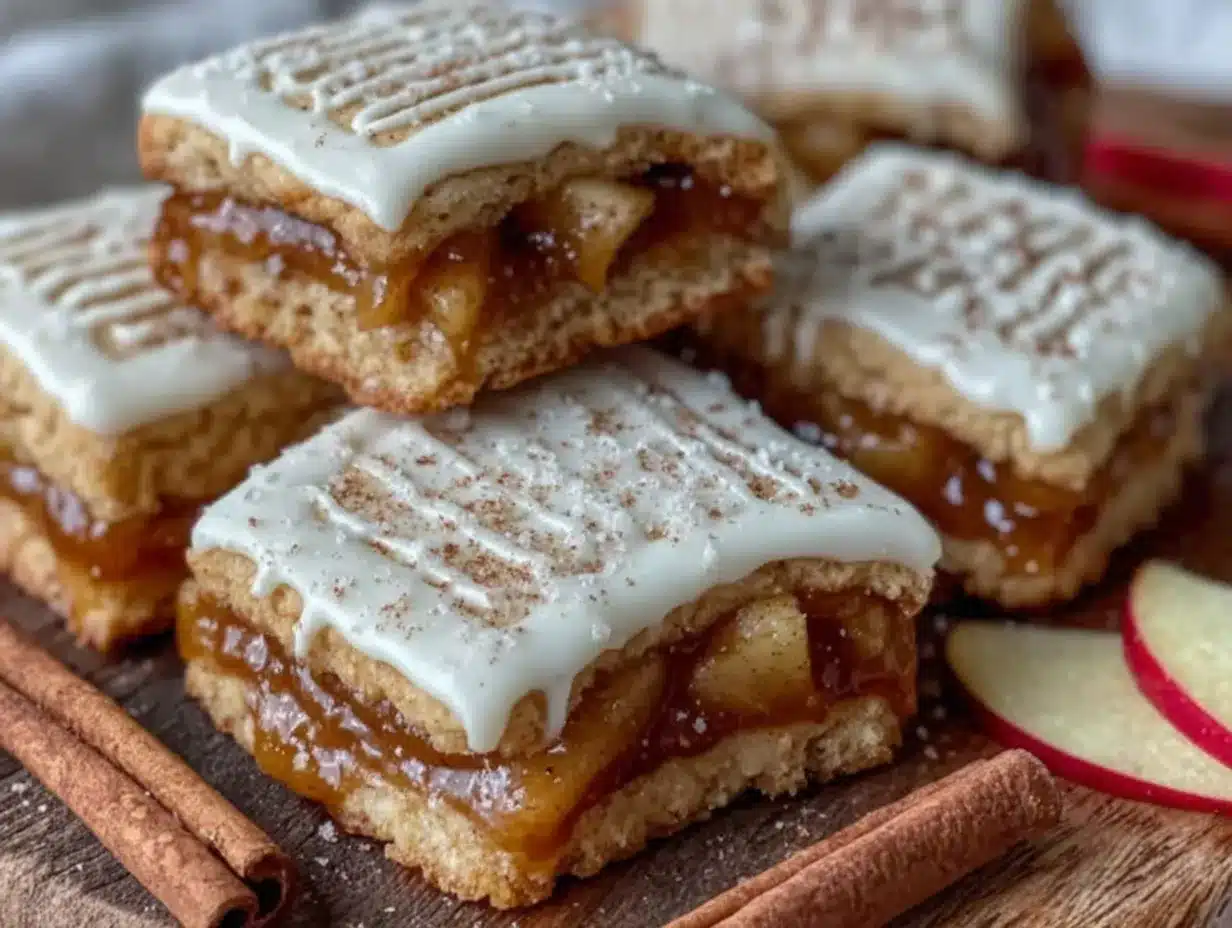
- Prepare the Apples: Finely chop or grate 1 cup (100g) of fresh apples. I like using crisp Granny Smiths for a nice tart contrast, but Honeycrisp works beautifully too. Make sure to pat them dry with a paper towel to avoid excess moisture. (Prep time: 5 minutes)
- Mix the Cookie Base: In your large mixing bowl, combine 1 ½ cups (150g) rolled oats, the chopped apples, ½ cup (120ml) apple juice or cider, ½ cup (130g) almond butter, ⅓ cup (80ml) honey or maple syrup, 1 tsp cinnamon, ½ tsp vanilla extract, and a pinch of salt. Stir everything together until well combined. The mixture should be sticky but hold together when pressed. (Mixing time: 5-7 minutes)
- Shape the Cookies: Line a tray with parchment paper. Using your hands (clean and slightly damp to prevent sticking), form the mixture into small apple shapes roughly 2 inches (5 cm) wide and 3 inches (7.5 cm) tall. Press firmly so the cookies hold their shape. Set them on the tray to chill. (Shaping time: 10 minutes)
- Chill the Cookies: Place the shaped cookies in the refrigerator for at least 30 minutes. This helps them firm up and makes decorating easier. (Chilling time: 30 minutes)
- Prepare the Royal Icing: While the cookies chill, whisk together 2 cups (240g) sifted powdered sugar, 1 large egg white, and 1 tsp lemon juice in a clean bowl. Beat until the icing forms stiff, glossy peaks—this usually takes 5-7 minutes. Divide the icing into separate bowls and tint with your chosen food colors (red, green, brown). (Icing prep: 10 minutes)
- Decorate the Cookies: Transfer each colored icing into piping bags. Carefully pipe the apple outline and book pages on each cookie. Use brown for the book spine, red or green for the apple, and white for the pages. Let your creativity shine! (Decoration time: 20-30 minutes)
- Allow Icing to Set: Let the decorated cookies sit at room temperature for at least 1 hour so the royal icing hardens. This step is crucial for that signature smooth finish. (Setting time: 1 hour)
Pro tip: If the icing feels too runny, add a little more powdered sugar to thicken it. If it’s too stiff, a few drops of water will loosen it up. Also, keep the bowl and beaters completely grease-free for the best icing texture. I once skipped drying my bowl properly and ended up with a sad, runny mess—lesson learned!
Cooking Tips & Techniques
The magic of these Easy No-Bake Apple Book Cookies lies in the balance of sticky, sweet, and decorative finesse. Here’s what I’ve learned so you don’t have to make the same mistakes:
- Use Fresh Apples: Freshness matters here. Too much moisture can make the cookie base soggy. Dry your chopped apples well, or briefly sauté them to reduce water content.
- Test Your Icing: Royal icing can be tricky. Start with a small batch to perfect your consistency before moving to the whole batch. It should be thick enough to hold shape but smooth enough to pipe easily.
- Keep Icing Covered: Royal icing dries fast. Cover bowls with plastic wrap touching the surface to prevent crusting if you’re not using it right away.
- Work in Small Batches: Decorating can be time-consuming, so prepare only a few cookies at a time to keep the icing fresh and manageable.
- Multitask Efficiently: Chill the cookies while prepping the icing to save time. I always set a kitchen timer so I don’t get distracted mid-way (which happened more times than I’d like to admit!).
Honestly, the first time I made these, I rushed the chilling step and the cookies fell apart while decorating. Patience truly pays off here. And if you want to get fancy, you can add a tiny leaf detail with green icing—that little touch brings the whole apple to life.
Variations & Adaptations
Changing things up keeps this recipe fresh and fun, especially if you have dietary needs or want to experiment.
- Vegan Version: Replace honey with maple syrup and use aquafaba (chickpea water) instead of egg white for the royal icing. The texture will be slightly different but just as tasty.
- Spiced Apple Cookies: Add a pinch of nutmeg, ginger, or cloves to the base mixture for a warm, cozy spice blend that feels like autumn in every bite.
- Chocolate Apple Cookies: Stir in ¼ cup (25g) cocoa powder into the batter for a chocolate twist. Use white royal icing to contrast beautifully with the darker cookie.
- Gluten-Free Option: Use certified gluten-free oats and ensure all other ingredients are gluten-free. This recipe naturally suits a gluten-free lifestyle!
- Personal Favorite: I once added finely chopped walnuts to the base for a nutty crunch. It was a hit at a fall potluck and added a nice texture contrast.
Serving & Storage Suggestions
Serve these Easy No-Bake Apple Book Cookies chilled or at room temperature. They pair wonderfully with hot apple cider, chai tea, or even a creamy latte. For a festive brunch, arrange them alongside cinnamon-spiced pumpkin muffins and fresh fruit for a seasonal spread.
Store the cookies in an airtight container in the refrigerator for up to 5 days. If you want to keep them longer, freeze them in a single layer on a baking sheet, then transfer to a freezer-safe container for up to a month. When ready to eat, thaw in the fridge overnight to keep the icing intact.
Reheating isn’t necessary, but if you prefer them slightly softer, let them warm to room temperature before serving. The flavors actually deepen after a day or two, so these cookies are just as good the next day—sometimes better!
Nutritional Information & Benefits
Each cookie (about 2 inches wide) contains roughly 150 calories, 5g of protein, 20g of carbohydrates, and 7g of fat. Thanks to the use of natural sweeteners like honey and fresh apples, these cookies offer a more wholesome treat compared to typical sugar-laden baked goods.
Apples provide fiber and vitamin C, while almond or peanut butter adds healthy fats and protein, creating a more balanced snack. The oats contribute whole grain benefits and help keep you full longer.
This recipe is naturally gluten-free if you choose certified oats, and easily adaptable for vegan diets. Just watch for egg allergies if you’re serving to guests, and try the aquafaba royal icing alternative when needed.
Conclusion
This Easy No-Bake Apple Book Cookies with Royal Icing recipe is a fall favorite that brings a little nostalgic charm back into your kitchen. It’s fun to make, simple enough for beginners, and results in a treat that’s both pretty and delicious. I love that it’s customizable—so you can tweak it to suit your tastes or dietary needs without losing that cozy apple essence.
Give it a try, and don’t be shy about adding your own creative touches. Maybe you’ll discover your own fall classic! I’d love to hear how your cookies turn out or what variations you try, so please drop a comment or share your photos. Here’s to tasty memories and sweet seasons ahead!
Frequently Asked Questions
Can I make these cookies without eggs in the royal icing?
Yes! You can use aquafaba (the liquid from canned chickpeas) as an egg white substitute. Whip it until frothy and use it in place of egg whites for a vegan-friendly royal icing.
How long do these no-bake apple cookies last?
Stored in an airtight container in the fridge, they stay fresh for up to 5 days. Freezing extends their life to about a month.
Can I use dried apples instead of fresh?
Fresh apples are best for moisture and texture, but you can rehydrate dried apples in warm water before chopping and adding to the mixture.
What if I don’t have almond or peanut butter?
Sunflower seed butter or tahini can work as nut-free alternatives, though the flavor will change slightly.
Is it necessary to chill the cookies before decorating?
Chilling helps the cookies firm up, making them easier to decorate without crumbling. If you skip this step, the cookies may be too soft to handle the icing well.
Pin This Recipe!
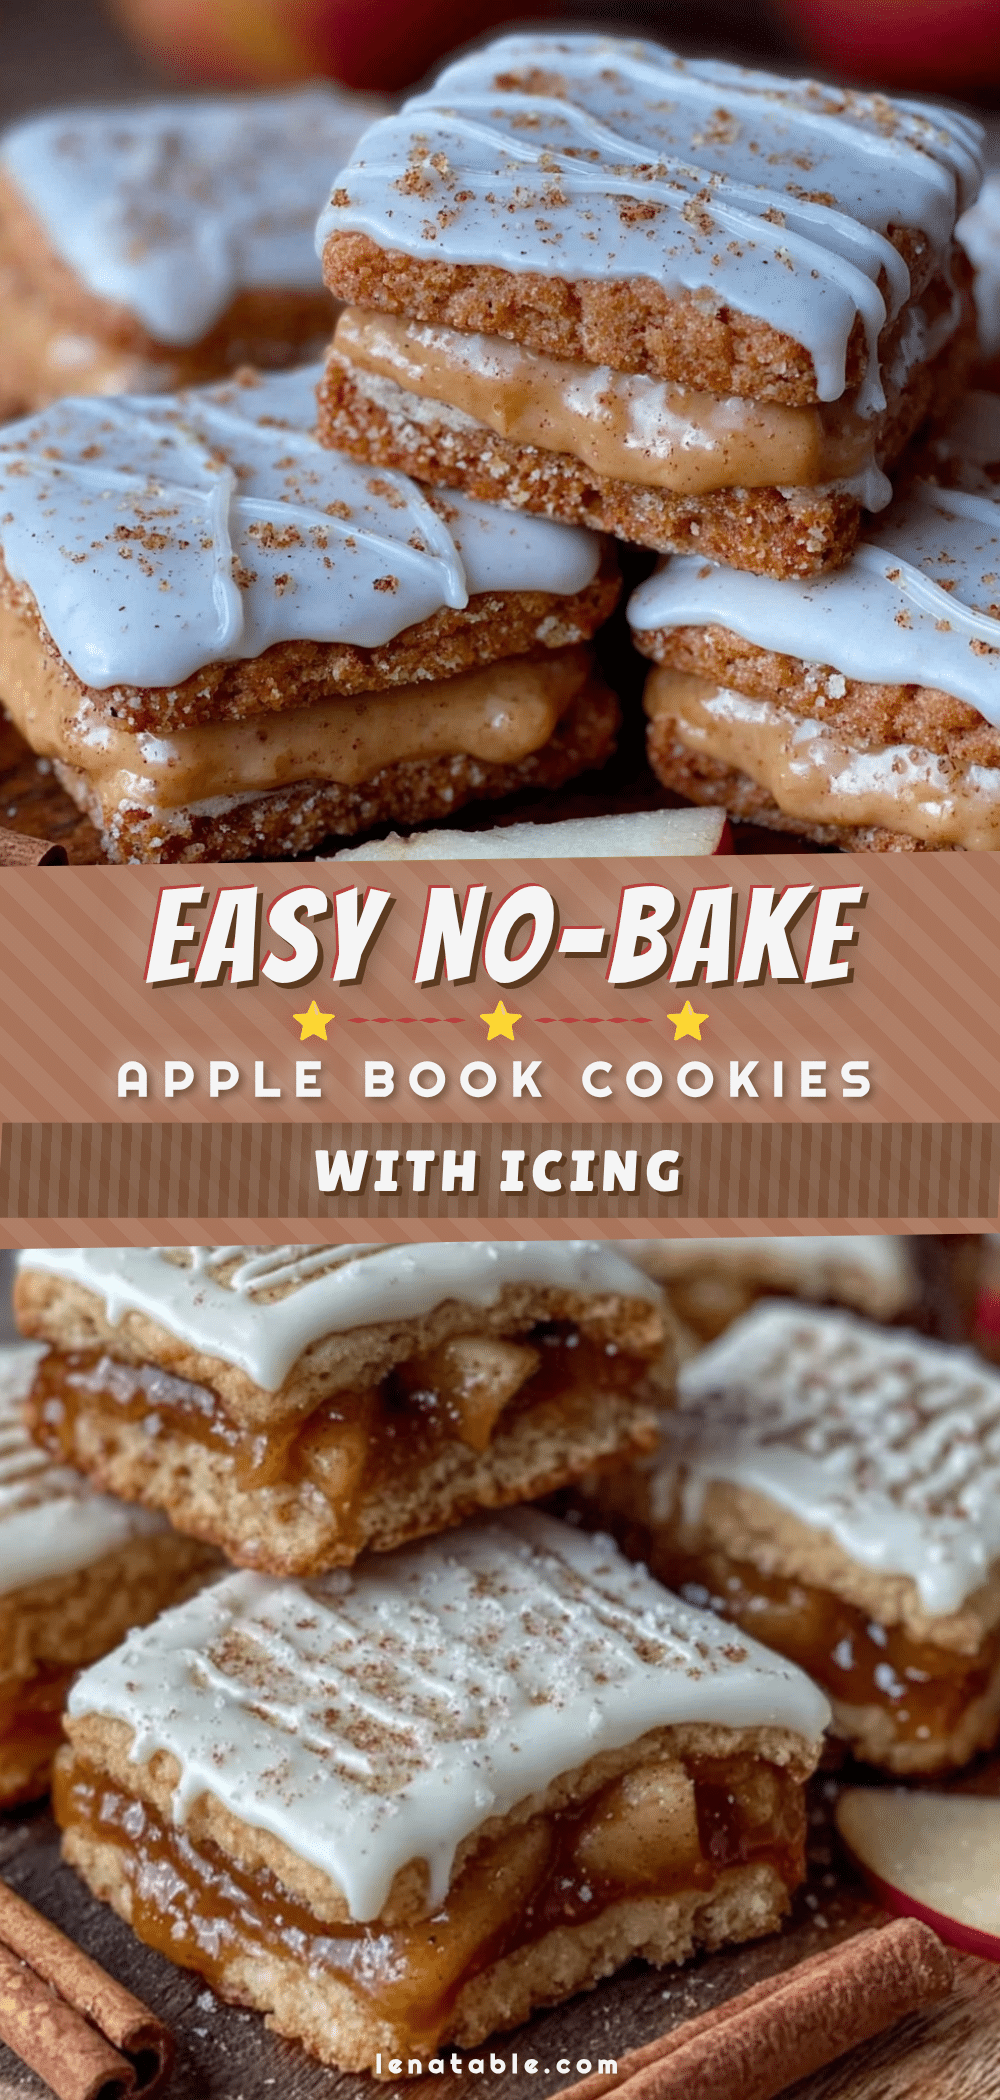
Easy No-Bake Apple Book Cookies Recipe Perfect for Fall Treats
These no-bake apple-shaped cookies decorated like little books are a simple, sweet fall treat with a soft texture and smooth royal icing finish. Perfect for cozy autumn occasions and easy to make with pantry staples.
- Prep Time: 20 minutes
- Cook Time: 0 minutes
- Total Time: 1 hour 20 minutes
- Yield: 12 cookies 1x
- Category: Dessert
- Cuisine: American
Ingredients
- 1 ½ cups (150g) rolled oats
- 1 cup (100g) finely chopped fresh apples
- ½ cup (120ml) apple juice or apple cider
- ½ cup (130g) almond butter or peanut butter
- ⅓ cup (80ml) honey or maple syrup
- 1 tsp ground cinnamon
- ½ tsp vanilla extract
- Pinch of salt
- 2 cups (240g) powdered sugar, sifted
- 1 large egg white (room temperature)
- 1 tsp fresh lemon juice
- Food coloring (red, green, and brown recommended)
Instructions
- Finely chop or grate 1 cup (100g) of fresh apples and pat dry to remove excess moisture.
- In a large mixing bowl, combine 1 ½ cups rolled oats, chopped apples, ½ cup apple juice or cider, ½ cup almond or peanut butter, ⅓ cup honey or maple syrup, 1 tsp cinnamon, ½ tsp vanilla extract, and a pinch of salt. Stir until well combined and sticky.
- Line a tray with parchment paper. Using clean, slightly damp hands, form the mixture into small apple shapes about 2 inches wide and 3 inches tall. Press firmly to hold shape and place on the tray.
- Chill the shaped cookies in the refrigerator for at least 30 minutes to firm up.
- While cookies chill, whisk together 2 cups sifted powdered sugar, 1 large egg white, and 1 tsp lemon juice until stiff, glossy peaks form (about 5-7 minutes). Divide icing into bowls and tint with food coloring as desired.
- Transfer colored icing into piping bags and decorate cookies with apple outlines and book page details using red, green, brown, and white icing.
- Let decorated cookies sit at room temperature for at least 1 hour to allow royal icing to harden.
Notes
Use fresh apples and pat dry to avoid soggy cookies. For vegan royal icing, substitute egg white with aquafaba. Chill cookies before decorating to prevent crumbling. Adjust icing consistency by adding powdered sugar or water as needed. Store cookies in airtight container in fridge up to 5 days or freeze up to 1 month.
Nutrition
- Serving Size: 1 cookie (about 2 in
- Calories: 150
- Fat: 7
- Carbohydrates: 20
- Protein: 5
Keywords: no-bake cookies, apple cookies, fall treats, royal icing, easy cookies, gluten-free cookies, vegan option, autumn dessert


