Love this? Save it for later!
Share the inspiration with your friends
There used to be a little bakery on the corner of Elm and 3rd in my old neighborhood—a place called The Copper Spoon—that made a pumpkin cheesecake bar that absolutely ruined me for all other desserts. When they closed their doors two years ago (the owner retired to Florida, of all places), I actually stood there staring at the CLOSED sign like I’d lost a friend. After twelve tries—twelve, let me tell you—and one particularly disastrous batch where I forgot the sugar entirely, I finally got it.
The secret, I discovered, wasn’t just in the filling or the pumpkin. It was in that gingersnap crust. That spicy, crunchy base that holds everything together and makes you wonder why you ever bothered with graham crackers in the first place. I spent a whole Saturday testing different ratios of butter to cookie crumbs, and honestly, my kitchen smelled like a holiday candle factory by the time I was done.
Maybe you’ve been there—that desperate need to recreate something that just hit different. For me, these Perfect Pumpkin Pie Cheesecake Bars with Gingersnap Crust became an obsession. The first time I nailed it, I actually texted my sister a photo with like twelve exclamation points. She still brings it up. This is that recipe. The one that tastes like the bakery version, only better because you made it yourself and there’s no one telling you to leave when they lock up at six.
Why You’ll Love This Recipe
These Perfect Pumpkin Pie Cheesecake Bars with Gingersnap Crust aren’t just another fall dessert. They’re the kind of thing that makes people close their eyes after the first bite. I’ve tested this recipe more times than I care to admit, and I promise you—it works.
- Quick & Easy: Under an hour of hands-on time. The oven does most of the work while you clean up or put your feet up.
- Simple Ingredients: Nothing weird here. You probably have most of these in your pantry right now, except maybe the gingersnaps.
- Perfect for Thanksgiving: Takes the pressure off making both a pumpkin pie and a cheesecake. One dessert, double the love.
- Crowd-Pleaser: Kids love the creamy texture, adults love the grown-up gingersnap kick. Everyone wins.
- Unbelievably Delicious: The layers—crunchy, creamy, spiced—come together in a way that just works. It’s comfort food with a little sophistication.
What makes this version different? It’s the crust, honestly. Most recipes use a basic graham cracker base, but the ginger and molasses in the gingersnaps add this warmth that plays beautifully with the pumpkin spice. I also use a water bath technique for the cheesecake layer that keeps it silky smooth instead of cracking. No one wants a cracked cheesecake, right? This is the version I bring to every potluck, every Friendsgiving, every “I need to impress my in-laws” situation. It never lets me down.
What Ingredients You Will Need
This recipe uses simple, honest ingredients to create something that tastes far more complicated than it actually is. Most of these are pantry staples, but a few deserve a little extra attention.
For the Gingersnap Crust
- 2 cups (about 200g) gingersnap cookie crumbs – I recommend Nabisco or a store-brand equivalent. You can crush them in a food processor or by hand in a zip-top bag with a rolling pin. (Crushing them yourself gives better texture.)
- 1/4 cup (50g) granulated sugar – Just enough to balance the spice of the cookies.
- 6 tablespoons (85g) unsalted butter, melted – Use real butter here, not margarine. It makes a difference in flavor and how well the crust holds together.
- Pinch of salt – Enhances everything without making it salty.
For the Cheesecake Layer
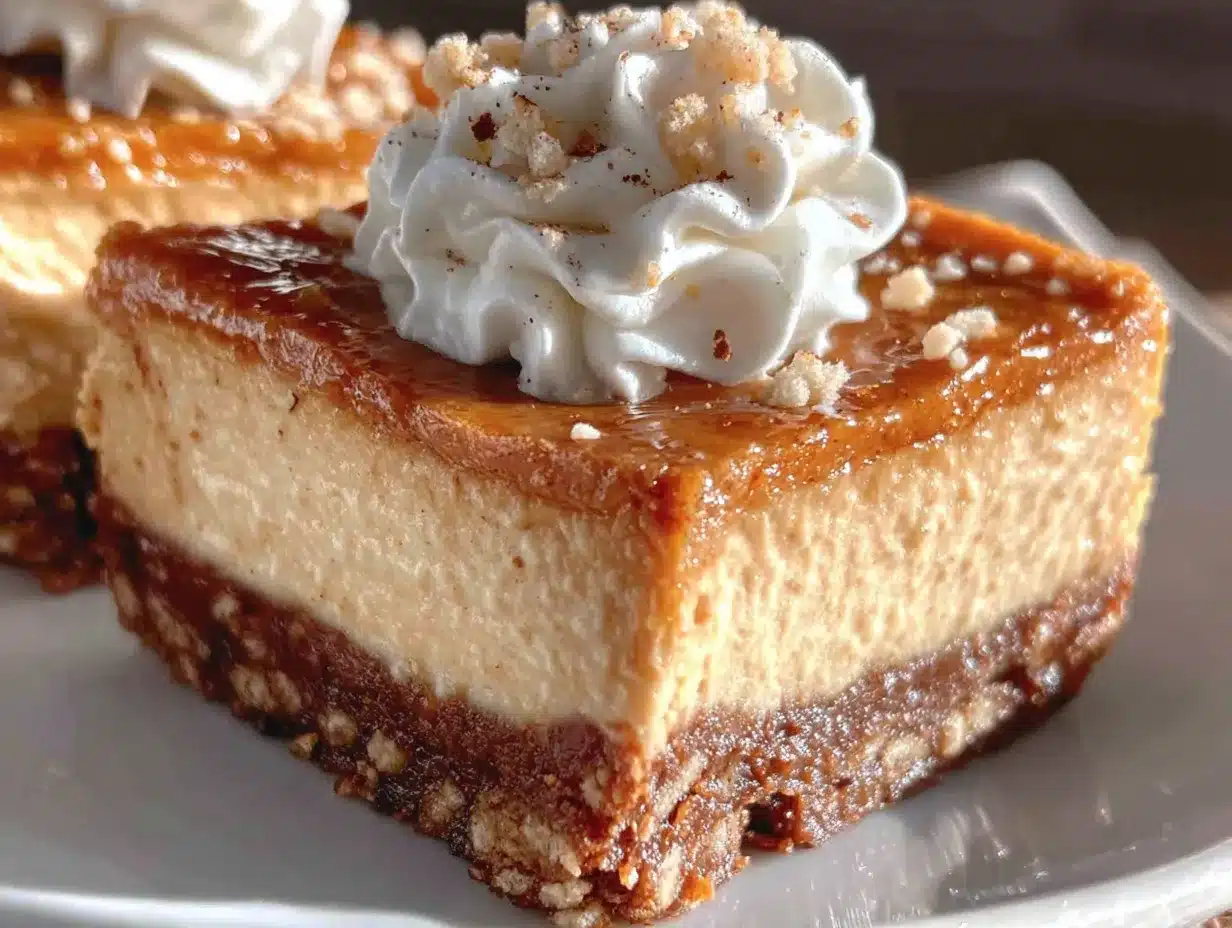
- 16 ounces (450g) cream cheese, softened – Full-fat is best for that luxurious texture. Let it sit on the counter for at least an hour before starting.
- 1/2 cup (100g) granulated sugar – Sweetens the cheesecake without overpowering the pumpkin layer.
- 2 large eggs, room temperature – Cold eggs can make the batter lumpy. Trust me on this one.
- 1 teaspoon vanilla extract – Pure vanilla, not imitation. It’s worth the splurge.
- 1/4 cup (60g) sour cream – Adds tang and makes the cheesecake extra creamy. (Greek yogurt works in a pinch.)
For the Pumpkin Layer
- 1 cup (245g) pumpkin puree – Not pumpkin pie filling. Make sure you grab the plain stuff. Libby’s is my go-to.
- 1/3 cup (65g) granulated sugar – Just enough to sweeten the pumpkin without making it cloying.
- 1/4 cup (55g) packed light brown sugar – Adds depth and a hint of molasses that pairs beautifully with the gingersnaps.
- 1 large egg, room temperature – Helps bind the layer.
- 1 teaspoon pumpkin pie spice – Or make your own with cinnamon, nutmeg, ginger, and cloves. (I do a mix of 1/2 teaspoon cinnamon, 1/4 teaspoon ginger, 1/4 teaspoon nutmeg, and a pinch of cloves.)
- 1/2 teaspoon ground cinnamon – Extra warmth because you can never have too much cinnamon in fall.
- 2 tablespoons (30g) heavy cream – Makes the pumpkin layer silky instead of dense.
Equipment Needed
You don’t need a professional kitchen to pull these off, but a few specific tools make the process smoother.
- 9×9-inch baking pan – Glass or metal works. If you use metal, line it with parchment for easy removal.
- Food processor or zip-top bag and rolling pin – For crushing the gingersnaps. I prefer the food processor for consistency, but a bag and some elbow grease works fine.
- Electric hand mixer or stand mixer – Makes the cheesecake batter smooth and lump-free. A whisk works if you’re patient, but your arm will thank you for the mixer.
- Mixing bowls – At least two medium ones.
- Rubber spatula – For scraping every last bit of batter. Waste not, want not.
- Parchment paper – Lining the pan makes lifting the bars out a breeze. Don’t skip it.
- Small offset spatula – Optional but helpful for smoothing the layers evenly.
If you don’t have a 9×9 pan, an 8×8 works too—just expect a slightly thicker bar and add 5-7 minutes to the baking time. I’ve done it both ways, and honestly, I kind of like the thicker version.
Preparation Method
Let’s get to the good part. Here’s how to make these Perfect Pumpkin Pie Cheesecake Bars with Gingersnap Crust from start to finish. Take your time, and don’t rush the cooling steps—they matter.
- Preheat your oven to 350°F (175°C). Line your 9×9-inch pan with parchment paper, leaving some overhang on two opposite sides. This creates handles for lifting the bars out later. Lightly grease the parchment with cooking spray or butter.
- Make the crust. In a food processor, pulse the gingersnap cookies until they become fine crumbs. You should have about 2 cups. Transfer to a medium bowl, add the sugar and salt, and stir to combine. Pour in the melted butter and mix with a fork until the crumbs are evenly moistened. They should look like wet sand and hold together when pressed.
- Press the crust into the pan. Dump the crumb mixture into your prepared pan and press it down firmly and evenly. Use the bottom of a measuring cup or a flat glass to really compact it. A loose crust will fall apart when you cut the bars. Bake for 10 minutes, then set aside to cool slightly while you make the fillings.
- Start the cheesecake layer. In a large bowl, beat the softened cream cheese with an electric mixer on medium speed until smooth and creamy—about 2 minutes. Scrape down the sides of the bowl with a rubber spatula. Add the sugar and beat for another minute until fluffy.
- Add eggs and flavorings. Beat in the eggs one at a time, mixing on low speed after each just until combined. Overmixing at this stage can incorporate too much air, which leads to cracks. Stir in the vanilla extract and sour cream until just smooth. Set this bowl aside.
- Make the pumpkin layer. In a separate bowl, whisk together the pumpkin puree, granulated sugar, and brown sugar until smooth. Add the egg, pumpkin pie spice, cinnamon, and heavy cream. Whisk until everything is well combined and silky. The mixture should be thick but pourable.
- Layer the fillings. Pour the cheesecake batter over the warm crust and spread it into an even layer with a spatula. Then, gently spoon the pumpkin mixture over the top. Use the spatula to spread it carefully—don’t press too hard or you’ll mix the layers. You want that distinct two-tone look.
- Create the swirl effect (optional but gorgeous). Take a butter knife or a skewer and drag it through the two layers in a figure-eight pattern. Just a few swirls—don’t overdo it or you’ll end up with a muddy mess. I usually do about 4-5 passes.
- Bake the bars. Place the pan in the preheated oven and bake for 35-40 minutes. The edges should be set and slightly puffed, but the center should still jiggle slightly when you gently shake the pan. That jiggle is your friend—it means the cheesecake will be creamy, not dry.
- Cool completely. Remove the pan from the oven and place it on a wire rack. Let the bars cool at room temperature for 1 hour, then transfer them to the refrigerator. Chill for at least 4 hours, but overnight is best. I know the wait is torture, but cold bars cut cleanly and taste better. The flavors need time to meld.
- Slice and serve. Once fully chilled, lift the bars out of the pan using the parchment overhang. Place on a cutting board and use a sharp chef’s knife to slice into 9 or 16 squares. Wipe the knife clean between cuts for neat edges. Serve cold or at room temperature.
Cooking Tips & Techniques
I’ve made these Perfect Pumpkin Pie Cheesecake Bars with Gingersnap Crust more times than I can count, and I’ve learned a few things the hard way. Here’s what I wish someone had told me from the start.
Don’t skip the water bath. I know it sounds fussy, but placing the pan inside a larger baking dish with an inch of hot water while baking creates steam that keeps the cheesecake from cracking. If you don’t have a dish big enough, just place a small pan of water on the rack below the cheesecake. It works almost as well.
Room temperature ingredients matter. Cold cream cheese creates lumps that no amount of mixing can fully fix. Take everything out of the fridge an hour before you start. Eggs, cream cheese, sour cream—all of it. Your batter will come together in seconds instead of minutes.
Press that crust like you mean it. The first time I made these, I was too gentle with the crust and it crumbled everywhere when I tried to cut the bars. Use the bottom of a glass and really lean into it. A compact crust holds up to the creamy layers above.
Watch for the jiggle. Overbaking is the number one mistake with cheesecake. The center should wobble like Jell-O when you take it out. It will continue to set as it cools. If you wait until the center is completely firm, you’ll end up with a dry, cracked mess.
Patience with chilling. I once tried to cut these after only 2 hours in the fridge. Disaster. The layers smeared, the crust fell apart, and I ended up eating the evidence straight from the pan with a spoon. Give them the full 4 hours minimum. Overnight is even better—the flavors deepen and the texture gets creamier.
Variations & Adaptations
One of the best things about this recipe is how flexible it is. Here are a few ways I’ve changed it up depending on what I have on hand or who I’m feeding.
Gluten-Free Version: Use gluten-free gingersnap cookies for the crust. Most brands work well, just check the label. The rest of the recipe is naturally gluten-free, so this is an easy swap. I’ve served this to gluten-sensitive friends and they couldn’t tell the difference.
Dairy-Free Adaptation: Substitute the cream cheese with a dairy-free version (I like Miyoko’s or Kite Hill), use coconut cream instead of heavy cream, and swap the butter in the crust with melted coconut oil. The texture is slightly less rich but still delicious. My dairy-free sister-in-law requests this every year.
Spice It Up: Add a pinch of cayenne pepper or black pepper to the pumpkin layer for a subtle heat that plays off the sweetness. It sounds weird, I know, but it works. I tried this on a whim last Thanksgiving and it was a hit with the adventurous eaters at the table.
Chocolate Twist: Melt 1/4 cup of dark chocolate chips and drizzle it over the top after the bars have chilled. The chocolate and ginger combination is unexpectedly perfect. Or, swap the gingersnaps for chocolate wafer cookies for a completely different vibe.
Mini Version: Use a muffin tin lined with paper liners instead of a 9×9 pan. Press the crust into the bottom of each liner, add the fillings, and bake for 18-22 minutes. Perfect for parties or portion control. (Or both.)
Pecan Praline Topping: Toast 1/2 cup of chopped pecans, then mix with 2 tablespoons of melted butter and 1 tablespoon of brown sugar. Sprinkle over the top before baking for a crunchy, nutty finish. This is my personal favorite variation for holiday gatherings.
Serving & Storage Suggestions
These bars are versatile enough to fit any occasion, from a casual weeknight treat to the centerpiece of a holiday dessert table.
Serving Temperature: I prefer them cold, straight from the fridge. The layers hold together better and the flavors are more pronounced. But if you like a softer texture, let them sit at room temperature for 15-20 minutes before serving. Both ways are delicious—it just depends on your mood.
Presentation Ideas: Dust the tops with a little powdered sugar or a sprinkle of cinnamon before serving. A dollop of freshly whipped cream and a tiny gingersnap cookie on top makes them look bakery-worthy. For Thanksgiving, I sometimes add a few sugared cranberries for color.
What to Serve With: A cup of hot coffee or spiced chai is my favorite pairing. The bitterness of the coffee balances the sweetness. For a boozy option, try a glass of bourbon or a dark rum cocktail. The warm spices in the bars play beautifully with the oak and vanilla notes.
Storage Instructions: Keep leftover bars in an airtight container in the refrigerator for up to 5 days. Place a layer of parchment paper between stacked bars to prevent sticking. The flavor actually improves after the first day as the spices meld together.
Freezing: These freeze beautifully. Wrap individual bars tightly in plastic wrap, then place them in a freezer-safe bag or container. They’ll keep for up to 3 months. To thaw, transfer to the fridge overnight or let sit at room temperature for about 30 minutes. I always keep a stash in my freezer for unexpected guests.
Reheating: If you want a warm dessert, pop a bar in the microwave for 10-15 seconds. It softens the cheesecake slightly without melting it. Or, place it in a 300°F oven for 5-7 minutes. The crust gets a little crispy again, which is lovely.
Nutritional Information & Benefits
Let’s be real—these are a treat, not a health food. But knowing what’s in them helps you enjoy them mindfully. Here’s the breakdown for one bar (based on 16 servings).
| Nutrient | Amount per Bar |
|---|---|
| Calories | 285 |
| Total Fat | 17g |
| Saturated Fat | 10g |
| Cholesterol | 85mg |
| Sodium | 210mg |
| Total Carbohydrates | 30g |
| Dietary Fiber | 1g |
| Sugars | 22g |
| Protein | 5g |
Pumpkin is the star here, and it brings some real benefits. It’s packed with vitamin A for healthy eyes and skin, plus fiber that helps you feel full. The cream cheese provides calcium and protein, while the ginger in the crust can aid digestion. I’m not saying these bars are good for you, but they’re not empty calories either.
If you’re watching your sugar intake, you can reduce the sugar in the pumpkin layer by a tablespoon or two without sacrificing much. I’ve done it, and honestly, the natural sweetness of the pumpkin shines through more. For a lower-fat version, use reduced-fat cream cheese and skip the sour cream. The texture changes slightly, but it’s still satisfying.
These bars contain dairy, eggs, and gluten (from the cookies). They are not suitable for vegans or those with celiac disease unless you use the substitutions mentioned above. Always check labels if you’re serving someone with allergies.
Conclusion
These Perfect Pumpkin Pie Cheesecake Bars with Gingersnap Crust are everything I loved about that bakery on Elm Street, only now I can make them whenever the craving hits. And let me tell you, the craving hits often. They’re the kind of dessert that makes you slow down and actually taste each bite—the crunch of the crust, the silkiness of the cheesecake, the warmth of the pumpkin spice.
I hope you give these a try, whether it’s for a holiday gathering, a potluck, or just a Tuesday night when you need something special. Don’t be afraid to make them your own. Swap the spices, try a different crust, add that pecan topping. Cooking should be fun, not stressful.
If you make these, I’d love to hear about it. Drop a comment below and let me know how they turned out. Did you add your own twist? Did your family fight over the last piece? Share your stories—that’s what makes this community so wonderful. And if you’re looking for more fall desserts, check out my pumpkin bread recipe or these apple cider donuts for more seasonal inspiration.
Until next time, happy baking! And remember—the best desserts are the ones shared with people you love.
Frequently Asked Questions
Can I use a different type of cookie for the crust?
Absolutely. Graham crackers, vanilla wafers, or even shortbread cookies work well. Just adjust the sugar slightly since different cookies have different sweetness levels. The gingersnaps add that unique spice, but you can experiment freely.
Why did my cheesecake layer crack?
Cracks usually happen from overbaking or sudden temperature changes. Make sure you pull the bars when the center still jiggles, and cool them gradually—first on the counter, then in the fridge. A water bath also helps prevent cracking by keeping the oven environment humid.
Can I make these bars ahead of time?
Yes, and I actually recommend it. They taste better after a day in the fridge because the flavors have time to meld. You can make them up to 3 days in advance and keep them covered in the refrigerator. They’re perfect for holiday prep.
How do I get clean slices?
Use a sharp chef’s knife and wipe it clean with a damp paper towel between each cut. Chilling the bars thoroughly before slicing is essential—at least 4 hours, preferably overnight. If the knife is sticking, dip it in hot water and dry it off before cutting.
Can I freeze these bars?
Yes, they freeze wonderfully. Wrap individual bars in plastic wrap, then place them in a freezer bag. They’ll keep for up to 3 months. Thaw in the refrigerator overnight or at room temperature for about 30 minutes before serving. I always keep a stash for emergencies.
Pin This Recipe!
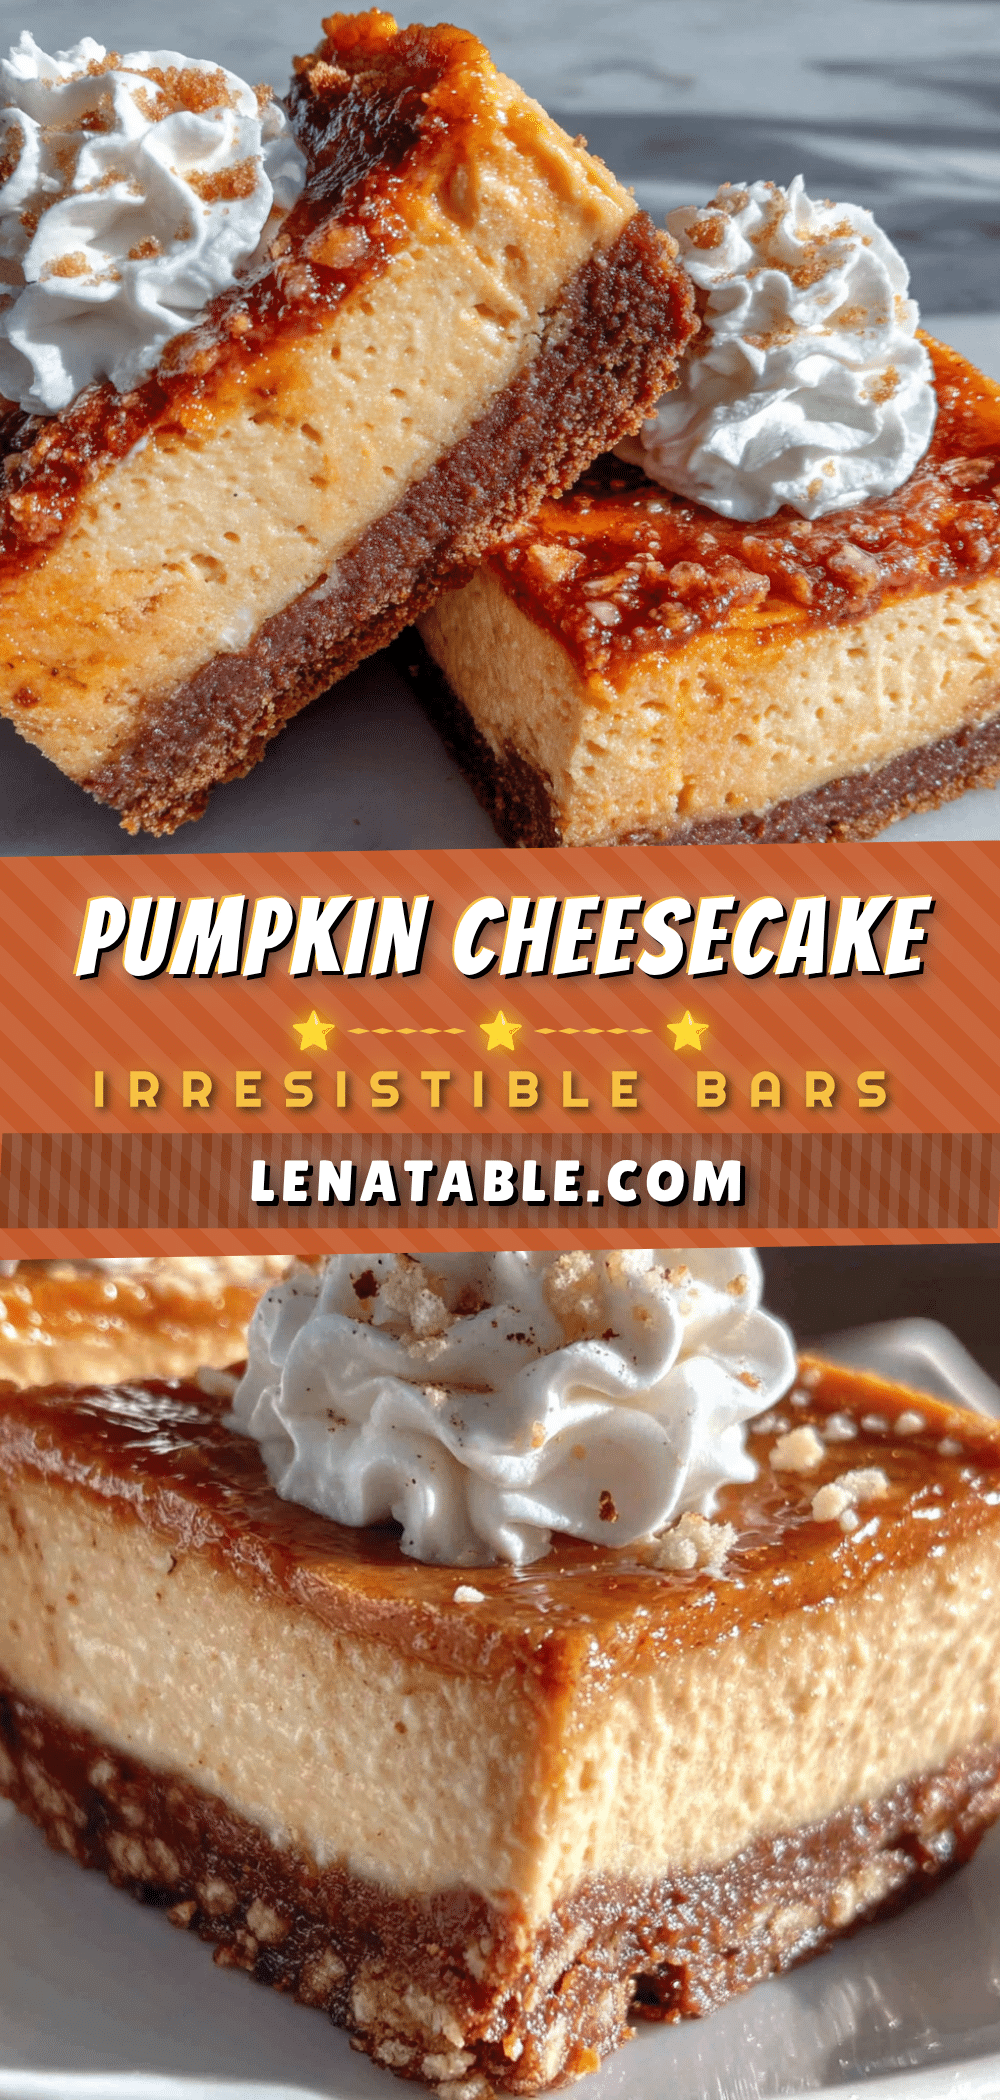
Perfect Pumpkin Pie Cheesecake Bars: Easy Gingersnap Recipe
These Perfect Pumpkin Pie Cheesecake Bars with Gingersnap Crust combine a spicy, crunchy gingersnap crust with a silky cheesecake layer and a spiced pumpkin topping. They’re the ultimate fall dessert that tastes like a bakery version, only better because you made it yourself.
- Prep Time: 30 minutes
- Cook Time: 35-40 minutes
- Total Time: 5 hours 10 minutes (including chilling)
- Yield: 16 servings 1x
- Category: Dessert
- Cuisine: American
Ingredients
- 2 cups (about 200g) gingersnap cookie crumbs
- 1/4 cup (50g) granulated sugar
- 6 tablespoons (85g) unsalted butter, melted
- Pinch of salt
- 16 ounces (450g) cream cheese, softened
- 1/2 cup (100g) granulated sugar
- 2 large eggs, room temperature
- 1 teaspoon vanilla extract
- 1/4 cup (60g) sour cream
- 1 cup (245g) pumpkin puree
- 1/3 cup (65g) granulated sugar
- 1/4 cup (55g) packed light brown sugar
- 1 large egg, room temperature
- 1 teaspoon pumpkin pie spice
- 1/2 teaspoon ground cinnamon
- 2 tablespoons (30g) heavy cream
Instructions
- Preheat your oven to 350°F (175°C). Line your 9×9-inch pan with parchment paper, leaving some overhang on two opposite sides. Lightly grease the parchment with cooking spray or butter.
- Make the crust: In a food processor, pulse the gingersnap cookies until they become fine crumbs. Transfer to a medium bowl, add the sugar and salt, and stir to combine. Pour in the melted butter and mix with a fork until the crumbs are evenly moistened.
- Press the crust into the pan: Dump the crumb mixture into your prepared pan and press it down firmly and evenly. Bake for 10 minutes, then set aside to cool slightly.
- Start the cheesecake layer: In a large bowl, beat the softened cream cheese with an electric mixer on medium speed until smooth and creamy—about 2 minutes. Scrape down the sides. Add the sugar and beat for another minute until fluffy.
- Add eggs and flavorings: Beat in the eggs one at a time, mixing on low speed after each just until combined. Stir in the vanilla extract and sour cream until just smooth.
- Make the pumpkin layer: In a separate bowl, whisk together the pumpkin puree, granulated sugar, and brown sugar until smooth. Add the egg, pumpkin pie spice, cinnamon, and heavy cream. Whisk until well combined and silky.
- Layer the fillings: Pour the cheesecake batter over the warm crust and spread into an even layer. Gently spoon the pumpkin mixture over the top and spread carefully.
- Create the swirl effect (optional): Take a butter knife or skewer and drag it through the two layers in a figure-eight pattern. Do about 4-5 passes.
- Bake the bars: Place the pan in the preheated oven and bake for 35-40 minutes. The edges should be set and slightly puffed, but the center should still jiggle slightly.
- Cool completely: Remove from oven and place on a wire rack. Cool at room temperature for 1 hour, then transfer to the refrigerator. Chill for at least 4 hours, but overnight is best.
- Slice and serve: Once fully chilled, lift the bars out of the pan using the parchment overhang. Place on a cutting board and slice into 9 or 16 squares. Wipe the knife clean between cuts for neat edges.
Notes
Don’t skip the water bath to prevent cracking. Room temperature ingredients are crucial for a smooth batter. Press the crust firmly to avoid crumbling. Watch for the jiggle in the center to avoid overbaking. Chill for at least 4 hours, preferably overnight, for clean slices and best flavor.
Nutrition
- Serving Size: 1 bar
- Calories: 285
- Sugar: 22
- Sodium: 210
- Fat: 17
- Saturated Fat: 10
- Carbohydrates: 30
- Fiber: 1
- Protein: 5
Keywords: pumpkin cheesecake bars, gingersnap crust, fall dessert, Thanksgiving dessert, pumpkin bars, cheesecake bars


