Love this? Save it for later!
Share the inspiration with your friends
I was standing in the checkout line at my local hardware store of all places, clutching a bag of lightbulbs and a new garden hose, when the cashier—a woman named Delores who I’d only ever exchanged nods with—leaned over the counter and asked if I’d ever had Hatch green chile chicken enchiladas. Not just any enchiladas, she emphasized, but creamy ones. I blinked at her, confused. Hardware stores aren’t exactly where you expect to find recipe inspiration, are they? But Delores had this knowing look, like she’d just let me in on a secret the rest of the world hadn’t caught onto yet.
She told me her family had been making these enchiladas for Sunday suppers for over thirty years, and that the secret was roasting the chiles herself every August when they arrived at the local market. Honestly, I was so charmed by her enthusiasm that I forgot to ask for a receipt. I scribbled the basic idea on the back of a crumpled receipt from my pocket—chicken, cream cheese, Hatch chiles, tortillas, and a mountain of Monterey Jack cheese. It was the last place I expected to find a new weeknight hero, but there I was, standing between a display of paint swatches and power tools, completely sold on a dish I hadn’t even tasted yet.
That first batch I made that weekend? It was a little sloppy—I forgot to soften the cream cheese, and the filling was lumpy. But even with that imperfection, the flavor was undeniable. The smoky, mild heat from the Hatch chiles mixed with the tangy creaminess of the sauce was something I couldn’t stop thinking about. Maybe you’ve had that moment where a recipe just clicks, even when you mess it up a little. That’s what these creamy Hatch green chili chicken enchiladas are to me now—a forgiving, unforgettable dish that makes you feel like a pro even on a Tuesday night.
Why You’ll Love This Recipe
Let’s be real for a second—there are about a million enchilada recipes out there. But these creamy Hatch green chili chicken enchiladas? They’re different. I’ve tested this recipe at least six times to get the balance just right, and I can tell you with total confidence that this version is the one worth bookmarking. The sauce alone is a game-changer—creamy without being heavy, tangy without being sharp, and packed with that distinct Hatch chile flavor that makes you feel like you’re eating something special.
- Quick & Easy: From start to finish, you’re looking at about 45 minutes. Perfect for those evenings when you want something comforting but don’t have two hours to spend in the kitchen.
- Simple Ingredients: No hunting down obscure ingredients at three different stores. Cream cheese, sour cream, canned Hatch chiles (or fresh if you’re lucky), rotisserie chicken, and tortillas. That’s it.
- Perfect for Weeknight Dinners or Potlucks: These enchiladas hold up beautifully in a baking dish, making them ideal for bringing to a friend’s house or feeding a hungry family on a Wednesday.
- Crowd-Pleaser: I’ve served these to spice-wary friends and heat-seekers alike, and everyone asks for seconds. The heat level is gentle—more of a warm hug than a slap—so it appeals to all palates.
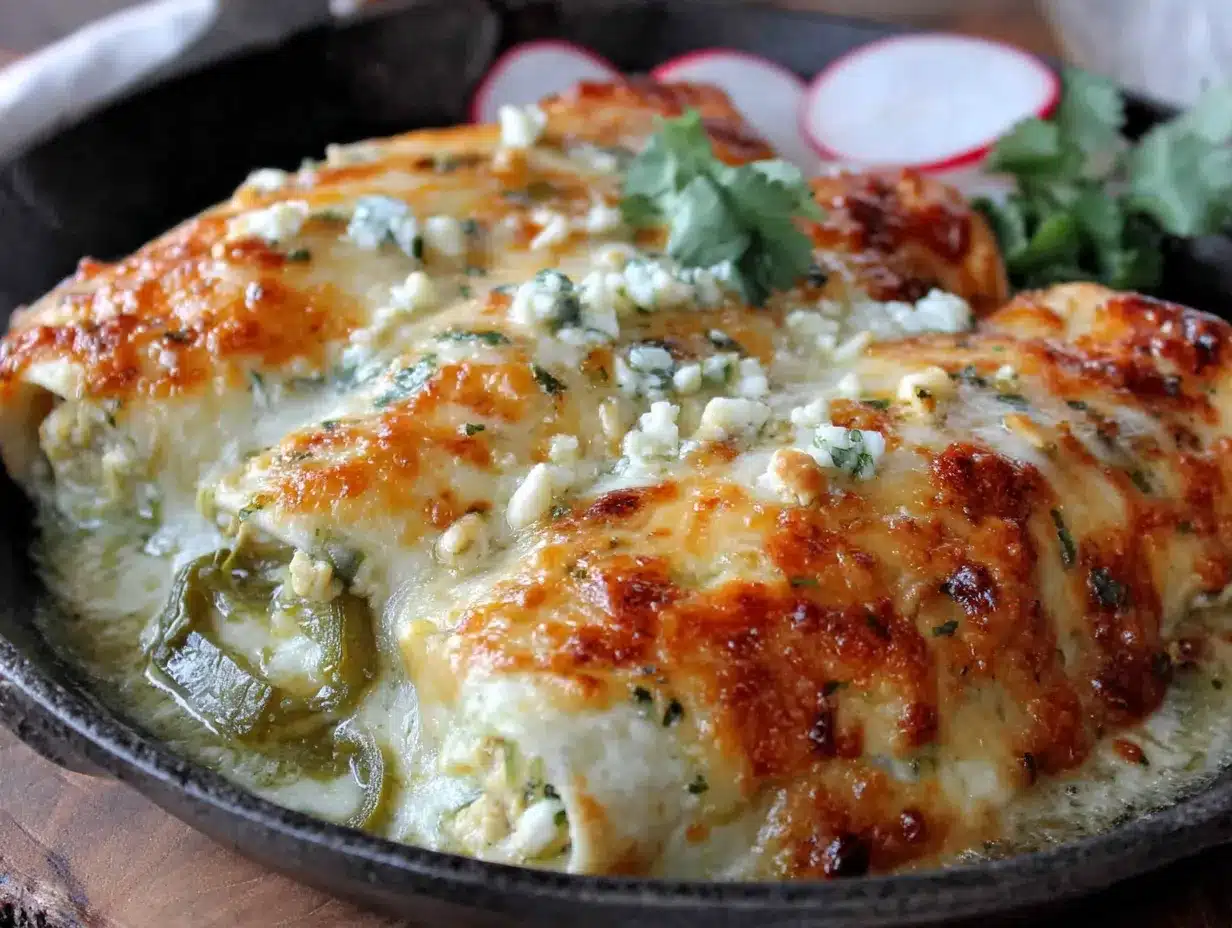
- Unbelievably Delicious: The texture is what gets me every time. The filling is luscious and creamy, the tortillas soak up just enough sauce to stay tender but not mushy, and that bubbly, browned cheese on top? Pure comfort.
What makes this recipe different is the technique of blending the cream cheese directly into the sauce instead of just mixing it into the filling. That one trick gives the entire dish a velvety consistency that feels luxurious without any heavy cream or complicated roux. It’s comfort food reimagined—faster, creamier, and with the same soul-soothing satisfaction that makes you close your eyes after the first bite.
What Ingredients You Will Need
This recipe uses simple, wholesome ingredients that come together to create something truly special. Most of these items are pantry staples or easily found at any grocery store, especially during Hatch chile season in late summer. Here’s what you’ll need:
For the Filling
- 3 cups cooked chicken, shredded (rotisserie chicken works beautifully here—it saves time and adds flavor)
- 4 oz cream cheese, softened to room temperature (this is important—cold cream cheese will leave lumps)
- 1/2 cup sour cream (full-fat gives the best texture, but Greek yogurt works too)
- 1 cup Hatch green chiles, chopped (mild or medium heat—your choice; I prefer medium for a little kick)
- 1/2 teaspoon garlic powder
- 1/2 teaspoon cumin
- Salt and pepper to taste
- 1 cup Monterey Jack cheese, shredded (adds that melty, gooey factor)
For the Creamy Sauce
- 2 tablespoons butter
- 2 tablespoons all-purpose flour
- 1 cup chicken broth (low-sodium preferred so you can control the salt)
- 1 cup sour cream
- 4 oz cream cheese, softened and cubed
- 1/2 cup Hatch green chiles, chopped (for extra chile flavor throughout the sauce)
- 1/2 teaspoon salt
- 1/4 teaspoon white pepper (black pepper works too, but white keeps the sauce looking pristine)
For Assembly
- 8-10 flour tortillas (corn tortillas work too, but flour gives a softer texture; use 6-inch size for easy rolling)
- 1 1/2 cups Monterey Jack cheese, shredded (for topping—don’t skimp here)
- Fresh cilantro, chopped (for garnish—adds a pop of color and freshness)
A quick note on the Hatch chiles: If you can find fresh Hatch chiles in season, roast them yourself under the broiler until the skins blister, then peel and chop them. The smoky flavor is unbeatable. But honestly, canned Hatch chiles (look for brands like 505 Southwestern or Hatch Chile Company) are excellent year-round. I always keep a few cans in my pantry for when the craving strikes.
Equipment Needed
You don’t need a fancy kitchen to pull off these creamy Hatch green chili chicken enchiladas. Here’s what I use:
- 9×13-inch baking dish – Glass or ceramic works best; metal can sometimes react with acidic ingredients like the chiles
- Large skillet – For making the sauce and combining the filling
- Medium saucepan – If you prefer to make the sauce separately (I use the skillet for everything to save dishes)
- Mixing bowls – One for the filling, one for shredded cheese
- Whisk – Essential for a smooth, lump-free sauce
- Rubber spatula – For scraping every last bit of that creamy sauce into the dish
- Chef’s knife and cutting board – For chopping chiles and cilantro
- Measuring cups and spoons
If you don’t have a whisk, a fork works in a pinch—just be prepared to whisk a little harder. And if you’re using a metal baking dish, no worries, just keep an eye on the edges to make sure they don’t brown too quickly. I’ve used both, and honestly, the results are always delicious either way.
Preparation Method
Let’s get cooking! Here’s how to make these creamy Hatch green chili chicken enchiladas step by step. I’ve tested this method multiple times, so trust the process—even if it feels a little messy at first.
- Preheat your oven to 375°F (190°C). While it’s heating up, lightly grease your 9×13-inch baking dish with butter or non-stick spray. This prevents sticking and makes cleanup easier.
- Make the filling. In a large bowl, combine the shredded chicken, softened cream cheese, sour cream, chopped Hatch chiles, garlic powder, cumin, and a pinch of salt and pepper. Mix until everything is well combined. The cream cheese should be soft enough to blend in smoothly—if it’s still lumpy, let it sit at room temperature for another 10 minutes. Stir in 1 cup of shredded Monterey Jack cheese. Set aside.
- Start the creamy sauce. In a large skillet over medium heat, melt the butter. Once it’s bubbling, whisk in the flour and cook for about 1 minute, stirring constantly. This cooks out the raw flour taste. The mixture will look like a thick paste—that’s perfect.
- Add the liquids. Slowly pour in the chicken broth while whisking continuously. Keep whisking until the mixture thickens, about 2-3 minutes. It should coat the back of a spoon. Reduce the heat to low.
- Finish the sauce. Add the cubed cream cheese and sour cream to the skillet, whisking until completely smooth. Stir in the remaining 1/2 cup of chopped Hatch chiles, salt, and white pepper. Taste it—yes, right now—and adjust seasoning. The sauce should be creamy, slightly tangy, and gently warm from the chiles. Remove from heat.
- Assemble the enchiladas. Spread about 1/2 cup of the sauce evenly over the bottom of your prepared baking dish. This prevents the tortillas from sticking and adds flavor to the bottom layer. Take a tortilla, spoon about 1/3 cup of the chicken filling down the center, and roll it up tightly. Place it seam-side down in the dish. Repeat with the remaining tortillas and filling. Don’t worry if they’re snug—that’s what you want.
- Top with sauce and cheese. Pour the remaining creamy sauce over the rolled enchiladas, spreading it evenly with a spatula to cover all the tortillas. Sprinkle the remaining 1 1/2 cups of Monterey Jack cheese over the top. Be generous—this is where the magic happens.
- Bake. Place the dish in the preheated oven and bake for 20-25 minutes, until the sauce is bubbly and the cheese is melted and lightly golden on top. If you want a browner top, switch to broil for the last 2 minutes—but watch it closely so it doesn’t burn.
- Rest and serve. Let the enchiladas rest for 5 minutes after coming out of the oven. This helps them set so they don’t fall apart when you serve them. Garnish with fresh cilantro and a dollop of extra sour cream if you’re feeling fancy.
Cooking Tips & Techniques
I’ve made this recipe enough times to know where things can go sideways. Here are a few hard-earned lessons:
- Don’t skip softening the cream cheese. I learned this the hard way. Cold cream cheese creates lumps in both the filling and the sauce that are nearly impossible to smooth out. Let it sit on the counter for at least 30 minutes before you start.
- Toast your tortillas lightly if you’re using corn tortillas. Corn tortillas are more prone to cracking when rolled. A quick 30-second warm-up in a dry skillet or directly over a gas flame makes them pliable. Flour tortillas are more forgiving, so I usually skip this step for them.
- Don’t overfill. I know it’s tempting to stuff those tortillas to the brim, but too much filling makes them impossible to roll and they’ll burst open during baking. About 1/3 cup per tortilla is the sweet spot.
- Let the sauce simmer for a full 2-3 minutes after adding the broth. This ensures the flour is fully cooked and the sauce thickens properly. Rushing this step leads to a thin, watery sauce—and nobody wants that.
- Use a spatula to spread the sauce over the enchiladas instead of just pouring it. Pouring tends to leave dry spots on the edges, and those tortillas will end up hard and chewy. A gentle spread ensures every inch is coated.
One time, I forgot to add the salt to the sauce entirely. The enchiladas were edible, but they tasted flat and sad. Don’t be like me—taste as you go. It’s the single best habit you can develop in the kitchen.
Variations & Adaptations
This recipe is wonderfully flexible. Here are a few ways to make it your own:
- Make it vegetarian: Swap the chicken for two cans of black beans (drained and rinsed) or a mixture of sautéed mushrooms and zucchini. The creamy sauce works beautifully with veggies.
- Go gluten-free: Use corn tortillas instead of flour, and substitute the all-purpose flour in the sauce with a gluten-free all-purpose blend or cornstarch (use 1 tablespoon cornstarch mixed with 2 tablespoons cold water as a slurry).
- Spice it up: If you want more heat, use hot Hatch chiles or add a finely chopped jalapeño to the filling. You can also sprinkle red pepper flakes over the top before baking.
- Add a smoky twist: Stir in 1/2 teaspoon of smoked paprika or chipotle powder to the sauce. It adds a subtle smokiness that pairs beautifully with the Hatch chiles.
- Try a different cheese: Pepper Jack adds a spicy kick, while queso fresco gives a crumbly, salty contrast. I’ve even used a mix of cheddar and Monterey Jack when I was out of Jack cheese—it worked great.
My personal favorite variation is adding a layer of sautéed onions and bell peppers between the tortillas and the sauce. It adds texture and sweetness that balances the heat. I tried it on a whim one Sunday and now I do it every time.
Serving & Storage Suggestions
These creamy Hatch green chili chicken enchiladas are best served hot, straight from the oven, with a generous sprinkle of fresh cilantro. I like to serve them with a side of Mexican rice and a simple black bean salad for a complete meal. A dollop of sour cream or crema on top adds a cooling element that balances the chiles beautifully.
For drinks, a cold Mexican lager like Modelo or a tangy margarita pairs perfectly. If you’re keeping it non-alcoholic, a glass of horchata or limeade is a refreshing choice.
Storage: Leftover enchiladas keep well in the refrigerator for up to 4 days. Store them in an airtight container, or cover the baking dish tightly with foil. The flavors actually deepen overnight, making leftovers even better.
Freezing: These enchiladas freeze beautifully. Assemble the dish completely but don’t bake it. Cover tightly with plastic wrap and then foil, and freeze for up to 3 months. When you’re ready to eat, thaw overnight in the refrigerator, then bake as directed, adding 10-15 minutes to the baking time since you’re starting from cold.
Reheating: The best way to reheat individual portions is in the microwave for 1-2 minutes, but for the whole dish, cover with foil and warm in a 350°F oven for 15-20 minutes. The sauce stays creamy and the cheese gets bubbly again—almost as good as fresh.
Nutritional Information & Benefits
Here’s an approximate nutritional breakdown per serving (based on 8 servings):
- Calories: 485
- Protein: 32g
- Fat: 28g
- Carbohydrates: 24g
- Fiber: 2g
- Sugar: 4g
- Sodium: 680mg
These enchiladas are a good source of protein from the chicken and cheese, which helps keep you full and satisfied. The Hatch green chiles are rich in vitamin C and capsaicin, which has anti-inflammatory properties. If you’re watching your carb intake, you can reduce the tortillas to 6 and use low-carb options—the filling and sauce are naturally low in carbs.
For a lighter version, substitute Greek yogurt for the sour cream and use reduced-fat cream cheese. The texture will be slightly less rich, but still delicious. I’ve made this swap for friends who are watching their calories, and nobody noticed the difference.
Conclusion
These creamy Hatch green chili chicken enchiladas are the kind of recipe that makes you look forward to dinnertime. They’re comforting without being heavy, flavorful without being complicated, and impressive enough to serve to guests without any stress. I love how forgiving this dish is—you can mess up the timing, forget an ingredient, and it still turns out beautifully.
I hope you give this recipe a try and make it your own. Maybe you’ll add extra chiles for heat, or swap in leftover turkey after Thanksgiving, or double the sauce because you’re a sauce person (I see you). Whatever you do, I’d love to hear about it. Drop a comment below and let me know how your enchiladas turned out—did you try any variations? Did your family ask for the recipe? Share your experience, and don’t forget to pin this for later if you’re as obsessed with Hatch chiles as I am.
Happy cooking, friends. Your next favorite weeknight dinner is waiting.
Frequently Asked Questions
Can I use canned chicken instead of fresh?
Yes, you can use canned chicken in a pinch. Drain it well and shred it with a fork. The texture will be softer than rotisserie chicken, but the flavor from the creamy sauce and Hatch chiles will still shine through. I’d recommend using two 12.5-ounce cans for this recipe.
How do I make the sauce thicker?
If your sauce is too thin, let it simmer for an additional 2-3 minutes while whisking constantly. The flour needs time to fully absorb the liquid and thicken. If it’s still thin after that, mix 1 tablespoon of cornstarch with 2 tablespoons of cold water to make a slurry, then whisk it into the sauce and cook for another minute.
Can I make these enchiladas ahead of time?
Absolutely! Assemble the enchiladas completely, but don’t bake them. Cover the dish tightly with foil and refrigerate for up to 24 hours. When you’re ready to bake, add 10-15 minutes to the baking time since you’re starting from cold. This is a great option for busy weeknights or when you’re hosting a dinner party.
What if I can’t find Hatch green chiles?
If Hatch chiles aren’t available in your area, you can substitute with Anaheim chiles (which have a similar mild heat) or poblano peppers (which are slightly earthier). Canned green chiles from any brand will work, but look for ones labeled “fire-roasted” for the best smoky flavor. The dish will still be delicious, just with a slightly different character.
How do I prevent the tortillas from getting soggy?
To avoid soggy tortillas, make sure your sauce isn’t too thin (see the tip above) and don’t over-bake the enchiladas. Spreading a thin layer of sauce on the bottom of the dish before adding the tortillas actually helps, because it creates a barrier. Also, let the enchiladas rest for 5 minutes after baking—this allows excess moisture to redistribute and the tortillas to firm up slightly.
Pin This Recipe!
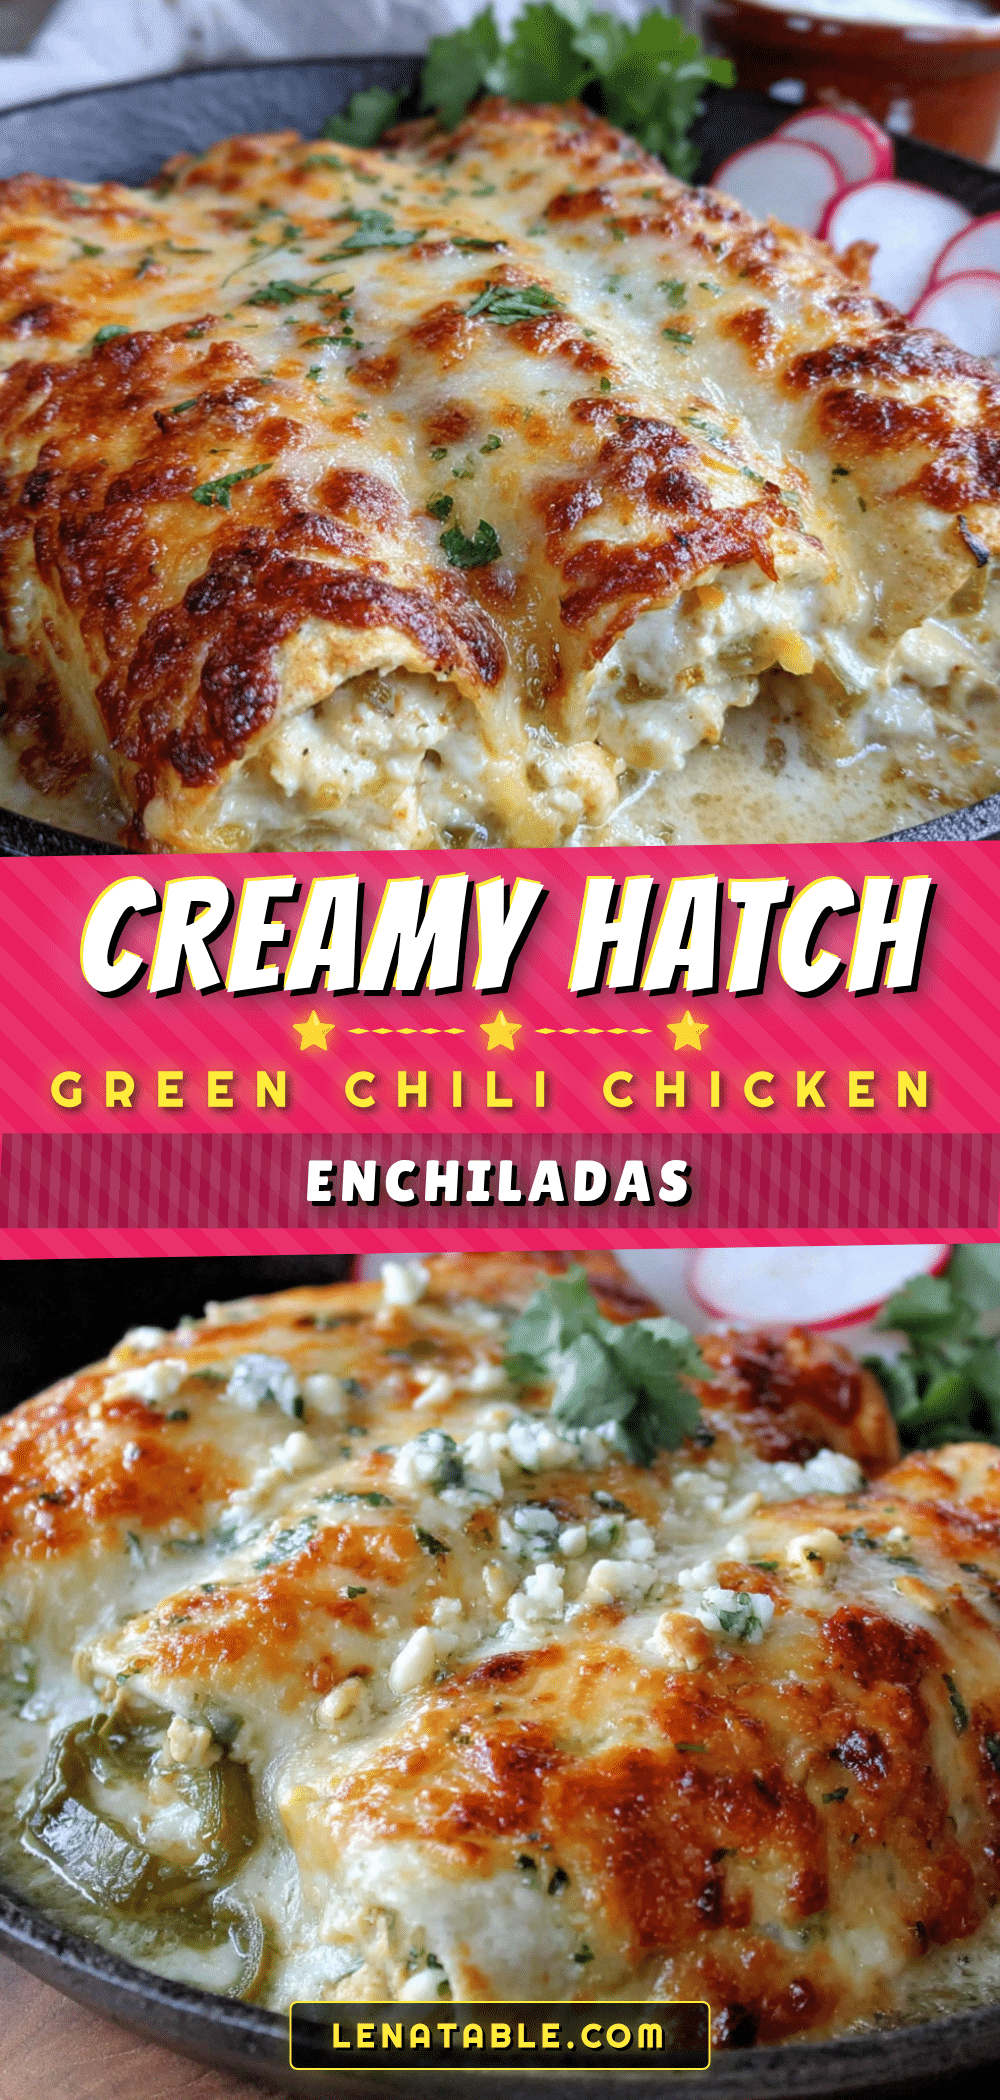
Creamy Hatch Green Chili Chicken Enchiladas

These creamy Hatch green chili chicken enchiladas are a comforting, flavorful weeknight dinner. The smoky, mild heat from Hatch chiles blends with a velvety cream cheese sauce for an unforgettable dish that’s quick and easy to make.
- Prep Time: 15 minutes
- Cook Time: 25 minutes
- Total Time: 45 minutes
- Yield: 8 servings 1x
- Category: Main Course
- Cuisine: Mexican
Ingredients
- 3 cups cooked chicken, shredded (rotisserie chicken works well)
- 8 oz cream cheese, softened (4 oz for filling, 4 oz for sauce)
- 1 cup sour cream (1/2 cup for filling, 1/2 cup for sauce)
- 1 1/2 cups Hatch green chiles, chopped (1 cup for filling, 1/2 cup for sauce)
- 1/2 teaspoon garlic powder
- 1/2 teaspoon cumin
- Salt and pepper to taste
- 2 1/2 cups Monterey Jack cheese, shredded (1 cup for filling, 1 1/2 cups for topping)
- 2 tablespoons butter
- 2 tablespoons all-purpose flour
- 1 cup chicken broth (low-sodium preferred)
- 1/2 teaspoon salt
- 1/4 teaspoon white pepper (or black pepper)
- 8–10 flour tortillas (6-inch size)
- Fresh cilantro, chopped (for garnish)
Instructions
- Preheat your oven to 375°F (190°C). Lightly grease a 9×13-inch baking dish with butter or non-stick spray.
- Make the filling: In a large bowl, combine shredded chicken, 4 oz softened cream cheese, 1/2 cup sour cream, 1 cup chopped Hatch chiles, garlic powder, cumin, and a pinch of salt and pepper. Mix until well combined. Stir in 1 cup shredded Monterey Jack cheese. Set aside.
- Start the creamy sauce: In a large skillet over medium heat, melt the butter. Whisk in the flour and cook for about 1 minute, stirring constantly, until the mixture forms a thick paste.
- Add the liquids: Slowly pour in the chicken broth while whisking continuously. Keep whisking until the mixture thickens, about 2-3 minutes. Reduce heat to low.
- Finish the sauce: Add the remaining 4 oz cubed cream cheese and 1/2 cup sour cream to the skillet, whisking until completely smooth. Stir in the remaining 1/2 cup chopped Hatch chiles, 1/2 teaspoon salt, and 1/4 teaspoon white pepper. Taste and adjust seasoning. Remove from heat.
- Assemble the enchiladas: Spread about 1/2 cup of the sauce evenly over the bottom of the prepared baking dish. Take a tortilla, spoon about 1/3 cup of the chicken filling down the center, and roll it up tightly. Place seam-side down in the dish. Repeat with remaining tortillas and filling.
- Top with sauce and cheese: Pour the remaining creamy sauce over the rolled enchiladas, spreading it evenly with a spatula. Sprinkle the remaining 1 1/2 cups Monterey Jack cheese over the top.
- Bake: Place the dish in the preheated oven and bake for 20-25 minutes, until the sauce is bubbly and the cheese is melted and lightly golden. For a browner top, broil for the last 2 minutes, watching closely.
- Rest and serve: Let the enchiladas rest for 5 minutes after baking. Garnish with fresh cilantro and a dollop of extra sour cream if desired.
Notes
For best results, soften cream cheese to room temperature to avoid lumps. If using corn tortillas, toast them lightly to prevent cracking. Let the sauce simmer fully to thicken properly. Leftovers keep in the refrigerator for up to 4 days and freeze well for up to 3 months.
Nutrition
- Serving Size: 1 enchilada
- Calories: 485
- Sugar: 4
- Sodium: 680
- Fat: 28
- Saturated Fat: 16
- Carbohydrates: 24
- Fiber: 2
- Protein: 32
Keywords: Hatch green chile, chicken enchiladas, creamy enchiladas, weeknight dinner, comfort food, Mexican recipe


