Love this? Save it for later!
Share the inspiration with your friends
There used to be this tiny Vietnamese sandwich shop on the corner of 6th and Spring Street that made the most insane honey garlic chicken. When they suddenly closed their doors two years ago, I honestly felt a little lost. I mean, I’d think about that glossy, sticky-sweet glaze with the crackly crispy skin at least once a week. After twelve tries — including one genuinely embarrassing attempt where I set off the smoke detector and melted a spatula — I finally got it. This crispy honey garlic baked chicken thighs recipe is the exact recreation of that memory, and let me tell you, it was worth every single burnt finger and smoky kitchen moment.
The thing about that shop’s chicken was the texture. The skin wasn’t just crispy — it was shatteringly crisp, like glass, with a sticky-sweet honey garlic coating that clung to every ridge. You’d bite in and hear that crunch, then get hit with the savory-sweet punch of garlic and honey. I remember standing at the counter watching them work, trying to figure out how they got that perfect crust without deep frying. Turns out, the secret is a combination of high heat, a little baking powder, and patience. Who knew?
Maybe you’ve been there — that feeling when a favorite spot disappears and you’re left craving something you can’t quite replicate. I spent months testing different techniques. I tried pan-searing, broiling, even a questionable air fryer method that left the chicken dry and sad. But this oven-baked version? It’s the one. The skin gets impossibly crispy, the meat stays juicy, and that honey garlic sauce reduces into this thick, caramelized coating that makes you want to lick the pan. Honestly, I’ve been making this at least twice a month since I perfected it, and it still makes me close my eyes on that first bite.
Why You’ll Love This Recipe
This isn’t just another chicken thigh recipe — it’s the one that’ll earn you requests from everyone who tries it. I’ve tested this on picky eaters, skeptical in-laws, and my neighbor who “doesn’t really like baked chicken.” Every single person asked for the recipe.
- Quick & Easy : Ready in just 30 minutes from start to finish. Perfect for those nights when you need dinner on the table fast but still want something that feels special.
- Simple Ingredients : You likely have everything in your pantry right now. Honey, soy sauce, garlic, chicken thighs — that’s it. No fancy grocery store trips required.
- Perfect for Weeknights or Entertaining : It’s fancy enough for guests but easy enough for a Tuesday. I’ve served this at dinner parties and casual family dinners with equal success.
- Crowd-Pleaser : Kids love the sweet sticky glaze, adults appreciate the savory garlic balance. It’s that rare recipe that makes everyone happy.
- Unbelievably Delicious : The contrast between the crispy skin and the tender, juicy meat with that sticky honey garlic coating is pure magic. It’s comfort food that feels a little bit fancy.
What makes this recipe different from all the other honey garlic chicken recipes out there? It’s the technique. Most recipes skip the crucial step of patting the skin dry and using baking powder, which is what creates that ultra-crispy texture without deep frying. I also use a two-temperature baking method — high heat to crisp the skin, then a quick broil to caramelize the glaze. It’s a small extra step that makes a huge difference.
This recipe is the kind that makes you close your eyes after the first bite. It’s comfort food reimagined — faster, easier, but with the same soul-soothing satisfaction. Perfect for impressing guests without stress, or turning a simple weeknight meal into something memorable.
What Ingredients You Will Need
This recipe uses simple, wholesome ingredients to deliver bold flavor and satisfying texture without the fuss. Most of these are pantry staples, but I’ve included notes on where quality really matters.
- Bone-in, skin-on chicken thighs (about 6-8 thighs, roughly 2 pounds total) — The bone keeps the meat juicy during high-heat baking, and the skin is essential for that crispy texture. I prefer thighs from Bell & Evans or Mary’s Free Range Chicken for the best flavor and texture. Look for thighs with the skin still attached and intact.
- Honey (1/3 cup) — Use a good quality honey here. I like Local Hive or Nature Nate’s for their clean, floral sweetness. Avoid honey that’s crystallized or too thick — it won’t spread evenly. (adds natural sweetness and helps create that sticky glaze)
- Soy sauce (1/4 cup) — Regular sodium works best here. Low-sodium will work but you might need a pinch of extra salt. I recommend Kikkoman or San-J for consistent flavor. (provides savory umami balance to the honey)
- Garlic (6-8 cloves, minced) — Fresh garlic is non-negotiable here. The pre-minced stuff in jars just doesn’t have the same punch. I use about 6 cloves for a mild garlic flavor, 8 if I want it really bold. (adds aromatic depth and heat)
- Rice vinegar (2 tablespoons) — This brightens up the glaze and cuts through the richness of the chicken. You can substitute apple cider vinegar if needed. (adds acidity to balance sweetness)
- Baking powder (1 teaspoon) — This is the secret to crispy skin! It helps dry out the skin and creates tiny bubbles that crisp up in the oven. Make sure it’s baking powder, not baking soda. (creates ultra-crispy texture)
- Salt (1 teaspoon, plus more for seasoning) — I use kosher salt for even seasoning. Diamond Crystal or Morton’s both work well. (enhances all the flavors)
- Black pepper (1/2 teaspoon, freshly ground) — Freshly ground pepper has so much more flavor than pre-ground. (adds subtle heat and depth)
- Vegetable oil or avocado oil (1 tablespoon) — Helps the seasoning stick and promotes even browning. Avocado oil has a higher smoke point, which is ideal here. (helps crisp the skin)
- Sesame seeds (1 tablespoon, for garnish) — Optional but highly recommended for that restaurant touch. (adds visual appeal and nutty flavor)
- Green onions (2-3, sliced, for garnish) — Adds freshness and color. (brightens the final dish)
Equipment Needed
You don’t need a lot of fancy equipment for this recipe, but a few key tools make a big difference in the result.
- Baking sheet — A rimmed baking sheet works best. I use a half-sheet pan (18×13 inches) for even heat distribution. Avoid dark non-stick pans — they absorb heat unevenly and can burn the glaze.
- Wire rack — This is optional but highly recommended. Placing the chicken on a wire rack set inside the baking sheet allows hot air to circulate all around the thighs, resulting in much crispier skin. I got mine from OXO for about $12 and it’s been a game-changer.
- Small saucepan — For making the honey garlic glaze. A 1-quart saucepan works perfectly.
- Meat thermometer — Essential for perfectly cooked chicken. Chicken thighs are safe at 165°F, but I prefer them at 175-180°F for the best texture. An instant-read thermometer from ThermoPro is affordable and reliable.
- Mixing bowl — For seasoning the chicken. A medium glass or stainless steel bowl works well.
- Tongs — For flipping the chicken and handling the hot thighs. Silicone-tipped tongs won’t scratch your baking sheet.
- Pastry brush — For applying the glaze. A silicone brush is easier to clean than natural bristles.
If you don’t have a wire rack, you can still get decent results by placing the chicken directly on the baking sheet. Just flip the thighs halfway through cooking and expect slightly less crispy skin. And if you don’t have a meat thermometer, you can check for doneness by piercing the thickest part of the thigh — the juices should run clear, not pink.
Preparation Method
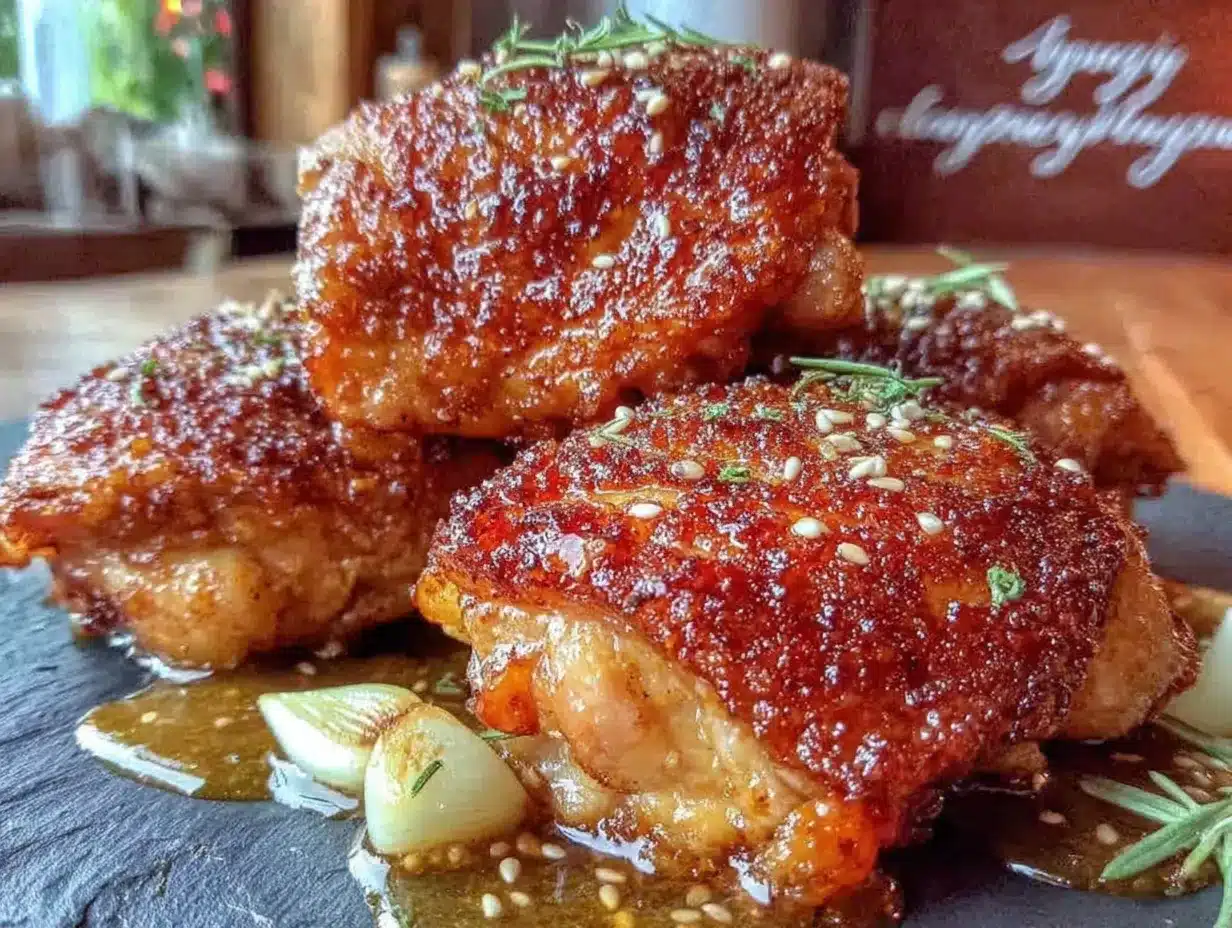
Let me walk you through this step by step. I’ve included all the little details I wish someone had told me the first time I made this.
- Preheat your oven to 425°F (220°C). Position the rack in the upper third of the oven — about 6 inches from the top. This ensures the skin gets direct heat for maximum crispiness. While the oven heats, take the chicken out of the fridge and let it sit at room temperature for 15 minutes. Cold chicken won’t crisp up as well.
- Pat the chicken thighs completely dry with paper towels. This is the most important step for crispy skin. I mean really dry — press firmly and use multiple paper towels. Any moisture on the skin will steam instead of crisp. I usually go through 4-5 paper towels for 8 thighs. Don’t skip this!
- Season the chicken by combining the baking powder, 1 teaspoon salt, and 1/2 teaspoon black pepper in a small bowl. Sprinkle this mixture evenly over both sides of the chicken thighs, rubbing it in gently. The baking powder might look a little powdery at first — that’s normal. Drizzle the vegetable oil over the skin side and rub it in to help the seasoning stick.
- Arrange the chicken on a wire rack set over a baking sheet, skin side up. Make sure the thighs aren’t touching each other — leave at least an inch of space between them so the hot air can circulate. If they’re crowded, they’ll steam instead of crisp. If you don’t have a wire rack, place them directly on the baking sheet skin side up.
- Bake for 20 minutes without opening the oven door. I know it’s tempting to check, but every time you open the door, heat escapes and the skin takes longer to crisp. At the 20-minute mark, the skin should be golden brown and starting to look crispy. If it’s not quite there, give it another 3-5 minutes.
- While the chicken bakes, make the honey garlic glaze. In a small saucepan, combine the honey, soy sauce, minced garlic, and rice vinegar. Bring to a gentle simmer over medium heat, then reduce the heat to low. Let it bubble gently for 5-7 minutes, stirring occasionally, until it thickens slightly. You’ll know it’s ready when it coats the back of a spoon. Be careful not to let it boil too vigorously — the honey can burn quickly. Remove from heat and set aside.
- Brush the glaze onto the chicken once it’s done baking. Use a pastry brush to apply a generous layer of the honey garlic mixture to the skin side of each thigh. Don’t drench them — you want a nice even coating. Reserve about half the glaze for later.
- Broil for 2-3 minutes to caramelize the glaze. Switch your oven to broil (high heat) and watch the chicken carefully. The glaze can burn in seconds! I usually set a timer for 2 minutes and check. You’re looking for the glaze to bubble and darken slightly — it should look glossy and sticky. If it starts to blacken, pull it out immediately.
- Apply a second layer of glaze after broiling. Brush the remaining honey garlic mixture over the chicken. This double-glaze method gives you that thick, sticky coating that makes this recipe so addictive.
- Let the chicken rest for 5 minutes before serving. This allows the juices to redistribute and the glaze to set slightly. Sprinkle with sesame seeds and sliced green onions right before serving.
Cooking Tips & Techniques
I’ve made this recipe more times than I can count, and I’ve learned a few things the hard way. Here are my best tips to help you nail it on the first try.
The drying trick matters more than you think. The first time I made this, I thought “pat dry” meant a quick dab with a paper towel. My chicken came out with soggy, pale skin. Now I really go to town with the paper towels — pressing firmly, using multiple towels, and making sure every inch is dry. It makes the difference between crispy and not-crispy.
Don’t skip the baking powder. I know it sounds weird, but it’s not for leavening — it’s for crispiness. Baking powder raises the pH of the skin, which helps it brown faster and become more crispy. Just make sure you’re using baking powder, not baking soda. Baking soda will give your chicken a metallic taste. Trust me on this one — I learned that lesson the hard way.
Watch the broiler like a hawk. The broiler step is where things can go wrong fast. I once got distracted scrolling through my phone and ended up with charred, bitter chicken. The honey in the glaze burns easily because of its high sugar content. Set a timer for 2 minutes and stand by the oven. If your broiler is particularly strong, check at 90 seconds.
Let the glaze simmer, not boil. When you’re making the honey garlic sauce, keep it at a gentle simmer. A rolling boil will make the honey seize up and become grainy. You want it to thicken slowly and evenly. If it starts to boil, just lower the heat immediately.
Room temperature chicken is your friend. Taking the chicken out of the fridge 15 minutes before cooking helps it cook more evenly. Cold chicken going into a hot oven can result in overcooked edges and undercooked centers. It’s a small step that makes a real difference.
Multitask wisely. Start making the glaze about 10 minutes before the chicken finishes baking. That way, everything is ready at the same time. I usually set a timer for 15 minutes into the bake, then start the glaze. By the time the chicken comes out, the glaze is perfectly thickened and ready to go.
Variations & Adaptations
One of the things I love about this recipe is how flexible it is. Here are some variations I’ve tried and loved.
Spicy Honey Garlic Version: Add 1-2 teaspoons of sriracha or gochujang to the glaze along with the honey and soy sauce. The heat cuts through the sweetness beautifully. I made this version for a game day party and it disappeared in minutes. You can also add red pepper flakes to the glaze for a more subtle heat.
Gluten-Free Adaptation: Simply swap the regular soy sauce for tamari or coconut aminos. Everything else in the recipe is naturally gluten-free. I’ve tested this with tamari and the flavor is almost identical — just slightly less salty, so you might want to add a pinch of extra salt.
Air Fryer Method: If you don’t want to turn on your oven, this works great in an air fryer. Preheat the air fryer to 400°F (200°C). Season the chicken as directed, then place it skin side up in the air fryer basket in a single layer. Cook for 18-20 minutes, flipping halfway through. Brush with glaze and cook for another 2-3 minutes at 400°F. The skin gets incredibly crispy in the air fryer — almost like fried chicken.
Lemon Garlic Variation: Replace the rice vinegar with fresh lemon juice and add the zest of one lemon to the glaze. The citrus brightens everything up and pairs beautifully with the garlic. I make this version in the summer when I want something a little lighter.
Bone-in vs. Boneless: You can use boneless, skin-on chicken thighs if that’s what you have. Reduce the baking time to 15-18 minutes since boneless thighs cook faster. The skin won’t be quite as crispy because there’s less fat rendering, but it’s still delicious.
Maple Alternative: Swap the honey for maple syrup for a slightly different flavor profile. The maple version is a little less sweet and has a more complex, earthy flavor. I actually prefer this version in the fall.
Serving & Storage Suggestions
This chicken is best served hot, right after the glaze is applied. The contrast between the warm, crispy skin and the sticky-sweet glaze is at its peak within the first 15 minutes. But there are plenty of ways to enjoy it beyond that.
Serving temperature: Serve the chicken hot, ideally within 5-10 minutes of coming out of the oven. If you’re making a big batch, keep the extra chicken warm in a 200°F oven while you finish glazing and serving the first batch.
What to serve with it: This chicken pairs beautifully with steamed jasmine rice or coconut rice to soak up any extra glaze. For vegetables, I love roasted broccoli or green beans tossed with sesame oil and garlic. A simple cucumber salad with rice vinegar and sesame seeds cuts through the richness perfectly. For a complete meal, try serving it with garlic butter noodles — the noodles soak up the extra honey garlic sauce beautifully.
Storage: Store leftover chicken in an airtight container in the refrigerator for up to 4 days. The skin will soften as it sits, but the flavor actually gets better — the garlic and honey meld together overnight. I’ve been known to eat the leftovers cold, straight from the fridge, as a snack.
Reheating: The best way to reheat this chicken is in the oven or air fryer. Preheat to 375°F (190°C) and reheat for 8-10 minutes until warmed through. The skin will crisp back up nicely. Avoid the microwave — it will make the skin soggy and the glaze watery. If you’re in a hurry, you can reheat in a hot skillet with a splash of water, covered, for 3-4 minutes.
Freezing: You can freeze the cooked chicken (without the glaze) for up to 3 months. Wrap each thigh individually in plastic wrap, then place in a freezer bag. When ready to use, thaw in the refrigerator overnight, then reheat and glaze as directed. The glaze is best made fresh, but you can freeze it separately in a small container for up to 1 month.
How flavors develop: The honey garlic flavor actually deepens overnight. If you can resist eating all the chicken immediately, the leftovers are incredible the next day. The garlic mellows out and the honey becomes more pronounced. I sometimes make a double batch just for the leftovers.
Nutritional Information & Benefits
Here’s the nutritional breakdown for one serving (one chicken thigh with glaze):
| Nutrient | Amount |
|---|---|
| Calories | 285 |
| Protein | 22g |
| Fat | 15g |
| Saturated Fat | 4g |
| Carbohydrates | 14g |
| Sugar | 12g |
| Fiber | 0g |
| Sodium | 620mg |
Chicken thighs are a great source of high-quality protein, which supports muscle health and keeps you feeling full. They also provide important B vitamins, particularly niacin and vitamin B6, which help with energy metabolism. The skin contains healthy fats that aid in nutrient absorption.
Honey, while it is sugar, contains trace amounts of antioxidants and has antibacterial properties. Garlic is known for its immune-boosting compounds, particularly allicin, which has been studied for its potential cardiovascular benefits.
Dietary considerations: This recipe is naturally dairy-free and can be made gluten-free with tamari. It’s not suitable for low-carb or keto diets due to the honey, but you could try a sugar-free honey substitute if needed. The main allergens are soy (from the soy sauce) and potentially sesame (from the garnish).
My personal take: I don’t think this is a “health food” by any stretch, but it’s a balanced, satisfying meal made with real ingredients. The protein and fat from the chicken keep you full, and the moderate amount of honey feels like a treat rather than a sugar bomb. I serve it with plenty of vegetables and feel good about that balance.
Conclusion
This crispy honey garlic baked chicken thighs recipe is the kind of dish that makes you feel like a rockstar in the kitchen with almost no effort. It’s quick enough for a busy Tuesday, impressive enough for guests, and delicious enough that you’ll find yourself craving it on repeat. The crispy skin, the sticky-sweet glaze, the tender juicy meat — it all comes together in just 30 minutes with ingredients you probably already have.
I’d love to hear how this turns out for you! Did you try any of the variations? Did you find your own twist? Drop a comment below and let me know — I read every single one and I love seeing how people make this recipe their own. And if you loved it, share it with a friend who needs a new weeknight dinner hero.
Honestly, this recipe has become my go-to for pretty much every occasion. It’s the one I make when I’m stressed, when I’m celebrating, or when I just want something that tastes like a hug. I hope it becomes that for you too. Happy cooking, friends!
Frequently Asked Questions
Can I use chicken breasts instead of thighs?
You can, but the results won’t be quite the same. Chicken breasts are leaner and can dry out more easily at the high temperature needed for crispy skin. If you use breasts, choose bone-in, skin-on breasts and reduce the baking time to 18-22 minutes. Check the internal temperature — you want 165°F (74°C) for breasts.
Why is my chicken skin not crispy?
The most common reason is moisture. Make sure you pat the skin completely dry with paper towels before seasoning. Also, don’t crowd the pan — the thighs need space for hot air to circulate. If your skin is still not crispy, try increasing the oven temperature to 450°F for the last 5 minutes of baking, or use the broiler for longer (watch carefully!).
Can I make this recipe ahead of time?
Absolutely! You can season the chicken and make the glaze up to 24 hours in advance. Store the seasoned chicken in the refrigerator and the glaze in an airtight container. When you’re ready to cook, let the chicken sit at room temperature for 15 minutes, then bake as directed. The glaze may thicken in the fridge — just warm it gently before using.
How do I prevent the honey garlic glaze from burning?
The key is to apply the glaze at the right time. Brush it on after the chicken is already baked and crispy, then broil for just 2-3 minutes. Don’t apply the glaze before baking — the sugar will burn in the long oven time. Also, watch the broiler carefully and pull the chicken out as soon as the glaze starts to bubble and darken.
Can I double this recipe for a crowd?
Yes! This recipe scales beautifully. Just make sure you use multiple baking sheets so the chicken isn’t crowded. You may need to rotate the pans halfway through baking for even cooking. The glaze recipe can be doubled easily — just use a larger saucepan and simmer a few minutes longer to thicken.
Pin This Recipe!
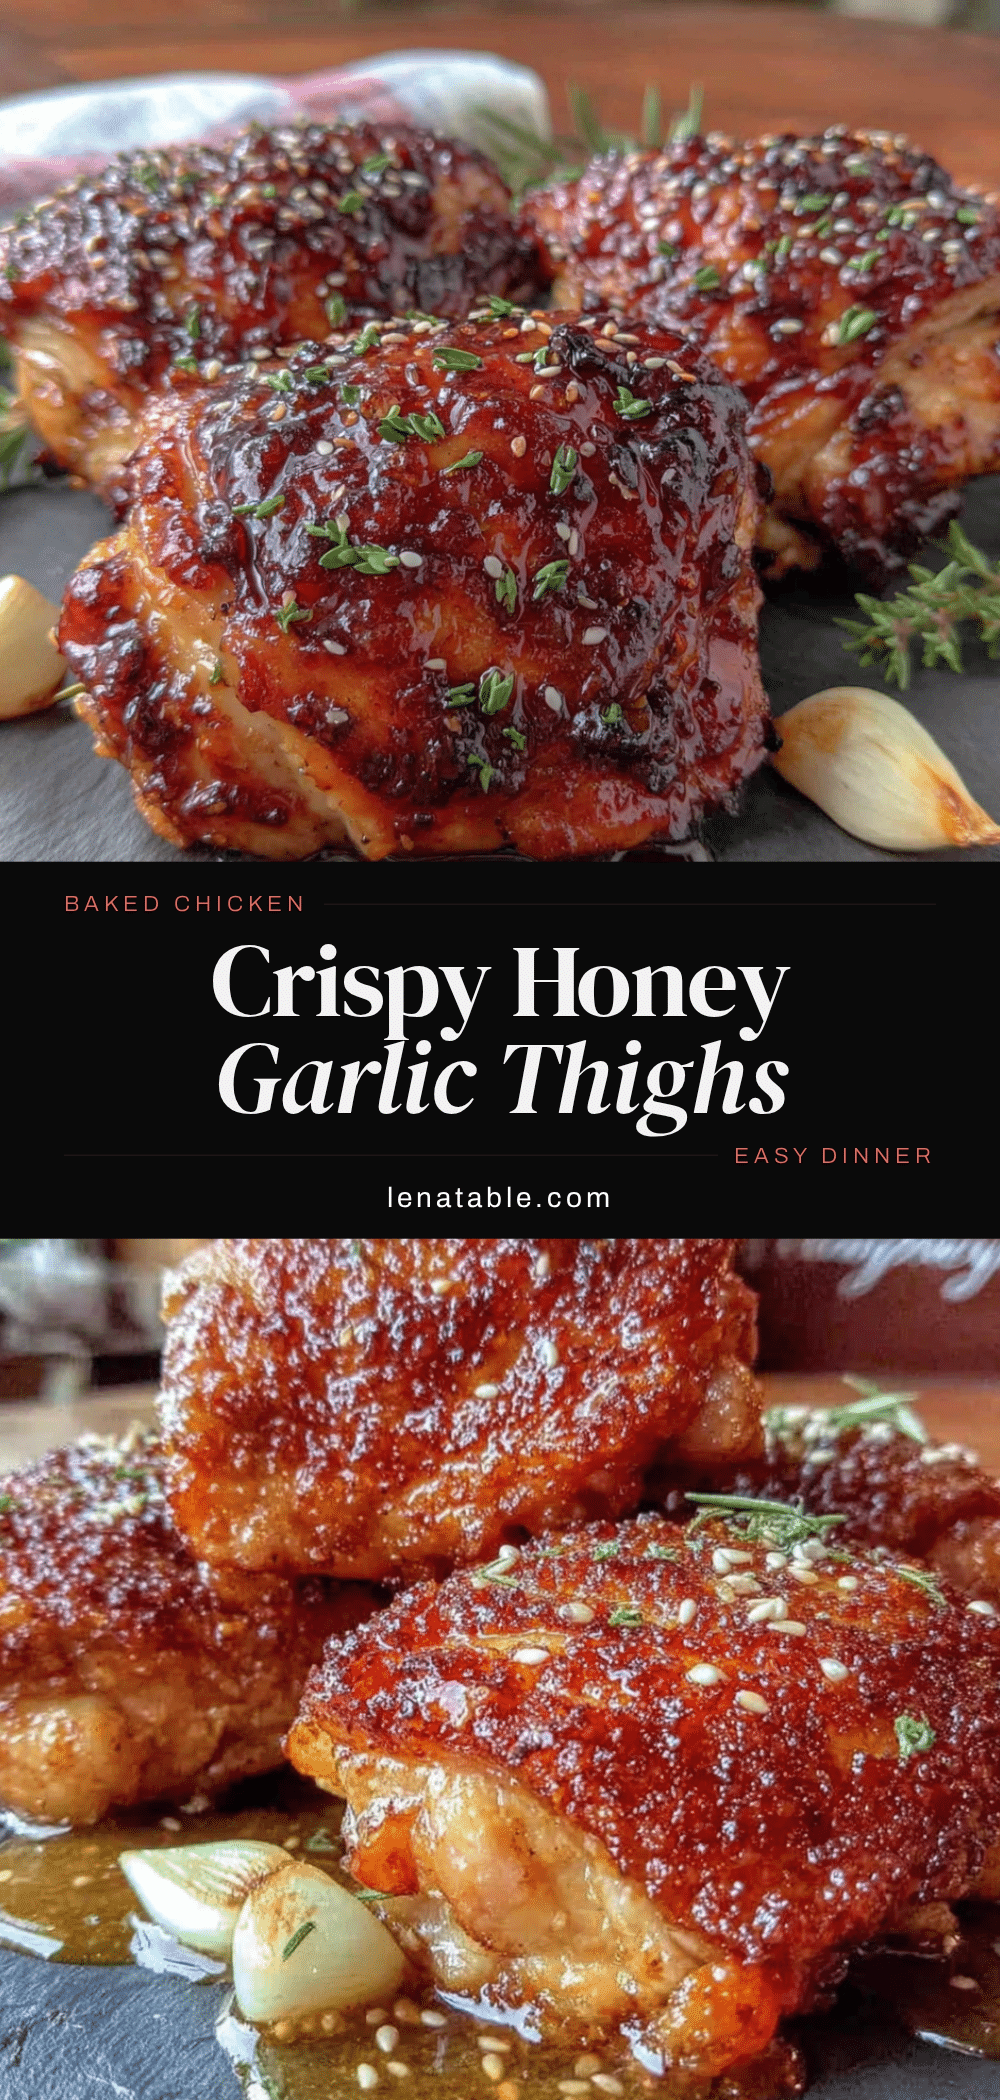
Crispy Honey Garlic Baked Chicken Thighs (Easy 30-Minute Recipe)

This crispy honey garlic baked chicken thighs recipe recreates the shatteringly crisp skin and sticky-sweet glaze of a beloved Vietnamese sandwich shop’s chicken. Ready in just 30 minutes, it’s a quick and easy weeknight dinner that feels special enough for entertaining.
- Prep Time: 15 minutes
- Cook Time: 25 minutes
- Total Time: 40 minutes
- Yield: 4 servings 1x
- Category: Main Course
- Cuisine: Asian
Ingredients
- 6–8 bone-in, skin-on chicken thighs (about 2 pounds total)
- 1/3 cup honey
- 1/4 cup soy sauce
- 6–8 cloves garlic, minced
- 2 tablespoons rice vinegar
- 1 teaspoon baking powder
- 1 teaspoon salt, plus more for seasoning
- 1/2 teaspoon freshly ground black pepper
- 1 tablespoon vegetable oil or avocado oil
- 1 tablespoon sesame seeds (for garnish)
- 2–3 green onions, sliced (for garnish)
Instructions
- Preheat your oven to 425°F (220°C). Position the rack in the upper third of the oven. Take the chicken out of the fridge and let it sit at room temperature for 15 minutes.
- Pat the chicken thighs completely dry with paper towels, pressing firmly and using multiple towels to remove all moisture.
- Combine baking powder, 1 teaspoon salt, and 1/2 teaspoon black pepper in a small bowl. Sprinkle evenly over both sides of the chicken thighs, rubbing in gently. Drizzle vegetable oil over the skin side and rub in.
- Arrange the chicken on a wire rack set over a baking sheet, skin side up, leaving at least an inch of space between each thigh.
- Bake for 20 minutes without opening the oven door, until the skin is golden brown and crispy.
- While the chicken bakes, make the honey garlic glaze: In a small saucepan, combine honey, soy sauce, minced garlic, and rice vinegar. Bring to a gentle simmer over medium heat, then reduce heat to low. Let bubble gently for 5-7 minutes, stirring occasionally, until thickened slightly. Remove from heat.
- Brush a generous layer of the glaze onto the skin side of each baked thigh. Reserve about half the glaze.
- Switch the oven to broil (high heat) and broil for 2-3 minutes, watching carefully, until the glaze bubbles and darkens slightly.
- Brush the remaining glaze over the chicken after broiling.
- Let the chicken rest for 5 minutes before serving. Sprinkle with sesame seeds and sliced green onions.
Notes
Pat the chicken completely dry for crispy skin. Don’t skip the baking powder—it helps the skin crisp. Watch the broiler carefully to prevent the glaze from burning. Let the chicken rest 5 minutes before serving. For best results, use bone-in, skin-on thighs.
Nutrition
- Serving Size: 1 chicken thigh with
- Calories: 285
- Sugar: 12
- Sodium: 620
- Fat: 15
- Saturated Fat: 4
- Carbohydrates: 14
- Protein: 22
Keywords: crispy honey garlic chicken, baked chicken thighs, honey garlic chicken, easy chicken recipe, 30-minute dinner, weeknight dinner, chicken thighs


