Love this? Save it for later!
Share the inspiration with your friends
There used to be a tiny, dusty health food store on the corner of Oak and Elm in my old neighborhood that made the most incredible elderberry gummies. When they closed their doors two summers ago—a “retirement sale” sign taped to the window—I honestly felt a little panicked. Those little ruby-red squares had gotten me through three flu seasons without so much as a sniffle. After twelve tries—some gummy messes, one weirdly salty batch, and a few that tasted like cough syrup—I finally got it. These homemade elderberry gummies are better than the original, and I mean that.
The first attempt was a disaster. I forgot to bloom the gelatin and ended up with a weird, stringy syrup that refused to set. My kitchen looked like a crime scene of purple goo. But you know what? That failure taught me more than any perfect batch ever could. I learned that patience with the low heat is everything, and that a little honey goes a long way in balancing the tartness of the berries. The second batch was edible, the fifth was good, and by the tenth, my husband was sneaking them from the jar. That’s when I knew I had something special.
These homemade elderberry gummies aren’t just about immune support—though that’s a huge part of it. They’re about having a little ritual every morning, a sweet-tart promise that you’re taking care of yourself. Maybe you’ve been there, staring at expensive store-bought gummies and wondering if they’re even worth the money. Let me tell you, making them yourself is cheaper, cleaner, and honestly, more satisfying. The best part? You control exactly what goes in. No weird preservatives, no corn syrup, just real food doing real good.
Why You’ll Love This Recipe
Let’s be real for a second. Store-bought immune gummies are expensive and often packed with sugar or artificial junk. These homemade elderberry gummies solve that problem completely. They’re made with real ingredients you can pronounce, and they actually work. I’ve tested this recipe on my family, my neighbors, and even my skeptical brother-in-law who swore he’d never like “healthy candy.” He now asks for the recipe.
- Quick & Easy: Comes together in about 20 minutes of active time. The hardest part is waiting for them to set in the fridge.
- Simple Ingredients: You only need five main ingredients, and you probably already have three of them in your pantry.
- Perfect for Cold Season: Great for keeping your family healthy during the fall and winter months, or anytime you need a little immune boost.
- Crowd-Pleaser: Kids love the gummy texture and sweet-tart flavor. Adults love knowing they’re getting real immune support.
- Unbelievably Delicious: These taste like a treat, not a medicine. The honey and elderberry create a flavor combo that’s honestly addictive.
What makes this recipe different from the dozens of others out there? It’s the ratio. I spent weeks tweaking the gelatin-to-liquid ratio to get that perfect gummy texture—firm enough to hold its shape, but soft enough to be a pleasure to chew. Plus, I use a little trick with the honey that makes the flavor pop without being overly sweet. This isn’t just another version of elderberry gummies. This is the one I make every single week, and the one my friends now request as gifts.
This recipe is the kind that makes you feel good about eating something fun. It’s comfort food for your immune system—nourishing, delicious, and made with love. Perfect for sneaking into lunchboxes, keeping on your desk at work, or gifting to friends who need a little extra care.
What Ingredients You Will Need
This recipe uses simple, wholesome ingredients that work together to create a powerful immune-supporting treat. Most of these are pantry staples if you’re into herbal remedies, and the rest are easy to find at any grocery store or online. Here’s what you’ll need:
- Dried elderberries, ½ cup – These are the star of the show. I prefer dried over fresh because they’re more concentrated and available year-round. Look for organic ones from a reputable brand like Starwest Botanicals or Frontier Co-op. The deep purple color is a good sign of quality.
- Filtered water, 2 cups – Tap water can contain chlorine or minerals that might affect the flavor. Filtered water gives you a cleaner taste.
- Gelatin powder, ¼ cup – This is what gives the gummies their signature texture. I use grass-fed beef gelatin from Vital Proteins because it sets firmly and has no weird aftertaste. For a vegan option, you can try agar agar, but the texture will be different—more jelly-like and less chewy.
- Raw honey, 3 to 4 tablespoons – Adds natural sweetness and has its own immune-supporting properties. Use raw, unfiltered honey for the best flavor and benefits. If you’re making these for children under one year old, substitute with maple syrup instead.
- Lemon juice, 2 tablespoons – Freshly squeezed is best. The acidity helps preserve the gummies and brightens the elderberry flavor. It also adds a little vitamin C boost.
- Optional: Vitamin C powder, ½ teaspoon – I add this for an extra immune kick. It also helps the gummies set more firmly. You can find it in the supplement aisle or online.
That’s it! Five main ingredients, plus one optional booster. No weird chemicals, no artificial flavors, no high-fructose corn syrup. Just real food that your body knows what to do with. I love that I can pronounce everything on this list, and my kids actually ask for these instead of candy. Win-win.
Equipment Needed
You don’t need a fancy kitchen to make these homemade elderberry gummies. Here’s what you’ll need:
- Small saucepan – For simmering the elderberries and making the concentrated syrup. A 2-quart saucepan works perfectly.
- Fine-mesh strainer or cheesecloth – To strain out the cooked elderberries. A fine-mesh strainer gives you a clear syrup, while cheesecloth is even better for removing all the tiny bits.
- Glass measuring cup or small bowl – For mixing the gelatin. A 2-cup glass measuring cup with a spout is ideal for easy pouring later.
- Silicone gummy molds – These make the gummies look professional and fun. I use bear-shaped molds because my kids love them, but you can use any shape you like. Silicone is non-stick and makes popping the gummies out a breeze.
- Whisk or fork – For stirring the gelatin mixture. A small whisk works best to prevent lumps.
- Dropper or small pitcher – For filling the molds. A dropper gives you precision, but a small pitcher with a spout works fine too.
- Baking sheet or plate – To hold the filled molds flat in the fridge.
If you don’t have silicone molds, you can pour the mixture into a small glass dish (like an 8×8 inch baking dish) and cut the set gummies into squares with a knife. The texture is the same, just a different shape. I’ve done both, and honestly, the molds are more fun, but the dish method is faster. Budget-friendly tip: check dollar stores for silicone molds—they often have them for a fraction of the price.
Preparation Method
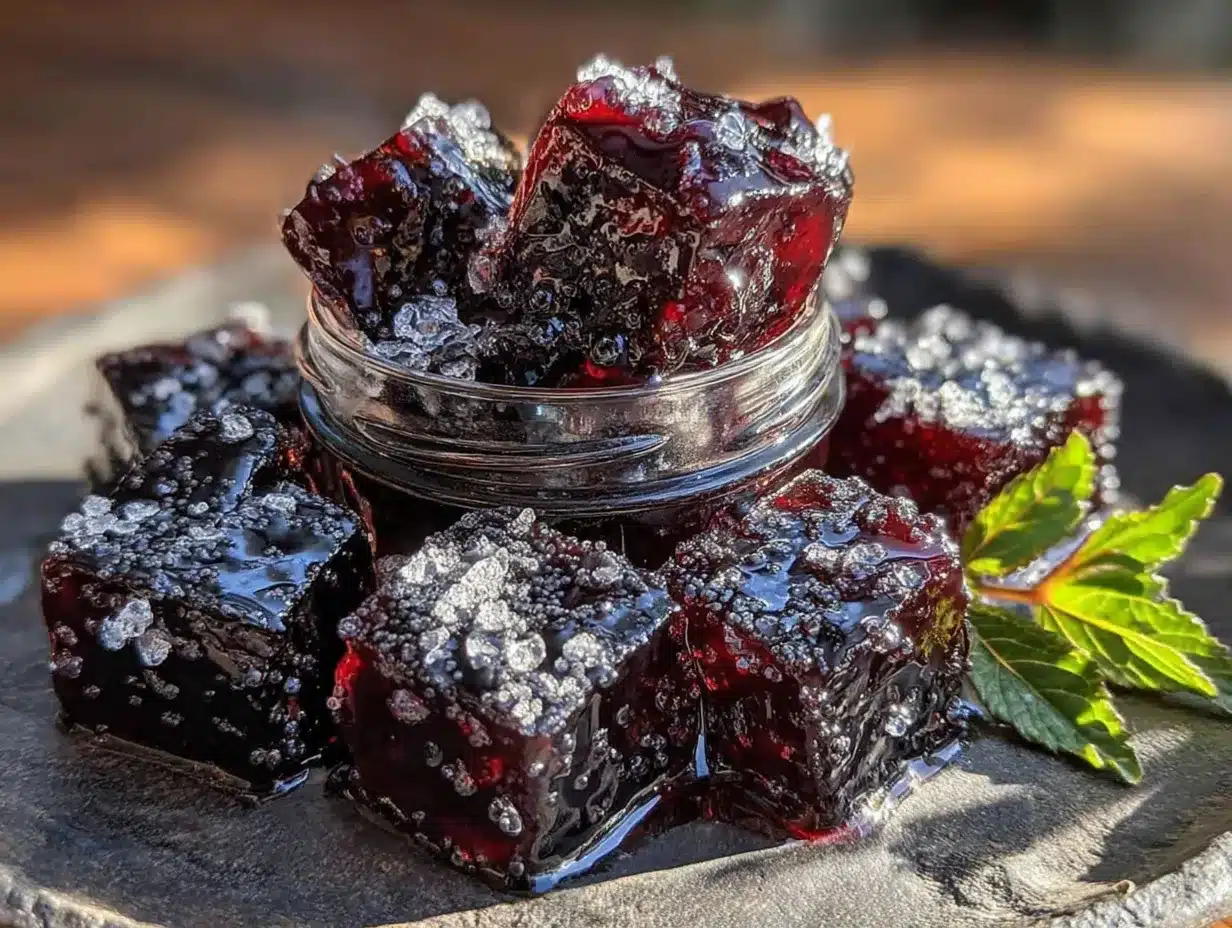
- Make the elderberry concentrate. Place the dried elderberries and 2 cups of filtered water in a small saucepan. Bring to a boil over medium-high heat, then reduce the heat to low and let it simmer for about 20 minutes. The liquid will reduce slightly and turn a deep, dark purple. You’ll know it’s ready when the berries are soft and the liquid is fragrant. Pro tip: Don’t boil it too hard or you’ll lose too much water and the syrup will be too concentrated.
- Strain the berries. Place a fine-mesh strainer over a glass measuring cup or bowl. Pour the elderberry mixture through the strainer, pressing gently on the berries with the back of a spoon to extract all the liquid. You should end up with about 1 to 1¼ cups of concentrated elderberry syrup. Discard the spent berries (or compost them). Let the syrup cool for about 5 minutes until it’s warm but not hot.
- Prepare the gelatin mixture. In a small bowl, combine the gelatin powder with about ¼ cup of the warm elderberry syrup. Whisk vigorously until the gelatin is completely dissolved and no lumps remain. This is the most important step—if the gelatin isn’t fully dissolved, you’ll end up with stringy gummies. I learned this the hard way, trust me.
- Combine everything. Pour the gelatin mixture back into the remaining warm elderberry syrup. Add the honey, lemon juice, and optional vitamin C powder. Whisk gently until everything is well combined and the honey is fully dissolved. The mixture should be smooth and slightly thick. Taste it—it should be sweet with a pleasant tartness. Adjust honey if needed.
- Fill the molds. Place your silicone gummy molds on a baking sheet for stability. Using a dropper or small pitcher, carefully fill each cavity with the elderberry mixture. Work quickly before the mixture starts to set. If it thickens too much, you can reheat it gently by placing the measuring cup in a bowl of warm water for a minute.
- Set the gummies. Place the baking sheet with the filled molds in the refrigerator. Let them set for at least 2 hours, but 3 to 4 hours is better for a firmer texture. You’ll know they’re ready when the gummies are firm to the touch and easily pop out of the molds.
- Pop them out. Gently press on the back of each mold cavity to release the gummies. They should come out cleanly with no sticking. If any are stubborn, place the mold in the freezer for 5 minutes—that usually does the trick.
That’s it! Seven simple steps to homemade elderberry gummies that taste amazing and support your immune system. The whole process takes about 20 minutes of active time, plus a few hours of patience while they set. I usually make a batch on Sunday afternoon so they’re ready for the week ahead.
Cooking Tips & Techniques
After making these gummies more times than I can count, I’ve picked up a few tricks that make the process smoother and the results better. Here are my best tips:
Temperature matters more than you think. If the elderberry syrup is too hot when you add the gelatin, it can break down the gelatin’s structure and your gummies won’t set properly. If it’s too cold, the gelatin won’t dissolve fully. Aim for warm—around 100°F to 110°F. I test it by dipping a clean finger in; it should feel comfortably warm, not hot. This was the mistake I made on my first batch, and let me tell you, purple syrup that won’t set is a sad sight.
Whisk like you mean it. When you add the gelatin to the warm syrup, whisk vigorously for a full 30 seconds. Don’t be gentle here. You want to make sure every grain of gelatin is dissolved. Lumps in the mixture will turn into lumpy gummies, and nobody wants that. I use a small wire whisk and go at it like I’m beating egg whites.
Work fast when filling molds. The gelatin mixture starts to set as it cools, so you have about 10 to 15 minutes of working time. If you’re using small molds with lots of cavities, this can feel rushed. My trick is to fill the molds in batches—fill half, let them set in the fridge, then reheat the remaining mixture gently and fill the other half. This prevents the last few gummies from being too thick to pour.
Don’t skip the lemon juice. Besides adding flavor, the acidity helps preserve the gummies and keeps them from getting moldy. I once made a batch without lemon juice because I was out, and they developed a weird texture after about a week. The lemon juice also helps the gummies set more firmly, so it’s doing double duty.
Variations & Adaptations
One of the best things about this recipe is how easy it is to customize. Here are some variations I’ve tried and loved:
Vegan version: Substitute the gelatin with agar agar powder. Use 2 tablespoons of agar agar instead of the gelatin, and bring the elderberry syrup to a boil before adding it. The texture will be more like a firm jelly than a chewy gummy, but it’s still delicious. I made this for a vegan friend’s birthday and she was thrilled.
Extra immunity boost: Add 1 teaspoon of echinacea tincture or ½ teaspoon of ginger powder to the mixture along with the honey. Both are known immune supporters and add a nice flavor complexity. The ginger gives it a little warmth that’s perfect for cold season.
Berry blend: Swap half the elderberries for dried blueberries or dried cherries. This creates a more complex flavor profile and adds different antioxidants. I tried this during blueberry season and the result was a deeper, fruitier gummy that my kids went crazy for.
Spiced version: Add a cinnamon stick and a few cloves to the elderberry mixture while it simmers. Remove them before straining. The spices add warmth and have their own antimicrobial properties. This is my go-to version during the winter months—it feels like a hug in gummy form.
Lower sugar option: Reduce the honey to 2 tablespoons and add 1 tablespoon of monk fruit sweetener or stevia. The texture stays the same, but the sweetness is dialed back. I make this version for myself since I prefer less sweet treats.
Serving & Storage Suggestions
These homemade elderberry gummies are best enjoyed cold or at room temperature. I like to keep them in the fridge and grab one or two whenever I feel like I need a little immune support. The cold temperature makes them extra chewy and refreshing.
For storage, place the gummies in an airtight glass jar or container. They’ll keep in the refrigerator for up to 3 weeks. If you make a big batch, you can also freeze them for up to 3 months. Just layer them between sheets of parchment paper in a freezer-safe container. Thaw in the fridge overnight before eating.
I usually make a double batch and keep one jar in the fridge for daily use and one in the freezer for emergencies. The flavor actually deepens after a few days in the fridge—the honey and elderberry marry together beautifully. My kids love taking them in their lunchboxes, and I love knowing they’re getting real immune support without any artificial junk.
For a pretty presentation, arrange the gummies on a small plate with fresh berries or mint leaves. They make lovely homemade gifts too—just fill a small mason jar, tie a ribbon around it, and add a little label. I’ve given these to neighbors, teachers, and friends who are under the weather, and they’re always appreciated.
Nutritional Information & Benefits
Here’s the approximate nutritional breakdown for a serving of 3 gummies (based on the recipe making about 60 gummies total):
| Nutrient | Amount per Serving |
|---|---|
| Calories | 35 |
| Total Carbohydrates | 8g |
| Sugars | 7g |
| Protein | 2g |
| Vitamin C | 4mg (if using optional powder) |
Elderberries are packed with antioxidants, particularly anthocyanins, which give them their deep purple color and support immune health. They’ve been used for centuries in traditional medicine to fight colds and flu. The honey adds natural antimicrobial properties, and the gelatin provides collagen, which supports skin and joint health. These gummies are naturally gluten-free, dairy-free, and nut-free, making them suitable for most dietary needs. Just be mindful of the honey content if you’re watching your sugar intake.
Frequently Asked Questions
Can I use fresh elderberries instead of dried?
Yes, you can! Use 1 cup of fresh elderberries instead of ½ cup dried. Keep in mind that fresh elderberries have a shorter shelf life, so use them within a few days of picking or buying. The cooking time may be slightly shorter since fresh berries release their liquid more quickly.
Why did my gummies turn out too soft or too hard?
Texture issues usually come down to the gelatin-to-liquid ratio. If your gummies are too soft, you might have added too much liquid or not enough gelatin. If they’re too hard, you might have used too much gelatin or boiled the mixture too long, concentrating the liquid. Stick to the measurements in the recipe and you’ll get that perfect chewy texture every time.
Can I make these without a gummy mold?
Absolutely! Pour the mixture into a small glass dish (like an 8×8 inch baking dish) and refrigerate until set. Then cut the set gummies into small squares with a sharp knife. The texture is the same, just a different shape. I actually prefer this method when I’m in a hurry.
How many gummies should I eat per day?
For general immune support, 2 to 3 gummies per day is a good amount. If you feel a cold coming on, you can increase to 4 to 5 gummies per day for a few days. Remember, these are a supplement, not a medicine, so listen to your body and adjust as needed. Always consult with a healthcare provider before starting any new supplement routine.
Can I use a different sweetener instead of honey?
Yes! Maple syrup is the best substitute because it has a similar consistency. Use the same amount as honey. Agave nectar or brown rice syrup also work, but they’ll change the flavor slightly. If you’re avoiding sugar altogether, try monk fruit sweetener or stevia, but start with a smaller amount and adjust to taste.
Conclusion
These homemade elderberry gummies are more than just a recipe—they’re a small act of self-care that you can do for yourself and your family. They’re proof that taking care of your health doesn’t have to be boring or taste like medicine. With real ingredients and a little bit of effort, you can create something that’s both delicious and genuinely good for you.
I love making these on a quiet Sunday afternoon. The process is meditative, the smell of simmering elderberries fills the kitchen, and by evening, I have a jar full of little gems ready for the week ahead. They remind me that sometimes the simplest things are the most powerful. So go ahead, give them a try. Play with the flavors, make them your own, and let me know how they turn out in the comments below. I’d love to hear about your favorite variations!
Pin This Recipe!
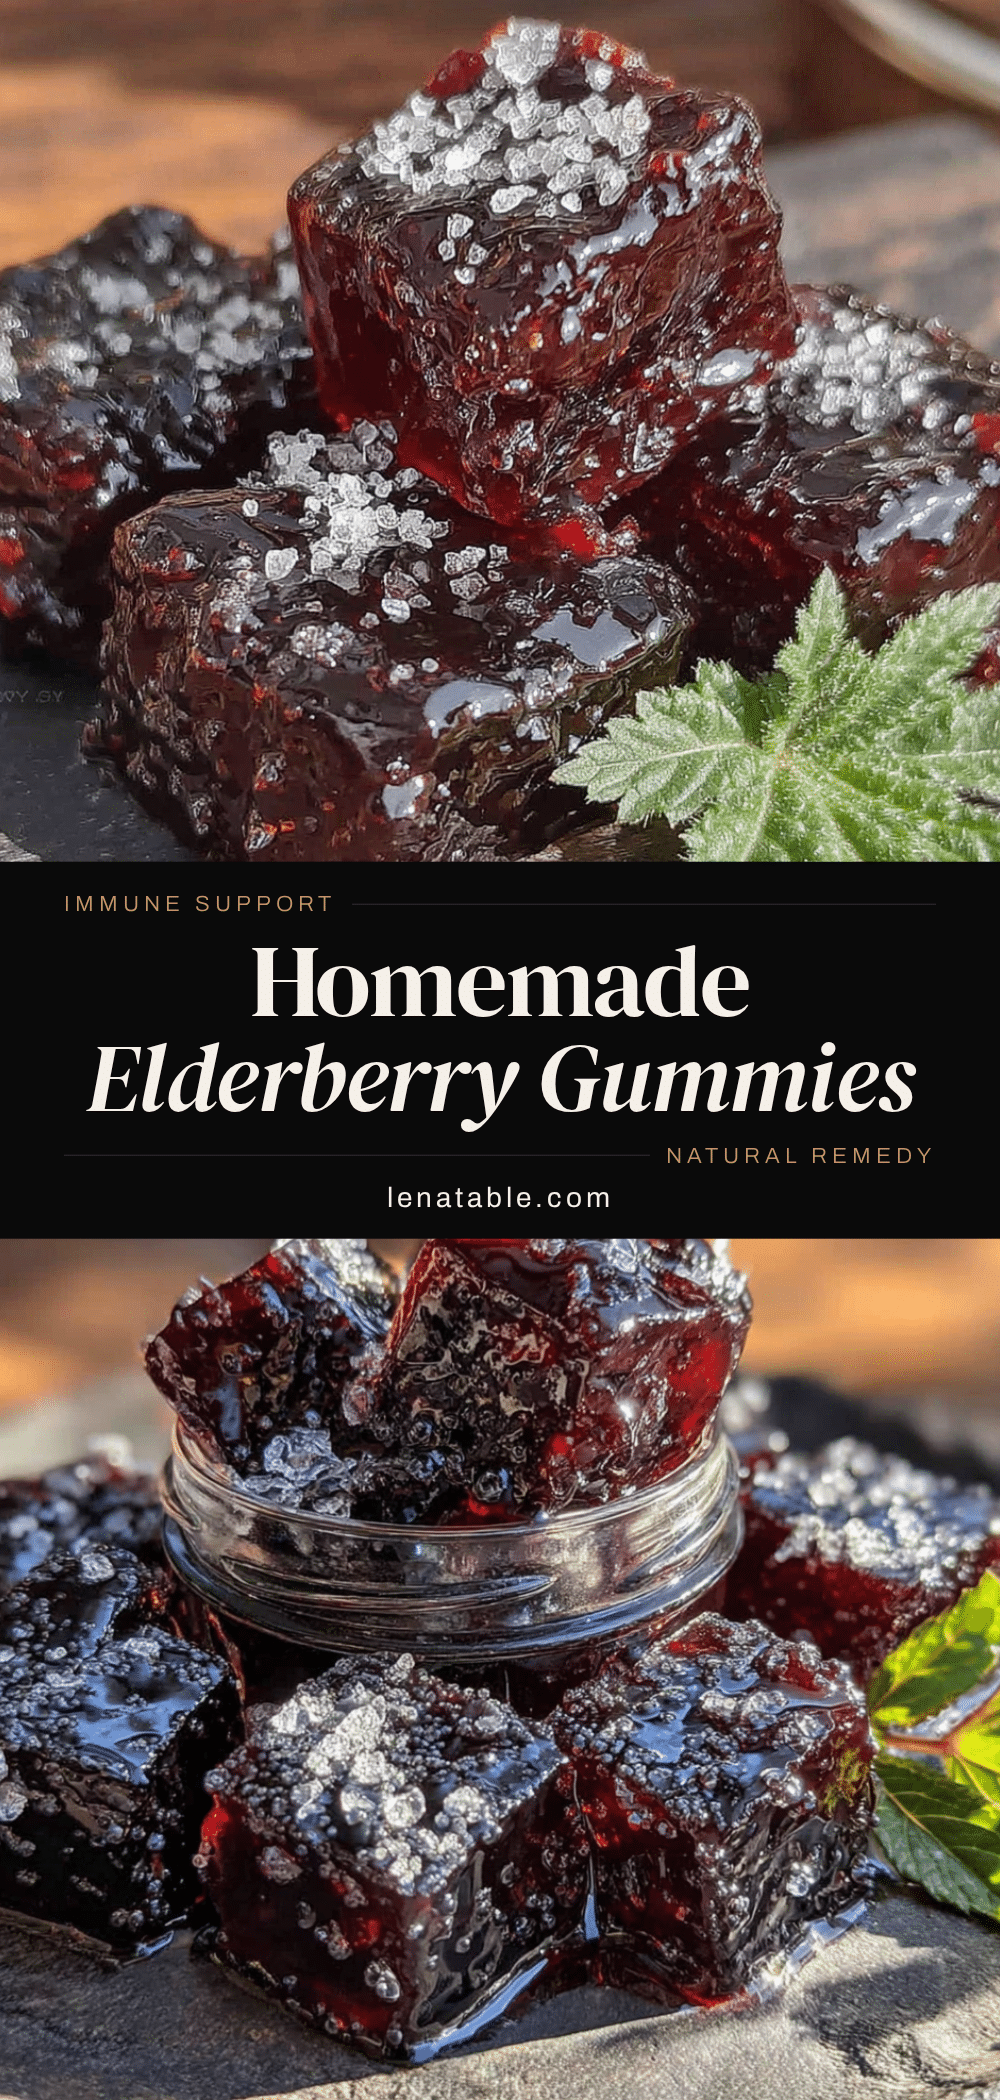
Best Homemade Elderberry Gummies for Easy Immune Support
These homemade elderberry gummies are a delicious and natural way to support your immune system. Made with real ingredients like dried elderberries, honey, and gelatin, they’re a healthier alternative to store-bought gummies.
- Prep Time: 20 minutes
- Cook Time: 20 minutes
- Total Time: 2 hours 40 minutes (including setting time)
- Yield: 60 gummies 1x
- Category: Snack
- Cuisine: American
Ingredients
- ½ cup dried elderberries
- 2 cups filtered water
- ¼ cup gelatin powder
- 3 to 4 tablespoons raw honey
- 2 tablespoons lemon juice
- ½ teaspoon vitamin C powder (optional)
Instructions
- Make the elderberry concentrate: Place the dried elderberries and 2 cups of filtered water in a small saucepan. Bring to a boil over medium-high heat, then reduce the heat to low and let it simmer for about 20 minutes until the liquid is deep purple and the berries are soft.
- Strain the berries: Place a fine-mesh strainer over a glass measuring cup or bowl. Pour the elderberry mixture through the strainer, pressing gently on the berries with the back of a spoon to extract all the liquid. You should have about 1 to 1¼ cups of concentrated elderberry syrup. Let the syrup cool for about 5 minutes until warm but not hot.
- Prepare the gelatin mixture: In a small bowl, combine the gelatin powder with about ¼ cup of the warm elderberry syrup. Whisk vigorously until the gelatin is completely dissolved and no lumps remain.
- Combine everything: Pour the gelatin mixture back into the remaining warm elderberry syrup. Add the honey, lemon juice, and optional vitamin C powder. Whisk gently until everything is well combined and the honey is fully dissolved.
- Fill the molds: Place silicone gummy molds on a baking sheet for stability. Using a dropper or small pitcher, carefully fill each cavity with the elderberry mixture. Work quickly before the mixture starts to set.
- Set the gummies: Place the baking sheet with the filled molds in the refrigerator. Let them set for at least 2 hours, but 3 to 4 hours is better for a firmer texture.
- Pop them out: Gently press on the back of each mold cavity to release the gummies. If any are stubborn, place the mold in the freezer for 5 minutes.
Notes
Temperature matters: If the elderberry syrup is too hot when you add the gelatin, it can break down the gelatin’s structure and your gummies won’t set properly. Aim for warm (100°F to 110°F). Whisk vigorously for 30 seconds to ensure gelatin is fully dissolved. Work fast when filling molds as the mixture starts to set after 10-15 minutes. Don’t skip the lemon juice as it helps preserve the gummies and aids in setting.
Nutrition
- Serving Size: 3 gummies
- Calories: 35
- Sugar: 7
- Carbohydrates: 8
- Protein: 2
Keywords: elderberry gummies, immune support, homemade gummies, elderberry recipe, healthy snacks, natural remedy