Love this? Save it for later!
Share the inspiration with your friends
Hand me that jar of vanilla extract, my neighbor said, reaching past me toward the spice cabinet. I was mid-story about the farmers market pears I’d bought, and she was already pulling down cinnamon and star anise. I’d mentioned I was thinking about poaching them, and she just started grabbing things. I watched her add a whole vanilla bean—splitting it right there with my paring knife—and I started to explain why that wouldn’t work. Vanilla beans are expensive for something you’re just going to simmer, right? Then I stopped. She had this look, you know, like she knew something I didn’t. I let her do her thing. And honestly? The kitchen smelled like a bakery and a winter cabin had a baby. I mean, I was wrong. Completely wrong. Those pears turned out so fragrant and tender, I nearly ate the whole batch standing over the pot. That moment taught me something: sometimes the most luxurious ingredient is exactly what a simple recipe needs. These Cozy Vanilla Spiced Pears in Syrup are the result of that afternoon—a happy accident born from letting someone else take the lead. They’re warm, gently sweet, and filled with the kind of aroma that makes you want to curl up on the couch. Whether you serve them over yogurt, spoon them onto pancakes, or eat them straight from the jar (no judgment here), this is the kind of recipe that feels like a hug. Maybe you’ve been there—overthinking a dish when the answer was simpler than you thought. That’s the energy here. Let me show you how to make them.
Why You’ll Love This Recipe
These aren’t just any poached pears. I’ve tested this recipe about six times to get the syrup just right—not too thin, not cloying, with the vanilla and spice balanced so neither one shouts over the other. Here’s why this version is the one you’ll keep coming back to:
- Simple Ingredients: You probably have cinnamon, vanilla, and sugar in your pantry right now. No fancy trips needed—just good pears and a few staples.
- Quick & Easy: From start to finish, these come together in about 30 minutes. Most of that is hands-off simmering time, so you can tidy the kitchen or just enjoy the smell.
- Perfect for Meal Prep: Make a batch on Sunday and use them all week on oatmeal, ice cream, or cheese boards. They actually get better after a day or two in the fridge.
- Crowd-Pleaser: I brought these to a holiday brunch and watched people go back for thirds. Kids love the sweetness; adults love the grown-up spice vibe.
- Unbelievably Cozy: The combination of vanilla bean and cinnamon creates this warm, almost nostalgic flavor that feels like a slow afternoon. It’s comfort food, but lighter.
What sets this recipe apart is the technique: simmering the pears gently so they stay tender but never mushy, and letting the syrup reduce just enough to coat each slice like a glossy hug. I’ve tried versions that use too much sugar or cook the pears until they fall apart—this one keeps them intact and elegant. It’s the kind of recipe that makes you look like you tried really hard, when really, you just let the ingredients do the work. After the first bite, you’ll understand why I keep a jar in my fridge year-round.
What Ingredients You Will Need
This recipe uses simple, wholesome ingredients that come together to create something surprisingly elegant. Most of these are pantry staples, which makes it easy to whip up on a whim. Here’s what you’ll need and why each one matters:
- 4 firm but ripe pears (Bosc or Anjou work best—they hold their shape during simmering. Look for pears that yield slightly at the neck but aren’t mushy.)
- 1 cup water (filtered if you have it—it makes a subtle difference in the syrup clarity)
- ½ cup granulated sugar (you can reduce to ⅓ cup if you prefer a less sweet syrup, but the sugar helps with preservation and texture)
- 1 vanilla bean (split lengthwise—this is worth the splurge for the deep, floral vanilla flavor. I like Nielsen-Massey or simply Madagascar beans from the bulk bin)
- 1 teaspoon vanilla extract (added at the end for an extra boost—use pure extract, not imitation, for the best taste)
- 1 cinnamon stick (or ½ teaspoon ground cinnamon if that’s what you have, but the stick gives a milder, more aromatic infusion)
- 3 whole cloves (optional but lovely—they add a warm, almost peppery note that pairs beautifully with the vanilla)
- 1 strip lemon peel (about 2 inches long, no white pith—this brightens the syrup and balances the sweetness)
- Pinch of salt (don’t skip this—it rounds out all the flavors and prevents the syrup from tasting flat)
Substitution Tips: If you don’t have a vanilla bean, use 2 teaspoons of vanilla extract and add it at the end. For a sugar-free version, swap the granulated sugar for ¼ cup honey or maple syrup—just note the syrup will be slightly thinner. No cinnamon stick? Use ½ teaspoon ground cinnamon, but add it after simmering to avoid cloudiness. You can also skip the cloves if you’re not a fan, or add a star anise pod for a licorice-like twist. I’ve made this with both Bosc and Bartlett pears, and while Bartletts get softer faster, they’re still delicious if you watch the cooking time closely.
Equipment Needed
You don’t need much for this recipe, which is part of its charm. Here’s what I use every time:
- Medium saucepan or small Dutch oven (heavy-bottomed is best for even heating—I use a 3-quart Le Creuset, but any sturdy pot works)
- Sharp paring knife (for peeling the pears and splitting the vanilla bean—a dull knife makes both tasks frustrating)
- Vegetable peeler (optional but faster than a knife for peeling pears)
- Measuring cups and spoons (for accuracy—I keep a set just for baking and poaching)
- Slotted spoon or tongs (for removing the pears from the hot syrup without burning your fingers)
- Fine-mesh strainer (to strain the syrup if you want it perfectly clear, though I usually leave the spices in for visual appeal)
- Glass jar or airtight container (for storing the finished pears and syrup—a 16-ounce mason jar works perfectly)
Budget-Friendly Tip: Don’t have a vanilla bean? Use 2 teaspoons of vanilla extract instead. No cinnamon stick? Ground cinnamon works fine—just stir it in after cooking. You can even use a regular saucepan instead of a Dutch oven. I’ve made these in a cheap pot from college and they turned out just as good.
Preparation Method
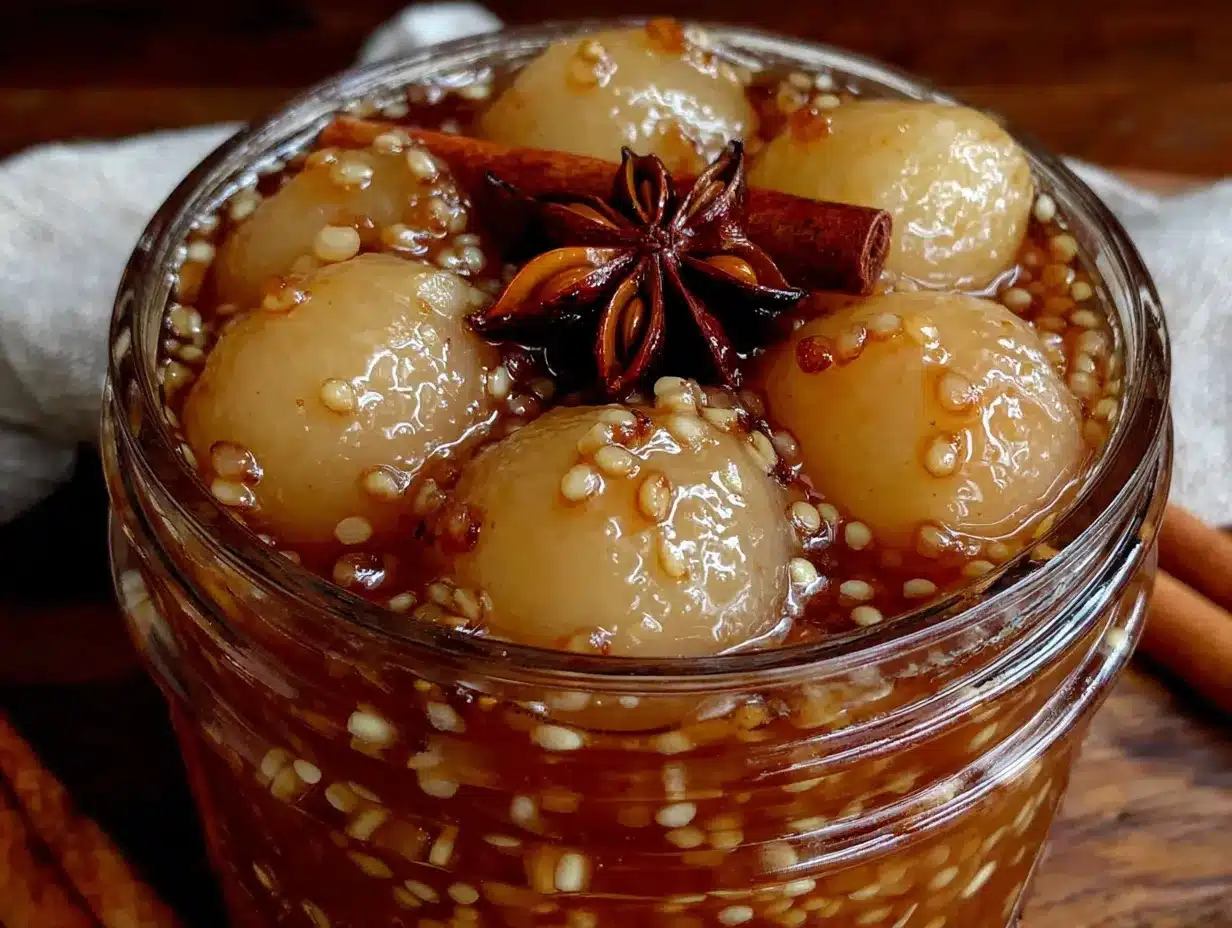
Let’s walk through this step by step. I’ll include all the little cues I’ve learned from making this a dozen times.
- Prep the pears. Peel the pears using a vegetable peeler or paring knife. Leave the stems on for a prettier presentation, or cut them off for easier eating. Cut each pear in half lengthwise, then use a melon baller or small spoon to scoop out the core and seeds. (Pro tip: if you don’t have a melon baller, a teaspoon works fine—just be gentle so you don’t break the pear.) Place the pear halves in a bowl of cold water with a squeeze of lemon juice to prevent browning while you work.
- Split the vanilla bean. Lay the vanilla bean on a cutting board. Using a sharp paring knife, slice it lengthwise down the center, leaving the tip intact so the two halves stay connected. Open it like a book and scrape the tiny black seeds out with the back of the knife. Reserve both the seeds and the pod—they both go into the syrup.
- Make the syrup. In a medium saucepan, combine the water, sugar, vanilla bean seeds and pod, cinnamon stick, cloves (if using), and lemon peel. Stir gently to dissolve the sugar. Bring to a boil over medium-high heat, then reduce to a simmer. Let it bubble gently for 5 minutes—you’ll smell the vanilla and cinnamon filling your kitchen. The syrup should look clear and slightly golden.
- Poach the pears. Gently slide the pear halves into the simmering syrup, cut side down. They should be mostly submerged—if not, add a splash more water. Reduce the heat to low, cover the pot, and let them simmer for 15-20 minutes. Check them at 15 minutes by piercing one with a fork: it should slide in easily but the pear should still hold its shape. (First time I made these, I cooked them 25 minutes and they were too soft—learn from my mistake!)
- Finish with vanilla extract. Using a slotted spoon, carefully transfer the pears to a clean plate or shallow dish. Remove the pot from the heat and stir in the vanilla extract. Let the syrup cool for 5 minutes, then pour it over the pears. The syrup will thicken slightly as it cools.
- Cool and store. Let the pears cool completely at room temperature, about 30 minutes. Transfer them to a glass jar or airtight container, pouring the syrup over the top. Seal and refrigerate. They’ll keep for up to two weeks—if they last that long.
Sensory Cues: When the syrup is ready, it should smell warm and floral, like a bakery crossed with a spice shop. The pears should look glossy and slightly translucent at the edges. When you taste the syrup, it should be sweet but not cloying, with a clear vanilla-cinnamon finish. If it tastes flat, add another pinch of salt.
Cooking Tips & Techniques
After making these pears more times than I can count, here are the things I wish someone had told me:
- Don’t overcook the pears. This is the number one mistake. Pears go from perfectly tender to mushy in about two minutes. Start checking at 15 minutes, and pull them off the heat as soon as a fork slides in with gentle resistance. They’ll continue cooking slightly as they cool in the syrup.
- Use a heavy-bottomed pot. Thin pots create hot spots that can scorch the sugar or cook the pears unevenly. If you only have a thin pot, stir the syrup gently every few minutes and keep the heat on low.
- Let the syrup reduce properly. Don’t skip the initial 5-minute simmer before adding the pears. This concentrates the flavors and helps the syrup cling to the fruit. If your syrup seems thin after cooking, simmer it uncovered for another 3-5 minutes after removing the pears.
- Save the vanilla pod. After you’ve used it, rinse the pod, let it dry, and bury it in a jar of sugar. In a week, you’ll have vanilla sugar for baking or coffee. I’ve got a jar of this going in my pantry right now.
- Peel strategically. If you’re serving these for a dinner party, leave the stems on and peel carefully to keep the pears intact. For everyday eating, chop them into chunks before poaching—it halves the cooking time and makes them easier to spoon over oatmeal.
My Biggest Fail: The second time I made these, I forgot to add the salt. The syrup tasted flat and overly sweet—like candy, not like a sophisticated dessert. A tiny pinch of salt is non-negotiable. Trust me on this.
Variations & Adaptations
One of the best things about this recipe is how flexible it is. Here are some ways to switch it up:
- Spiced Apple Variation: Swap the pears for 4 firm apples (Honeycrisp or Granny Smith work great). Peel, core, and slice them into wedges, then follow the same poaching method. Apples take slightly longer—about 20-25 minutes—so check for tenderness with a fork.
- Citrus-Ginger Twist: Replace the lemon peel with a strip of orange peel and add 3 thin slices of fresh ginger. The ginger adds a gentle warmth that pairs beautifully with the vanilla. I made this version last fall and it was a hit at a friendsgiving dinner.
- Dairy-Free Dessert Bowl: Serve the pears and syrup over dairy-free vanilla ice cream or coconut yogurt. The creamy texture balances the spiced syrup perfectly. Top with a sprinkle of toasted pecans for crunch.
- Low-Sugar Version: Use ¼ cup honey or maple syrup instead of granulated sugar. The syrup will be thinner and the flavor will be slightly more complex. Add an extra pinch of salt to balance the sweetness.
- Wine-Poached Pears: Replace half the water with dry red wine (like Merlot or Cabernet Sauvignon). Add a star anise pod and a strip of orange peel. The pears turn a gorgeous ruby color and taste incredibly sophisticated. This is my go-to for holiday entertaining.
Personal Favorite: I’ve been making the wine-poached version for Christmas brunch for three years now. The color alone is worth it—deep burgundy, with the vanilla seeds speckled through the syrup. It feels fancy without being fussy.
Serving & Storage Suggestions
These pears are incredibly versatile. Here’s how I like to serve them:
- Warm or cold: They’re delicious straight from the fridge, but I prefer them slightly warm. To reheat, gently warm the pears and syrup in a small saucepan over low heat for 2-3 minutes. Don’t microwave them—it can make the pears rubbery.
- Over yogurt or oatmeal: Spoon a pear half and a drizzle of syrup over Greek yogurt or a bowl of warm oatmeal. Add a sprinkle of cinnamon and some chopped walnuts for texture. This is my weekday breakfast when I want to feel fancy.
- On ice cream: This is the easiest dessert you’ll ever make. Scoop vanilla ice cream into bowls, top with a warm pear half, and drizzle with the syrup. The hot-and-cold contrast is everything.
- On a cheese board: Slice the pears and arrange them next to sharp cheddar, brie, or blue cheese. The sweetness of the pears cuts through the richness of the cheese beautifully. Add some crackers and you’ve got an instant appetizer.
- In cocktails: Use the leftover syrup in a cocktail—it’s amazing in a bourbon sour or stirred into sparkling water with a splash of lemon.
Storage: Store the pears and syrup in an airtight container in the refrigerator for up to two weeks. The flavors actually deepen after a day or two, so don’t be afraid to make them ahead. I’ve also frozen them successfully—just place the pears and syrup in a freezer-safe container, leaving ½ inch of headspace. Thaw overnight in the fridge before using. The texture softens slightly after freezing, so I recommend using frozen pears in oatmeal or smoothies rather than serving them whole.
Nutritional Information & Benefits
Each serving (one pear half with about 2 tablespoons of syrup) contains approximately:
- Calories: 110
- Carbohydrates: 28g
- Fiber: 3g
- Sugar: 22g
- Fat: 0g
- Sodium: 15mg
Health Benefits: Pears are an excellent source of dietary fiber, which supports digestion and helps keep you full longer. They also contain vitamin C and copper, which support immune function. Vanilla has been studied for its antioxidant properties, and cinnamon is known to help regulate blood sugar levels. While this recipe does contain added sugar, the amount per serving is moderate—and you can easily reduce it by using honey or maple syrup instead. If you’re watching your sugar intake, serve the pears without the syrup or use just a teaspoon for flavor. I like to think of these as a “better-for-you” dessert: satisfying enough to curb a sweet craving, but light enough not to weigh you down.
Dietary Considerations: This recipe is naturally gluten-free, dairy-free, and vegan. It contains no common allergens beyond the pears themselves. If you’re following a low-FODMAP diet, pears are high in fructose, so enjoy in moderation.
Conclusion
These Cozy Vanilla Spiced Pears in Syrup are proof that simple ingredients can create something truly special. They’re warm, fragrant, and endlessly adaptable—perfect for a lazy Sunday morning or a dinner party dessert that looks way more complicated than it is. I love how forgiving this recipe is: you can swap the spices, change the sweetener, or serve them a dozen different ways, and they always turn out delicious. Honestly, they’ve become my secret weapon for impressing guests without breaking a sweat. I hope you give them a try and make them your own. Maybe you’ll serve them over pancakes, or spoon them onto a cheese board, or eat them straight from the jar at midnight (I won’t tell). Whatever you do, I’d love to hear about it. Drop a comment below and let me know how you served yours—or tag me in your photos. Happy cooking, friend. You’ve got this.
Frequently Asked Questions
Can I use canned pears instead of fresh?
I don’t recommend it. Canned pears are already cooked and much softer, so they’ll fall apart in the simmering syrup. Fresh pears hold their shape and absorb the flavors better. If you’re in a pinch, you can warm canned pears in the syrup for just 2-3 minutes, but the texture won’t be the same.
Do I have to peel the pears?
Yes, for this recipe. The peel can become tough and chewy during simmering, and it prevents the syrup from penetrating the fruit. If you want to keep the peel on for presentation, use very thin-skinned pears like Seckel, but I still recommend peeling for the best texture.
Can I make this without a vanilla bean?
Absolutely. Use 2 teaspoons of pure vanilla extract instead. Add it at the end of cooking, just like in the recipe, so the heat doesn’t cook off the flavor. The result won’t have those beautiful black vanilla seeds, but it will still taste delicious.
How long do these pears last in the fridge?
Up to two weeks in an airtight container. The flavors actually get better after a day or two as the pears continue to absorb the syrup. Just make sure the pears are fully submerged in the syrup to prevent them from drying out.
Can I use this syrup for other things?
Yes! The leftover syrup is amazing in cocktails (try it in a bourbon sour), drizzled over pancakes or waffles, stirred into hot tea, or used as a glaze for baked ham or roasted chicken. I’ve even used it to sweeten homemade lemonade—it adds a lovely spiced vanilla note.
Pin This Recipe!
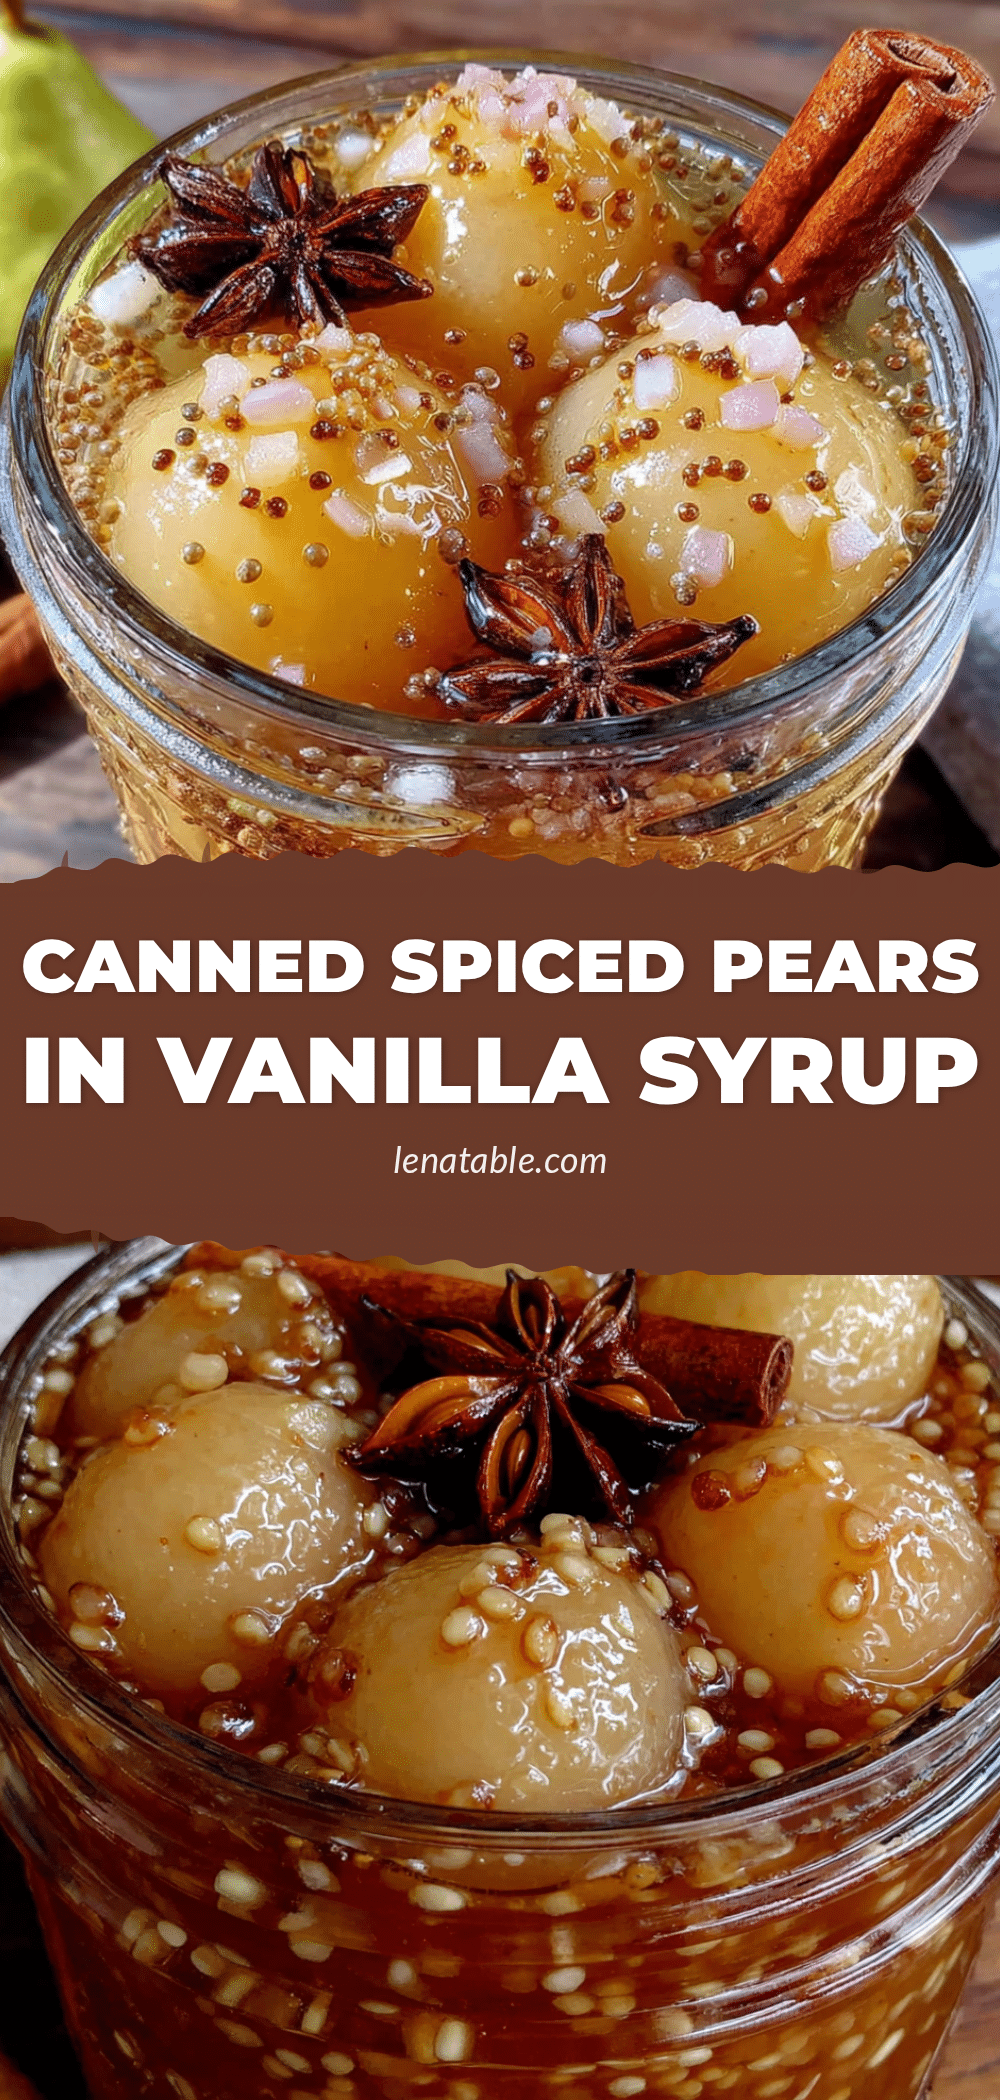
Cozy Vanilla Spiced Pears in Syrup

Warm, gently sweet pears poached in a vanilla-spiced syrup. Perfect for topping yogurt, pancakes, or enjoying straight from the jar.
- Prep Time: 10 minutes
- Cook Time: 20 minutes
- Total Time: 30 minutes
- Yield: 4 servings 1x
- Category: Dessert
- Cuisine: American
Ingredients
- 4 firm but ripe pears (Bosc or Anjou)
- 1 cup water
- 1/2 cup granulated sugar
- 1 vanilla bean, split lengthwise
- 1 teaspoon vanilla extract
- 1 cinnamon stick
- 3 whole cloves (optional)
- 1 strip lemon peel (about 2 inches, no white pith)
- Pinch of salt
Instructions
- Peel the pears, leaving stems on if desired. Cut each pear in half lengthwise and remove the core. Place in a bowl of cold water with lemon juice to prevent browning.
- Split the vanilla bean lengthwise and scrape out the seeds. Reserve both seeds and pod.
- In a medium saucepan, combine water, sugar, vanilla bean seeds and pod, cinnamon stick, cloves (if using), and lemon peel. Bring to a boil over medium-high heat, then reduce to a simmer. Let bubble gently for 5 minutes.
- Gently slide the pear halves into the simmering syrup, cut side down. Reduce heat to low, cover, and simmer for 15-20 minutes until pears are tender but still hold their shape.
- Using a slotted spoon, transfer pears to a clean plate. Remove pot from heat and stir in vanilla extract. Let syrup cool for 5 minutes, then pour over pears.
- Let pears cool completely at room temperature (about 30 minutes). Transfer to a glass jar or airtight container, pour syrup over top, seal, and refrigerate.
Notes
Don’t overcook the pears; start checking at 15 minutes. Use a heavy-bottomed pot for even heating. Save the vanilla pod to make vanilla sugar. A pinch of salt is essential to balance sweetness.
Nutrition
- Serving Size: 1 pear half with abo
- Calories: 110
- Sugar: 22
- Sodium: 15
- Carbohydrates: 28
- Fiber: 3
Keywords: poached pears, vanilla pears, spiced pears, easy dessert, gluten-free, dairy-free, vegan


