Love this? Save it for later!
Share the inspiration with your friends
My sister-in-law, Jenna, had sworn off pumpkin bread for over a decade. She claimed it was always too dense, too wet, or just plain boring. I figured she just hadn’t met the right loaf yet. Last October, I was testing this particular recipe on a rainy Tuesday, and I walked into the kitchen to find her sneaking a slice from the cooling rack. She had a smear of maple glaze on her chin and the most ridiculous look of surprise on her face. “Okay,” she mumbled mid-chew, “this is different.” Honestly, I just smiled and handed her a napkin.
The thing about this perfect chocolate chip pumpkin bread is that it doesn’t try to be a dessert or a breakfast bread—it somehow nails being both. I spent about six weeks trying to get the balance right. I wanted it moist but not gummy, sweet but not cloying, and I needed those chocolate chips to stay suspended in the batter instead of sinking into a sad little puddle at the bottom. Let me tell you, I went through a lot of pumpkin puree that fall. My neighbor, Mrs. Gable, started bringing her mail over just to check if I had any “experiments” to share.
This recipe is the one that finally got Jenna to admit she was wrong. It’s the one I now make for every potluck, every chilly morning, and every time I need to remind myself that sometimes the best things come from a little bit of stubborn refusal to give up. Maybe you’ve had a disappointing pumpkin bread experience too. I promise this one is different.
Why You’ll Love This Recipe
This isn’t just another pumpkin bread recipe floating around the internet. I’ve tested this version more times than I care to count, and it has earned a permanent spot in my fall baking rotation. Here is why I think you will absolutely love it:
- Quick & Easy: From start to oven in about 15 minutes. No stand mixer required, no complicated techniques. Just one bowl and a whisk.
- Simple Ingredients: You probably have most of these in your pantry right now. Canned pumpkin, basic baking staples, and a bag of chocolate chips.
- Perfect for Fall Gatherings: This bread is the star of Thanksgiving brunch, Halloween parties, or a cozy Sunday morning with coffee.
- Crowd-Pleaser: I have yet to meet someone who doesn’t go back for a second slice. The chocolate and pumpkin combo is just that good.
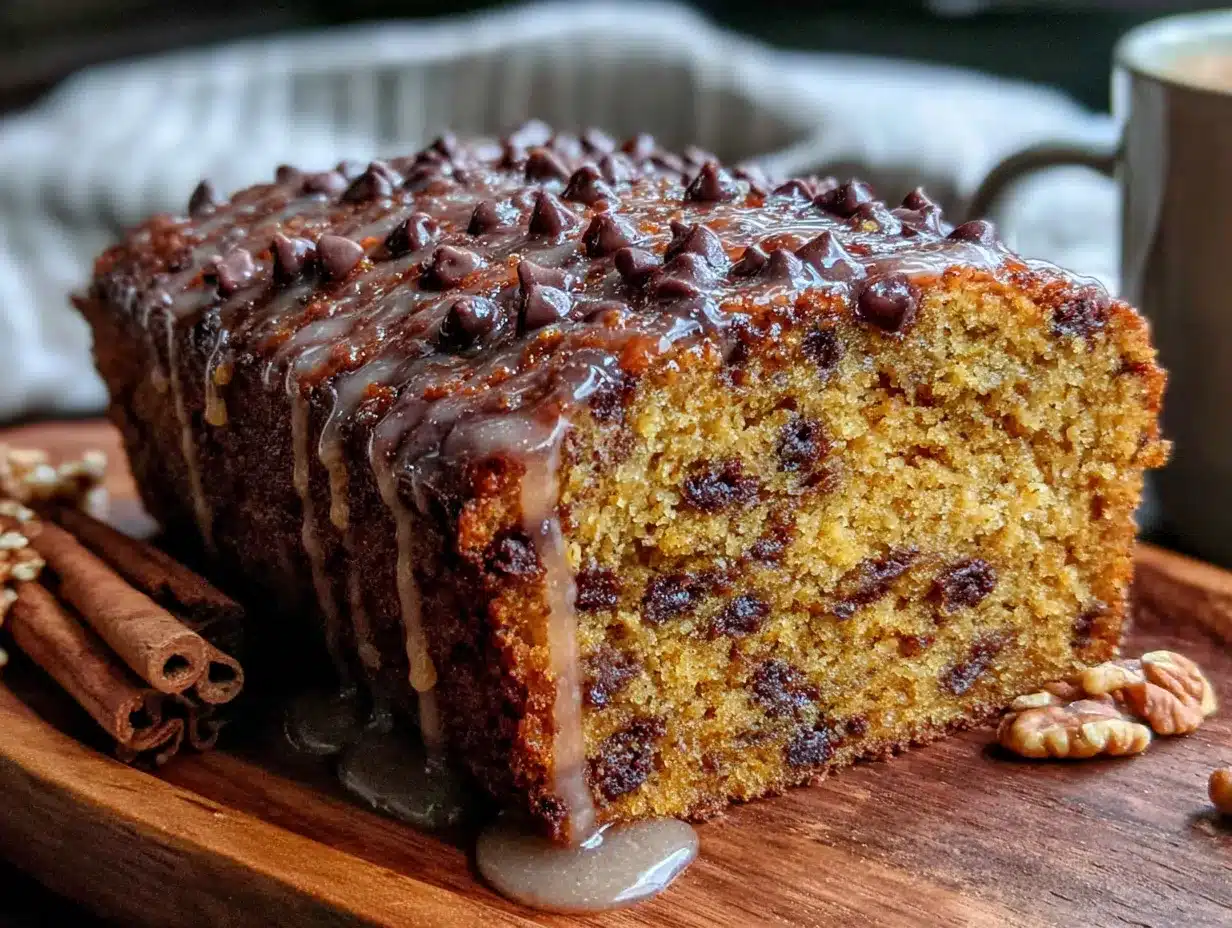
- Unbelievably Delicious: The texture is incredibly tender, the maple glaze adds a sophisticated sweetness, and the chocolate chips provide little pockets of melty goodness in every bite.
What makes this recipe different from the rest? It’s the specific ratio of oil to pumpkin puree that creates a supremely moist crumb without being greasy. It’s the touch of warm spices that complements, not overpowers, the pumpkin. And it’s that maple glaze—made with real maple syrup, not artificial flavoring—that takes this bread from “good” to “please give me the recipe.”
This is the kind of bread that makes you close your eyes after the first bite. It’s comfort food reimagined—familiar, but somehow better than you remembered. Perfect for impressing guests without any stress, or turning an ordinary Tuesday into something a little bit special.
What Ingredients You Will Need
This recipe uses simple, wholesome ingredients to deliver that perfect balance of flavor and texture. Most of these are pantry staples, which makes this an easy last-minute baking project.
For the Pumpkin Bread
- 1 ¾ cups (220g) all-purpose flour – Spoon and level for accuracy. Too much flour makes the bread dry.
- 1 teaspoon baking soda – Helps the bread rise and gives it a tender crumb.
- ½ teaspoon baking powder – Adds a little extra lift.
- 1 ½ teaspoons ground cinnamon – I prefer the warmth of Ceylon cinnamon, but regular works great.
- ½ teaspoon ground nutmeg – Freshly grated if you have it, but pre-ground is totally fine.
- ¼ teaspoon ground ginger – Adds a subtle warmth that pairs beautifully with the pumpkin.
- ¼ teaspoon ground cloves – Just a pinch for depth.
- ½ teaspoon salt – Balances the sweetness and enhances all the flavors.
- 1 cup (200g) granulated sugar – Standard white sugar works best here.
- ½ cup (100g) packed light brown sugar – Adds moisture and a hint of molasses flavor.
- ½ cup (120ml) vegetable oil – Or any neutral oil like canola or avocado. Keeps the bread incredibly moist.
- 2 large eggs, at room temperature – Room temperature eggs emulsify better into the batter.
- 1 ½ cups (360g) pumpkin puree – Not pumpkin pie filling. I use Libby’s brand for consistent results.
- 1 teaspoon vanilla extract – Pure vanilla, not imitation, if you can swing it.
- 1 cup (175g) semi-sweet chocolate chips – I prefer Ghirardelli, but any good brand works. Toss them in 1 tablespoon of flour before adding to prevent sinking.
For the Maple Glaze
- 1 cup (120g) powdered sugar, sifted – Sifting prevents lumps in your glaze.
- 3 tablespoons pure maple syrup – Please do not use pancake syrup here. The real stuff makes a huge difference.
- 1-2 tablespoons milk or heavy cream – Whole milk or cream gives a richer glaze.
- ¼ teaspoon vanilla extract – Optional, but I like the added depth.
Ingredient Tips: For the pumpkin puree, look for a can that lists 100% pumpkin as the only ingredient. If you are using homemade pumpkin puree, make sure to drain any excess liquid by pressing it through a fine-mesh sieve or paper towels. Too much water in the puree will make your bread soggy. Also, I really recommend using a good quality semi-sweet chocolate chip. A cheaper brand can taste waxy, and you want those little pockets of chocolate to shine against the spiced pumpkin.
Equipment Needed
You do not need a fancy kitchen to make this bread. Here is what you will need:
- 9×5-inch loaf pan – A standard metal or glass loaf pan works perfectly. If using a dark non-stick pan, reduce the oven temperature by 25°F to prevent over-browning.
- Large mixing bowl – For whisking your dry and wet ingredients.
- Medium mixing bowl – For combining the wet ingredients separately.
- Whisk – A good whisk is your best friend here. No electric mixer needed.
- Rubber spatula – For folding in the chocolate chips and scraping down the bowl.
- Parchment paper – Lining the pan makes removal so much easier. I learned this the hard way after a few stuck loaves.
- Cooling rack – Essential for even cooling and preventing a soggy bottom.
- Small bowl – For whisking the glaze.
Budget-Friendly Tip: If you do not have parchment paper, you can generously grease the pan with butter or non-stick spray and dust it with flour. Just tap out the excess flour before pouring in the batter.
Preparation Method
Let’s get to the fun part. Follow these steps, and you will have a gorgeous loaf of pumpkin bread with a glossy maple glaze.
- Preheat and Prepare: Preheat your oven to 350°F (175°C). Line your 9×5-inch loaf pan with a strip of parchment paper, leaving some overhang on the long sides. This creates “handles” for lifting the bread out later. Lightly grease the ends of the pan.
- Whisk the Dry Ingredients: In your large mixing bowl, whisk together the flour, baking soda, baking powder, cinnamon, nutmeg, ginger, cloves, and salt. Give it a good 15-20 seconds of whisking to ensure everything is evenly distributed. Set this bowl aside.
- Combine the Wet Ingredients: In your medium mixing bowl, whisk together the granulated sugar, brown sugar, and vegetable oil until well combined. It will look like wet sand. Add the eggs one at a time, whisking well after each addition. The mixture should look smooth and slightly thickened.
- Add the Pumpkin and Vanilla: Pour in the pumpkin puree and vanilla extract. Whisk until the mixture is completely smooth and uniform. It will be a beautiful deep orange color. Take a moment to smell it—the spices and pumpkin together smell like autumn in a bowl.
- Combine Wet and Dry: Pour the wet pumpkin mixture into the bowl with the dry ingredients. Use your rubber spatula to fold everything together. Stir gently and only until you no longer see streaks of flour. A few tiny lumps are perfectly fine. Over-mixing at this stage will make your bread tough.
- Fold in the Chocolate Chips: In a small bowl, toss the chocolate chips with 1 tablespoon of the flour mixture you already have. This coats them and prevents them from sinking to the bottom of the loaf. Gently fold the floured chips into the batter with your spatula. Do not overmix.
- Pour and Bake: Scrape the batter into your prepared loaf pan and spread it into an even layer. Give the pan a gentle tap on the counter to release any air bubbles. Bake for 55-65 minutes, or until a toothpick inserted into the center comes out clean or with just a few moist crumbs attached. If the top is browning too quickly at the 40-minute mark, tent the pan loosely with aluminum foil.
- Cool the Bread: Place the pan on a cooling rack and let the bread cool in the pan for 15 minutes. Then, using the parchment paper handles, lift the bread out of the pan and transfer it directly to the cooling rack. Let it cool completely before glazing. This is crucial—if the bread is even slightly warm, the glaze will melt and run right off.
- Make the Maple Glaze: While the bread is cooling, make the glaze. In a small bowl, whisk together the sifted powdered sugar and maple syrup. It will be thick. Add the milk or cream, one tablespoon at a time, whisking until you reach a pourable but still thick consistency. Stir in the vanilla extract if using.
- Glaze and Set: Once the bread is completely cool, place it on a serving plate or wire rack set over a baking sheet. Drizzle the maple glaze over the top of the loaf. Let it set for about 15-20 minutes before slicing. The glaze will firm up slightly, creating a beautiful, crackly top.
Cooking Tips & Techniques
I have made this bread so many times that I have a few tricks up my sleeve. Here are the most important ones:
Don’t Overmix the Batter. This is the number one mistake people make with quick breads. Mix until the flour just disappears. A few streaks are fine. Over-mixing develops the gluten and will give you a tough, rubbery loaf instead of a tender one. I learned this the hard way when I made a batch for a book club meeting and it came out dense as a brick. We ate it anyway, but it was a lesson learned.
Room Temperature Ingredients Matter. Cold eggs and cold pumpkin puree can cause the batter to seize up, leading to an uneven texture. Take your eggs out of the fridge about 30 minutes before you start baking. If you are in a hurry, place the eggs in a bowl of warm water for 5 minutes. It makes a real difference.
Check for Doneness with a Thermometer. If you have an instant-read thermometer, the internal temperature of a perfectly baked loaf should be around 200-205°F (93-96°C). This is more reliable than the toothpick test, especially if you have chocolate chips that might give you a false “wet” reading.
Let It Cool Completely. I know it is tempting to slice into a warm loaf. But warm bread is fragile and will crumble. Also, the glaze needs a solid surface to adhere to. Patience is the secret ingredient here. I usually make this bread in the evening so it can cool overnight, and I glaze it in the morning.
Variations & Adaptations
This recipe is wonderfully adaptable. Here are some of my favorite ways to change it up:
- Gluten-Free Version: Substitute the all-purpose flour with a good 1:1 gluten-free baking blend that contains xanthan gum. I have used King Arthur Measure for Measure with great success. The texture will be slightly more tender, but it is still delicious.
- Add Nuts: Fold in ½ cup of toasted pecans or walnuts along with the chocolate chips. The crunch adds a lovely contrast to the soft crumb. Toast the nuts first for the best flavor.
- Swap the Chocolate: Use white chocolate chips for a sweeter, more decadent loaf. Dark chocolate chips (60-70% cacao) are also fantastic for a less sweet, more sophisticated flavor profile.
- Dairy-Free Adaptation: Use a plant-based milk (like oat or almond milk) in the glaze. The bread itself does not contain dairy, so you only need to adjust the glaze.
- Make it a Muffin: Divide the batter evenly among a 12-cup muffin tin lined with paper liners. Bake at 350°F (175°C) for 18-22 minutes. This is perfect for grab-and-go breakfasts.
I once made a version with dried cranberries and orange zest instead of chocolate chips, and it was a huge hit at a holiday brunch. Don’t be afraid to experiment.
Serving & Storage Suggestions
This bread is wonderful served at room temperature. The maple glaze will have a slight crackle, and the bread will be incredibly moist.
Serving Suggestions: Slice it thick and serve it alongside a hot cup of coffee or a chai latte. For an extra indulgent treat, warm a slice in the microwave for 10-15 seconds and add a pat of salted butter. The combination of warm pumpkin, melted chocolate, and butter is absolutely divine. It also makes a fantastic dessert served with a scoop of vanilla ice cream.
Storage Instructions: Store any leftover bread in an airtight container at room temperature for up to 3 days. The glaze will soften slightly, but that is part of the charm. If you live in a very humid climate, you might want to store it in the refrigerator to prevent the glaze from getting too sticky.
Freezing Instructions: This bread freezes beautifully. Wrap the completely cooled and unglazed loaf tightly in plastic wrap, then in a layer of aluminum foil. Freeze for up to 3 months. When you are ready to enjoy it, thaw the loaf overnight in the refrigerator, bring it to room temperature, and then make the fresh maple glaze. Do not freeze the bread after glazing, as the glaze will become watery and messy.
Flavor Development: Honestly, this bread tastes even better on the second day. The spices have time to meld together, and the texture becomes even more tender. If you can resist eating it all on day one, you will be rewarded on day two.
Nutritional Information & Benefits
While this is certainly a treat, it does have some redeeming qualities. Here is the estimated nutritional information per slice (assuming 10 slices):
- Calories: ~380
- Fat: 18g
- Carbohydrates: 52g
- Fiber: 2g
- Sugar: 35g
- Protein: 5g
Health Benefits: Pumpkin is packed with vitamin A, which is great for eye health and immune function. It is also a good source of fiber. The cinnamon and ginger in this recipe are known for their anti-inflammatory properties. And dark chocolate? It contains antioxidants. So while I would not call this a health food, it is a more nutritious way to satisfy a sweet craving than a lot of store-bought desserts.
Dietary Considerations: This recipe is nut-free (if you skip the optional nuts) and can easily be made dairy-free. It does contain gluten and eggs, so it is not suitable for those with celiac disease or egg allergies without modifications.
Conclusion
This perfect chocolate chip pumpkin bread with maple glaze is the kind of recipe that becomes a family tradition. It is simple enough for a beginner baker but impressive enough to bring to any holiday table. The combination of warm pumpkin spices, rich chocolate, and sweet maple is just unbeatable.
I really hope you give this recipe a try. Do not be afraid to make it your own—swap the chocolate chips for nuts, add a pinch of cardamom, or double the glaze if you are feeling extra generous. The best recipes are the ones that you adapt to your own taste.
When you make it, I would love to hear how it turns out. Leave a comment below and let me know if your family loved it as much as mine does. And if you have a friend who swears they hate pumpkin bread, maybe bake them a loaf anyway. You never know—you might just change their mind.
Frequently Asked Questions
Can I use fresh pumpkin instead of canned?
Yes, you can use fresh pumpkin puree. Just make sure to drain it very well. Fresh pumpkin contains much more water than canned, which can make your bread soggy. Roast and puree the pumpkin, then let it sit in a paper towel-lined sieve for at least 30 minutes to drain off excess liquid.
Why did my chocolate chips sink to the bottom?
This usually happens for two reasons: the batter is too thin, or the chocolate chips are too heavy. Make sure you are using a standard pumpkin puree (not a watery one) and toss the chocolate chips in a tablespoon of flour before folding them in. This gives them a little grip to stay suspended in the batter.
Can I skip the maple glaze?
Absolutely. The bread is delicious on its own without the glaze. You can also sprinkle the top with coarse sugar before baking for a crunchy top, or dust it with powdered sugar after cooling for a simpler finish.
How do I know when the bread is done baking?
Insert a wooden toothpick or skewer into the center of the loaf. If it comes out clean or with just a few moist crumbs attached, it is done. If you hit a chocolate chip, test in another spot. An instant-read thermometer inserted into the center should read 200-205°F.
Can I make this recipe into mini loaves?
Yes! This batter works great for mini loaf pans. Divide the batter evenly among 3 or 4 greased mini loaf pans. Bake at 350°F for about 30-35 minutes, or until a toothpick comes out clean. Check them early, as mini loaves bake much faster.
Pin This Recipe!
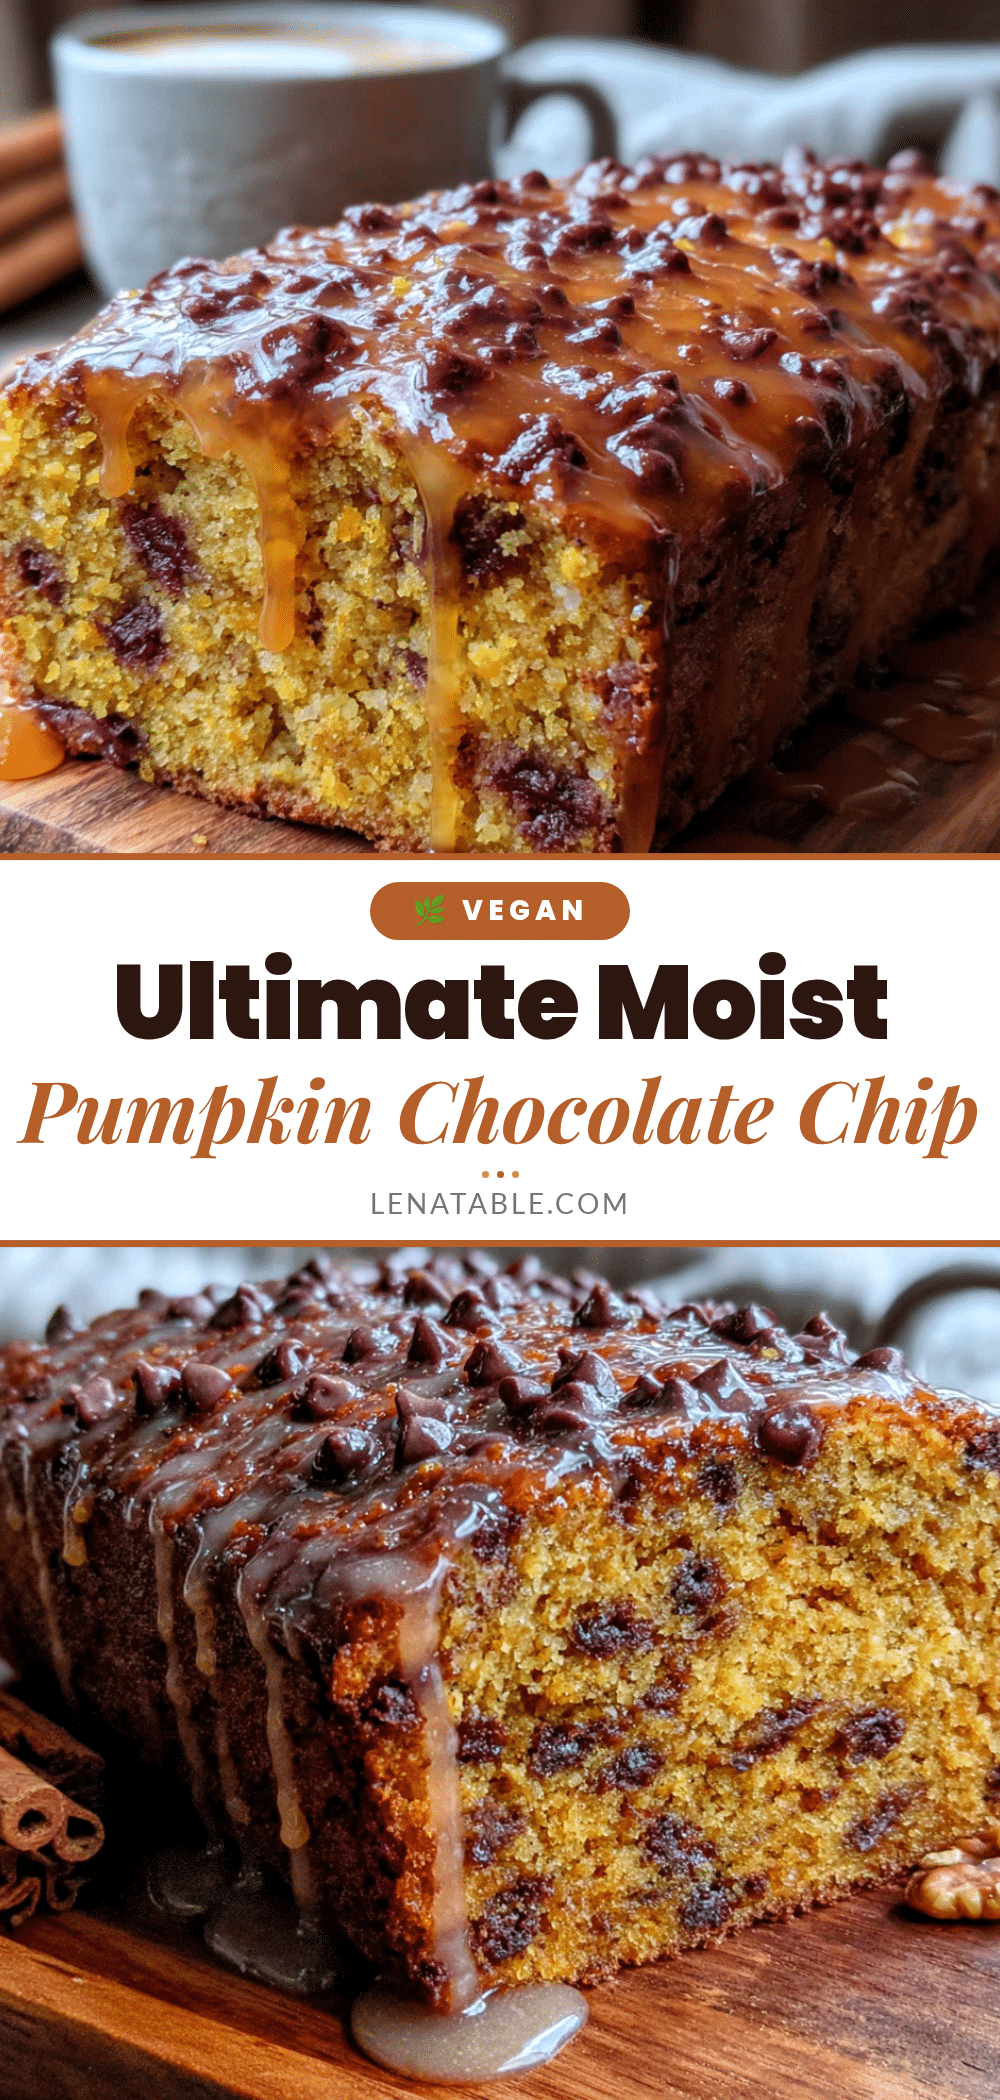
Perfect Chocolate Chip Pumpkin Bread with Easy Maple Glaze
This incredibly moist and tender pumpkin bread is loaded with chocolate chips and topped with a rich maple glaze. It’s the perfect fall treat that works for breakfast, brunch, or dessert, and it’s surprisingly easy to make in one bowl.
- Prep Time: 15 minutes
- Cook Time: 55-65 minutes
- Total Time: 1 hour 20 minutes (including cooling)
- Yield: 10 servings 1x
- Category: Dessert / Breakfast
- Cuisine: American
Ingredients
- 1 ¾ cups (220g) all-purpose flour
- 1 teaspoon baking soda
- ½ teaspoon baking powder
- 1 ½ teaspoons ground cinnamon
- ½ teaspoon ground nutmeg
- ¼ teaspoon ground ginger
- ¼ teaspoon ground cloves
- ½ teaspoon salt
- 1 cup (200g) granulated sugar
- ½ cup (100g) packed light brown sugar
- ½ cup (120ml) vegetable oil
- 2 large eggs, at room temperature
- 1 ½ cups (360g) pumpkin puree
- 1 teaspoon vanilla extract
- 1 cup (175g) semi-sweet chocolate chips
- 1 cup (120g) powdered sugar, sifted
- 3 tablespoons pure maple syrup
- 1–2 tablespoons milk or heavy cream
- ¼ teaspoon vanilla extract (optional)
Instructions
- Preheat your oven to 350°F (175°C). Line a 9×5-inch loaf pan with parchment paper, leaving overhang on the long sides. Lightly grease the ends of the pan.
- In a large mixing bowl, whisk together the flour, baking soda, baking powder, cinnamon, nutmeg, ginger, cloves, and salt until evenly distributed.
- In a medium mixing bowl, whisk together the granulated sugar, brown sugar, and vegetable oil until well combined. Add the eggs one at a time, whisking well after each addition.
- Pour in the pumpkin puree and vanilla extract, and whisk until the mixture is completely smooth.
- Pour the wet pumpkin mixture into the bowl with the dry ingredients. Use a rubber spatula to fold together gently until no streaks of flour remain. Do not overmix.
- In a small bowl, toss the chocolate chips with 1 tablespoon of the flour mixture. Gently fold the floured chips into the batter.
- Scrape the batter into the prepared loaf pan and spread evenly. Tap the pan gently on the counter to release air bubbles.
- Bake for 55-65 minutes, or until a toothpick inserted into the center comes out clean or with a few moist crumbs. If the top browns too quickly, tent with foil at the 40-minute mark.
- Let the bread cool in the pan on a cooling rack for 15 minutes. Then lift it out using the parchment handles and cool completely on the rack.
- For the glaze: In a small bowl, whisk together the sifted powdered sugar and maple syrup. Add milk or cream one tablespoon at a time until pourable but thick. Stir in vanilla if using.
- Once the bread is completely cool, drizzle the glaze over the top. Let set for 15-20 minutes before slicing.
Notes
Do not overmix the batter. Use room temperature ingredients for best results. For a gluten-free version, use a 1:1 gluten-free baking blend. The bread tastes even better on the second day. Store in an airtight container at room temperature for up to 3 days, or freeze unglazed for up to 3 months.
Nutrition
- Serving Size: 1 slice
- Calories: 380
- Sugar: 35
- Fat: 18
- Carbohydrates: 52
- Fiber: 2
- Protein: 5
Keywords: pumpkin bread, chocolate chip pumpkin bread, maple glaze, fall baking, pumpkin recipe, easy pumpkin bread


