Love this? Save it for later!
Share the inspiration with your friends
There used to be a tiny deli in a strip mall off Route 9 that made the most incredible pickles. When they closed suddenly three years ago—just a sign on the door saying “Thanks for the memories”—I honestly felt a little lost. Their cucumber dill pickles were that good. Crunchy, tangy, with just the right amount of dill and garlic, they were the reason I’d drive twenty minutes out of my way for a sandwich. After about eight tries—some were too salty, a few were downright mushy—I finally cracked the code. This crispy homemade cucumber dill refrigerator pickle recipe is my love letter to that little deli, and let me tell you, it might even be better than the original.
You know that feeling when you bite into a pickle and it gives you that perfect, loud crunch? That’s what we’re chasing here. No canning, no complicated equipment, just a few simple ingredients and a little patience. I mean, the first batch I made was a disaster—I used regular table salt instead of kosher, and the pickles tasted like the ocean. My husband still brings it up. But after tweaking the brine ratio and figuring out the secret to keeping them crisp, this recipe is now a staple in my fridge year-round. Honestly, if you’ve ever been disappointed by store-bought pickles that are soft or flavorless, you’re going to love this.
What makes these pickles so special is the texture. They stay incredibly crisp for weeks, thanks to a simple trick I stumbled upon by accident. And the flavor? It’s perfectly balanced—bright from the vinegar, fresh from the dill, with a gentle warmth from the garlic and peppercorns. Whether you’re piling them on a burger, chopping them into potato salad, or just eating them straight from the jar (no judgment here), these pickles deliver that old-school deli experience right in your own kitchen. Let me show you how easy it is to make them.
Why You’ll Love This Recipe
I’ve tested this recipe more times than I care to admit, and every single batch has taught me something new. Here’s why I think you’ll fall for these pickles just like I did:
- Incredibly Easy: No canning, no boiling water baths, no special skills required. You just mix, pour, and wait. It’s practically foolproof.
- Simple Ingredients: You probably already have most of these in your pantry. Vinegar, salt, sugar, garlic, dill—that’s it. No fancy trips to specialty stores.
- Perfect for Summer: When the garden is overflowing with cucumbers, this is the best way to preserve that fresh flavor. Plus, they’re amazing at barbecues and picnics.
- Crowd-Pleaser: I’ve brought these to potlucks and family gatherings, and people always ask for the recipe. Even kids who claim they don’t like pickles go back for seconds.
- Crunchy Every Time: The texture is the star here. These pickles stay crisp for weeks, which is rare for homemade versions. I’ll share my secret below.
What sets this recipe apart from the dozens of others out there is the brine ratio and the preparation method. I spent a lot of time figuring out the perfect balance of vinegar to water so the pickles are tangy but not puckering. And the trick for keeping them crunchy? It’s all about the salt and the soak. This isn’t just another pickle recipe—it’s the one I’ve perfected through trial and error, and I’m confident it will become your go-to.
There’s something deeply satisfying about opening your fridge and seeing a jar of homemade pickles staring back at you. It feels like a small victory, like you’ve got your life together even if the rest of the kitchen is a mess. These pickles have saved many a sad sandwich and elevated countless cheese boards. They’re comfort food in a jar—crisp, cold, and full of flavor.
What Ingredients You Will Need
This recipe uses simple, wholesome ingredients that work together to create that classic deli-style pickle flavor. Most of these are pantry staples, which makes this recipe incredibly accessible any time of year.
For the Pickles
- 1 ½ pounds Kirby cucumbers (or other small pickling cucumbers) — These are crucial for texture. Look for firm, unwaxed cucumbers. Regular slicing cucumbers can get mushy, so stick with Kirby if you can find them.
- 2 tablespoons kosher salt (I prefer Diamond Crystal or Morton’s) — This is not the time for table salt, which can make the brine cloudy and overly salty. The larger flakes of kosher salt dissolve perfectly and enhance the crunch.
- 1 cup cold water — Used for the initial salt soak to draw out excess moisture.
For the Brine
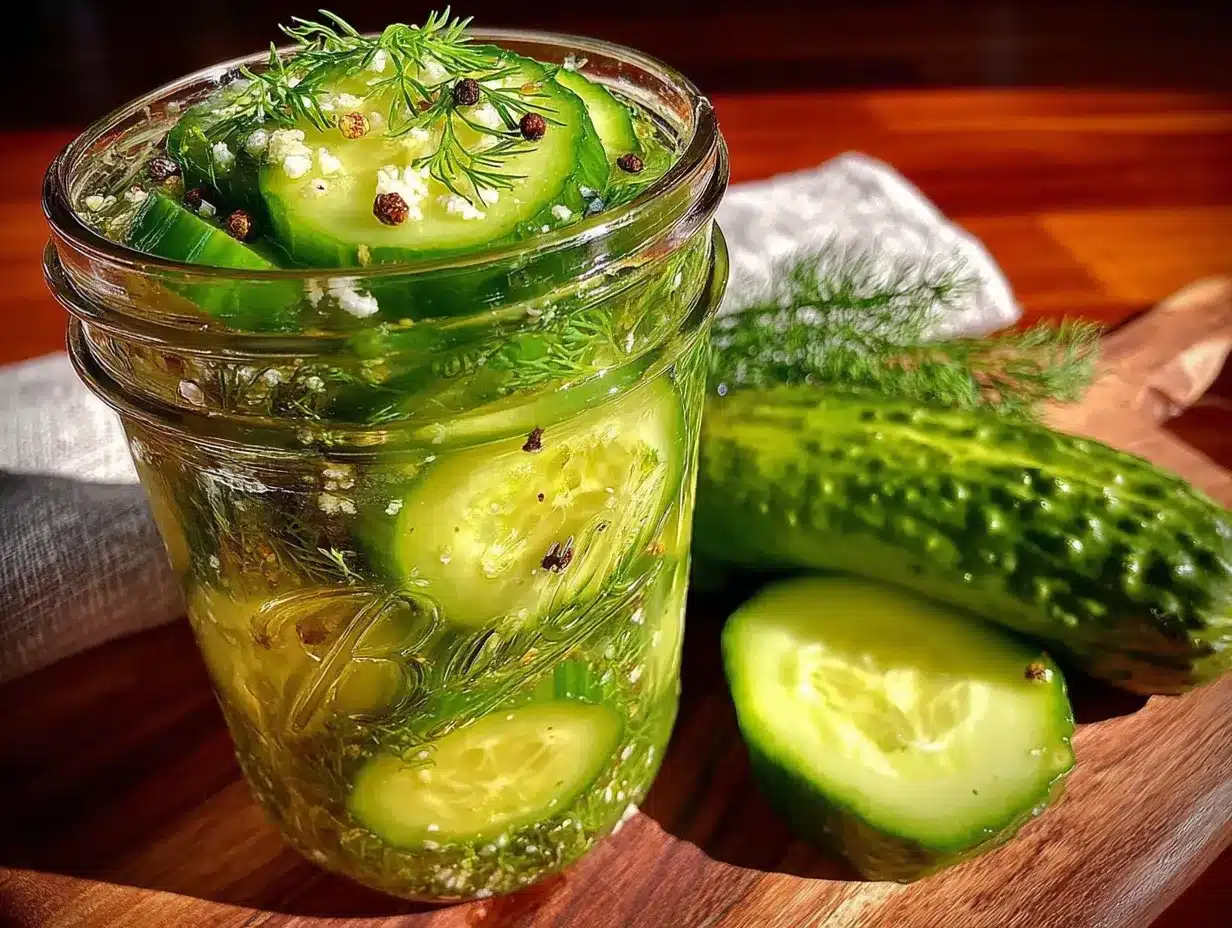
- 1 cup distilled white vinegar — This gives the clean, sharp tang that pickles are known for. Apple cider vinegar works too, but it will change the flavor profile slightly.
- 1 cup water — Tap water is fine, but if yours is heavily chlorinated, use filtered water for the cleanest taste.
- 1 tablespoon granulated sugar — Just a touch to balance the acidity. Don’t skip it; it doesn’t make the pickles sweet, just rounds out the sharp edges.
- 1 tablespoon kosher salt — For the brine itself.
For the Flavorings
- 4 cloves garlic, smashed — Smashing releases more flavor than slicing. Fresh garlic is non-negotiable here; powdered garlic just won’t give you the same punch.
- 2 sprigs fresh dill (or 1 tablespoon dill seeds) — Fresh dill gives that bright, grassy flavor that screams summer. If you only have dried, use about 1 teaspoon of dill weed.
- 1 teaspoon black peppercorns — Whole peppercorns infuse the brine without making it gritty. You can also use a teaspoon of red pepper flakes if you like heat.
- ½ teaspoon mustard seeds (optional) — These add a lovely subtle warmth and a bit of visual texture. I love them, but they’re not essential.
- Pinch of turmeric (optional) — This is mostly for color, giving the pickles that classic bright yellow-green hue. It doesn’t affect the flavor much.
I recommend using a brand like Heinz for your vinegar—it’s consistent and reliable. For the cucumbers, farmers’ markets are your best bet in summer, but many grocery stores carry Kirby cucumbers year-round. If you can only find English cucumbers, peel them first and cut them into spears; the skin can be tough.
Equipment Needed
You don’t need much fancy equipment for these pickles. Here’s what I use:
- 1-quart glass jar with a tight-fitting lid — Mason jars work perfectly. I like wide-mouth jars because they’re easier to pack with cucumber spears. A recycled pickle jar works too, just make sure it’s thoroughly cleaned.
- Cutting board and sharp knife — For slicing the cucumbers into spears or coins. A mandoline slicer is great for uniform slices, but a steady hand and a good knife work just fine.
- Small saucepan — For heating the brine ingredients to help the salt and sugar dissolve. You don’t need anything fancy; a basic pot works.
- Measuring cups and spoons — Precision matters in pickling, so use proper measuring tools. I’ve made the mistake of eyeballing the salt before, and it was not pretty.
- Large bowl — For the initial salt soak. A glass or stainless steel bowl is best; avoid aluminum, which can react with the vinegar.
- Wooden spoon or spatula — For stirring the brine and packing the jar. I just use a regular spoon, no need for anything special.
If you don’t have a mandoline, that’s totally fine. I actually prefer hand-cut spears because they look more rustic and homemade. The key is to make them roughly the same size so they pickle evenly. As for the jar, I found a set of four wide-mouth quart jars at a thrift store for five dollars, so keep an eye out for bargains.
Preparation Method
This is where the magic happens. Follow these steps carefully, and you’ll have perfect pickles every time.
- Prepare the cucumbers: Wash the cucumbers thoroughly and trim off the blossom end. The blossom end contains enzymes that can make pickles soft, so removing about 1/8 inch from that end is a good habit. Cut the cucumbers into spears, coins, or leave them whole if they’re small. I like spears about the size of your index finger—they’re perfect for snacking and fit nicely in a jar.
- Salt soak for crunch: Place the cucumber pieces in a large bowl and sprinkle with 2 tablespoons of kosher salt. Toss well to coat. Cover the cucumbers with 1 cup of cold water and let them sit at room temperature for 1 hour. This step draws out excess moisture and firms up the cucumbers, which is the secret to that incredible crunch. You’ll notice the water gets cloudy and the cucumbers look slightly shriveled—that’s exactly what you want.
- Rinse and drain: After an hour, drain the cucumbers in a colander and rinse them thoroughly with cold water. This removes the excess salt so your pickles aren’t overly salty. Shake off as much water as you can, then pat them dry with a clean kitchen towel or paper towels. Don’t skip the drying—too much water dilutes the brine.
- Make the brine: In a small saucepan, combine 1 cup distilled white vinegar, 1 cup water, 1 tablespoon sugar, and 1 tablespoon kosher salt. Bring to a simmer over medium heat, stirring occasionally until the sugar and salt are completely dissolved. This should take about 3-4 minutes. Remove from heat and let the brine cool to room temperature. Do not pour hot brine over the cucumbers—it will cook them and ruin the crunch.
- Pack the jar: While the brine cools, pack your clean jar with the cucumber pieces. Tuck in the smashed garlic cloves, fresh dill sprigs, black peppercorns, and mustard seeds (if using). Pack them fairly tightly—the cucumbers will shrink slightly as they pickle. I like to layer the flavorings throughout the jar so every pickle gets some goodies.
- Pour the brine: Once the brine is completely cool, pour it over the cucumbers in the jar. Make sure the cucumbers are fully submerged. If they float, you can use a small glass weight or even a clean, food-safe plastic bag filled with extra brine to keep them down. Leave about 1/2 inch of headspace at the top of the jar.
- Seal and refrigerate: Screw the lid on tightly and give the jar a gentle shake to distribute the spices. Place the jar in the refrigerator. Here’s the hard part: wait at least 24 hours before tasting. The flavor really develops after 48 hours, and they’re at their peak after about 5-7 days. I know it’s tough, but patience pays off.
A note from my own experience: the first time I made these, I was so excited that I opened the jar after just 12 hours. The cucumbers were barely pickled and still tasted like salted cucumber water. Learn from my impatience! Give them the full 48 hours, and you’ll be rewarded with pickles that taste like they came from that deli I miss so much.
Cooking Tips & Techniques
I’ve made my share of pickling mistakes so you don’t have to. Here are the tips I’ve picked up along the way:
The ice water trick: If you want even crunchier pickles, after the salt soak and rinse, soak the cucumbers in ice water for 30 minutes before packing the jar. This firms them up even more. I tried this on a whim during a particularly hot summer, and the difference was noticeable. The pickles had that almost shatteringly crisp texture.
Don’t skip the salt soak: I know it adds an extra hour to the process, but this step is non-negotiable for the crunch. I once skipped it because I was in a hurry, and the pickles were disappointingly soft. They were still edible, but they lacked that satisfying snap. The salt soak draws out water and concentrates the cucumber’s natural pectin, which keeps them firm.
Temperature matters: Always let the brine cool completely before pouring it over the cucumbers. Hot brine will partially cook the cucumbers, turning them limp. I learned this the hard way when I got impatient and poured warm brine over my carefully prepared spears. They ended up with a weird, slightly cooked texture that just wasn’t right.
Uniform cuts: Try to cut your cucumbers into pieces of similar size. This ensures they all pickle at the same rate. If you have some thick spears and some thin slices, the thin ones will be fully pickled while the thick ones are still tasting raw. I use a ruler sometimes—okay, I’m a little obsessive, but it works.
Label your jar: This sounds silly, but I’ve found jars of mysterious pickles in the back of my fridge that I couldn’t remember making. Write the date on the lid with a permanent marker so you know exactly when they were made. They’re best within the first month, though they’ll keep for up to three months in the fridge.
Variations & Adaptations
One of the best things about this recipe is how easy it is to customize. Here are some variations I’ve tried and loved:
Spicy Pickles: Add 1-2 sliced jalapeños or serrano peppers to the jar along with a teaspoon of red pepper flakes. The heat builds over time, so start with less if you’re unsure. I made a batch with habaneros once, and they were almost too hot to eat—almost.
Garlic Lovers: Double the garlic and add a few whole cloves along with the smashed ones. The garlic mellows as it pickles and becomes almost sweet and spreadable. I love chopping up the pickled garlic and adding it to salad dressings.
Sweet Bread and Butter Style: Increase the sugar to 1/3 cup and add 1 teaspoon of turmeric and 1 teaspoon of celery seeds. This gives you a classic sweet pickle that’s perfect on burgers or chopped into tuna salad.
Herb Garden Mix: Swap the dill for other fresh herbs like tarragon, thyme, or even a sprig of rosemary. I made a batch with fresh tarragon last spring, and it was unexpectedly delicious with a faint licorice note.
Low-Sodium Version: Reduce the salt in both the soak and the brine by half. The pickles won’t be as crunchy, and they won’t keep as long, but they’ll still be tasty. Use within two weeks for best results.
My personal favorite variation is adding a few slices of red onion and a star anise to the jar. The onion turns a beautiful pink color and becomes incredibly flavorful, perfect for topping tacos or sandwiches. It’s a small change that makes a big difference.
Serving & Storage Suggestions
These pickles are incredibly versatile. Here’s how I like to use them:
Serving: Serve them cold, straight from the fridge. They’re fantastic on sandwiches, burgers, and hot dogs. Chop them up for potato salad, tuna salad, or egg salad. I also love setting out a bowl of them as a snack with some cheese and crackers—they cut through the richness beautifully.
Storage: Keep the jar tightly sealed in the refrigerator. These pickles will stay crisp and flavorful for up to 3 months, though they’re at their absolute best within the first month. The brine will become slightly cloudy over time, which is normal and harmless. If you see any mold or off smells, toss them immediately.
Reusing the brine: After you finish the pickles, don’t throw away the brine! You can use it to pickle other vegetables like sliced carrots, red onions, or even hard-boiled eggs. Just bring the brine to a boil, pour it over the new vegetables, and refrigerate. The flavor will be slightly milder, but still delicious.
Gifts: These make wonderful homemade gifts. I often make a double batch around the holidays and give them away in pretty jars with a ribbon and a handwritten label. People genuinely appreciate the effort, and it’s a gift that keeps on giving for weeks.
Nutritional Information & Benefits
While pickles aren’t exactly a health food, they do offer some surprising benefits. Here’s a rough estimate per serving (about 1/4 cup of spears):
- Calories: 5-10
- Carbohydrates: 1-2g
- Sodium: 200-300mg (varies based on salt used)
- Sugar: 1g
- Vitamin K: 10% of daily value
Pickles are a good source of vitamin K, which is important for bone health and blood clotting. The fermentation process (even in refrigerator pickles) can introduce beneficial probiotics, though the vinegar brine is less probiotic-rich than fermented pickles. Cucumbers themselves are hydrating and low in calories, making these a guilt-free snack.
If you’re watching your sodium intake, you can reduce the salt in both the soak and the brine, but keep in mind that salt is what helps preserve the pickles and maintain their crunch. For a lower-sodium option, consume them within two weeks.
Personally, I find that having a jar of these pickles in my fridge helps me eat more vegetables overall. I’ll grab a few spears when I’m craving something crunchy instead of reaching for chips. It’s a small swap, but it adds up over time.
Conclusion
These crispy homemade cucumber dill refrigerator pickles are more than just a recipe—they’re a small piece of culinary joy that you can create in your own kitchen. They remind me of that little deli that closed too soon, but more importantly, they’ve become a tradition in my own home. My kids now ask for “Mom’s pickles” instead of store-bought, and honestly, that makes my heart swell every time.
I hope you give this recipe a try. Don’t be afraid to experiment with the spices and make it your own. Maybe you’ll discover a combination that becomes your family’s favorite. And if you do, I’d love to hear about it. Leave a comment below and tell me how your pickles turned out, or share a photo of your jar on Pinterest. Your feedback helps me and other readers too.
Happy pickling, friend. Here’s to crunchy, tangy, homemade goodness that’s always within reach. You’ve got this!
Frequently Asked Questions
Can I use regular cucumbers instead of pickling cucumbers?
You can, but the texture won’t be as crisp. Pickling cucumbers like Kirby have thinner skins and fewer seeds, which helps them stay crunchy. If you use regular slicing cucumbers, peel them first and remove the seeds before slicing. They’ll still taste great, just expect a softer texture.
How long do these pickles need to sit before they’re ready?
I recommend waiting at least 24 hours, but 48 hours is even better. The flavor really develops and deepens over the first week. After 5-7 days, they reach their peak. After that, they’ll maintain their flavor and crunch for up to three months in the fridge.
Why are my pickles soft or mushy?
This usually happens for one of three reasons: you skipped the salt soak, you used hot brine, or you used the wrong type of cucumber. The salt soak draws out moisture and firms the cucumbers. Letting the brine cool completely is essential. And always choose firm, fresh pickling cucumbers for the best results.
Can I reuse the brine for another batch?
Yes, but the flavor will be much milder the second time around. You can reuse the brine once to pickle a new batch of cucumbers or other vegetables like carrots or onions. Just bring the brine to a boil first to kill any bacteria, let it cool, and pour it over fresh vegetables. The second batch won’t be as flavorful, but it’s still tasty.
Do I need to sterilize the jar before using it?
For refrigerator pickles, you don’t need to fully sterilize the jar like you would for canning. Just wash the jar and lid thoroughly with hot soapy water, rinse well, and let them dry completely. A clean jar is sufficient since these pickles are stored in the fridge and consumed within a few months.
Pin This Recipe!
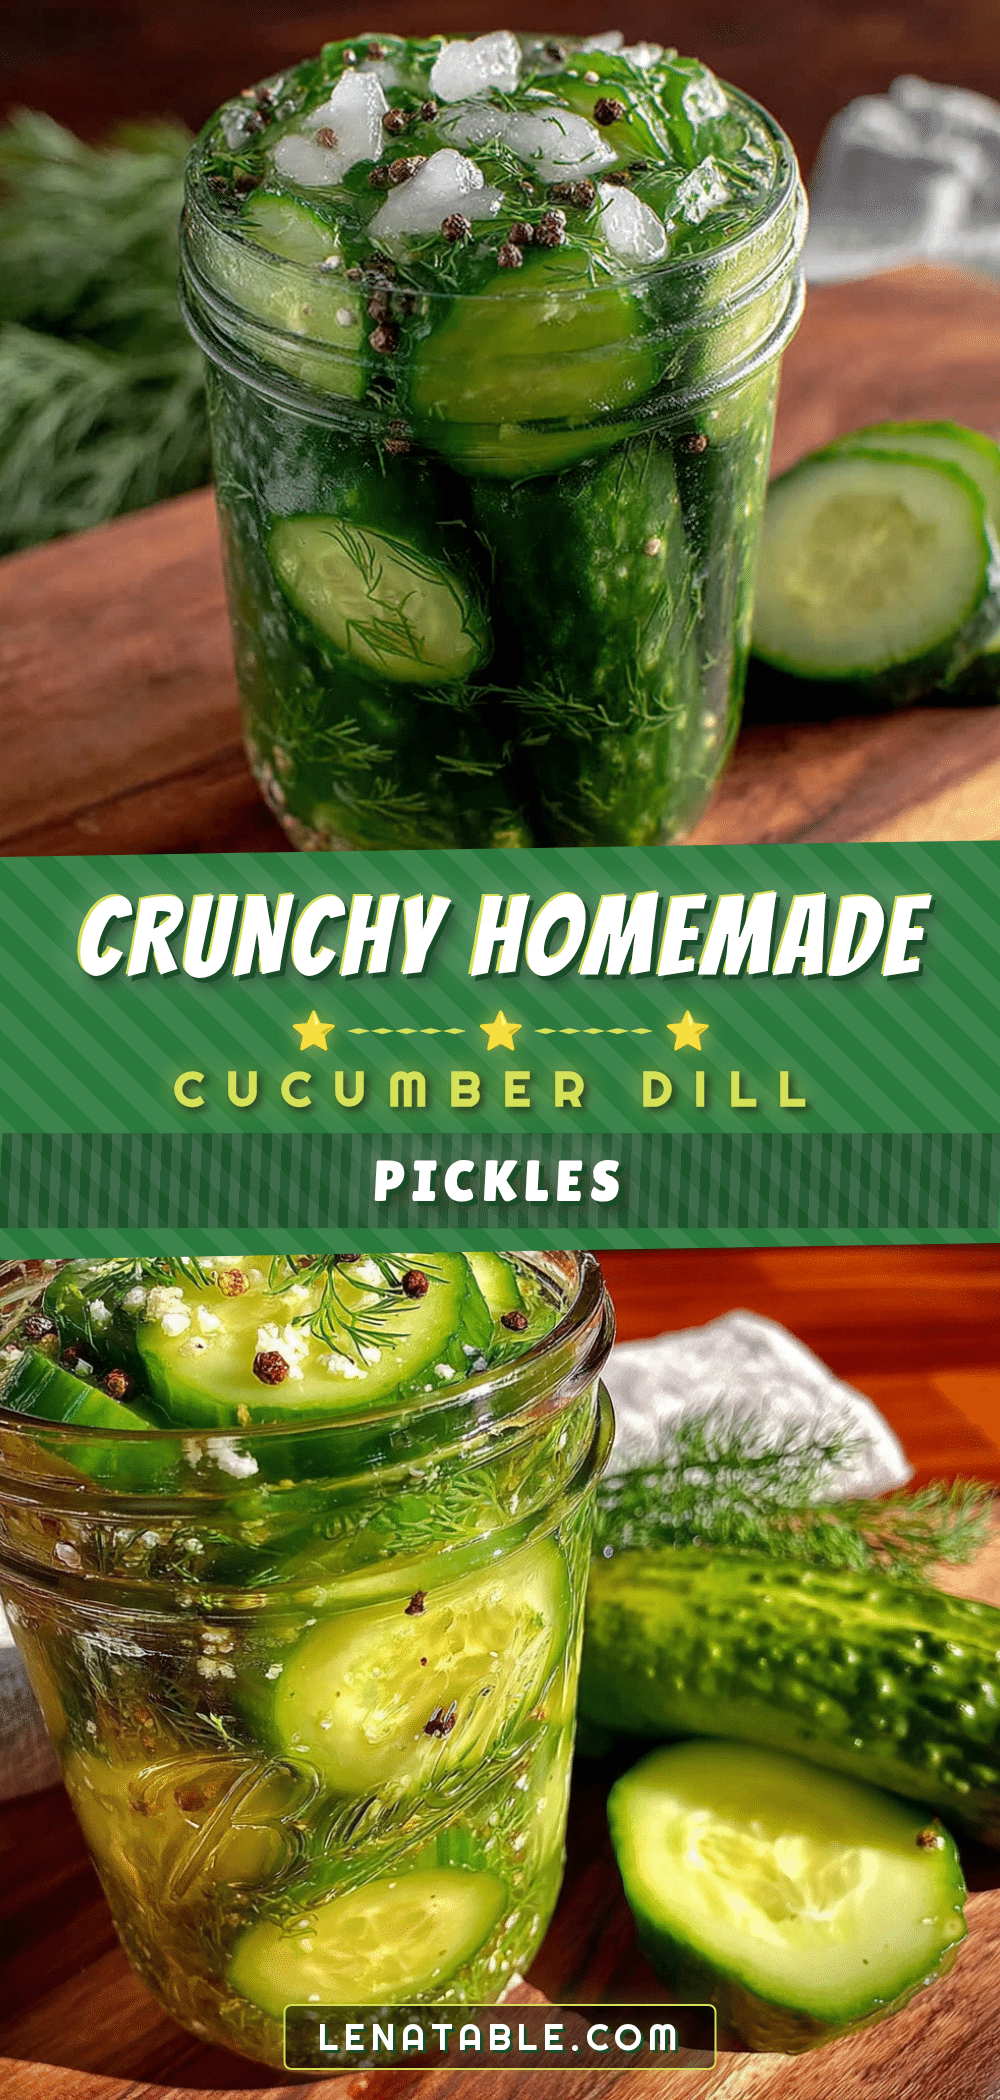
Crispy Homemade Cucumber Dill Pickles (Easy Refrigerator Recipe)
These crispy homemade cucumber dill refrigerator pickles are incredibly easy to make with simple ingredients. They stay crunchy for weeks and deliver that perfect deli-style tangy flavor.
- Prep Time: 15 minutes
- Cook Time: 5 minutes
- Total Time: 1 hour 20 minutes (plus 24-48 hours refrigeration)
- Yield: 4 servings 1x
- Category: Appetizer
- Cuisine: American
Ingredients
- 1 ½ pounds Kirby cucumbers (or other small pickling cucumbers)
- 2 tablespoons kosher salt (for salt soak)
- 1 cup cold water (for salt soak)
- 1 cup distilled white vinegar
- 1 cup water (for brine)
- 1 tablespoon granulated sugar
- 1 tablespoon kosher salt (for brine)
- 4 cloves garlic, smashed
- 2 sprigs fresh dill (or 1 tablespoon dill seeds)
- 1 teaspoon black peppercorns
- ½ teaspoon mustard seeds (optional)
- Pinch of turmeric (optional)
Instructions
- Prepare the cucumbers: Wash the cucumbers thoroughly and trim off the blossom end. Cut the cucumbers into spears, coins, or leave them whole if they’re small.
- Salt soak for crunch: Place the cucumber pieces in a large bowl and sprinkle with 2 tablespoons of kosher salt. Toss well to coat. Cover the cucumbers with 1 cup of cold water and let them sit at room temperature for 1 hour.
- Rinse and drain: After an hour, drain the cucumbers in a colander and rinse them thoroughly with cold water. Shake off as much water as you can, then pat them dry with a clean kitchen towel or paper towels.
- Make the brine: In a small saucepan, combine 1 cup distilled white vinegar, 1 cup water, 1 tablespoon sugar, and 1 tablespoon kosher salt. Bring to a simmer over medium heat, stirring occasionally until the sugar and salt are completely dissolved. Remove from heat and let the brine cool to room temperature.
- Pack the jar: While the brine cools, pack your clean jar with the cucumber pieces. Tuck in the smashed garlic cloves, fresh dill sprigs, black peppercorns, and mustard seeds (if using).
- Pour the brine: Once the brine is completely cool, pour it over the cucumbers in the jar. Make sure the cucumbers are fully submerged. Leave about 1/2 inch of headspace at the top of the jar.
- Seal and refrigerate: Screw the lid on tightly and give the jar a gentle shake to distribute the spices. Place the jar in the refrigerator. Wait at least 24 hours before tasting; flavor develops after 48 hours and peaks after 5-7 days.
Notes
For even crunchier pickles, after the salt soak and rinse, soak the cucumbers in ice water for 30 minutes before packing the jar. Always let the brine cool completely before pouring over cucumbers to avoid cooking them. Label the jar with the date; pickles are best within the first month but keep for up to 3 months in the fridge.
Nutrition
- Serving Size: 1/4 cup of spears
- Calories: 510
- Sugar: 1
- Sodium: 200300
- Carbohydrates: 12
Keywords: cucumber dill pickles, refrigerator pickles, homemade pickles, easy pickle recipe, crispy pickles, deli-style pickles


