Love this? Save it for later!
Share the inspiration with your friends
I’m not supposed to play favorites with recipes, but some cookies just have more personality than others. These witch finger cookies? They’ve got attitude. The first time I made them, I was trying to impress my neighbor’s kids before their Halloween party, and honestly, I was panicking. I had this grand vision of perfectly shaped fingers with creepy knuckles and bloody almond fingernails. What came out of the oven looked more like a pile of pale, lumpy worms. My kitchen counter was dusted with flour, I had green food coloring smeared on my apron, and I was already mentally preparing my apology text.
But here’s the thing about spooky baking — sometimes the imperfections make it better. I grabbed the wrong amount of almond extract (way too much), the dough was too warm, and I was running late. Instead of starting over, I just went with it. I shaped those lumpy worms into slightly crooked fingers, pressed an almond sliver onto each one, and threw them back in the oven. When they came out golden and slightly cracked at the knuckles, my neighbor’s kids actually screamed. In a good way. You know that feeling when something goes completely wrong but somehow ends up perfect? That’s this recipe.
These witch finger cookies have become my go-to for every Halloween party since. They’re creepy enough to impress, but buttery and sweet enough that people keep reaching for more. I mean, there’s something deeply satisfying about watching someone hesitate before taking a bite of a cookie that looks like a severed finger. And then watching their face light up when they realize it tastes like a soft, almond-infused sugar cookie. If you’ve ever wanted to be the person who brings the most talked-about dish to a party, this is it.
Why You’ll Love This Recipe
I’ve tested this recipe more times than I care to admit — through sticky dough disasters, almond slivers that refused to stay put, and one memorable batch where the “blood” looked more like ketchup. After all that trial and error, I can confidently say these are the best witch finger cookies you’ll make. Here’s why they work:
- Quick & Easy: From start to finish, you’re looking at about 45 minutes. The dough comes together in one bowl, and the shaping is actually fun once you get the hang of it.
- Simple Ingredients: Butter, sugar, flour, eggs, almond extract — these are pantry staples. No specialty stores required.
- Perfect for Halloween Parties: These cookies are instant conversation starters. They’re creepy enough to fit the theme but not so gross that kids (or adults) won’t eat them.
- Crowd-Pleaser: Every single time I bring these somewhere, someone asks for the recipe. They disappear faster than any regular cookie I’ve made.
- Unbelievably Delicious: The almond extract gives them this almost marzipan-like flavor that pairs perfectly with the buttery shortbread base. The texture is tender with a slight crunch on the edges.
What makes this recipe different from the dozens of other versions out there? It’s the technique. I learned the hard way that chilling the shaped fingers for exactly 15 minutes — not 10, not 20 — is the secret to keeping the almond slivers in place and preventing the cookies from spreading into blobs. I also use a specific ratio of almond extract to vanilla that gives just the right amount of that creepy, candy-like flavor without overwhelming the cookie. This isn’t just another version of witch finger cookies. It’s the version I’ve perfected through actual kitchen failures, and it works every single time.
These cookies are the kind that make you close your eyes after the first bite. They’re comfort food with a spooky twist — familiar enough to feel like home, but weird enough to be memorable. Perfect for impressing guests without stress, or turning a simple Halloween gathering into something people will talk about all year.
What Ingredients You Will Need
This recipe uses simple, wholesome ingredients to deliver that perfect balance of creepy appearance and delicious flavor. Most of these are pantry staples, which means you can whip up a batch on a whim without a special grocery trip.
- Unsalted butter, softened — 1 cup (2 sticks, 226g). I always use unsalted so I can control the salt level. Let it sit out for about 30 minutes before starting.
- Granulated sugar — 1 cup (200g). Regular white sugar works best here. Brown sugar would change the texture and color too much.
- Large egg — 1, room temperature. Cold egg will make your butter seize up. Just leave it on the counter with the butter.
- Almond extract — 2 teaspoons. This is the star flavor. I prefer McCormick for its clean, strong almond taste. Don’t skimp on this.
- Vanilla extract — 1 teaspoon. Balances the almond so it doesn’t taste like a candle. Nielsen-Massey is my go-to for pure vanilla.
- All-purpose flour — 2 ½ cups (312g). Spoon and level it — don’t scoop directly from the bag or you’ll end up with dry dough.
- Baking powder — 1 teaspoon. Gives them just enough lift without puffing up too much.
- Salt — ½ teaspoon. Fine sea salt works best. It balances the sweetness and enhances the almond flavor.
- Whole blanched almonds — about 60 pieces (one per cookie). These become the fingernails. Look for ones that are uniform in size for a cleaner look.
- Red food coloring gel — for the “blood” effect. Gel is better than liquid because it’s more concentrated and won’t thin out the jam. I use Wilton brand.
- Strawberry jam or raspberry jam — 2 tablespoons. This creates the bloody base at the cuticle. Seedless jam gives a smoother finish, but seeded jam looks more gruesome and realistic.
- Green food coloring (optional) — for a more witchy skin tone. Completely optional, but it adds to the spooky factor.
For the green tint, I’ve tried both liquid and gel coloring. Gel works better because it doesn’t add extra moisture to the dough. Add it drop by drop until you get the desired shade — you want a pale, sickly green, not something that looks radioactive.
If you’re making these for a party where kids might have nut allergies, you can substitute the almond extract with more vanilla extract and use a small sliver of dried apricot or a candy corn for the fingernail instead. The look won’t be quite as realistic, but the taste will still be fantastic.
Equipment Needed
You don’t need anything fancy to make these cookies, but a few specific tools make the process much smoother. Here’s what I use:
- Electric mixer — Hand mixer or stand mixer with paddle attachment. You can cream the butter and sugar by hand, but your arm will thank you for using a mixer.
- Large mixing bowl — Any bowl will do, but a wide one makes it easier to mix without flour flying everywhere.
- Baking sheets — Two standard half-sheet pans. Line them with parchment paper or silicone baking mats. I prefer Silpat mats because the cookies don’t spread as much.
- Parchment paper or silicone baking mats — Essential for easy cleanup and preventing sticking.
- Small offset spatula or butter knife — For spreading the jam and creating the “blood” effect.
- Toothpick or small knife — For creating knuckle lines and cuticle details on the cookies.
- Pastry brush (optional) — For applying the red jam evenly at the cuticle area.
- Cooling rack — Wire rack for letting the cookies cool completely before adding the final touches.
- Plastic wrap — For chilling the dough if it gets too soft to handle.
If you don’t have a stand mixer, a hand mixer works perfectly fine. I actually prefer my hand mixer for this recipe because the dough is stiff and the paddle attachment on a stand mixer can sometimes overwork it. For the baking sheets, any rimmed baking pan will work — just make sure it’s not warped or the cookies will spread unevenly.
Preparation Method
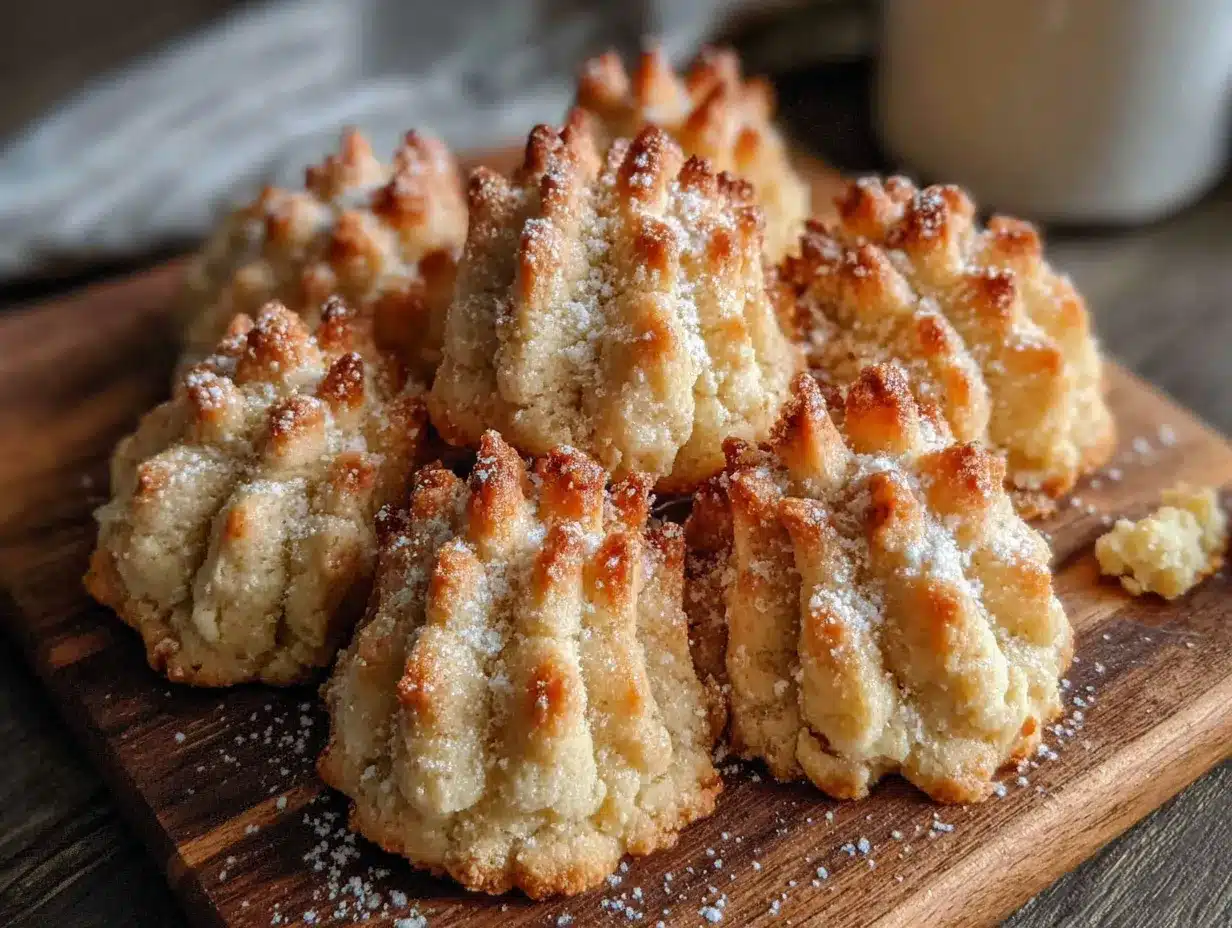
- Cream the butter and sugar. In a large mixing bowl, beat the softened butter and granulated sugar together on medium speed until light and fluffy, about 3-4 minutes. You want it pale yellow and airy. Scrape down the sides of the bowl halfway through. If you’re using a hand mixer, this takes a bit longer — be patient.
- Add the wet ingredients. Beat in the egg, almond extract, and vanilla extract until fully combined. The mixture might look slightly curdled at this point — that’s normal. If you’re adding green food coloring for witchy skin, add it now, drop by drop, until you reach the desired shade. I usually add about 8-10 drops of green gel for a subtle effect.
- Mix the dry ingredients. In a separate bowl, whisk together the flour, baking powder, and salt. Gradually add this to the wet mixture, mixing on low speed until just combined. Don’t overmix — stop as soon as no streaks of flour remain. The dough will be stiff but slightly sticky. If it feels too sticky to handle, cover and refrigerate for 15 minutes.
- Preheat and prepare. Preheat your oven to 325°F (163°C). Line two baking sheets with parchment paper or silicone mats. This lower temperature prevents the cookies from spreading too much and losing their finger shape.
- Shape the fingers. Scoop about 1 tablespoon of dough (roughly 20g) and roll it into a log shape about 3 inches long and ¾ inch thick. Place it on the prepared baking sheet. Gently taper one end to form the fingertip and make the other end slightly thicker to resemble the base of a finger. Don’t worry if they look uneven — real fingers aren’t perfectly straight either.
- Create the knuckles. Using the back of a butter knife or a toothpick, gently press horizontal lines into the dough to create knuckle creases. Press firmly enough to leave an indent but not so hard that you cut through the dough. Make 2-3 lines per finger, spaced about ½ inch apart. For extra realism, press a little harder at the center of each crease.
- Add the fingernails. Take a whole blanched almond and press it gently into the tapered end of each finger. Position it so the pointed end of the almond faces outward, like a fingernail. Press just enough so it stays in place — the dough will puff slightly during baking and secure it further.
- Chill the shaped cookies. Place the baking sheets with the shaped fingers in the refrigerator for exactly 15 minutes. This is crucial — it firms up the butter so the cookies hold their shape during baking. I’ve skipped this step before and ended up with flat, blob-like fingers that looked more like deformed potatoes.
- Bake. Bake the chilled cookies for 12-14 minutes, or until the edges are just barely golden brown. The centers should still look slightly pale and soft. Rotate the pans halfway through for even baking. Don’t overbake — these cookies continue to set as they cool, and overbaked ones will be too hard.
- Cool completely. Let the cookies cool on the baking sheet for 5 minutes, then transfer them to a wire rack to cool completely. This is important because the jam “blood” will slide off if the cookies are still warm.
- Add the bloody details. Once the cookies are completely cool, mix a small amount of red food coloring gel into the strawberry jam until it reaches a deep, bloody red. Using a toothpick or small brush, dab a small amount of the red jam at the cuticle area where the almond meets the dough. Let a tiny bit drip down the side for a gory effect. For extra creepiness, smear a little on the “fingertip” as well.
- Final touches. Arrange the cookies on a platter in a way that looks casually scattered, like actual severed fingers. For maximum Halloween effect, place them on a black platter or arrange them spilling out of a small box.
Cooking Tips & Techniques
The first time I made these, I learned some hard lessons. The dough was too warm, the fingers spread into unrecognizable blobs, and the almond slivers popped off during baking like tiny escape artists. Here’s what I’ve learned since then:
Temperature control is everything. If your kitchen is warm, the dough will get sticky fast. Work in batches — keep the unused dough in the refrigerator while you shape the first batch. If the dough starts feeling greasy or too soft, pop it back in the fridge for 10 minutes. I’ve had to do this mid-shaping more times than I can count.
Don’t overwork the dough. When shaping the fingers, handle the dough as little as possible. Too much handling warms up the butter and activates the gluten, making the cookies tough. Roll each finger gently and move on. Imperfect shapes actually look more realistic — real fingers aren’t perfectly uniform.
The chilling step is non-negotiable. I know it’s tempting to skip it when you’re in a rush, but those 15 minutes in the fridge make the difference between finger-shaped cookies and cookie-shaped blobs. I once tried to rush this step and ended up with cookies that looked like flat, sad pancakes with almonds stuck to them. Learn from my mistakes.
For the knuckles, less is more. You want gentle indentations, not deep gashes. If you press too hard, the cookies will crack and break along those lines during baking. I use the rounded edge of a butter knife and press just enough to leave a visible mark. The dough will puff slightly in the oven, so the creases will soften naturally.
Timing tip: Make the dough the night before and keep it wrapped in plastic in the fridge. The next day, the dough is firm and much easier to shape. Plus, the flavors meld together overnight for a more pronounced almond taste. This is my preferred method when I’m making them for a party.
Variations & Adaptations
One of the best things about this recipe is how easily it adapts to different tastes and dietary needs. Here are some variations I’ve tried and loved:
Gluten-Free Version: Substitute the all-purpose flour with a 1:1 gluten-free baking flour blend. I’ve used King Arthur Measure for Measure with great results. Add an extra tablespoon of flour because gluten-free blends tend to absorb less liquid. The texture will be slightly more crumbly, but the taste is still fantastic.
Vegan Witch Fingers: Use vegan butter (I like Miyoko’s) and replace the egg with a flax egg (1 tablespoon ground flaxseed mixed with 3 tablespoons water, let sit for 5 minutes). The cookies will be a bit more delicate, so handle them gently when shaping. The almond extract still shines through beautifully.
Chocolate Witch Fingers: Replace ¼ cup of the flour with unsweetened cocoa powder. The dark brown fingers look even more gruesome, like they’ve been buried in dirt. I’ve made these for a “graveyard” themed party and they were a huge hit. The chocolate pairs surprisingly well with the almond extract.
Spiced Version: Add 1 teaspoon of pumpkin pie spice or cinnamon to the dry ingredients. The warm spices give the cookies a fall flavor that’s perfect for Halloween. The green tint looks less witchy with this version, so I skip the food coloring and let them be a natural golden brown.
Extra Gory Version: Instead of jam, use a mixture of corn syrup and red food coloring for a glossy, blood-like effect that drips more convincingly. Brush it on after baking and let it set for 10 minutes. The corn syrup stays sticky and shiny, which looks disturbingly realistic.
Nut-Free Alternative: Replace the almond extract with additional vanilla extract and use a sliver of dried apricot or a candy corn for the fingernail. The look won’t be as realistic, but the taste is still delicious and safe for school parties.
Serving & Storage Suggestions
These cookies are best served at room temperature, arranged on a dark platter or tray for maximum spooky effect. I like to scatter them casually, as if they’ve been dropped there. For Halloween parties, I’ve found that presenting them in a shallow box lined with black tissue paper makes them look like they’ve just been discovered in an attic. The visual impact is worth the extra effort.
Complementary dishes: These pair beautifully with other Halloween treats. I’ve served them alongside pumpkin-shaped sugar cookies and chocolate spiderweb cupcakes. For drinks, a warm mug of apple cider or a glass of cold milk balances the sweetness perfectly. If you’re hosting an adult party, they go surprisingly well with a dark stout or a bourbon cocktail.
Storage: Store the cookies in an airtight container at room temperature for up to 5 days. Layer them between sheets of parchment paper to prevent the jam from smearing onto other cookies. Don’t refrigerate them — the fridge dries out the cookies and makes them hard. If you live in a humid climate, add a slice of bread to the container to absorb excess moisture.
Freezing: You can freeze the shaped, unbaked cookies for up to 3 months. Arrange them on a baking sheet and freeze until solid, then transfer to a freezer bag. When you’re ready to bake, add 2-3 minutes to the baking time — no need to thaw first. I’ve done this for last-minute Halloween parties and it works perfectly.
Make-ahead tip: The baked cookies freeze well too. Cool them completely, then freeze in a single layer in an airtight container. Thaw at room temperature for about 30 minutes, then add the jam “blood” just before serving. The jam doesn’t freeze well, so always add it fresh.
Flavor development: These cookies actually taste better the day after baking. The almond flavor mellows and blends with the butter, creating a more rounded taste. If you’re making them for a party, bake them a day ahead and add the jam right before serving.
Nutritional Information & Benefits
Let’s be real — these are cookies, not health food. But here’s the nutritional breakdown for one cookie (based on the recipe making about 60 cookies):
| Nutrient | Amount per Cookie |
|---|---|
| Calories | 85 |
| Total Fat | 4.5g |
| Saturated Fat | 2.5g |
| Carbohydrates | 10g |
| Sugar | 5g |
| Protein | 1g |
| Sodium | 35mg |
Health benefits of key ingredients: Almonds are a good source of vitamin E, magnesium, and healthy monounsaturated fats. They also add a small amount of protein and fiber to each cookie. The butter provides vitamin A, and the egg adds a bit of protein and B vitamins. The jam contributes a tiny amount of fruit antioxidants, though honestly, the sugar content outweighs any real health benefit.
Dietary considerations: This recipe contains gluten, dairy, eggs, and nuts (almonds). For a nut-free version, see the variations section above. For gluten-free or vegan options, those adaptations are also covered. These cookies are not low-carb or keto-friendly due to the sugar content.
My perspective: I believe in enjoying treats in moderation. These cookies are a special occasion food — perfect for Halloween parties where the fun is as important as the flavor. One or two cookies won’t derail a healthy diet, and the joy they bring to a party is worth every calorie. Just don’t eat the whole batch in one sitting, okay?
Conclusion
These witch finger cookies are more than just a Halloween novelty — they’re a genuinely delicious cookie that happens to look like a severed body part. And honestly, that’s the best kind of Halloween treat. The almond flavor, the buttery shortbread texture, the satisfying crunch of the almond “fingernail” — it all comes together in a cookie that’s both creepy and craveable.
I’ve made these for kids’ parties, adult costume parties, and even a Halloween wedding (yes, really), and they never fail to get a reaction. There’s something magical about watching people’s faces shift from horrified to delighted in the span of a single bite. That’s the kind of recipe worth keeping in your back pocket.
Don’t be afraid to customize these based on your preferences. Make them extra gory, skip the green coloring, add spices, or go full chocolate. The base recipe is forgiving and adaptable. And if your first batch doesn’t turn out perfectly? That’s okay. My first batch looked like a disaster, and now I’m sharing the recipe with you. That’s the beauty of baking — every mistake teaches you something.
I’d love to hear how yours turn out. Drop a comment below and let me know if your guests screamed (in a good way) or if you came up with a creative variation I haven’t tried yet. And if you’re looking for more Halloween baking ideas, check out my spiderweb cupcakes or these ghost-shaped meringue cookies for a full spooky spread. Happy Halloween, and happy baking!
Frequently Asked Questions
Can I make the dough ahead of time?
Absolutely. Wrap the dough tightly in plastic wrap and refrigerate for up to 3 days. Let it sit at room temperature for about 10 minutes before shaping so it’s soft enough to work with. You can also freeze the dough for up to 3 months.
Why did my cookies spread into blobs?
This usually happens when the dough is too warm when it goes into the oven. Make sure to chill the shaped cookies for the full 15 minutes before baking. Also check that your butter wasn’t too soft when you started — it should be softened but still cool to the touch.
Can I use a different nut for the fingernails?
Yes! Pecan halves or whole cashews work well. For a nut-free option, use a sliver of dried apricot or a candy corn. The look will be different, but the concept still works. Just make sure whatever you use is firmly pressed into the dough before chilling.
How do I get the jam to look like real blood?
Mix a generous amount of red food coloring gel into seedless strawberry jam until it reaches a deep, dark red. For a glossier effect, mix in a tiny bit of corn syrup. Apply it with a toothpick or small brush at the cuticle area, letting a small amount drip down the side.
Can I make these without almond extract?
Yes, but the flavor will be different. Replace the almond extract with an equal amount of vanilla extract. The cookies will taste like a classic sugar cookie rather than having that distinctive marzipan-like flavor. They’re still delicious, just less “witchy” in flavor.
Pin This Recipe!
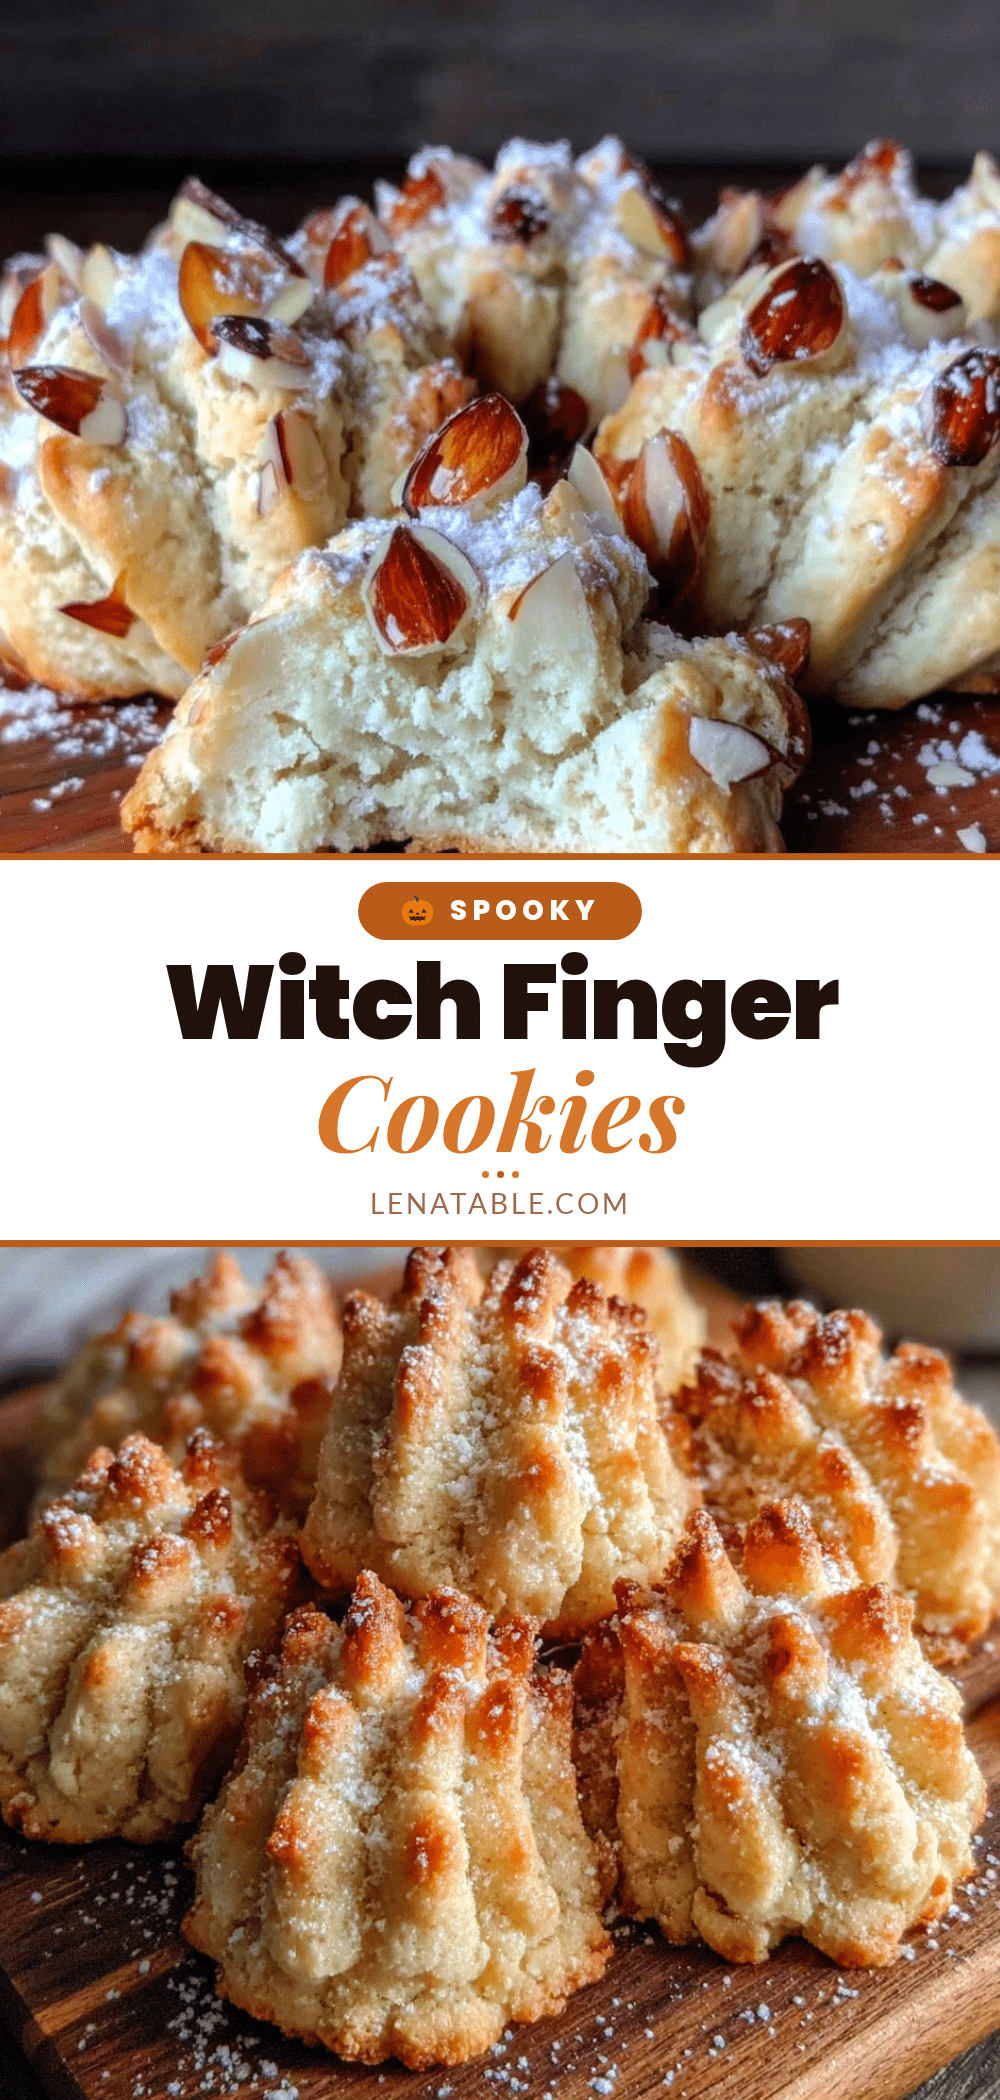
Best Witch Finger Cookies Recipe for Halloween Parties
These buttery, almond-infused sugar cookies are shaped like creepy witch fingers with almond fingernails and a bloody jam cuticle. Perfect for Halloween parties, they’re a deliciously spooky treat that’s sure to be a conversation starter.
- Prep Time: 30 minutes
- Cook Time: 12-14 minutes
- Total Time: 45 minutes
- Yield: 60 cookies 1x
- Category: Dessert
- Cuisine: American
Ingredients
- 1 cup (2 sticks, 226g) unsalted butter, softened
- 1 cup (200g) granulated sugar
- 1 large egg, room temperature
- 2 teaspoons almond extract
- 1 teaspoon vanilla extract
- 2 ½ cups (312g) all-purpose flour
- 1 teaspoon baking powder
- ½ teaspoon fine sea salt
- About 60 whole blanched almonds (one per cookie)
- Red food coloring gel (for blood effect)
- 2 tablespoons strawberry jam or raspberry jam (seedless or seeded)
- Green food coloring (optional, for witchy skin tone)
Instructions
- Cream the butter and sugar. In a large mixing bowl, beat the softened butter and granulated sugar together on medium speed until light and fluffy, about 3-4 minutes. Scrape down the sides halfway through.
- Add the wet ingredients. Beat in the egg, almond extract, and vanilla extract until fully combined. If using green food coloring, add it drop by drop until desired shade is reached (about 8-10 drops).
- Mix the dry ingredients. In a separate bowl, whisk together the flour, baking powder, and salt. Gradually add to the wet mixture, mixing on low speed until just combined. Do not overmix.
- Preheat and prepare. Preheat oven to 325°F (163°C). Line two baking sheets with parchment paper or silicone mats.
- Shape the fingers. Scoop about 1 tablespoon (20g) of dough and roll into a log about 3 inches long and ¾ inch thick. Place on prepared baking sheet. Taper one end for the fingertip and make the other end slightly thicker.
- Create the knuckles. Using the back of a butter knife or toothpick, gently press 2-3 horizontal lines into the dough to create knuckle creases, spaced about ½ inch apart.
- Add the fingernails. Press a whole blanched almond gently into the tapered end of each finger, pointed end outward.
- Chill the shaped cookies. Refrigerate the baking sheets with shaped fingers for exactly 15 minutes.
- Bake. Bake chilled cookies for 12-14 minutes, until edges are just barely golden brown. Rotate pans halfway through. Cool on baking sheet for 5 minutes, then transfer to wire rack to cool completely.
- Add the bloody details. Mix red food coloring gel into strawberry jam until deep, bloody red. Using a toothpick or small brush, dab a small amount at the cuticle area where almond meets dough. Let a tiny bit drip down the side.
- Final touches. Arrange cookies on a platter in a casually scattered manner for maximum Halloween effect.
Notes
Chilling the shaped cookies for exactly 15 minutes is crucial to prevent spreading. If dough gets too sticky, refrigerate for 10 minutes. For best flavor, make dough the night before and refrigerate. Cookies taste even better the day after baking. Add jam ‘blood’ just before serving.
Nutrition
- Serving Size: 1 cookie
- Calories: 85
- Sugar: 5
- Sodium: 35
- Fat: 4.5
- Saturated Fat: 2.5
- Carbohydrates: 10
- Protein: 1
Keywords: witch finger cookies, Halloween cookies, spooky cookies, almond cookies, shortbread cookies, Halloween party treats


