Love this? Save it for later!
Share the inspiration with your friends
My neighbor watched me fumbling with my gym bag one Tuesday morning, trying to wrangle a squashed protein bar out of its wrapper while also holding my coffee and keys. She didn’t say anything at first. Then she just reached into her own bag and handed me this little round ball wrapped in parchment paper. “Try this instead,” she said, like it was nothing. I bit into it and honestly, I almost dropped everything right there on the sidewalk. It was chewy, a little sweet, packed with peanut butter flavor, and somehow, it didn’t taste like cardboard the way most protein snacks do. I asked her what was in it, and she just shrugged and said, “Peanut butter, oats, a few things.” That was it. No dramatic recipe reveal, no lecture on clean eating.
I bugged her for weeks until she finally wrote it down on the back of an envelope. The first batch I made was a disaster—too sticky, fell apart, and I used chunky peanut butter when she’d used smooth. I ate the crumbles with a spoon anyway, let me tell you. Over time, I tweaked it. Added a little honey, swapped in different add-ins, figured out the right texture. These easy no-bake peanut butter protein balls have become my go-to for everything. Pre-workout fuel, afternoon slump rescue, late-night snack when I want something but don’t want to cook. Maybe you’ve been there, standing in front of the pantry, hungry but too tired to actually make something. That’s exactly why this recipe stuck with me. It solves that problem, no oven required, no complicated steps, just pure, honest fuel.
Why You’ll Love This Recipe
I’ve tested this recipe more times than I can count. Seven different batches with different ratios, different mix-ins, different peanut butter brands. I’ve made them with friends who have food allergies, with kids who are picky eaters, and for myself on days when I just needed something good without the guilt. Here is why these protein balls stand out from every other recipe I have tried.
- Ready in 5 Minutes: No kidding. Mix, roll, eat. No oven, no baking sheet, no waiting for anything to cool down.
- Simple Ingredients: You probably have everything in your pantry right now. Peanut butter, oats, honey, maybe some chocolate chips or flaxseed. No weird protein powders or specialty stores required.
- Perfect for Busy Weeks: Make a batch on Sunday, grab them all week. They save me on hectic mornings when breakfast is a distant dream.
- Kid-Approved and Adult-Approved: My friend’s kids call them “cookie dough balls” and have no idea they are getting protein and fiber. Win-win.
- Endlessly Customizable: You can swap ingredients based on what you have or what you crave. I have made chocolate versions, coconut versions, even a spicy version with a pinch of cinnamon.
What makes these different from the rest is the texture. I spent a long time getting the ratio right so they are firm enough to hold together but soft enough to bite into without breaking a tooth. The secret is letting the oats absorb the moisture for a few minutes before rolling. That little pause makes all the difference. These are not just another healthy snack recipe—they are the one you will actually want to eat. The one that makes you feel good without feeling deprived.
What Ingredients You Will Need
This recipe uses simple, wholesome ingredients that come together to create something truly satisfying. Most of these are pantry staples, which makes this recipe perfect for spontaneous snack-making.
- 1 cup creamy peanut butter (use a natural, no-stir variety for best consistency; I prefer Jif Natural or Santa Cruz Organic for their smooth texture and balanced salt level)
- 1 cup old-fashioned rolled oats (not quick oats—they get too mushy. Old-fashioned oats give the perfect chewy texture)
- 1/3 cup honey (or maple syrup for a vegan option. The honey adds sweetness and helps bind everything together)
- 1/2 cup ground flaxseed (adds fiber, omega-3s, and helps with binding. You can also use chia seeds or hemp hearts)
- 1/3 cup mini chocolate chips (semi-sweet or dark. The mini ones distribute more evenly, but regular chips work too)
- 1 teaspoon vanilla extract (pure vanilla, not imitation, if you can swing it. It rounds out the flavor beautifully)
- Pinch of sea salt (optional, but highly recommended if your peanut butter is unsalted. It makes the flavors pop)
Ingredient Selection Tips: Look for peanut butter that has just peanuts and salt on the label—no added sugar or hydrogenated oils. The texture will be smoother and the flavor cleaner. For the oats, I have tested both gluten-free certified oats and regular ones, and both work perfectly. If you are avoiding gluten, just grab the certified kind. The honey should be runny, not crystallized, so it mixes in easily. If your honey is thick, warm it in the microwave for 10 seconds before adding.
Substitution Guidance: No peanut butter? Use almond butter or sunflower seed butter. Nut-free option? Sunflower seed butter works great, though the color will turn slightly greenish from a natural reaction—totally safe and delicious. For a low-carb version, swap the honey for a sugar-free syrup and use almond flour instead of oats. The texture will be different but still tasty.
Equipment Needed
You do not need much for this recipe, which is honestly my favorite part. Here is what you will need.
- Large mixing bowl (any size works, but a medium to large bowl gives you room to stir without making a mess)
- Measuring cups and spoons (I use standard US measures, but a kitchen scale works if you prefer metric)
- Spatula or wooden spoon (for mixing. A silicone spatula is easiest for scraping the bowl clean)
- Baking sheet or plate (to hold the rolled balls while they set. Line with parchment paper for easy cleanup)
- Parchment paper (optional but helpful to prevent sticking)
- Small cookie scoop (optional, but makes perfectly uniform balls. I use a 1-tablespoon scoop for consistent sizing)
I have made these with nothing but a bowl and a spoon, honestly. The cookie scoop is nice but not necessary. If you do not have parchment paper, wax paper works fine. You can even roll them directly onto a clean plate. No fancy gadgets required.
Preparation Method
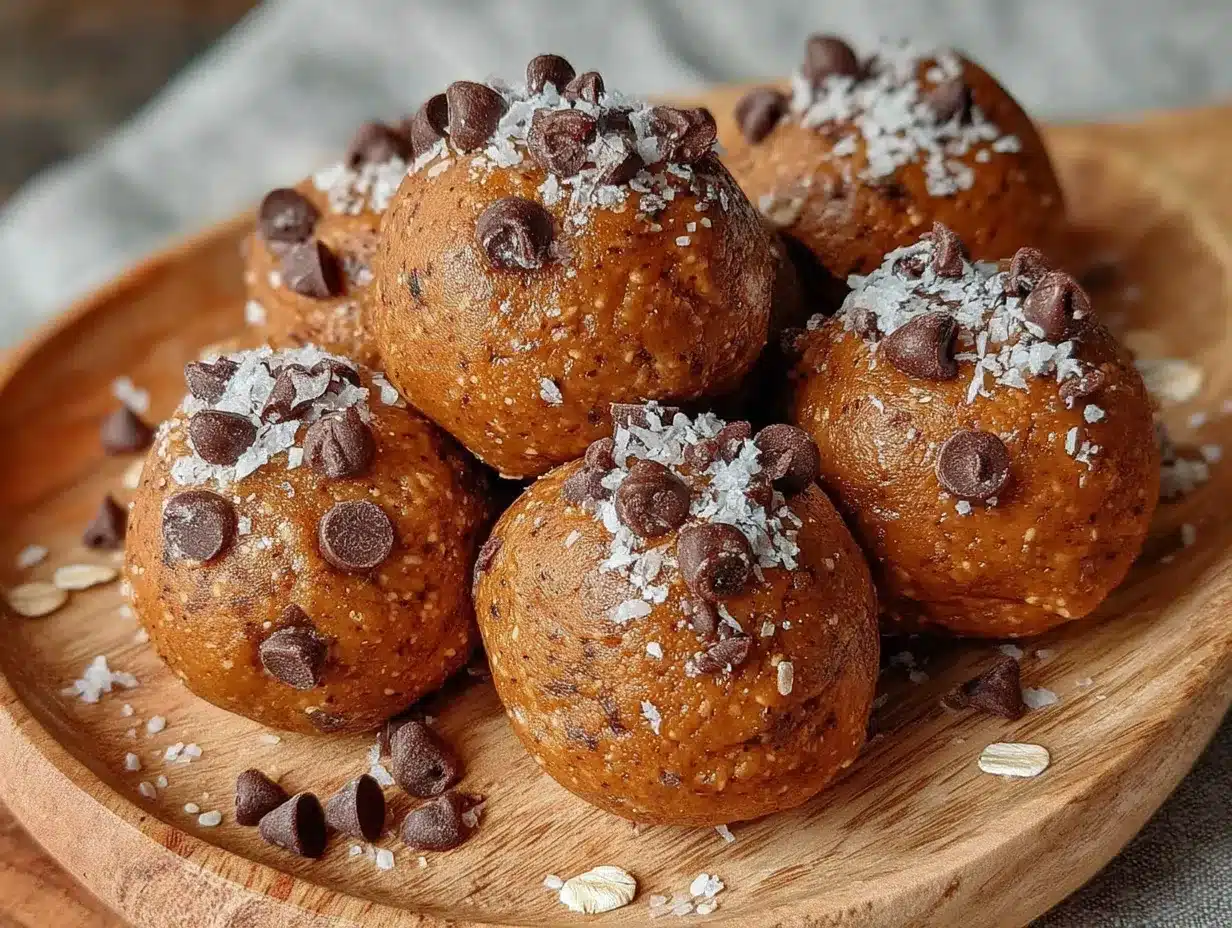
Follow these steps carefully, and you will have perfect protein balls every time. I learned the hard way that rushing certain steps leads to crumbly balls or sticky messes.
- Combine the wet ingredients first. In a large mixing bowl, add 1 cup creamy peanut butter, 1/3 cup honey, and 1 teaspoon vanilla extract. Stir them together until smooth and fully combined. The mixture should look glossy and smell amazing. If your peanut butter is cold from the fridge, let it sit out for 10 minutes first—it mixes much easier at room temperature.
- Add the dry ingredients. Pour in 1 cup rolled oats, 1/2 cup ground flaxseed, and a pinch of sea salt. Stir everything together with your spatula. At first, it will look dry and clumpy. Do not panic. Keep stirring, pressing the mixture against the sides of the bowl to incorporate everything evenly. This takes about 2 minutes of solid stirring.
- Fold in the chocolate chips. Add 1/3 cup mini chocolate chips and fold them in gently. Make sure they are distributed evenly throughout the mixture. You want chocolate in every bite, not just a few.
- Let the mixture rest. This is the step I used to skip, and my balls always fell apart. Cover the bowl with a clean kitchen towel and let the mixture sit for 5 minutes. This allows the oats to absorb moisture from the peanut butter and honey, making the mixture easier to roll and giving the balls a better texture. Seriously, do not skip this.
- Check the consistency. After resting, the mixture should hold together when pressed between your fingers. If it is too dry, add 1 tablespoon of honey or peanut butter. If it is too sticky, add 1 tablespoon of oats or flaxseed. Adjust based on what you see.
- Roll into balls. Using your hands, scoop about 1 tablespoon of the mixture and roll it between your palms to form a smooth ball. Place each ball on a parchment-lined baking sheet or plate. You should get about 18 to 20 balls, depending on size. If the mixture sticks to your hands, lightly wet your palms with water or rub a tiny bit of oil on them.
- Chill before serving. Place the baking sheet in the refrigerator for at least 30 minutes. This firms them up and makes them easier to handle. If you are impatient like me sometimes, you can eat one immediately—just know it will be softer and a little messier.
- Store properly. Transfer the chilled balls to an airtight container. Keep them in the refrigerator for up to two weeks, or freeze for longer storage.
Sensory Cues: The mixture should feel like a thick, slightly sticky dough. When you press it, it should hold its shape without crumbling. The oats should be visible but fully incorporated. The chocolate chips should peek through like little treasures. The scent is warm and nutty with a hint of honey sweetness.
Cooking Tips & Techniques
I have made plenty of mistakes with these protein balls, and I am sharing them so you do not have to repeat them. Here is what I learned the hard way.
Don’t overmix. I used to stir and stir, thinking more mixing meant better binding. Actually, overmixing can make the oats break down too much and turn the mixture into a paste. Just mix until everything is evenly combined, then stop.
The resting step is non-negotiable. I cannot stress this enough. The first few times I made these, I skipped the 5-minute rest because I was in a hurry. The balls fell apart in my hands, and I ended up with a bowl of crumbles. Let the oats hydrate. It takes five minutes and saves you twenty minutes of frustration.
Use a cookie scoop for uniformity. If you want consistent sizing, a small cookie scoop is worth the investment. It also makes the rolling process faster because you are not guessing how much to grab each time. If you do not have one, just eyeball it—uneven balls still taste the same.
Wet hands are your friend. When the mixture starts sticking to your palms, do not add more oats. Just rinse your hands with cold water and shake off the excess. The thin layer of water prevents sticking without changing the recipe proportions.
Chill thoroughly before storing. I once packed warm protein balls into a container and put them in the fridge. They all stuck together into one giant protein blob. Let them chill on the baking sheet first, then transfer to the container. Trust me on this one.
Variations & Adaptations
One of the best things about this recipe is how flexible it is. Here are some variations I have tried and loved.
Chocolate Peanut Butter Dream: Add 2 tablespoons of unsweetened cocoa powder along with the dry ingredients. Use dark chocolate chips instead of semi-sweet. The result is like eating a healthy brownie in ball form. My husband calls these “dessert balls” and hides them from the kids.
Coconut Craze: Replace the flaxseed with unsweetened shredded coconut. Roll the finished balls in additional shredded coconut for a beautiful presentation. This version is especially good if you are craving something tropical. I made these for a beach trip and they held up perfectly in the cooler.
Spiced Apple Variation: Add 1/2 teaspoon cinnamon, 1/4 teaspoon nutmeg, and 1/4 cup finely chopped dried apples. Omit the chocolate chips. This version tastes like fall in a bite. I make these every October and they disappear fast.
Vegan Option: Swap the honey for maple syrup or agave nectar. Use vegan chocolate chips. Everything else stays the same. The texture might be slightly softer, so chill them a little longer before serving.
Nut-Free Alternative: Use sunflower seed butter instead of peanut butter. The flavor is different but still delicious. Just know that sunflower seed butter can react with baking soda if you ever bake with it, but since this is no-bake, you are safe. The color might turn slightly greenish over time—that is natural and harmless.
Serving & Storage Suggestions
These protein balls are best served cold or at room temperature. I prefer them straight from the fridge because they are firmer and easier to eat on the go. If you are serving them at a party or gathering, let them sit out for 10 minutes before serving—they soften slightly and become even more irresistible.
How to Serve: Arrange them on a platter with fresh fruit for a beautiful snack board. Pair them with a glass of cold milk or a cup of coffee for a satisfying afternoon pick-me-up. I have also crumbled them over yogurt bowls or oatmeal for extra texture and protein.
Storage Instructions: Place the balls in an airtight container, layered between sheets of parchment paper if stacking. They will keep in the refrigerator for up to 2 weeks. For longer storage, freeze them in a single layer on a baking sheet, then transfer to a freezer-safe bag or container. They will keep in the freezer for up to 3 months.
Reheating Tips: You do not need to reheat them. Just grab one from the fridge or freezer and eat it. If frozen, let it sit at room temperature for 5 minutes, or pop it in your lunch bag and it will be ready by snack time.
Flavor Development: The flavors actually meld together and improve after a day in the fridge. The oats soften slightly, the peanut butter flavor deepens, and the chocolate chips set perfectly. I actually prefer them on day two.
Nutritional Information & Benefits
These protein balls are packed with good-for-you ingredients that actually taste amazing. Here is a rough estimate per ball (based on 20 balls).
| Nutrient | Amount Per Ball |
|---|---|
| Calories | ~145 |
| Protein | 6g |
| Carbohydrates | 14g |
| Fiber | 3g |
| Fat | 8g |
| Sugar | 7g |
Health Benefits: Peanut butter provides healthy fats and plant-based protein that keeps you full and satisfied. Oats are rich in soluble fiber, which supports heart health and steady energy levels. Flaxseed adds omega-3 fatty acids and lignans, which have antioxidant properties. Honey offers natural sweetness with trace amounts of vitamins and minerals.
Dietary Considerations: This recipe is naturally vegetarian and can be made vegan with a simple swap. It is also gluten-free if you use certified gluten-free oats. For nut-free diets, sunflower seed butter works perfectly. The recipe contains peanuts and may contain traces of other allergens depending on your chocolate chips.
My Perspective: I love that these protein balls give me real, whole-food energy without the crash that comes from processed snacks. They are not a meal replacement, but they are a fantastic bridge between meals. I feel good about feeding them to my family and myself.
Conclusion
These easy no-bake peanut butter protein balls have become a staple in my kitchen for good reason. They are quick, simple, and endlessly adaptable. Whether you need a pre-workout snack, a lunchbox treat for the kids, or just something to keep in the fridge for those moments when hunger strikes, this recipe delivers every time.
I encourage you to make them your own. Swap in your favorite add-ins, adjust the sweetness, experiment with different nut butters. The recipe is a starting point, not a rulebook. That is the beauty of no-bake recipes—they invite creativity without demanding precision.
Honestly, I make a batch almost every Sunday now. It has become a small ritual that makes the rest of my week easier. I hope this recipe does the same for you. If you try it, I would love to hear how it turned out. Leave a comment below, share your variations, or tag me in your photos. Happy snacking!
Frequently Asked Questions
Can I use quick oats instead of rolled oats?
You can, but the texture will be different. Quick oats are more finely ground and will absorb moisture faster, resulting in a softer, almost mushy ball. Rolled oats give a better chewy texture. If you only have quick oats, reduce the resting time to 2 minutes and expect a denser result.
How long do these protein balls last in the fridge?
They will stay fresh in an airtight container in the refrigerator for up to 2 weeks. After that, the texture starts to degrade and they may dry out. I usually make a batch on Sunday and they are gone by Friday, so I have never had to worry about spoilage.
Can I freeze these protein balls?
Absolutely. Freeze them in a single layer on a baking sheet for about an hour, then transfer to a freezer-safe bag or container. They will keep for up to 3 months. You can eat them straight from the freezer—they are like little frozen bites of peanut butter goodness.
My mixture is too dry. What did I do wrong?
This usually happens if your peanut butter is too thick or if you measured the oats generously. Simply add 1 tablespoon of honey or peanut butter and mix again. If it is still dry, add another tablespoon. The mixture should hold together when pressed between your fingers.
Can I make these without chocolate chips?
Of course. The chocolate chips are optional and can be replaced with dried fruit like raisins, cranberries, or chopped dates. You can also add chopped nuts, seeds, or even a pinch of cinnamon for extra flavor. The recipe is very forgiving.
Pin This Recipe!
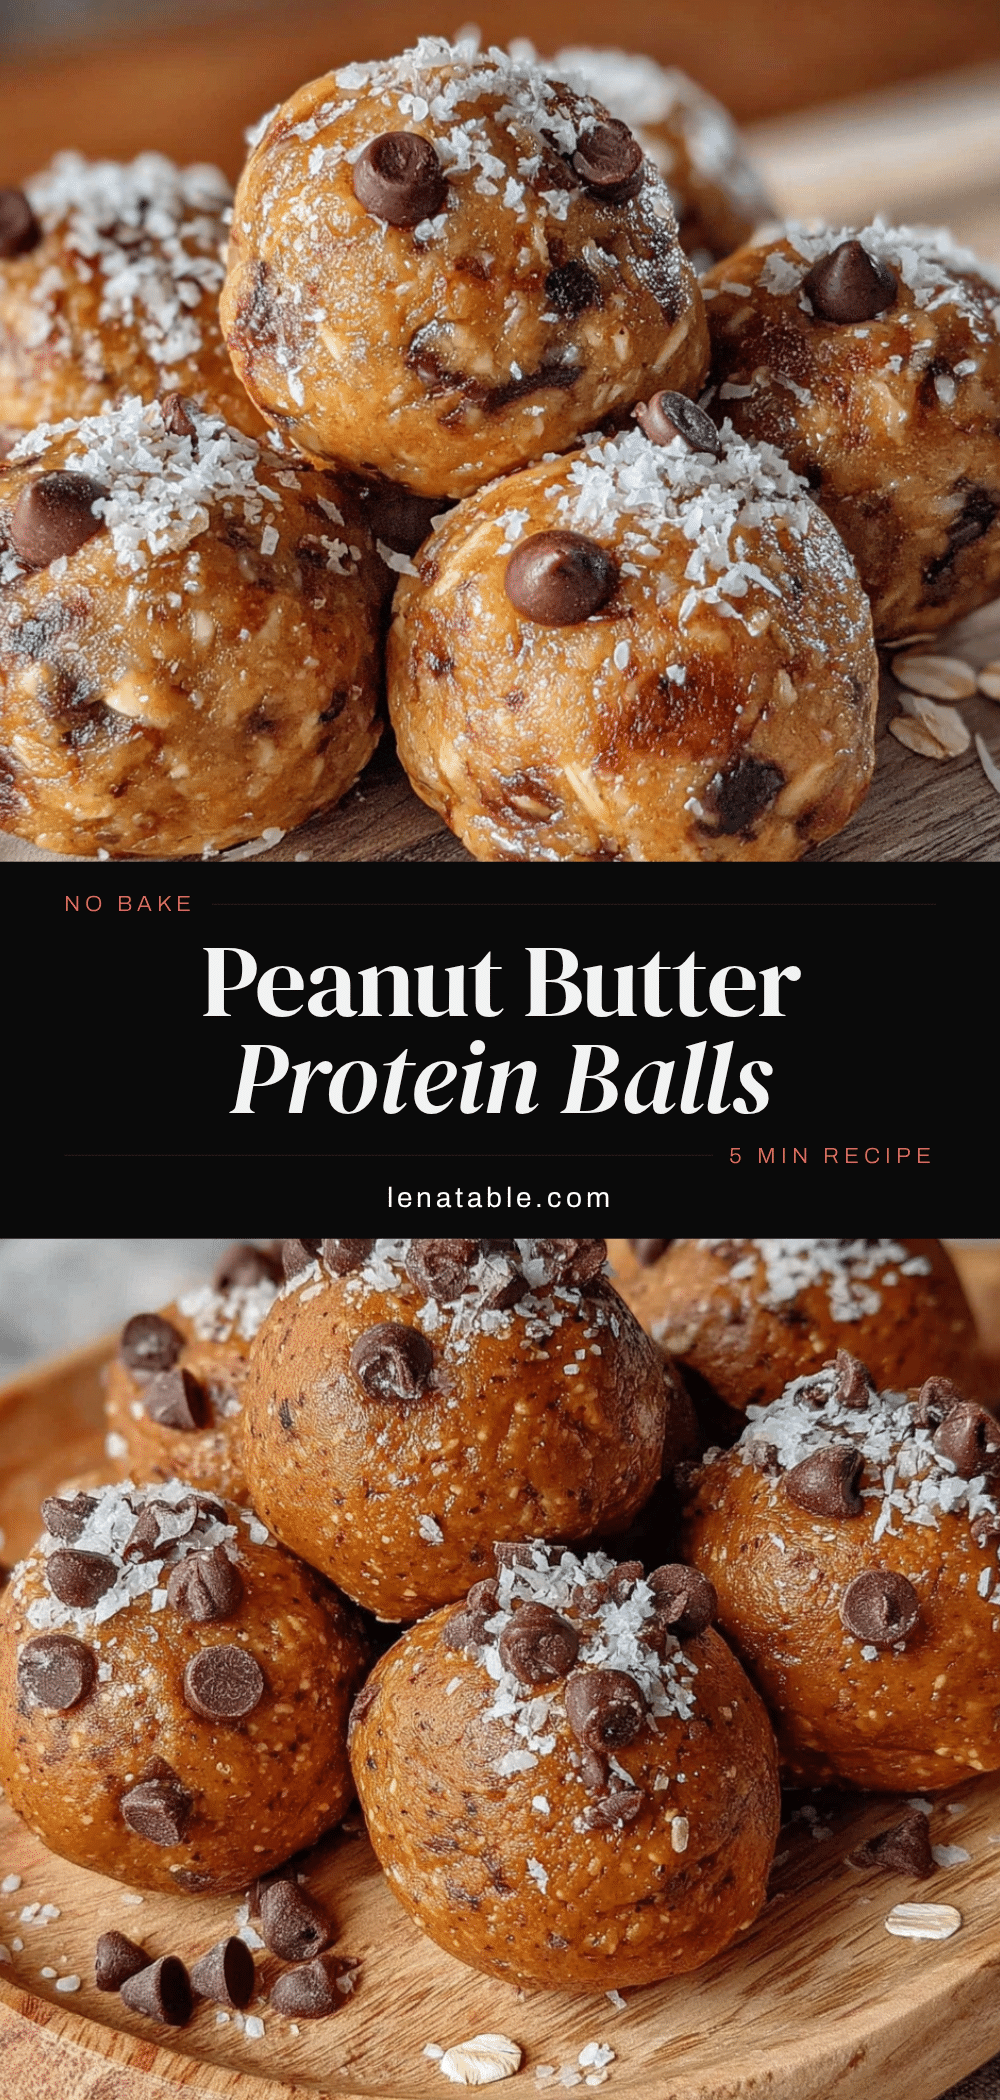
Easy No-Bake Peanut Butter Protein Balls (5-Minute Recipe)

These easy no-bake peanut butter protein balls are the perfect quick snack, ready in just 5 minutes. Made with simple pantry ingredients like peanut butter, oats, and honey, they are chewy, satisfying, and endlessly customizable for a healthy treat any time of day.
- Prep Time: 5 minutes
- Cook Time: 0 minutes
- Total Time: 35 minutes (including 30 minutes chilling time)
- Yield: 18-20 balls 1x
- Category: Snack
- Cuisine: American
Ingredients
- 1 cup creamy peanut butter (natural, no-stir variety)
- 1 cup old-fashioned rolled oats (not quick oats)
- 1/3 cup honey (or maple syrup for vegan)
- 1/2 cup ground flaxseed
- 1/3 cup mini chocolate chips (semi-sweet or dark)
- 1 teaspoon vanilla extract (pure vanilla preferred)
- Pinch of sea salt (optional, if peanut butter is unsalted)
Instructions
- Combine the wet ingredients first. In a large mixing bowl, add 1 cup creamy peanut butter, 1/3 cup honey, and 1 teaspoon vanilla extract. Stir together until smooth and fully combined. If peanut butter is cold, let it sit out for 10 minutes first.
- Add the dry ingredients. Pour in 1 cup rolled oats, 1/2 cup ground flaxseed, and a pinch of sea salt. Stir everything together with a spatula. At first it will look dry and clumpy. Keep stirring, pressing the mixture against the sides of the bowl to incorporate evenly. This takes about 2 minutes of solid stirring.
- Fold in the chocolate chips. Add 1/3 cup mini chocolate chips and fold them in gently until evenly distributed.
- Let the mixture rest. Cover the bowl with a clean kitchen towel and let the mixture sit for 5 minutes. This allows the oats to absorb moisture, making the mixture easier to roll and giving the balls a better texture. Do not skip this step.
- Check the consistency. After resting, the mixture should hold together when pressed between your fingers. If too dry, add 1 tablespoon of honey or peanut butter. If too sticky, add 1 tablespoon of oats or flaxseed.
- Roll into balls. Using your hands, scoop about 1 tablespoon of the mixture and roll it between your palms to form a smooth ball. Place each ball on a parchment-lined baking sheet or plate. You should get about 18 to 20 balls. If the mixture sticks to your hands, lightly wet your palms with water or rub a tiny bit of oil on them.
- Chill before serving. Place the baking sheet in the refrigerator for at least 30 minutes to firm them up.
- Store properly. Transfer the chilled balls to an airtight container. Keep in the refrigerator for up to two weeks, or freeze for longer storage.
Notes
The resting step is crucial for texture—do not skip it. For uniform balls, use a small cookie scoop. If mixture sticks to hands, wet palms with water. Flavors improve after a day in the fridge. For nut-free version, use sunflower seed butter.
Nutrition
- Serving Size: 1 ball
- Calories: 145
- Sugar: 7
- Sodium: 80
- Fat: 8
- Saturated Fat: 2
- Carbohydrates: 14
- Fiber: 3
- Protein: 6
Keywords: no-bake protein balls, peanut butter protein balls, healthy snack, easy protein balls, 5-minute recipe, gluten-free snack, kid-friendly snack


