Love this? Save it for later!
Share the inspiration with your friends
This was supposed to be banana bread. Plain, simple, my-mom’s-recipe banana bread that I could practically make in my sleep. I had the bananas sitting on the counter, getting those perfect brown spots, and I was feeling pretty good about myself for planning ahead. Then I opened the pantry and realized I was completely out of all-purpose flour. Not a single cup left. I stood there for a solid minute, staring at the empty space where the flour should have been, wondering if I could somehow will it into existence. Spoiler: I couldn’t.
I was already in my baking zone, you know? The kind of mood where you’ve cleared the counters, put on your favorite playlist, and the whole kitchen feels like it’s waiting for something good to happen. Giving up wasn’t an option. So I started rummaging through my cabinets like a woman possessed, pulling out random ingredients and hoping for inspiration. That’s when I spotted the can of pumpkin puree I’d bought on a whim back in September. It was buried behind some canned tomatoes and a bag of lentils, practically begging to be used. I grabbed it, looked at my sad bananas, and thought, well, this is either going to be brilliant or a disaster.
Honestly, I wasn’t sure what would happen. Pumpkin and banana together felt like a gamble—two strong flavors that might either fight each other or become best friends. I swapped in some whole wheat pastry flour I had on hand, threw in the pumpkin, adjusted the spices by instinct, and crossed my fingers. When I pulled that loaf out of the oven, the whole apartment smelled like autumn had exploded inside it. The first slice was warm, tender, and somehow exactly what I didn’t know I needed. It had that cozy, one-bowl simplicity I was after, but with a depth of flavor that made me forget I’d ever planned on plain banana bread. Maybe you’ve had one of those kitchen moments where a mistake turns into something you’ll make on purpose forever. This is that recipe for me.
Why You’ll Love This Recipe
Let me tell you why this banana pumpkin bread has earned a permanent spot in my fall baking rotation. I’ve tested this recipe at least six times to get it just right, and every single batch disappeared faster than I expected. There’s something special about how these two fruits come together—it’s not just another quick bread recipe.
- Quick & Easy: This comes together in about 15 minutes of active prep time. One bowl, a whisk, and a spatula—that’s all you need. Perfect for those mornings when you want fresh bread but don’t want to clean a mountain of dishes.
- Simple Ingredients: You probably have most of these in your kitchen right now. No fancy extracts, no hard-to-find flours. Just pantry staples that work together beautifully.
- Perfect for Fall Mornings: This bread was made for cozy October and November days. It’s the kind of thing you slice up with your morning coffee while the leaves are changing outside your window.
- Crowd-Pleaser: I brought this to a Friendsgiving brunch last month, and three different people asked for the recipe before I’d even finished my first cup of coffee. Kids love it, adults love it, everyone loves it.
- Unbelievably Delicious: The texture is where this bread really shines—moist without being dense, tender without being crumbly. The pumpkin keeps it incredibly soft while the banana adds natural sweetness and that familiar comfort we all crave.
What makes this different from other pumpkin breads? It’s the balance. Most pumpkin breads can be one-note, all spice and squash. The banana adds a subtle sweetness and moisture that changes everything. You get the best of both worlds—that deep, earthy pumpkin flavor you love, with the familiar comfort of classic banana bread. It’s comfort food reimagined, and honestly, it’s the kind of bread that makes you close your eyes after the first bite.
What Ingredients You Will Need
This recipe uses simple, wholesome ingredients to deliver bold flavor and satisfying texture without the fuss. Everything here is easy to find and likely already sitting in your pantry or on your counter.
- Ripe bananas, mashed (about 3 medium or 2 large) — The riper the better. Those brown spotted bananas are perfect here because they’re sweeter and easier to mash. I usually buy extra bananas at the start of the week and let them get overly ripe on purpose.
- Pumpkin puree (1 cup, not pumpkin pie filling) — Make sure you grab the plain stuff. I prefer Libby’s for consistent texture, but any brand works. The pumpkin adds incredible moisture and that gorgeous orange color.
- Granulated sugar (½ cup) — Just regular white sugar. It gives the bread structure and sweetness without overpowering the other flavors.
- Light brown sugar, packed (½ cup) — This is where the deep, caramel-like sweetness comes from. Don’t skip it—the molasses in brown sugar pairs beautifully with both banana and pumpkin.
- Large eggs (2, at room temperature) — Room temperature eggs incorporate more evenly into the batter. If you forgot to take them out early, place them in a bowl of warm water for five minutes.
- Vegetable oil (⅓ cup) — Oil keeps this bread incredibly moist for days. You can use canola or melted coconut oil if you prefer.
- Vanilla extract (1 teaspoon) — Pure vanilla adds warmth and rounds out all the flavors. I always reach for Nielsen-Massey when I’m baking something special.
- All-purpose flour (1 ¾ cups) — Regular flour works perfectly here. For a lighter texture, you can substitute half with whole wheat pastry flour.
- Baking soda (1 teaspoon) — This is our leavening agent. Make sure it’s fresh—if it doesn’t fizz when mixed with vinegar, toss it and buy new.
- Baking powder (½ teaspoon) — A little extra lift never hurts.
- Salt (½ teaspoon) — Salt isn’t just for savory food. It enhances sweetness and balances all the flavors.
- Ground cinnamon (1½ teaspoons) — The backbone of fall baking. I use Saigon cinnamon when I want a stronger, spicier kick.
- Ground nutmeg (½ teaspoon) — Freshly grated if you have it, but pre-ground works fine.
- Ground ginger (¼ teaspoon) — This adds a subtle warmth that most people can’t identify but definitely notice is missing.
- Ground cloves (⅛ teaspoon) — Just a pinch. Cloves are potent, so a little goes a long way.
Substitution guidance: For a dairy-free version, this recipe is already dairy-free since we’re using oil. For gluten-free, substitute with a good 1:1 gluten-free flour blend. I’ve had great results with Bob’s Red Mill. If you want to reduce sugar, you can cut the granulated sugar to ¼ cup and increase the banana to 1 full cup mashed.
Equipment Needed
The beauty of one-bowl baking is that you don’t need much. Here’s what you’ll need to pull this together:
- Large mixing bowl — Any big bowl works. I use a ceramic one because it doesn’t slide around on the counter.
- Whisk and rubber spatula — The whisk for combining wet ingredients and dry ingredients initially, the spatula for folding everything together at the end.
- 9×5-inch loaf pan — Standard size. If you only have an 8×4-inch pan, your bread will take about 10 minutes longer to bake and will have a taller dome.
- Parchment paper — Not strictly necessary, but it makes lifting the bread out of the pan so much easier. I never skip it.
- Cooling rack — Letting the bread cool completely before slicing prevents that gummy texture we all hate.
- Measuring cups and spoons — For accuracy. I learned the hard way that eyeballing baking soda leads to sad, flat bread.
If you don’t have a loaf pan, you can bake this in a 9-inch round cake pan and reduce the baking time by about 10 minutes. I’ve also made these as muffins—just fill a lined muffin tin and bake for 18-22 minutes. Budget-friendly tip: check your local thrift store for loaf pans. I found my favorite one for three dollars.
Preparation Method
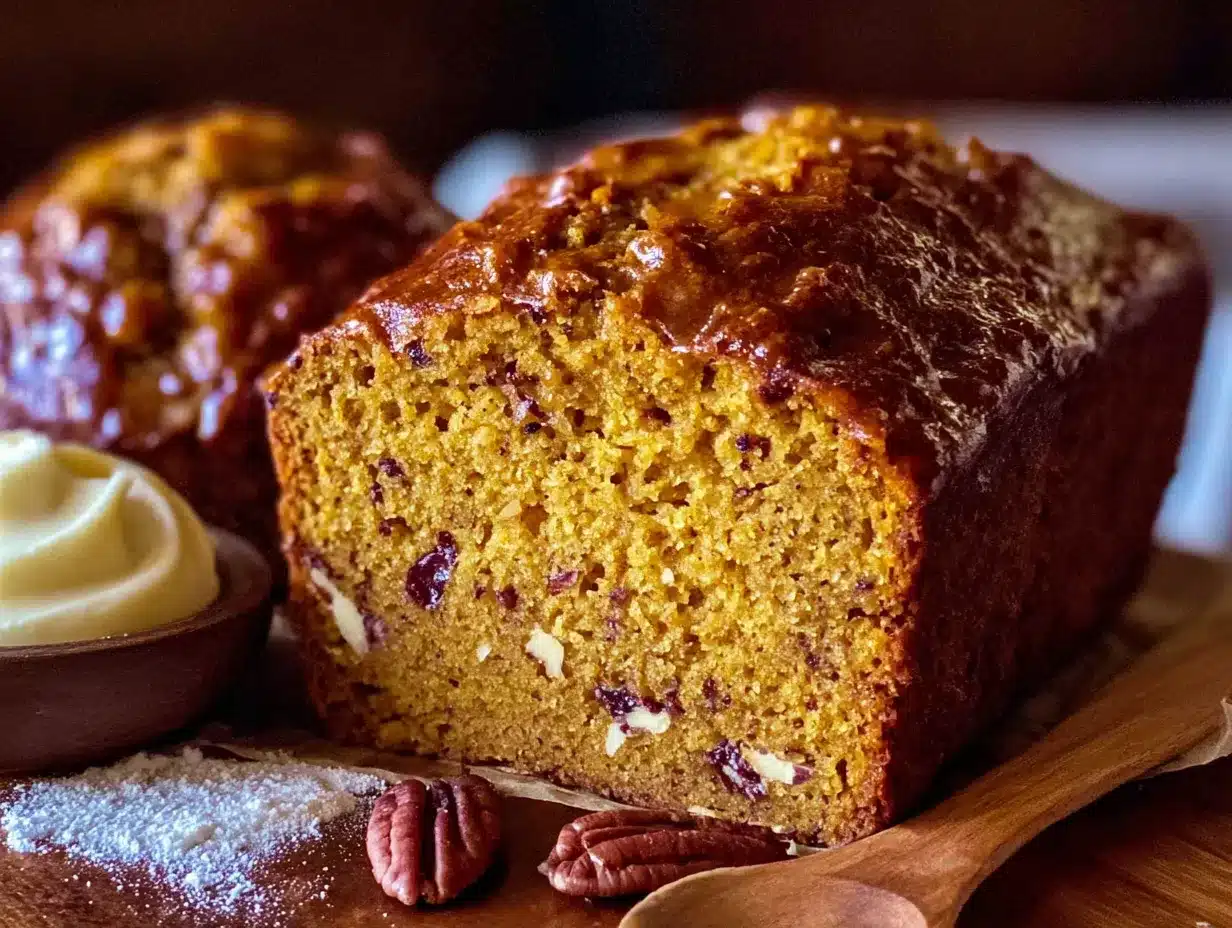
Preheat your oven to 350°F (175°C). Grease your 9×5-inch loaf pan or line it with parchment paper, leaving some overhang on the long sides for easy removal.
- Mash the bananas — In your large mixing bowl, mash the ripe bananas with a fork until they’re mostly smooth with a few small lumps remaining. You want about 1 cup of mashed banana. The lumps will melt into the bread as it bakes, so don’t stress about getting it perfectly smooth.
- Add the wet ingredients — To the same bowl, add the pumpkin puree, granulated sugar, brown sugar, eggs, vegetable oil, and vanilla extract. Whisk everything together until it’s well combined and smooth. The mixture should look like a thick, orange-tinted batter at this point. Take a moment to smell it—that combination of banana and pumpkin is already intoxicating.
- Mix the dry ingredients separately — In a separate small bowl (I know, I know, but this is important), whisk together the flour, baking soda, baking powder, salt, cinnamon, nutmeg, ginger, and cloves. This ensures the leavening agents and spices are evenly distributed. If you skip this step, you might end up with a pocket of baking soda in your bread—I learned this the hard way.
- Combine wet and dry — Add the dry ingredients to the wet ingredients all at once. Use your rubber spatula to fold everything together gently. Stir just until you don’t see any more streaks of flour. Overmixing is the enemy here—it develops gluten and makes your bread tough. A few lumps are totally fine.
- Pour and smooth — Scrape the batter into your prepared loaf pan. Use the spatula to spread it evenly, making sure the corners are filled. Give the pan a gentle tap on the counter to release any air bubbles.
- Bake — Place the pan in the center of the preheated oven and bake for 50-60 minutes. At the 30-minute mark, check the bread—if the top is browning too quickly, loosely tent it with aluminum foil. You’ll know it’s done when a toothpick inserted into the center comes out clean or with just a few moist crumbs. The top should be golden brown and spring back when lightly pressed.
- Cool — Let the bread cool in the pan on a wire rack for about 15 minutes. Then use the parchment paper overhang to lift it out and transfer it to the rack to cool completely. I know it’s tempting to slice into it immediately, but warm bread tends to be crumbly and gummy. Patience pays off here.
Cooking Tips & Techniques
After making this bread more times than I can count, I’ve picked up a few tricks that make a real difference. First, always check your oven temperature with an oven thermometer. My old oven ran 25 degrees hot, and I couldn’t figure out why my breads were always dry and overdone. A fifteen-dollar thermometer solved that mystery.
Here’s a mistake I made more than once: overmixing the batter. I used to think I needed to beat it until it was perfectly smooth, but that just gave me tough, dense bread. The trick is to fold the flour in with a light hand, stopping as soon as the streaks disappear. A few lumps are your friends. They’ll bake out and leave you with a tender crumb.
Another thing I learned is that banana and pumpkin both release moisture as they bake. If your bread seems too wet in the center after the recommended baking time, don’t panic. Cover it with foil and bake for another 5-10 minutes. The foil prevents the top from burning while the center catches up.
For the best texture, make sure your bananas are truly ripe. I’m talking brown spots, maybe even completely brown. Green or yellow bananas won’t mash properly and won’t provide enough sweetness or moisture. If you’re impatient, you can ripen bananas in a 300°F oven for 15-20 minutes until they’re soft and dark. It works in a pinch.
Timing-wise, I like to get the wet ingredients mixed while the oven preheats. Then I measure and whisk the dry ingredients while the oven finishes heating. This multitasking shaves about five minutes off the total prep time.
Variations & Adaptations
One of the best things about this recipe is how flexible it is. Here are some variations I’ve tried and loved:
- Chocolate Chip Banana Pumpkin Bread — Fold in ¾ cup of semi-sweet chocolate chips right before pouring the batter into the pan. The chocolate adds richness that complements both the banana and pumpkin beautifully. I’ve made this version for holiday parties and it always gets devoured first.
- Nutty Crunch Version — Add ½ cup of toasted walnuts or pecans to the batter, and sprinkle another ¼ cup on top before baking. The nuts add texture and a toasty flavor that makes this feel extra special. To toast them, spread on a baking sheet and bake at 350°F for 5-7 minutes until fragrant.
- Gluten-Free Adaptation — Substitute the all-purpose flour with a 1:1 gluten-free baking flour blend. I’ve used King Arthur and Cup4Cup with excellent results. Add an extra tablespoon of oil since gluten-free flours tend to absorb more moisture.
- Vegan Version — Replace the eggs with two flax eggs (2 tablespoons ground flaxseed mixed with 6 tablespoons water, let sit for 5 minutes). The bread will be slightly denser but still delicious and moist.
- Spice It Up — Add ¼ teaspoon of cardamom or allspice for a more complex spice profile. I tried this on a whim last Thanksgiving and it was a revelation.
My personal favorite variation is the chocolate chip version with a sprinkle of flaky sea salt on top before baking. The salt cuts through the sweetness and makes the chocolate taste even richer. It’s dangerously good.
Serving & Storage Suggestions
This bread is best served slightly warm or at room temperature. I like to slice it thick and spread a generous pat of salted butter on each slice while it’s still warm. The butter melts into the bread, creating this incredible rich, tender bite that’s pure comfort. For a sweeter treat, try it with a drizzle of honey or maple syrup.
For storage, wrap the cooled bread tightly in plastic wrap or aluminum foil and keep it at room temperature for up to 4 days. The moisture from the pumpkin and banana actually helps it stay soft longer than regular banana bread. I’ve had slices on day three that tasted just as good as day one.
You can also freeze this bread for up to 3 months. Slice it first, then wrap each slice individually in plastic wrap and place them in a freezer bag. This way you can pull out one slice at a time whenever the craving hits. To thaw, just leave a slice on the counter for about 30 minutes or pop it in the toaster for a warm, crisp exterior.
For reheating, the toaster is my go-to method. It gives the outside a slight crunch while the inside stays soft and tender. You can also microwave individual slices for 15-20 seconds if you’re in a hurry, though the texture won’t be quite as nice.
The flavors actually deepen after the first day. The spices meld together, and the banana and pumpkin become more pronounced. So if you can resist eating it all on day one, you’re in for an even better treat on day two.
Nutritional Information & Benefits
Per slice (based on 10 slices): approximately 240 calories, 9g fat, 37g carbohydrates, 2g fiber, 18g sugar, 4g protein. These values are estimates and will vary based on specific ingredients and substitutions.
This bread offers some surprising nutritional benefits. Pumpkin is packed with vitamin A, which supports eye health and immune function. It’s also rich in antioxidants that help fight inflammation. Bananas provide potassium, which is essential for heart health and muscle function. The whole wheat pastry flour option adds extra fiber and B vitamins.
If you’re watching your sugar intake, you can reduce the granulated sugar to ¼ cup without sacrificing too much sweetness, especially if your bananas are very ripe. The natural sugars from the banana and pumpkin provide plenty of sweetness on their own.
This recipe is dairy-free as written, making it suitable for those with lactose intolerance. For gluten-free needs, use the substitution mentioned above. Always check your ingredient labels if you’re cooking for someone with severe allergies.
I personally love that this bread feels indulgent but isn’t loaded with butter or excessive sugar. It’s the kind of treat you can feel good about eating for breakfast or an afternoon snack without the sugar crash that comes with overly sweet baked goods.
Conclusion
This one-bowl banana pumpkin bread started as a pantry accident, but it’s become one of my most requested recipes. There’s something special about a recipe that comes together in one bowl, uses ingredients you already have, and fills your home with the most incredible fall aroma. It’s the kind of bread that makes ordinary mornings feel a little bit special.
I hope you give this recipe a try and make it your own. Maybe you’ll add chocolate chips like I do, or maybe you’ll discover a new variation that becomes your signature. That’s the beauty of simple, forgiving recipes like this one—they leave room for your creativity.
When you make it, I’d love to hear how it turns out. Drop a comment below and let me know if you tried any variations, or tag me in your photos on social media. Your feedback helps me create better recipes, and honestly, I just love seeing your kitchen creations. Happy baking, friends. Here’s to happy accidents and warm slices of bread with butter melting into every bite.
Frequently Asked Questions
Can I use frozen bananas for this recipe?
Absolutely. Thaw them completely first, then drain off any excess liquid before mashing. Frozen bananas actually break down more easily and can make the bread even more moist. Just make sure to measure the mashed amount after draining.
Why did my bread sink in the middle?
This usually happens when the bread is underbaked or if you opened the oven door too early. Make sure your oven is fully preheated, and resist the urge to peek until the 45-minute mark. The center needs time to set without being disturbed.
Can I make this into muffins instead of a loaf?
Yes! Fill lined muffin tins about ¾ full and bake at 350°F for 18-22 minutes. You’ll get about 12 muffins. They’re perfect for grab-and-go breakfasts or packing in lunchboxes.
How do I know when the bread is done baking?
Insert a toothpick or wooden skewer into the center of the bread. If it comes out clean or with just a few moist crumbs attached, it’s done. The top should be golden brown and spring back when lightly pressed with your finger.
Can I substitute pumpkin pie spice for the individual spices?
Yes, use 2½ teaspoons of pumpkin pie spice in place of the cinnamon, nutmeg, ginger, and cloves. The flavor will be slightly different since pumpkin pie spice blends vary by brand, but it will still be delicious and aromatic.
Pin This Recipe!
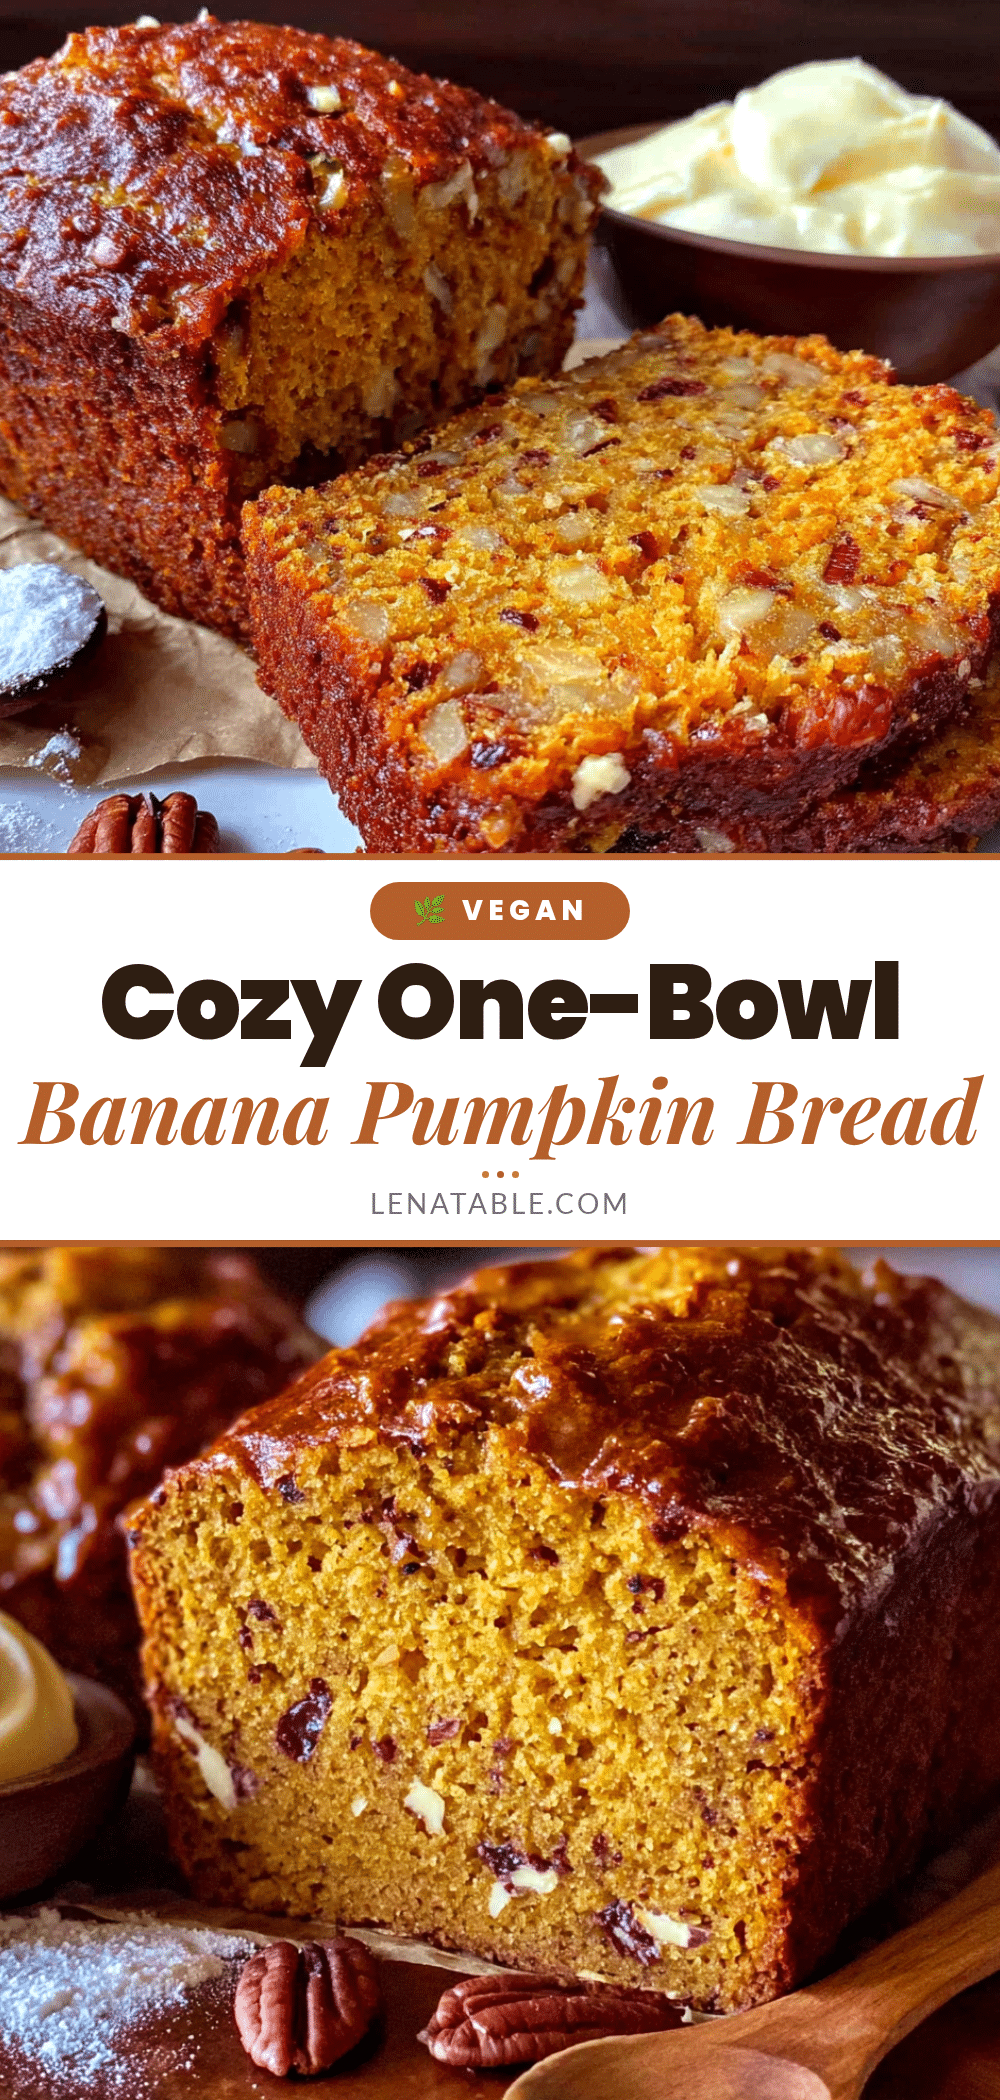
Cozy One-Bowl Banana Pumpkin Bread: Easy Fall Recipe
This one-bowl banana pumpkin bread started as a pantry accident but has become a fall favorite. It’s moist, tender, and filled with warm spices, combining the best of banana bread and pumpkin bread in one easy recipe.
- Prep Time: 15 minutes
- Cook Time: 55 minutes
- Total Time: 1 hour 10 minutes
- Yield: 10 servings 1x
- Category: Bread
- Cuisine: American
Ingredients
- 3 medium or 2 large ripe bananas, mashed (about 1 cup)
- 1 cup pumpkin puree (not pumpkin pie filling)
- ½ cup granulated sugar
- ½ cup light brown sugar, packed
- 2 large eggs, at room temperature
- ⅓ cup vegetable oil (or canola or melted coconut oil)
- 1 teaspoon vanilla extract
- 1 ¾ cups all-purpose flour (or half whole wheat pastry flour)
- 1 teaspoon baking soda
- ½ teaspoon baking powder
- ½ teaspoon salt
- 1½ teaspoons ground cinnamon
- ½ teaspoon ground nutmeg
- ¼ teaspoon ground ginger
- ⅛ teaspoon ground cloves
Instructions
- Preheat oven to 350°F (175°C). Grease a 9×5-inch loaf pan or line with parchment paper, leaving overhang on the long sides.
- In a large mixing bowl, mash the ripe bananas with a fork until mostly smooth with a few small lumps. You should have about 1 cup.
- Add pumpkin puree, granulated sugar, brown sugar, eggs, vegetable oil, and vanilla extract to the bowl. Whisk until well combined and smooth.
- In a separate small bowl, whisk together flour, baking soda, baking powder, salt, cinnamon, nutmeg, ginger, and cloves.
- Add the dry ingredients to the wet ingredients all at once. Fold gently with a rubber spatula until just combined—do not overmix. A few lumps are fine.
- Pour batter into the prepared loaf pan and spread evenly. Tap the pan gently on the counter to release air bubbles.
- Bake for 50-60 minutes. At 30 minutes, check the top; if browning too quickly, tent loosely with aluminum foil. Bread is done when a toothpick inserted in the center comes out clean or with a few moist crumbs.
- Let bread cool in the pan on a wire rack for 15 minutes. Then lift out using parchment overhang and transfer to the rack to cool completely before slicing.
Notes
For best texture, use very ripe bananas with brown spots. Overmixing leads to tough bread; fold gently. If bread seems too wet in the center after baking time, cover with foil and bake 5-10 more minutes. Flavors deepen after the first day. Store at room temperature for up to 4 days or freeze for up to 3 months.
Nutrition
- Serving Size: 1 slice
- Calories: 240
- Sugar: 18
- Sodium: 280
- Fat: 9
- Saturated Fat: 1
- Carbohydrates: 37
- Fiber: 2
- Protein: 4
Keywords: banana pumpkin bread, one-bowl recipe, fall baking, quick bread, easy banana bread, pumpkin bread, dairy-free, comfort food


