Love this? Save it for later!
Share the inspiration with your friends
I swore I hated banana bread. For years. Like, a solid decade of wrinkling my nose at the sight of a loaf on a coffee shop counter. It always seemed so… dense. And sad. A desperate attempt to use up fruit that had gone too far. I’d side-eye those speckled bananas on my counter and think, “Not today, not ever.” Then, last Tuesday, my neighbor Maria knocked on my door holding a still-warm loaf wrapped in a tea towel. “Just made it,” she said, pushing it into my hands. “You look like you need it.” I mean, she wasn’t wrong — it had been a week. I took it inside, made a cup of tea, and cut myself a slice just to be polite. Honestly, I was ready to hate it.
That first bite stopped me cold. It wasn’t dry or dense. It was impossibly moist, with a tender, almost buttery crumb and a crackly, sugar-dusted top that shattered just right. There was a whisper of cinnamon and something warm — vanilla, maybe — but the banana flavor was the star. It tasted like comfort, you know? Like the kitchen your grandmother had but never actually used. I ate two more slices standing at the counter, getting crumbs all over Maria’s tea towel. The next day, I texted her for the recipe. “Oh, it’s the easiest thing,” she typed back. “One bowl, no mixer. You probably have everything right now.”
She was right. I made my first loaf that afternoon, and let me tell you — I’ve been making up for lost time ever since. This isn’t just banana bread. It’s the banana bread that changed my mind about an entire category of baked goods. It’s the one I make when I need a slow, cozy afternoon project that doesn’t require scrubbing a stand mixer. It’s the one that fills my apartment with that specific, soul-soothing smell that says everything is going to be okay. Maybe you’ve been there — skeptical of a classic, convinced it wasn’t for you. I get it. But this one? This one might just prove you wrong, too.
Why You’ll Love This Recipe
This isn’t just another banana bread recipe floating around the internet. I’ve tested this version at least a dozen times — tweaking the fat ratio, playing with the sugar, even trying it with different ripeness levels of bananas. What I landed on is the sweet spot: a loaf that’s reliably moist, perfectly sweet, and so simple you’ll memorize it after one bake. Here’s why it works:
- Quick & Easy: From bowl to oven in under 10 minutes. No mixer, no fuss, no complicated steps. Perfect for a lazy Sunday or a Tuesday that needs fixing.
- Simple Ingredients: You probably have everything in your pantry right now. Butter, sugar, eggs, flour, and those sad bananas you’ve been ignoring. No weird specialty items.
- Perfect for Cozy Moments: This is the definition of comfort food. It’s for cold afternoons, rainy mornings, or any time you need a warm, buttery slice of something good.
- Crowd-Pleaser: I’ve brought this to brunches, potlucks, and book club. It disappears every single time. Kids love it, adults love it, and people always ask for the recipe.
- Unbelievably Delicious: The texture is the real star here. It’s tender without being gummy, moist without being greasy, and the top gets this beautiful, crackly crust that’s pure magic.
What makes this version different? It’s the technique — a simple trick of mashing the bananas with the sugar first, letting them sit for a minute before adding the wet ingredients. It sounds small, but it makes the banana flavor bloom in a way that blending everything together just doesn’t achieve. Plus, using melted butter instead of creaming it with a mixer means you get that rich flavor without any of the work. It’s comfort food reimagined — faster, simpler, but with the same soul-soothing satisfaction that makes you close your eyes after the first bite.
What Ingredients You Will Need
This recipe uses simple, wholesome ingredients to deliver that perfect, cozy banana bread. Most of these are pantry staples, which is exactly what you want when a craving hits on a quiet evening.
- Bananas: 3 large, very ripe bananas (about 1 ½ cups mashed). The riper, the better — you want them heavily speckled with brown spots, or even completely black. That’s where the sweetness and moisture live. I like to buy bananas a week ahead and let them sit on the counter until they look “bad.”
- Unsalted Butter: ½ cup (1 stick / 113g), melted and slightly cooled. Melted butter is the key to the “no mixer” promise. It adds richness without needing to be creamed. I use Kerrygold for the flavor, but any good unsalted butter works.
- Granulated Sugar: ¾ cup (150g). This gives the bread its sweetness and helps create that crackly top. You can reduce it to ½ cup if you prefer a less sweet loaf, but don’t go lower — the sugar also helps with moisture.
- Light Brown Sugar: ¼ cup (50g), packed. This adds a touch of molasses flavor and extra moisture. If you don’t have it, just use all granulated sugar — the bread will still be delicious, just slightly less tender.
- Eggs: 2 large, at room temperature. Room temperature eggs mix in more evenly, creating a smoother batter. If you forgot to take them out, place them in a bowl of warm water for 5 minutes.
- Vanilla Extract: 1 teaspoon. Pure vanilla extract is worth the splurge here. It rounds out the banana flavor beautifully. I always reach for Nielsen-Massey.
- All-Purpose Flour: 1 ½ cups (180g), spooned and leveled. Don’t scoop directly from the bag — that packs the flour and leads to dry bread. Spoon it into your measuring cup, then level it off with a knife.
- Baking Soda: 1 teaspoon. This is the leavening agent. Make sure it’s fresh — if it doesn’t fizz when you drop a pinch into vinegar, it’s time for a new box.
- Salt: ½ teaspoon. Salt isn’t just for savory food. It balances the sweetness and makes the banana flavor pop.
- Cinnamon: 1 teaspoon. Ground cinnamon adds warmth and depth. I prefer Saigon cinnamon for its stronger, sweeter flavor.
- Optional Add-Ins: ½ cup chopped walnuts or pecans, or ½ cup chocolate chips. Fold them in at the end for texture and extra flavor. I’m a walnut person myself — the crunch is perfect against the soft crumb.
Equipment Needed
The beauty of this recipe is how little equipment it requires. You don’t need a stand mixer, a hand mixer, or even a food processor. Here’s what you’ll need:
- Large Mixing Bowl: One bowl. That’s it. I use a heavy ceramic bowl because it doesn’t slide around, but any large bowl works. My favorite is a simple Pyrex glass bowl.
- Wooden Spoon or Rubber Spatula: For mashing the bananas and mixing the batter. A fork works for mashing, too. I prefer a sturdy spatula — it scrapes the sides better.
- 9×5-Inch Loaf Pan: This is the standard size. If you use an 8×4 pan, your bread will be taller and need a few extra minutes. I like a light-colored metal pan for even browning.
- Parchment Paper: Not strictly necessary, but it makes lifting the loaf out so much easier. Cut a strip long enough to overhang the long sides of the pan.
- Cooling Rack: For cooling the bread properly so the bottom doesn’t get soggy. If you don’t have one, just tilt the loaf on its side in the pan after 10 minutes.
- Measuring Cups and Spoons: For accuracy. I keep a set of dry measuring cups and a liquid measuring cup handy.
- Knife or Toothpick: For testing doneness. A thin skewer or a long toothpick works perfectly.
Preparation Method
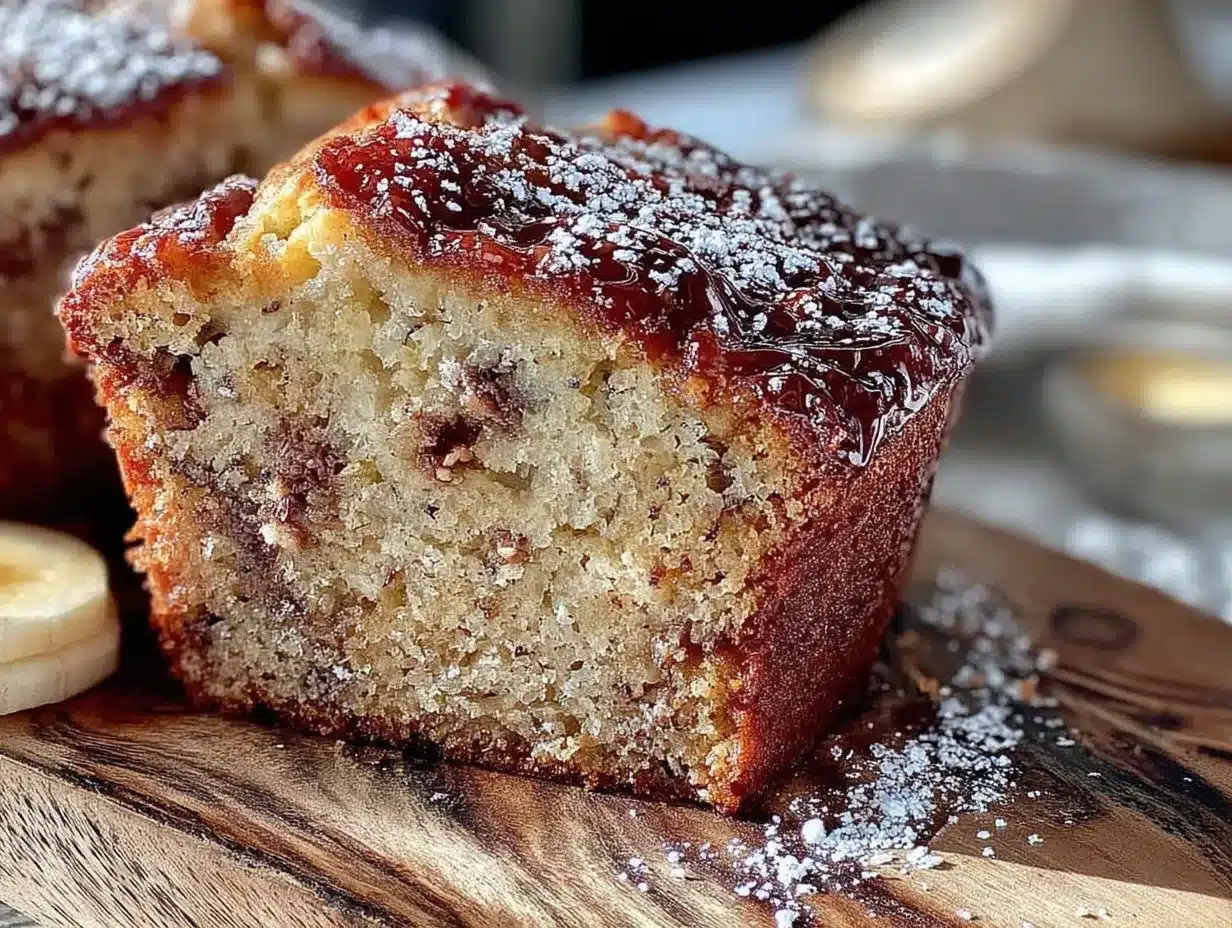
This is where the magic happens. Follow these steps, and you’ll have a perfect loaf every single time. I’ve added sensory cues so you know exactly what to look for — no guessing needed.
- Preheat and Prep: Preheat your oven to 350°F (175°C). Grease a 9×5-inch loaf pan with butter or non-stick spray. For extra insurance, line it with a strip of parchment paper, leaving an overhang on the two long sides. This makes lifting the bread out a breeze.
- Mash the Bananas: In your large mixing bowl, add the 3 ripe bananas. Mash them with a fork or a potato masher until they’re mostly smooth with a few small lumps. You want some texture — completely smooth puree can make the bread dense. You should have about 1 ½ cups of mashed banana. (Sensory cue: The bananas should look like a chunky puree, not a liquid.)
- Add the Sugars: Add the ¾ cup granulated sugar and ¼ cup packed brown sugar to the mashed bananas. Stir them together with your wooden spoon or spatula. Let this sit for about 2 minutes. This is the little trick I mentioned — letting the sugar sit with the bananas draws out their moisture and intensifies the flavor. (Sensory cue: The mixture will look slightly glossy and smell intensely banana-y.)
- Add Wet Ingredients: Pour in the ½ cup melted butter (make sure it’s not hot — just warm), 2 room-temperature eggs, and 1 teaspoon vanilla extract. Stir until everything is combined. The batter will look a little separated at this point — that’s normal. (Sensory cue: It should smell buttery and sweet, with a hint of vanilla.)
- Add Dry Ingredients: Sprinkle the 1 ½ cups all-purpose flour, 1 teaspoon baking soda, ½ teaspoon salt, and 1 teaspoon cinnamon over the wet mixture. Stir gently with your spatula — use a folding motion, scraping the bottom and sides. Stop as soon as you no longer see streaks of flour. Overmixing is the enemy here; it develops gluten and makes the bread tough. A few small lumps are totally fine. (Sensory cue: The batter should be thick, scoopable, and slightly lumpy — not smooth like cake batter.)
- Fold in Add-Ins (Optional): If you’re using walnuts, pecans, or chocolate chips, gently fold them in now. Don’t overmix — just a few turns to distribute them evenly.
- Bake: Pour the batter into your prepared loaf pan and spread it evenly. Bake at 350°F (175°C) for 50 to 60 minutes. Start checking at 50 minutes by inserting a toothpick or skewer into the center. If it comes out clean or with a few moist crumbs, it’s done. If it has wet batter, give it 5 more minutes. (Sensory cue: The top should be a deep golden brown and cracked beautifully. The loaf should feel firm to a gentle touch in the center.)
- Cool: Let the bread cool in the pan on a wire rack for 15 minutes. Then use the parchment overhang to lift it out and transfer it to the rack to cool completely. Resist the urge to slice it warm — it needs to set up, or it will crumble. I know it’s hard. I’ve burned my tongue more than once.
Cooking Tips & Techniques
I’ve made this banana bread more times than I can count, and I’ve learned a few things the hard way. Here are my best tips for getting it right every time.
Don’t Overmix the Batter. This is the number one mistake people make. Once you add the flour, stir just until it disappears. Overmixing develops gluten, and too much gluten makes banana bread tough and rubbery instead of tender. A few streaks of flour are better than a perfectly smooth batter. Trust me on this — I’ve ruined a few loaves by being overzealous.
Use Really, Really Ripe Bananas. If your bananas aren’t ripe enough, your bread will be bland and dry. You want them practically black. If you’re impatient (like me), you can speed things up by baking the bananas (in their peels) at 300°F for 15-20 minutes until they’re soft and black. Let them cool before using. The skins will look terrifying, but the flesh will be sweet and jammy.
Check Your Oven Temperature. Ovens run hot or cold. I learned this the hard way when my first few loaves came out burnt on the outside and raw in the middle. An inexpensive oven thermometer is a game-changer. If your loaf is browning too quickly on top but isn’t done in the center, tent it loosely with foil for the last 15 minutes.
Let It Cool Completely. I know, I know. The smell is intoxicating. But slicing into warm banana bread is a recipe for a crumbly mess. The starches need time to set. Give it at least an hour on the cooling rack. The wait is worth it for those clean, perfect slices.
Measure Flour Correctly. This is a big one. Scooping your measuring cup directly into the flour bag packs in way too much flour, leading to dry, dense bread. Instead, fluff the flour with a spoon, then spoon it into your measuring cup. Level it off with a knife. It takes an extra five seconds and makes a huge difference.
Variations & Adaptations
This recipe is a wonderful blank canvas. Here are a few ways I’ve customized it over the years, depending on my mood or what I have on hand.
- Chocolate Chip Banana Bread: My most-requested variation. Fold in ½ cup of semi-sweet or dark chocolate chips along with the dry ingredients. The pockets of melted chocolate against the tender banana bread are pure heaven. I’ve also used mini chips for more even distribution.
- Vegan Banana Bread: I tested this for a friend who’s vegan, and it worked beautifully. Replace the butter with ½ cup melted coconut oil or a neutral vegetable oil. Use 2 flax eggs (2 tablespoons ground flaxseed mixed with 6 tablespoons water, let sit for 5 minutes). The texture is slightly different — a bit more tender — but it’s still incredibly delicious.
- Gluten-Free Banana Bread: Substitute the all-purpose flour with 1 ½ cups of a good gluten-free flour blend that contains xanthan gum (I like King Arthur Measure for Measure). Don’t overmix, and let the batter rest for 10 minutes before baking so the flour can hydrate. The crumb is a little more delicate, but it’s still a winner.
- Spiced Banana Bread: For a cozy fall twist, add ½ teaspoon ground nutmeg, ¼ teaspoon ground ginger, and a pinch of ground cloves along with the cinnamon. It smells like the holidays. I made this version last November and it was gone before Thanksgiving.
- Banana Nut Bread: My personal favorite. Fold in ½ cup of toasted walnuts or pecans. Toasting the nuts first (just 5 minutes in a dry pan or oven) really brings out their flavor and keeps them crunchy in the bread. I almost always go this route.
Serving & Storage Suggestions
This banana bread is wonderful on its own, but here’s how to make it even more special, plus how to keep it fresh.
Serving: Serve at room temperature or slightly warm. For an extra treat, toast a slice and spread it with a pat of salted butter — the contrast of warm, melty butter against the sweet bread is unbeatable. It’s also fantastic with a dollop of Greek yogurt or a drizzle of honey. I love it with a hot cup of coffee or a cold glass of milk. Honestly, it’s good any time of day — breakfast, snack, or dessert.
Storage: Store leftover banana bread tightly wrapped in plastic wrap or in an airtight container at room temperature. It will stay moist and delicious for up to 4 days. Do not refrigerate it — the fridge dries out baked goods. If you live in a humid climate, just be sure the bread is completely cool before wrapping to prevent condensation.
Freezing: This bread freezes like a dream. Wrap the cooled loaf (or individual slices) tightly in plastic wrap, then in a layer of aluminum foil. Freeze for up to 3 months. To thaw, let it sit at room temperature for a few hours, or pop a frozen slice in the toaster. I always keep a loaf in the freezer for emergencies — like unexpected guests or a sudden craving.
Flavor Development: Here’s a secret — this banana bread actually tastes better on day two. The flavors meld and mellow overnight, and the texture becomes even more tender. If you can wait, bake it a day ahead. I’ve hidden a loaf from my family just to have some for myself the next morning. No regrets.
Nutritional Information & Benefits
While this is definitely a treat, it does have some redeeming qualities. Here’s a rough estimate per slice (assuming 10 slices, without add-ins):
- Calories: ~290
- Fat: 12g
- Carbohydrates: 43g
- Fiber: 2g
- Sugar: 24g
- Protein: 4g
Health Benefits: Bananas are a good source of potassium, which is important for heart health and muscle function. They also contain vitamin B6 and vitamin C. Using melted butter instead of oil keeps the flavor rich without adding a greasy texture. If you want to boost the fiber, you can replace half the all-purpose flour with whole wheat pastry flour — it works surprisingly well and adds a nice nuttiness.
Dietary Considerations: This recipe contains gluten, dairy, and eggs. For gluten-free or vegan options, see the variations section above. It’s naturally nut-free if you skip the add-ins, but be sure to check your ingredient labels if allergies are a concern.
I believe in balance — this banana bread is a comfort food, not a health food. It’s meant to be enjoyed without guilt. One slice with your morning coffee or as an afternoon pick-me-up is a beautiful thing.
Conclusion
This one-bowl banana bread has become a staple in my kitchen for good reason. It’s the recipe I turn to when I need something reliable, something comforting, something that makes my home smell like warmth and care. It proved me wrong about banana bread — and I have a feeling it might do the same for you.
What I love most about it is how forgiving it is. You can use slightly different bananas, swap the sugar, throw in whatever add-ins you have — and it still turns out beautifully. It’s a recipe that invites you to make it your own. So go ahead, use those black bananas on your counter. Mash them up with some sugar and butter. Bake yourself a loaf of comfort. And when you take that first warm, buttery bite, maybe you’ll understand why I ate three slices standing over the counter that first time.
I’d love to hear how yours turns out! Did you add chocolate chips? Walnuts? Did you sneak a slice before it was fully cool? Drop a comment below and let me know. And if you loved it, share this recipe with someone who needs a little cozy moment today. Happy baking!
Frequently Asked Questions
Can I use frozen bananas?
Absolutely! Frozen bananas are perfect for banana bread. Thaw them completely at room temperature, then drain off any excess liquid before mashing. The thawed bananas will be very soft and almost liquid — that’s fine. Just mash them well and proceed with the recipe.
Why did my banana bread sink in the middle?
This usually happens for one of two reasons: either the batter was overmixed (which creates too much air that collapses), or the bread was underbaked. Make sure you’re using fresh baking soda and that your oven is at the right temperature. A toothpick test in the center is your best friend.
Can I make this into muffins instead?
Yes! This batter makes about 12 standard muffins. Line a muffin tin with paper liners and fill each cup about ¾ full. Bake at 350°F (175°C) for 18-22 minutes, or until a toothpick inserted in the center comes out clean. Muffins will bake faster than a loaf, so start checking early.
How do I know when my bananas are ripe enough?
You want bananas that are heavily speckled with brown spots or even completely black. The skin should feel soft to the touch, and the banana should smell sweet. If your bananas are still yellow with green tips, they’re not ready. Give them a few more days on the counter, or use the oven-ripening trick mentioned in the tips section.
Can I reduce the sugar?
You can reduce the total sugar to ¾ cup (instead of 1 cup) without drastically changing the texture. Any less than that, and the bread may be less moist and not as sweet. If you’re looking for a less sweet option, try the vegan variation with coconut oil — the natural sweetness of the bananas shines through more.
Pin This Recipe!
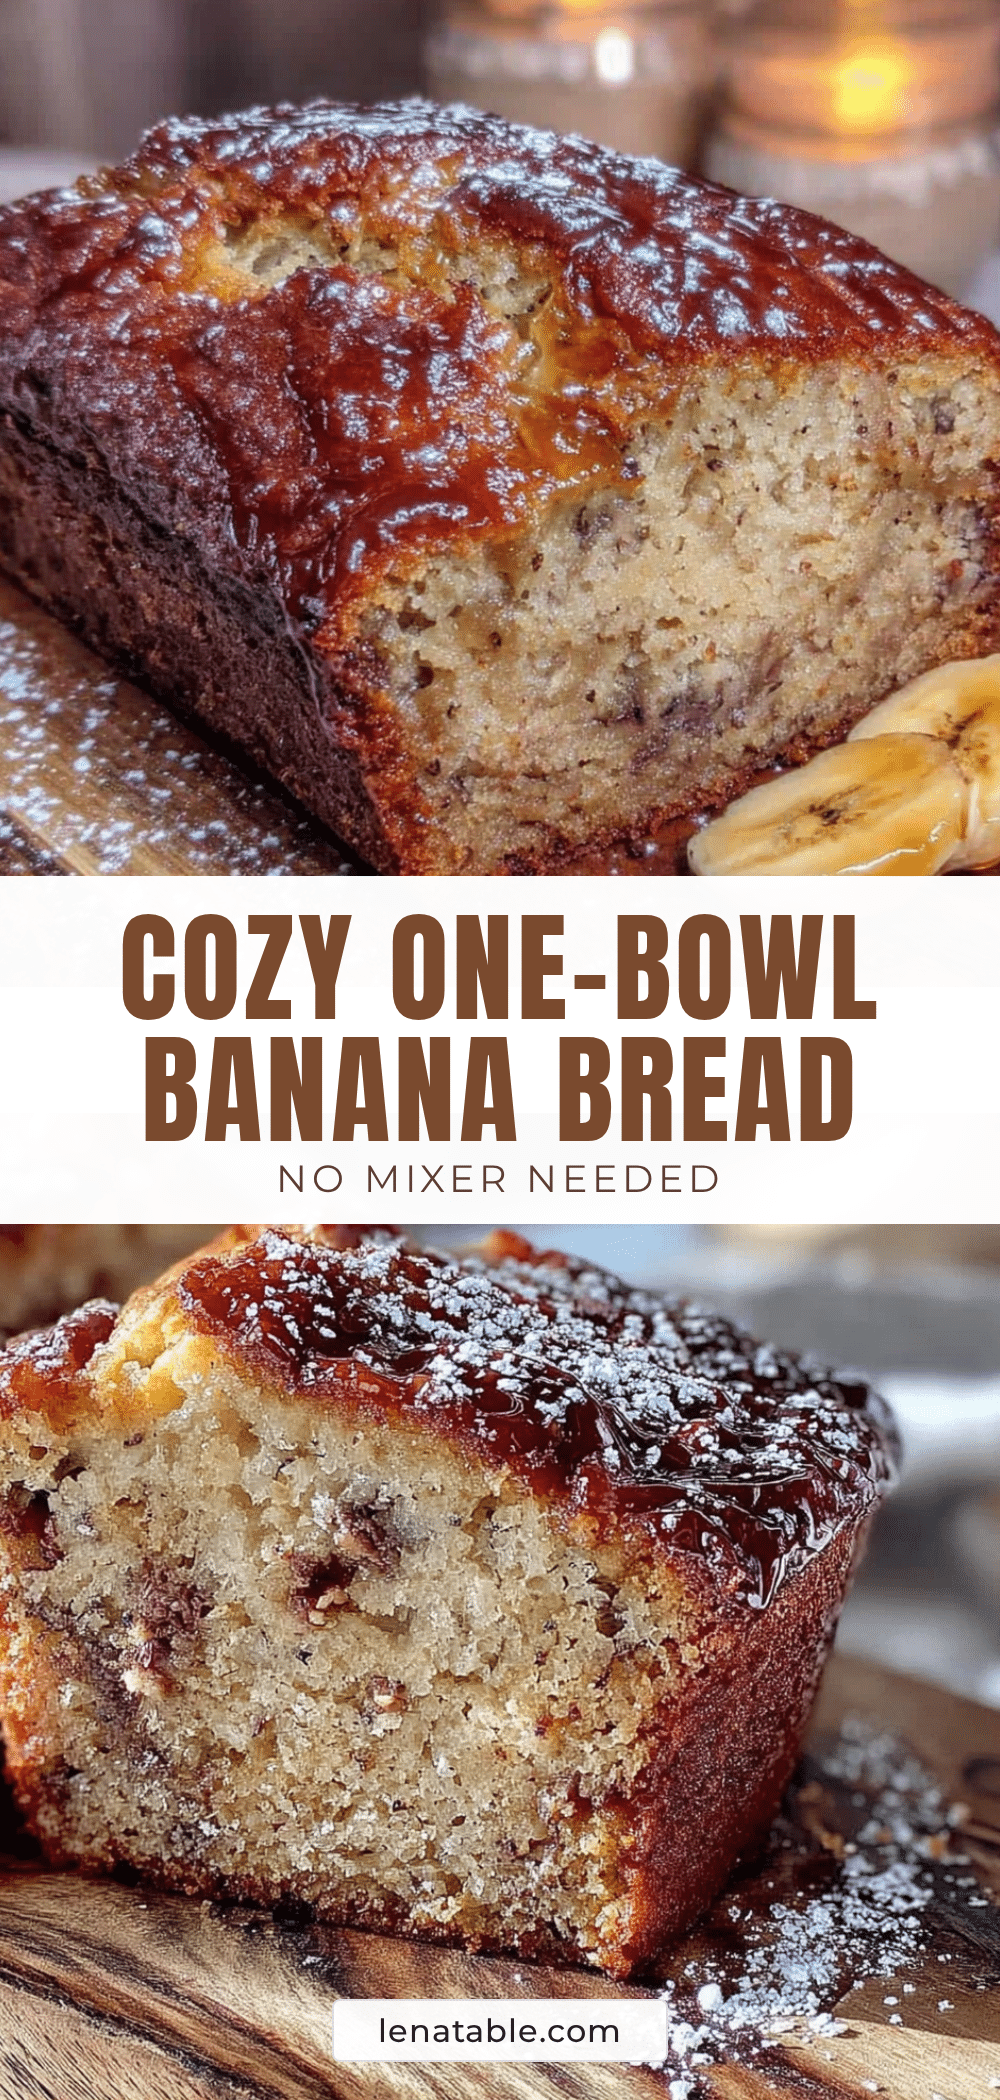
Easy One-Bowl Banana Bread Recipe (No Mixer)
This incredibly moist, tender banana bread comes together in one bowl with no mixer needed. A simple trick of mashing bananas with sugar first intensifies the flavor, resulting in a perfectly sweet, crackly-topped loaf that’s pure comfort.
- Prep Time: 10 minutes
- Cook Time: 55 minutes
- Total Time: 1 hour 5 minutes
- Yield: 10 servings 1x
- Category: Dessert
- Cuisine: American
Ingredients
- 3 large very ripe bananas (about 1 ½ cups mashed)
- ½ cup (1 stick / 113g) unsalted butter, melted and slightly cooled
- ¾ cup (150g) granulated sugar
- ¼ cup (50g) packed light brown sugar
- 2 large eggs, at room temperature
- 1 teaspoon vanilla extract
- 1 ½ cups (180g) all-purpose flour, spooned and leveled
- 1 teaspoon baking soda
- ½ teaspoon salt
- 1 teaspoon ground cinnamon
- ½ cup chopped walnuts or pecans (optional)
- ½ cup chocolate chips (optional)
Instructions
- Preheat oven to 350°F (175°C). Grease a 9×5-inch loaf pan with butter or non-stick spray. Line with a strip of parchment paper, leaving overhang on the two long sides.
- In a large mixing bowl, mash the bananas with a fork or potato masher until mostly smooth with a few small lumps (about 1 ½ cups).
- Add granulated sugar and brown sugar to the mashed bananas. Stir together and let sit for about 2 minutes until glossy and fragrant.
- Pour in melted butter, room-temperature eggs, and vanilla extract. Stir until combined (batter may look slightly separated).
- Sprinkle flour, baking soda, salt, and cinnamon over the wet mixture. Stir gently with a spatula using a folding motion just until no streaks of flour remain. Do not overmix; a few small lumps are fine.
- If using, gently fold in walnuts, pecans, or chocolate chips.
- Pour batter into prepared loaf pan and spread evenly. Bake for 50 to 60 minutes, until a toothpick inserted in the center comes out clean or with a few moist crumbs. The top should be deep golden brown and cracked.
- Cool in the pan on a wire rack for 15 minutes. Use parchment overhang to lift the loaf out and transfer to the rack to cool completely before slicing.
Notes
For best flavor, use very ripe (heavily speckled or black) bananas. Do not overmix the batter. Let the bread cool completely before slicing to prevent crumbling. The bread tastes even better on day two. Store tightly wrapped at room temperature for up to 4 days, or freeze for up to 3 months.
Nutrition
- Serving Size: 1 slice
- Calories: 290
- Sugar: 24
- Sodium: 280
- Fat: 12
- Saturated Fat: 7
- Carbohydrates: 43
- Fiber: 2
- Protein: 4
Keywords: banana bread, easy banana bread, one bowl banana bread, no mixer banana bread, moist banana bread, classic banana bread


