Love this? Save it for later!
Share the inspiration with your friends
Sheila wasn’t trying to impress anyone. I’d stopped by her place that Tuesday afternoon to pick up a book I’d lent her months ago, and the smell hit me before I even got through the front door. Warm spices—cinnamon, nutmeg, something deeper I couldn’t name—wrapped around me like a hug I didn’t know I needed. She was standing in her kitchen in an old sweater, flour dusted across her cheek, pulling a pie out of the oven like it was the most ordinary thing in the world.
“Oh, that’s just my pumpkin pie,” she said when I asked, wiping her hands on her jeans. “Nothing special.”
Let me tell you, she was wrong. That first slice was something else entirely. The crust shattered when I pressed my fork into it—flaky, buttery, the kind of crust that makes you close your eyes without meaning to. And the filling? Silky smooth, not too sweet, with that perfect balance of spices that tasted like autumn had been poured into a dish. I asked for the recipe right there, standing in her kitchen, and she scribbled it on a napkin without even pausing to think.
Maybe you’ve been there—you taste something so good it stops you mid-conversation, and you realize the person who made it has no idea how talented they actually are. That’s this pie. I’ve been making it ever since, tweaking it here and there, but the heart of it is still Sheila’s casual Tuesday afternoon magic. Honestly, it’s the only pumpkin pie recipe you’ll ever need.
Why You’ll Love This Recipe
Let’s be real for a second. There are about a million pumpkin pie recipes out there, and most of them are fine. But fine isn’t what you’re after when you’re hosting a dinner party or showing up to a potluck with something you want people to remember. This one is different, and here’s why you’ll love it:
- Foolproof Flaky Crust: I’ve tested this crust at least a dozen times, and it works every single time. No shrinking, no sogginess—just golden, buttery layers that hold up to the filling beautifully.
- Silky Smooth Filling: The secret is in how you combine the ingredients and the temperature you bake at. No cracks, no graininess—just velvety perfection.
- Perfectly Balanced Spices: Not too heavy on the cinnamon, not too light on the nutmeg. I spent a good while getting this blend just right, and it’s the kind of warmth that fills your whole house.
- Make-Ahead Friendly: You can prep this pie a full day ahead, which is a lifesaver when you’re hosting. The flavors actually get better overnight.
- Crowd-Pleasing Confidence: I’ve brought this to Friendsgivings, holiday dinners, and casual get-togethers. Every single time, someone asks for the recipe. It just works.
This isn’t just another pumpkin pie recipe you found on the internet. It’s the one I turn to when I need to impress without stress, when I want something that looks like I spent hours on it but actually came together with plenty of time to spare. It’s comfort food that makes people pause, take another bite, and then ask you how you did it.
What Ingredients You Will Need
This recipe uses simple, honest ingredients that come together to create something truly special. Most of these are pantry staples, especially once fall rolls around, but I’ve included a few notes to help you pick the best options.
For the Flaky Pie Crust
- 2 ½ cups all-purpose flour (315g) – I prefer Gold Medal or King Arthur for consistent results. Spoon and level your flour—don’t scoop directly from the bag, or you’ll end up with a tough crust.
- 1 teaspoon salt – Fine sea salt works best here.
- 1 tablespoon granulated sugar – Just a touch to help with browning and flavor.
- 1 cup cold unsalted butter (226g), cut into small cubes – This needs to be really cold. Like, stick it in the freezer for 15 minutes cold. I use Kerrygold when I’m feeling fancy, but any good unsalted butter works.
- 6 to 8 tablespoons ice water – Have a glass of water with ice cubes ready before you start.
For the Pumpkin Filling
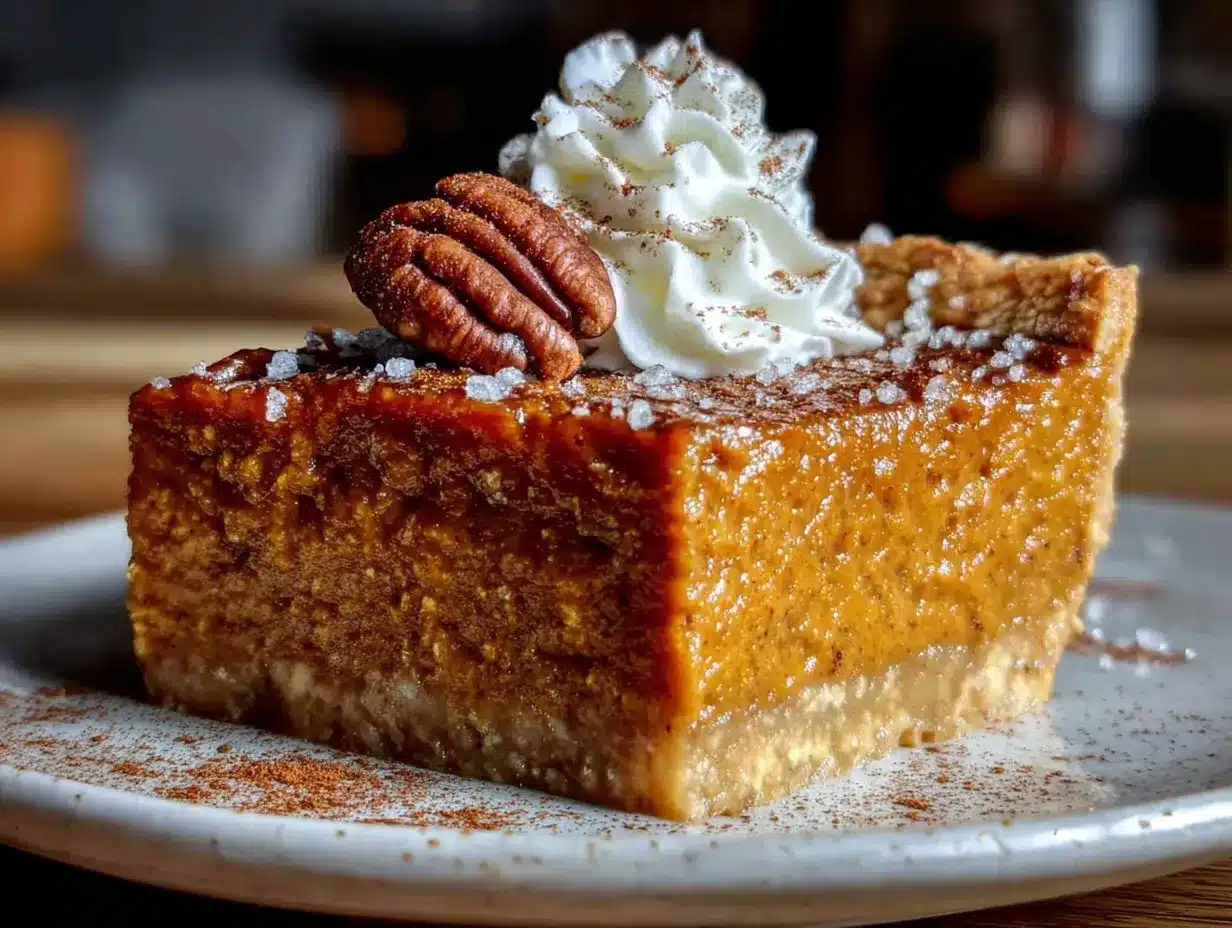
- 1 can (15 oz) pure pumpkin puree (425g) – Make sure it’s pure pumpkin, not pumpkin pie filling. Libby’s is my go-to, but store brands work fine too.
- ¾ cup granulated sugar (150g)
- ¼ cup packed light brown sugar (50g) – Adds a deeper, almost caramel-like sweetness.
- 2 large eggs, room temperature – Cold eggs can make the filling seize up. Let them sit on the counter for 30 minutes.
- 1 large egg yolk – This extra yolk gives the filling a richer, creamier texture.
- 1 ½ cups heavy cream (360ml) – Don’t substitute milk here. Heavy cream is what gives that luxurious mouthfeel.
- 2 teaspoons ground cinnamon
- 1 teaspoon ground ginger
- ½ teaspoon ground nutmeg – Freshly grated if you can, but pre-ground works.
- ¼ teaspoon ground cloves
- ½ teaspoon salt
- 1 teaspoon vanilla extract – Pure, not imitation. It makes a difference.
Equipment Needed
You don’t need a fancy kitchen to make this pie, but having the right tools makes the process so much smoother. Here’s what you’ll need:
- 9-inch pie dish – Glass or ceramic works best. I use a deep-dish Pyrex pie plate, and it’s perfect. Metal pans work too, but they conduct heat differently, so keep an eye on your bake time.
- Rolling pin – A standard wooden rolling pin is fine. If you don’t have one, a clean wine bottle works in a pinch—I’ve done it before.
- Large mixing bowls – One for the crust, one for the filling.
- Pastry cutter or food processor – For cutting the butter into the flour. I prefer doing it by hand with a pastry cutter because I can feel when it’s ready, but a food processor is faster.
- Plastic wrap – For chilling the dough.
- Parchment paper – For blind baking the crust. You’ll also need pie weights or dried beans.
- Whisk – For combining the filling ingredients.
- Measuring cups and spoons – Accuracy matters in baking.
- Cooling rack – Lets air circulate so your pie doesn’t get a soggy bottom.
If you’re on a budget, skip the food processor and use a pastry cutter or even two forks. The key is keeping everything cold, not having fancy equipment.
Preparation Method
Alright, let’s get to it. I’ve broken this down step by step so you can follow along without any hiccups. Take your time—baking is supposed to be relaxing, not stressful.
Step 1: Make the Pie Crust
In a large bowl, whisk together the flour, salt, and sugar. Add the cold butter cubes and toss them in the flour until they’re coated. Using a pastry cutter or your fingertips, work the butter into the flour until you have pea-sized pieces with some larger chunks remaining. You want visible butter—that’s what creates those flaky layers.
Sprinkle 6 tablespoons of ice water over the mixture and stir with a fork until the dough starts coming together. If it seems dry, add another tablespoon of water. Squeeze a small piece of dough in your hand—if it holds together without crumbling, you’re good.
Turn the dough out onto a lightly floured surface and shape it into a disc about 1 inch thick. Wrap it tightly in plastic wrap and refrigerate for at least 1 hour. Honestly, overnight is even better. The dough needs that rest to relax the gluten and firm up the butter.
Step 2: Roll Out the Dough
After chilling, let the dough sit at room temperature for about 5 minutes so it’s easier to roll. On a lightly floured surface, roll the dough into a 12-inch circle, about ⅛ inch thick. Rotate it frequently and add more flour as needed to prevent sticking.
Carefully transfer the dough to your pie dish. Gently press it into the bottom and up the sides, making sure there are no air pockets. Trim the excess dough, leaving about a ½-inch overhang. Fold that under and crimp the edges however you like—I go for a simple fluted edge with my fingers. Pop the crust in the fridge for another 30 minutes.
Step 3: Blind Bake the Crust
Preheat your oven to 375°F (190°C). Line the chilled crust with parchment paper and fill it with pie weights or dried beans. Bake for 15 minutes, then carefully remove the parchment and weights. Bake for another 8 to 10 minutes, until the bottom looks dry and lightly golden. Set the crust aside to cool slightly while you make the filling.
Step 4: Make the Filling
Lower the oven temperature to 350°F (175°C). In a large bowl, whisk together the pumpkin puree, granulated sugar, and brown sugar until smooth. Add the eggs and egg yolk one at a time, whisking well after each addition.
Pour in the heavy cream and vanilla extract, then add the cinnamon, ginger, nutmeg, cloves, and salt. Whisk until everything is completely combined and silky. Give the bowl a good scrape with a spatula to make sure nothing’s hiding at the bottom.
Step 5: Bake the Pie
Place the blind-baked crust on a baking sheet—this catches any spills and makes it easier to handle. Pour the filling into the crust right up to the crimped edge. Gently tap the baking sheet on the counter a few times to release any air bubbles.
Bake for 50 to 60 minutes, rotating halfway through. The pie is done when the edges are set but the center still jiggles slightly when you gently shake it. Don’t overbake—the residual heat will finish setting the center as it cools.
Step 6: Cool Completely
Transfer the pie to a cooling rack and let it cool to room temperature, about 2 hours. Then refrigerate for at least 4 hours, preferably overnight. This step is crucial—the filling needs time to fully set. I know it’s hard to wait, but trust me on this one.
Cooking Tips & Techniques
I’ve made this pie more times than I can count, and I’ve learned a few things along the way. Here are the tips that make the biggest difference.
Keep everything cold for the crust. This is non-negotiable. If your butter starts getting soft while you’re working, pop the dough back in the fridge for 10 minutes. Warm butter means a tough, greasy crust instead of a flaky one.
Don’t overwork the dough. I learned this the hard way after making a crust that could’ve doubled as a hockey puck. Mix just until it comes together, and handle it as little as possible.
Blind baking is worth the extra step. I used to skip this because I was impatient, and my crust always turned out soggy on the bottom. Blind baking creates a barrier that keeps the crust crisp, even with a wet filling like pumpkin.
Use room temperature ingredients for the filling. Cold eggs and cream can cause the filling to separate or bake unevenly. Set them out 30 minutes before you start mixing.
Watch the edges. If the crust starts browning too quickly, tent it with foil or a pie shield. I usually do this about 30 minutes into baking.
Let it cool completely. I know you want to slice into that beautiful pie right away, but warm pumpkin pie is a runny mess. Patience pays off with clean, perfect slices.
Variations & Adaptations
This recipe is pretty perfect as is, but I love playing around with it depending on the occasion or who’s coming over. Here are some variations I’ve tried and loved.
Gluten-Free Version: Swap the all-purpose flour with a good gluten-free flour blend that contains xanthan gum. I’ve had great results with Bob’s Red Mill 1-to-1 Baking Flour. The crust will be a bit more delicate, but it’s still delicious.
Dairy-Free Option: Use cold coconut oil or vegan butter in place of the butter for the crust. For the filling, substitute the heavy cream with full-fat coconut cream. The coconut flavor is subtle and actually pairs nicely with the pumpkin.
Spice It Up: If you like a bolder spice profile, add a pinch of white pepper or cardamom to the filling. I tried this once on a whim and now I can’t go back. It adds this warm, almost floral note that’s incredible.
Bourbon Pumpkin Pie: Replace the vanilla extract with 2 tablespoons of good bourbon. The smokiness cuts through the sweetness and adds a grown-up twist that’s perfect for holiday parties.
Individual Mini Pies: Use a muffin tin instead of a pie dish for adorable single-serving pies. Reduce the blind bake time to 10 minutes and the final bake time to about 25 minutes. These are always a hit at potlucks.
Serving & Storage Suggestions
This pie is at its best when served chilled or at room temperature. I actually prefer it straight from the fridge—the filling firms up beautifully and slices like a dream. If you want to serve it warm, pop individual slices in a 300°F oven for about 10 minutes.
For presentation, I keep it simple. A dollop of freshly whipped cream on top—unsweetened or lightly sweetened—is all you need. A sprinkle of cinnamon or a few candied pecans adds a nice touch if you’re feeling fancy.
This pie pairs beautifully with a cup of hot coffee, spiced apple cider, or even a glass of bourbon on the rocks. If you’re serving it as part of a bigger spread, it goes wonderfully alongside roasted turkey, mashed potatoes, and green bean casserole.
For storage, cover the pie loosely with plastic wrap or foil and keep it in the refrigerator. It’ll stay good for up to 4 days. You can also freeze the baked pie for up to 2 months—just wrap it tightly in plastic wrap and then foil. Thaw overnight in the refrigerator before serving.
The flavors actually deepen after a day or two in the fridge, so don’t be afraid to make this ahead. In fact, I’d argue it’s even better on day two.
Nutritional Information & Benefits
Here’s a rough estimate per slice (based on 8 servings):
- Calories: 420
- Fat: 26g
- Carbohydrates: 44g
- Protein: 6g
- Fiber: 3g
- Sugar: 26g
Pumpkin is packed with vitamin A, which is great for your eyes and immune system. It’s also a good source of fiber and potassium. The eggs and cream add protein and healthy fats that make this pie satisfying without being overly heavy.
If you’re watching your sugar intake, you can reduce the granulated sugar to ½ cup and the brown sugar to 2 tablespoons. The pie will be slightly less sweet but still delicious. For a lower-calorie option, use a half-and-half mixture of heavy cream and whole milk, though the texture won’t be quite as luxurious.
As always, this recipe contains dairy and gluten. If you have allergies, check out the variation section above for substitutions.
Conclusion
Look, I’ve made a lot of pumpkin pies in my life. Some were good, some were forgettable, and a few were outright disasters. This one? It’s the one I keep coming back to. It’s the pie that made my neighbor Sheila look like a genius without even trying, and it’s the pie that makes me look like I know what I’m doing when I bring it to a dinner party.
The flaky crust, the silky filling, the way the spices warm you from the inside out—it’s everything a pumpkin pie should be. And the best part is, it’s not complicated. It’s just good ingredients treated with a little care and patience.
I’d love to hear how yours turns out. Did you try any of the variations? Did your guests go quiet after that first bite? Drop a comment below and let me know. And if you’re looking for another showstopper dessert, you might want to check out this classic apple pie recipe that’s perfect for fall gatherings too.
Happy baking, friends. You’ve got this.
Frequently Asked Questions
Can I use store-bought pie crust instead of making my own?
Absolutely. If you’re short on time or just not feeling up to making crust from scratch, a good store-bought crust works fine. Just make sure to blind bake it first to avoid a soggy bottom. I recommend getting a refrigerated crust rather than a frozen one—the texture is usually better.
Why did my pumpkin pie crack on top?
Cracks usually happen when the pie is overbaked or when the filling gets too hot too quickly. The edges set faster than the center, and as the center continues to bake and expand, it cracks. To prevent this, bake at a lower temperature (350°F is perfect) and pull the pie out when the center still has a slight jiggle.
Can I use fresh pumpkin instead of canned?
You can, but I honestly prefer canned for this recipe. Fresh pumpkin puree has a higher water content, which can make the filling too loose. If you want to use fresh, roast the pumpkin, puree it, and then strain it through cheesecloth overnight to remove excess moisture. It’s a bit of work, but it can be done.
How do I know when the pie is done baking?
The edges should be set and slightly puffed, while the center should jiggle like Jell-O when you gently shake the pan. If you insert a knife near the center, it should come out mostly clean. The internal temperature should be around 175°F to 180°F. Don’t wait for the center to be completely firm—it will set as it cools.
Can I freeze pumpkin pie?
Yes, and it freezes beautifully. Let the pie cool completely, then wrap it tightly in plastic wrap followed by a layer of aluminum foil. Freeze for up to 2 months. When you’re ready to serve, thaw it overnight in the refrigerator. I don’t recommend freezing an unbaked pie—the texture won’t be the same.
Pin This Recipe!
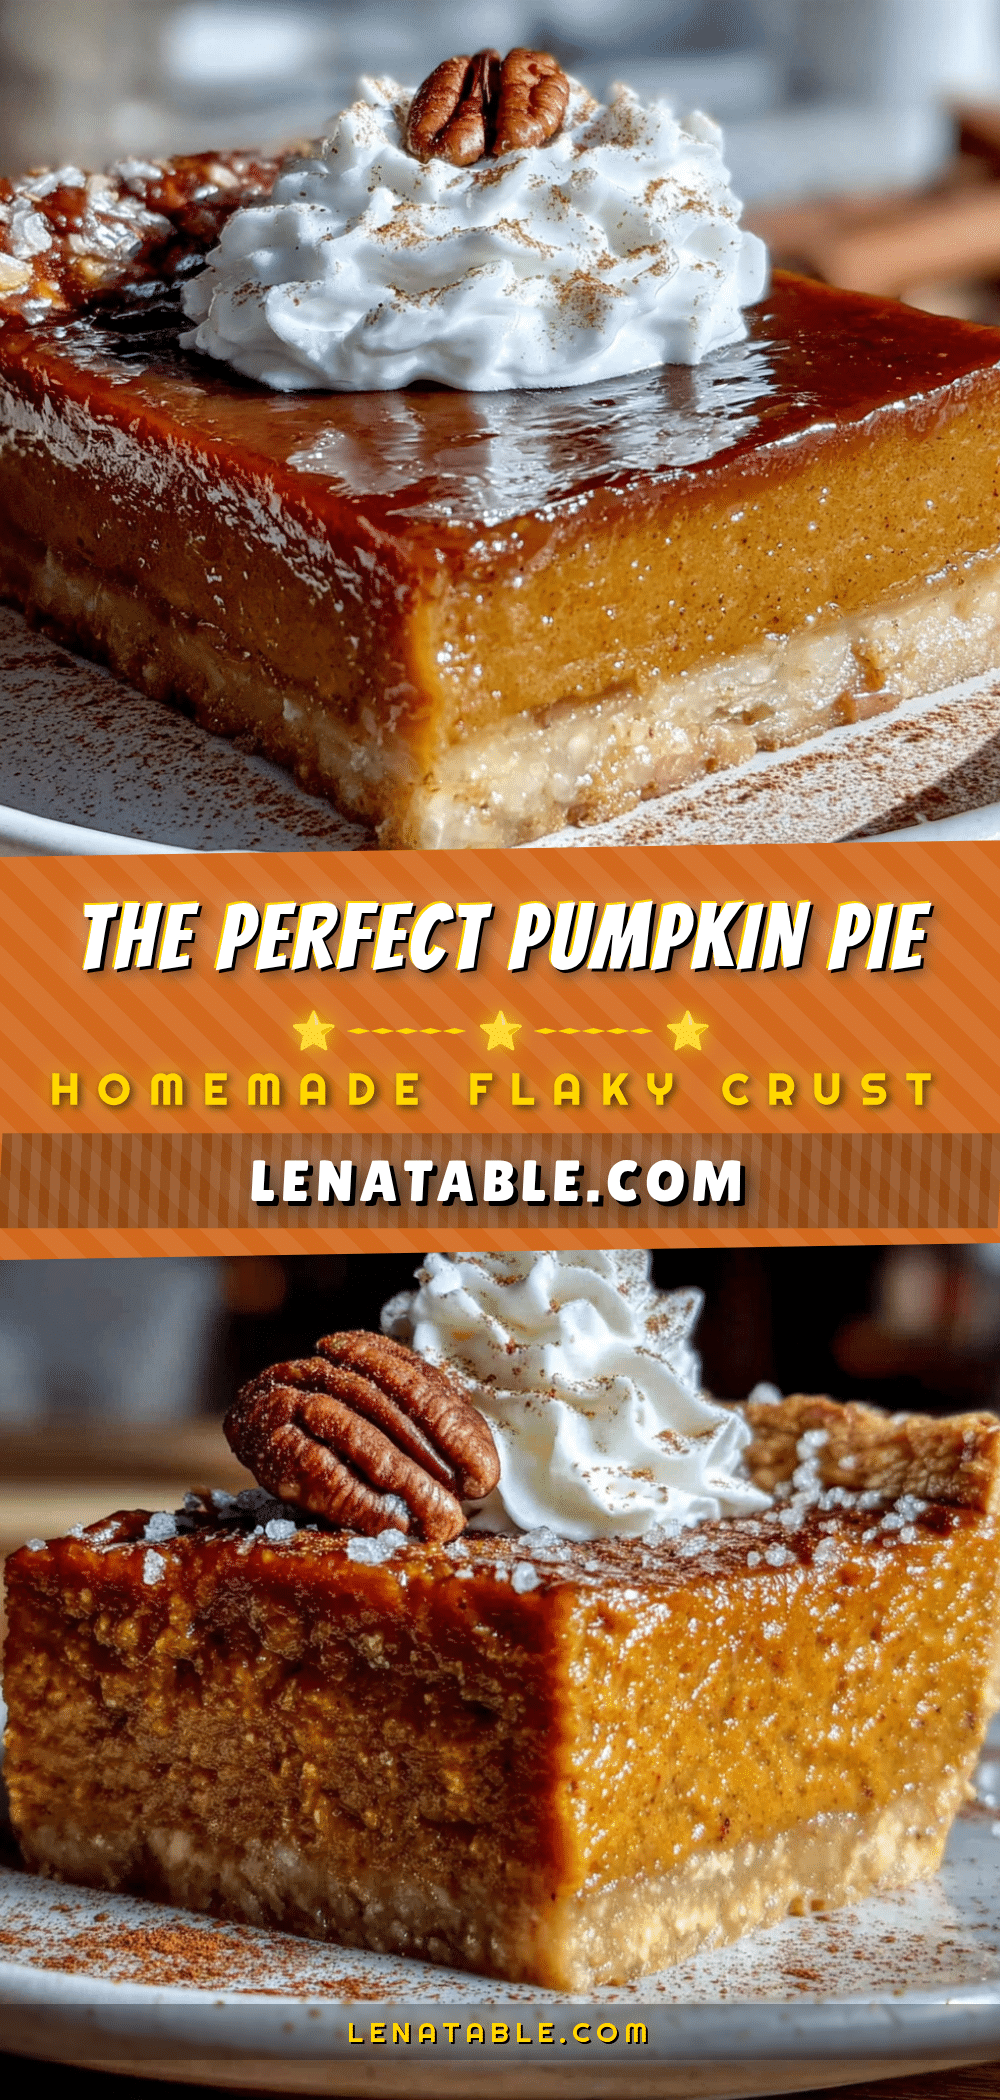
Perfect Homemade Pumpkin Pie with Flaky Crust Recipe
This foolproof pumpkin pie features a flaky, buttery crust and a silky smooth, perfectly spiced filling. It’s the only pumpkin pie recipe you’ll ever need, perfect for holiday gatherings and cozy fall dinners.
- Prep Time: 30 minutes
- Cook Time: 1 hour 10 minutes
- Total Time: 5 hours 40 minutes (includes chilling and cooling)
- Yield: 8 servings 1x
- Category: Dessert
- Cuisine: American
Ingredients
- 2 ½ cups all-purpose flour (315g)
- 1 teaspoon salt
- 1 tablespoon granulated sugar
- 1 cup cold unsalted butter (226g), cut into small cubes
- 6 to 8 tablespoons ice water
- 1 can (15 oz) pure pumpkin puree (425g)
- ¾ cup granulated sugar (150g)
- ¼ cup packed light brown sugar (50g)
- 2 large eggs, room temperature
- 1 large egg yolk
- 1 ½ cups heavy cream (360ml)
- 2 teaspoons ground cinnamon
- 1 teaspoon ground ginger
- ½ teaspoon ground nutmeg
- ¼ teaspoon ground cloves
- ½ teaspoon salt
- 1 teaspoon vanilla extract
Instructions
- Make the pie crust: In a large bowl, whisk together flour, salt, and sugar. Add cold butter cubes and toss to coat. Using a pastry cutter or fingertips, work butter into flour until pea-sized pieces remain with some larger chunks. Sprinkle 6 tablespoons ice water over mixture and stir with a fork until dough comes together. Add another tablespoon water if needed. Shape into a disc, wrap in plastic, and refrigerate at least 1 hour (overnight is better).
- Roll out the dough: Let dough sit at room temperature 5 minutes. On a lightly floured surface, roll into a 12-inch circle, about ⅛ inch thick. Transfer to a 9-inch pie dish, press into bottom and sides, trim excess to ½-inch overhang, fold under, and crimp edges. Refrigerate 30 minutes.
- Blind bake the crust: Preheat oven to 375°F (190°C). Line chilled crust with parchment paper and fill with pie weights or dried beans. Bake 15 minutes, remove parchment and weights, then bake 8-10 minutes more until bottom is dry and lightly golden. Set aside to cool slightly.
- Make the filling: Lower oven temperature to 350°F (175°C). In a large bowl, whisk together pumpkin puree, granulated sugar, and brown sugar until smooth. Add eggs and egg yolk one at a time, whisking well after each. Pour in heavy cream and vanilla extract, then add cinnamon, ginger, nutmeg, cloves, and salt. Whisk until completely combined and silky.
- Bake the pie: Place blind-baked crust on a baking sheet. Pour filling into crust up to the crimped edge. Gently tap baking sheet on counter to release air bubbles. Bake 50-60 minutes, rotating halfway, until edges are set but center jiggles slightly. Do not overbake.
- Cool completely: Transfer pie to a cooling rack and cool to room temperature, about 2 hours. Refrigerate at least 4 hours, preferably overnight, to fully set.
Notes
Keep all ingredients cold for the crust. Blind baking is essential to prevent a soggy bottom. Use room temperature eggs and cream for the filling. Let the pie cool completely before slicing for clean pieces. The pie can be made a day ahead and stored in the refrigerator. For a gluten-free version, use a gluten-free flour blend with xanthan gum. For dairy-free, use coconut oil or vegan butter in the crust and full-fat coconut cream in the filling.
Nutrition
- Serving Size: 1 slice
- Calories: 420
- Sugar: 26
- Sodium: 380
- Fat: 26
- Saturated Fat: 16
- Carbohydrates: 44
- Fiber: 3
- Protein: 6
Keywords: pumpkin pie, homemade pie, flaky crust, Thanksgiving dessert, fall baking, pumpkin dessert