Love this? Save it for later!
Share the inspiration with your friends
I was standing in the spice aisle of our local grocery store last December, staring at a tiny jar of dried orange peel that cost almost eight dollars. Eight dollars for what looked like a tablespoon of sad, brown flakes. And right there, holding that overpriced jar, I got hit with a memory so sharp it almost knocked me sideways. I was maybe seven years old, standing on a step stool in my Aunt Louise’s tiny kitchen, and she was lining up thick slices of oranges on a wire rack by her sunny window. The whole house smelled like Christmas and citrus and something I couldn’t name back then but now I know was patience. She wasn’t buying dried peel from a jar. She was making it. And honestly, I had completely forgotten about that until I was standing there in the grocery store, feeling ripped off by a spice company.
I put the jar back on the shelf and walked out of the aisle. I mean, I still needed to buy flour and butter, but I was on a mission now. I grabbed a bag of oranges — the biggest one they had — and I went home determined to figure out what Aunt Louise was doing that day. I didn’t have her recipe, if she even had one written down. I just had the memory of the smell and the way the sunlight caught those slices. My first batch came out okay, a little chewy in spots, not great. My second batch, I forgot about them and they got too dark. But my third batch? That was the one. That was the batch where I finally understood what she was doing — not just drying fruit, but making something that would keep a little bit of the season alive, even after the tree came down.
Maybe you’ve been there, chasing a taste or a smell from your past that you can’t quite pin down. That’s what these easy dried orange slices are for me. They’re not just a pretty garnish for holiday treats. They’re a way to hold onto a moment, one slice at a time.
Why You’ll Love This Recipe
Let me tell you straight up — this is the kind of recipe that makes you look like a kitchen wizard with almost no effort. I’ve tested this method about a dozen times now, tweaking temperatures and timing, and I can promise you, it works. Here’s why you’re going to want these dried orange slices in your life this holiday season.
- So Easy, Honestly: You only need one ingredient — oranges. No fancy equipment. No special skills. If you can slice an orange, you can make these. The oven does all the real work.
- Makes Your House Smell Incredible: I’m not kidding. The whole time these are baking, your kitchen smells like a holiday candle, but better. It’s natural and warm and honestly, it’s worth doing just for the smell alone.
- They Last Forever: Okay, not literally forever, but these keep for weeks if you store them right. You can make them way ahead of the holiday rush, which is a lifesaver when you’re already juggling a million things.
- So Pretty You Won’t Believe It: They look like something from a fancy bakery or a Pinterest dream board. But you made them. In your regular oven. With a bag of oranges from the store.
- Crazy Versatile: Use them on cakes, in cocktails, on gift boxes, in wreaths, on cheeseboards — they’re like the little black dress of holiday garnishes. I’ve used them on my cinnamon honey butter for brunch and they looked amazing.
What makes this version different from other tutorials you’ll find online? It’s the temperature. I found that sweet spot — low enough to dry the slices without cooking them, but high enough that you’re not waiting all day. No overnight oven time. No dehydrator needed. Just a few hours and you’re done. And honestly, after burning my first batch and under-drying my second, I can tell you exactly what to watch for so you nail it on your first try.
These dried orange slices are the kind of thing that makes you feel like you’ve got your act together, even if you’re running on three hours of sleep and surviving on coffee. And isn’t that what we all want during the holidays?
What Ingredients You Will Need
Here’s the beautiful thing about this recipe — you only need one ingredient. Just one. But I’m going to tell you about that one ingredient in detail because picking the right oranges actually matters more than you’d think. I learned this the hard way after making a batch with some sad, thin-skinned oranges that basically disintegrated in the oven.
- Fresh Oranges (3-4 large): This is your whole ingredient list, so make it count. You want oranges that are firm, heavy for their size, and have thick, unblemished skin. Navel oranges are my go-to — they’re widely available, have a nice sweet flavor, and their skin holds up well during drying. Blood oranges are gorgeous if you can find them, with that deep red color that looks stunning in holiday arrangements. Cara Cara oranges give you a beautiful pinkish hue and are extra sweet. Avoid oranges that feel lightweight or have very thin, delicate skin — they’ll shrivel up and look sad instead of beautiful. I buy mine from a local farmer’s market when I can, but honestly, the regular ones from the grocery store work just fine. Just give them a good wash before slicing since you’re eating the peel.
- Optional — Sugar or Spices: This is totally optional, but if you want to go the extra mile, you can sprinkle the slices with a little granulated sugar before baking. It gives them a slight sparkle and a tiny bit of sweetness. You can also dust them with cinnamon or cardamom for a spiced version that smells even more amazing. I’ve done a batch with a light dusting of vanilla sugar and they were gone in two days. But honestly? I usually make them plain. They’re beautiful and tasty on their own.
That’s it. That’s the whole list. No weird ingredients, no special extracts, no complicated shopping trips. If you have oranges, you can make this happen. I love recipes like this — the kind where you realize you already have everything you need and you don’t have to make a separate trip to the store. When you’re busy and tired, that feels like winning.
Equipment Needed
You don’t need a dehydrator or any fancy gadgets for this. I promise. Here’s what you’ll actually use:
- A sharp knife and cutting board: This is the most important tool. A sharp knife makes clean, even slices. A dull knife will squish the oranges and make a mess. I use my 8-inch chef’s knife, but a sharp serrated knife works great too. Just make sure it’s sharp.
- A baking sheet: Any standard rimmed baking sheet will do. Line it with parchment paper or a silicone baking mat. Don’t skip the liner — the slices will stick to bare metal as they dry and release their natural sugars.
- Paper towels: You’ll need these to blot the slices before baking. Removing excess moisture speeds up the drying process and prevents steaming.
- A wire cooling rack (optional but helpful): If you have one, place it on top of the baking sheet and put the slices on the rack. This allows air to circulate all around the slices and they dry more evenly. If you don’t have one, no worries — just flip the slices halfway through baking.
That’s really all you need. I’ve made these in three different kitchens over the past year and never needed anything fancier. If you’ve got these basics, you’re good to go.
Preparation Method
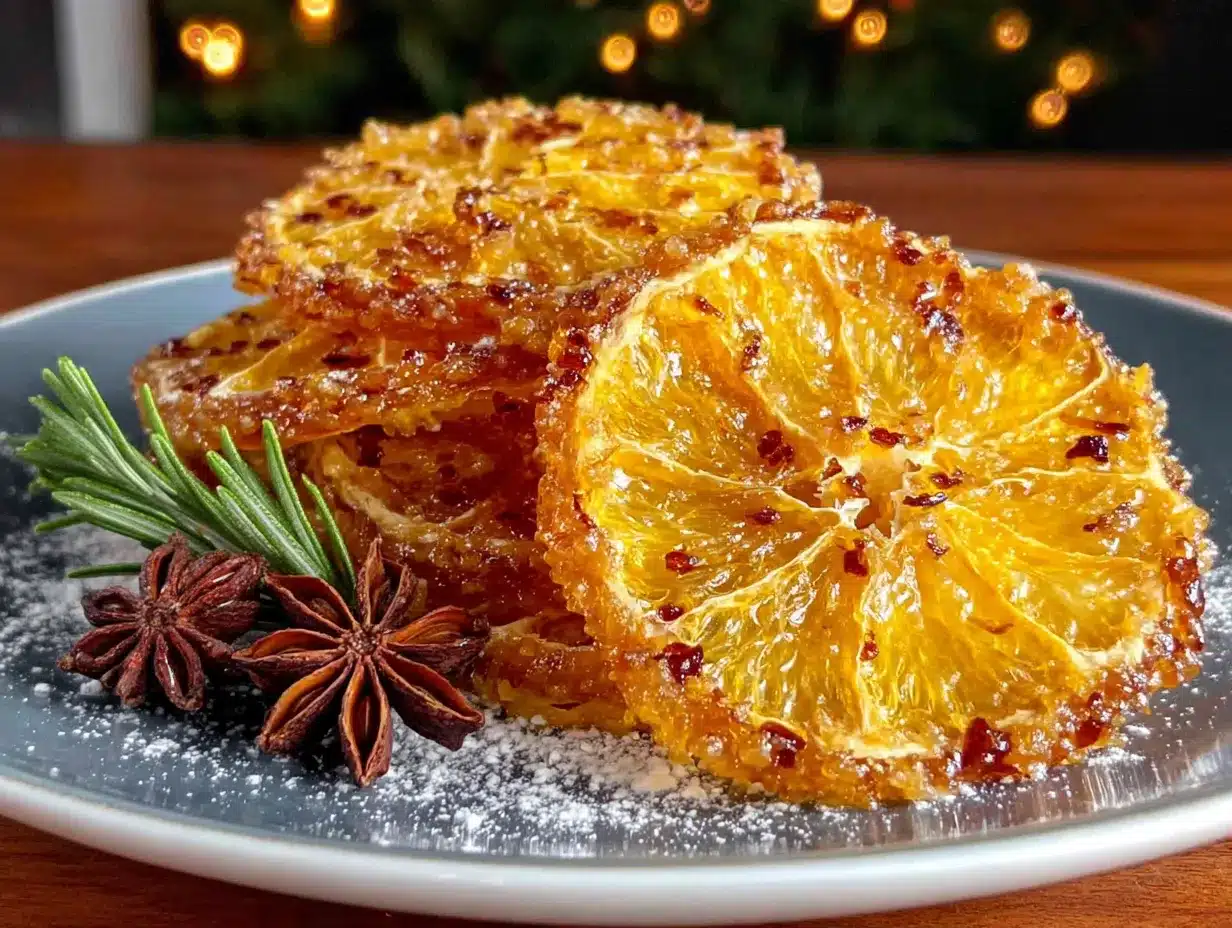
Alright, let’s get to it. Here’s exactly how I make these, step by step, with all the little tricks I’ve picked up along the way.
- Preheat your oven to 200°F (93°C). This is important. I know some tutorials say 175°F or 225°F, but 200°F is the sweet spot. Low enough that the oranges dry without cooking, but high enough that you’re not waiting 8 hours. Give your oven time to reach temperature before you start.
- Wash your oranges thoroughly. Even if they look clean, give them a good scrub under warm water. You’re eating the peel, so you want any wax or residue off. Dry them with a clean towel.
- Slice the oranges evenly. This is the step that makes or breaks the batch. You want slices that are about 1/4 inch (6mm) thick. Too thin and they’ll burn. Too thick and they’ll take forever to dry and might not dry all the way through. I use a sharp chef’s knife and go slow, letting the knife do the work. Aim for consistent thickness across all slices. If some are uneven, that’s okay — just keep an eye on the thinner ones as they’ll dry faster.
- Blot the slices with paper towels. Lay the slices out on a few layers of paper towels. Place another paper towel on top and press gently. You want to absorb as much surface moisture as possible. This step cuts down drying time significantly. I usually blot both sides. You’ll see the paper towels getting damp — that’s good. Keep going until they’re not leaving wet marks anymore.
- Arrange on your baking sheet. If you’re using a wire rack, place it on the baking sheet and arrange the slices in a single layer. If you’re going directly on the sheet, place them on parchment paper. Make sure none of the slices are overlapping — they need space for air to circulate. If you have a lot of slices, use two baking sheets or work in batches.
- Bake for 2.5 to 3 hours. Pop them in the oven and set a timer for 90 minutes. After that, flip each slice over. This helps them dry evenly. Then continue baking. Start checking at the 2.5 hour mark. You’re looking for slices that are dry to the touch but still slightly pliable. They should not be crispy or brittle when you take them out — they’ll continue to firm up as they cool. If they snap when you bend them, they’re overdone. If they feel wet or sticky, they need more time.
- Cool completely on the baking sheet. This is the hardest part because you want to use them right away, but patience pays off here. Let them sit on the baking sheet for at least 30 minutes. They’ll continue to dry and firm up as they cool. Don’t try to move them while they’re still warm — they’re more fragile at that stage.
- Check for doneness. Once completely cool, they should feel leathery and dry. The edges might be slightly curled. The color will have deepened to a beautiful amber or golden orange. If any slices still feel damp in the center, they can go back in the oven for another 20-30 minutes. I’ve had to do this with thicker slices before, and it’s totally fine.
One thing I learned the hard way — don’t crowd the oven with too many trays at once. The air needs to circulate. If you’re doing a big batch, rotate the trays halfway through and add a few extra minutes to the total time. My first big batch came out uneven because I tried to rush it. Now I know better.
Cooking Tips & Techniques
After making these more times than I can count, here are the things I wish someone had told me from the start.
Thickness matters more than you think. I know I said this already, but it’s worth repeating. Slices that are 1/4 inch thick are the sweet spot. I actually messed up my first batch because I cut them too thin — about 1/8 inch — and they turned into little orange crisps that shattered when I tried to use them. Not cute. On the other end, I once cut them too thick thinking it would be fine, and after 4 hours they were still wet in the middle. So measure with your eyes, but aim for that quarter-inch mark. If you have a mandoline slicer, this is the one time I’d actually recommend using it for consistency.
Don’t skip the blotting step. I know it seems fussy, but it makes a real difference. When I was testing this recipe, I made one batch where I blotted thoroughly and one where I just threw them in straight from the cutting board. The blotted batch was done almost an hour faster and had a nicer, more even color. The unblotted batch had some weird cloudy spots where moisture had pooled. So take the extra 2 minutes. Your future self will thank you.
Watch your oven like it’s a toddler. Every oven runs a little differently. My current oven runs about 25 degrees hot, so I actually set it to 175°F and it ends up around 200°F. If your oven runs hot, your slices might brown too quickly. If it runs cool, they’ll take longer. The first time you make these, check on them more often. Note what works for your oven. After one batch, you’ll know exactly how to adjust.
Let them cool before you judge them. I’ve definitely pulled a batch out, thought they looked too pale, and almost put them back in. But after cooling, the color deepened and they were perfect. The cooling process finishes the drying and the color develops. So resist the urge to over-bake. When in doubt, take them out. They’ll firm up as they sit.
Variations & Adaptations
Once you’ve got the basic method down, you can play around a bit. Here are some variations I’ve tried and loved.
Spiced Orange Slices: Before baking, mix a little cinnamon and cardamom with some sugar and sprinkle it over the slices. The spices toast slightly in the oven and smell incredible. I made these for a holiday party and used them to garnish mulled wine. They were gone before the wine was.
Citrus Medley: Why stop at oranges? Try this with lemons, limes, or grapefruits. Each one dries a little differently — lemons take slightly less time, grapefruits take a bit more — but they’re all beautiful. A mix of citrus slices on a cake or in a gift box looks stunning. I did a batch with blood oranges and Meyer lemons for a winter brunch and it was the prettiest thing on the table.
Herb-Infused Version: Lay a few sprigs of fresh rosemary or thyme on the baking sheet near the orange slices. The herbs infuse the oranges with a subtle savory note that’s amazing with cocktails or on a cheese board. Just remove the herbs before storing the slices. I tried this on a whim and now it’s my go-to for holiday hosting.
Quick Microwave Method: If you’re in a real rush and only need a few slices, you can microwave them. Place slices on a microwave-safe plate lined with paper towels. Microwave on high for 1 minute, then flip and microwave for another 30-60 seconds. Let them cool completely. They won’t be as evenly dried as oven-dried ones, and they won’t keep as long, but they work in a pinch. I’ve done this when I needed a garnish for a last-minute cake and it saved me.
If you’re avoiding sugar, just skip the optional dusting. The slices are naturally sweet from the fruit and look beautiful without any added sugar. I’ve also made these for a friend who’s gluten-free — since there’s no flour involved, they’re naturally gluten-free, which is a nice bonus.
Serving & Storage Suggestions
These dried orange slices are incredibly versatile. Here’s how I use and store them.
How to serve them: Use them as a garnish on cakes, cupcakes, and tarts. Float them in cocktails or mocktails — they look amazing in a glass of prosecco or sparkling water. Thread them onto string or ribbon to make a natural, beautiful garland for your tree or mantel. Add them to gift boxes or bags for a homemade touch. Tuck them into wreaths or centerpieces. I’ve even used them on a cheese board alongside some sharp cheddar and honey — the combination of sweet, savory, and citrus is fantastic.
How to store them: Once completely cool, store your dried orange slices in an airtight container at room temperature. A glass jar works well. Keep them away from direct sunlight and heat. They’ll keep for 2 to 3 weeks this way. If you want them to last longer, you can store them in the refrigerator in a sealed container for up to 2 months. Just let them come to room temperature before using, as condensation can make them sticky.
Can you freeze them? I don’t recommend freezing them. The texture changes and they can become soggy when thawed. Better to make a fresh batch when you need them, or store them at room temperature for shorter-term use.
Flavor development over time: Honestly, they’re best within the first week. The color stays vibrant and the citrus aroma is strongest. After that, they start to fade a little in color and scent. They’re still usable for a couple of weeks, but if you want that wow factor, use them within 7 days of making them.
One more thing — if you’re using them on a cake or dessert that’s going to be refrigerated, add the orange slices just before serving. They can absorb moisture from the frosting or filling and lose their dried texture. I learned this when I put them on a frosted cake the night before a party and they ended up looking a little sad by morning. Live and learn, right?
Nutritional Information & Benefits
Let’s be real — these are mostly for decoration, but they do have some nutritional perks since you’re eating the whole fruit, peel and all.
| Nutrient | Per Slice (approx.) |
|---|---|
| Calories | 15-20 |
| Carbohydrates | 4g |
| Fiber | 1g |
| Sugar | 3g (natural) |
| Vitamin C | 5% DV |
The real benefit here is that you’re getting the fiber and nutrients from the whole orange, including the peel, which is rich in antioxidants and flavonoids. Orange peel contains compounds that support immune health and reduce inflammation. Plus, you’re not adding any preservatives or artificial colors — just pure fruit.
If you’re watching your sugar intake, keep in mind that the natural sugars become more concentrated as the water evaporates, so each slice is slightly sweeter than a fresh slice. But used as a garnish, you’re not eating a ton of them. A slice or two on a dessert adds negligible sugar.
These are naturally vegan, gluten-free, dairy-free, and paleo-friendly. No allergens to worry about unless you have a citrus allergy, which is rare. They’re a nice way to add a festive touch without loading up on processed decorations.
From a wellness perspective, I love that these are a whole-food garnish. No artificial dyes, no plastic decorations, no weird ingredients. Just fruit, doing what fruit does. That feels right to me, especially during a season when we’re surrounded by so much processed stuff.
Conclusion
Look, I’m not going to pretend that dried orange slices are going to change your life. They’re a garnish. They’re a pretty little detail. But here’s the thing — sometimes it’s the small details that make the holidays feel special. The homemade touch. The thing you made yourself instead of buying. The little bit of effort that says, “I cared enough to do this.”
These easy dried orange slices are exactly that. They’re simple enough that you can make them while watching TV. They’re forgiving enough that your first batch will still look beautiful. And they’re versatile enough that you’ll find yourself reaching for them again and again — on cakes, in drinks, on gift packages, in wreaths. I keep a jar of them on my kitchen counter all through December, and every time I walk by, I catch that citrusy smell and I think of Aunt Louise and her sunny window.
Give them a try. I’d love to hear how you use them. Drop a comment below and tell me what you garnished — or better yet, tag me in your photos. There’s nothing I love more than seeing these in action in someone else’s kitchen. Happy holidays, and happy drying!
Frequently Asked Questions
Can I use any type of orange?
Yes, but navel oranges are the best choice for their thick skin and sweet flavor. Blood oranges and Cara Cara oranges also work beautifully and add gorgeous color. Avoid very thin-skinned oranges as they tend to shrivel up too much.
How do I know when they’re done drying?
They should feel dry to the touch and slightly leathery but not brittle. They’ll continue to firm up as they cool. If they snap when bent, they’re overdone. If they feel damp or sticky, they need more time in the oven.
Can I make these in an air fryer?
Yes, you can! Set your air fryer to 180°F (82°C) and arrange slices in a single layer in the basket. Cook for 2-3 hours, flipping halfway through. Check them frequently as air fryers can run hot and dry things out faster than ovens.
How long do dried orange slices last?
Stored in an airtight container at room temperature, they’ll last 2-3 weeks. In the refrigerator, they can last up to 2 months. They’re best used within the first week for the brightest color and strongest citrus aroma.
Can I eat the dried orange slices?
Absolutely! They’re completely edible, peel and all. The peel becomes chewy and slightly sweet as it dries. They’re great for snacking, though I usually use them as garnishes because they’re so pretty. Just be aware that the natural sugars are concentrated, so they’re sweeter than fresh oranges.
Pin This Recipe!
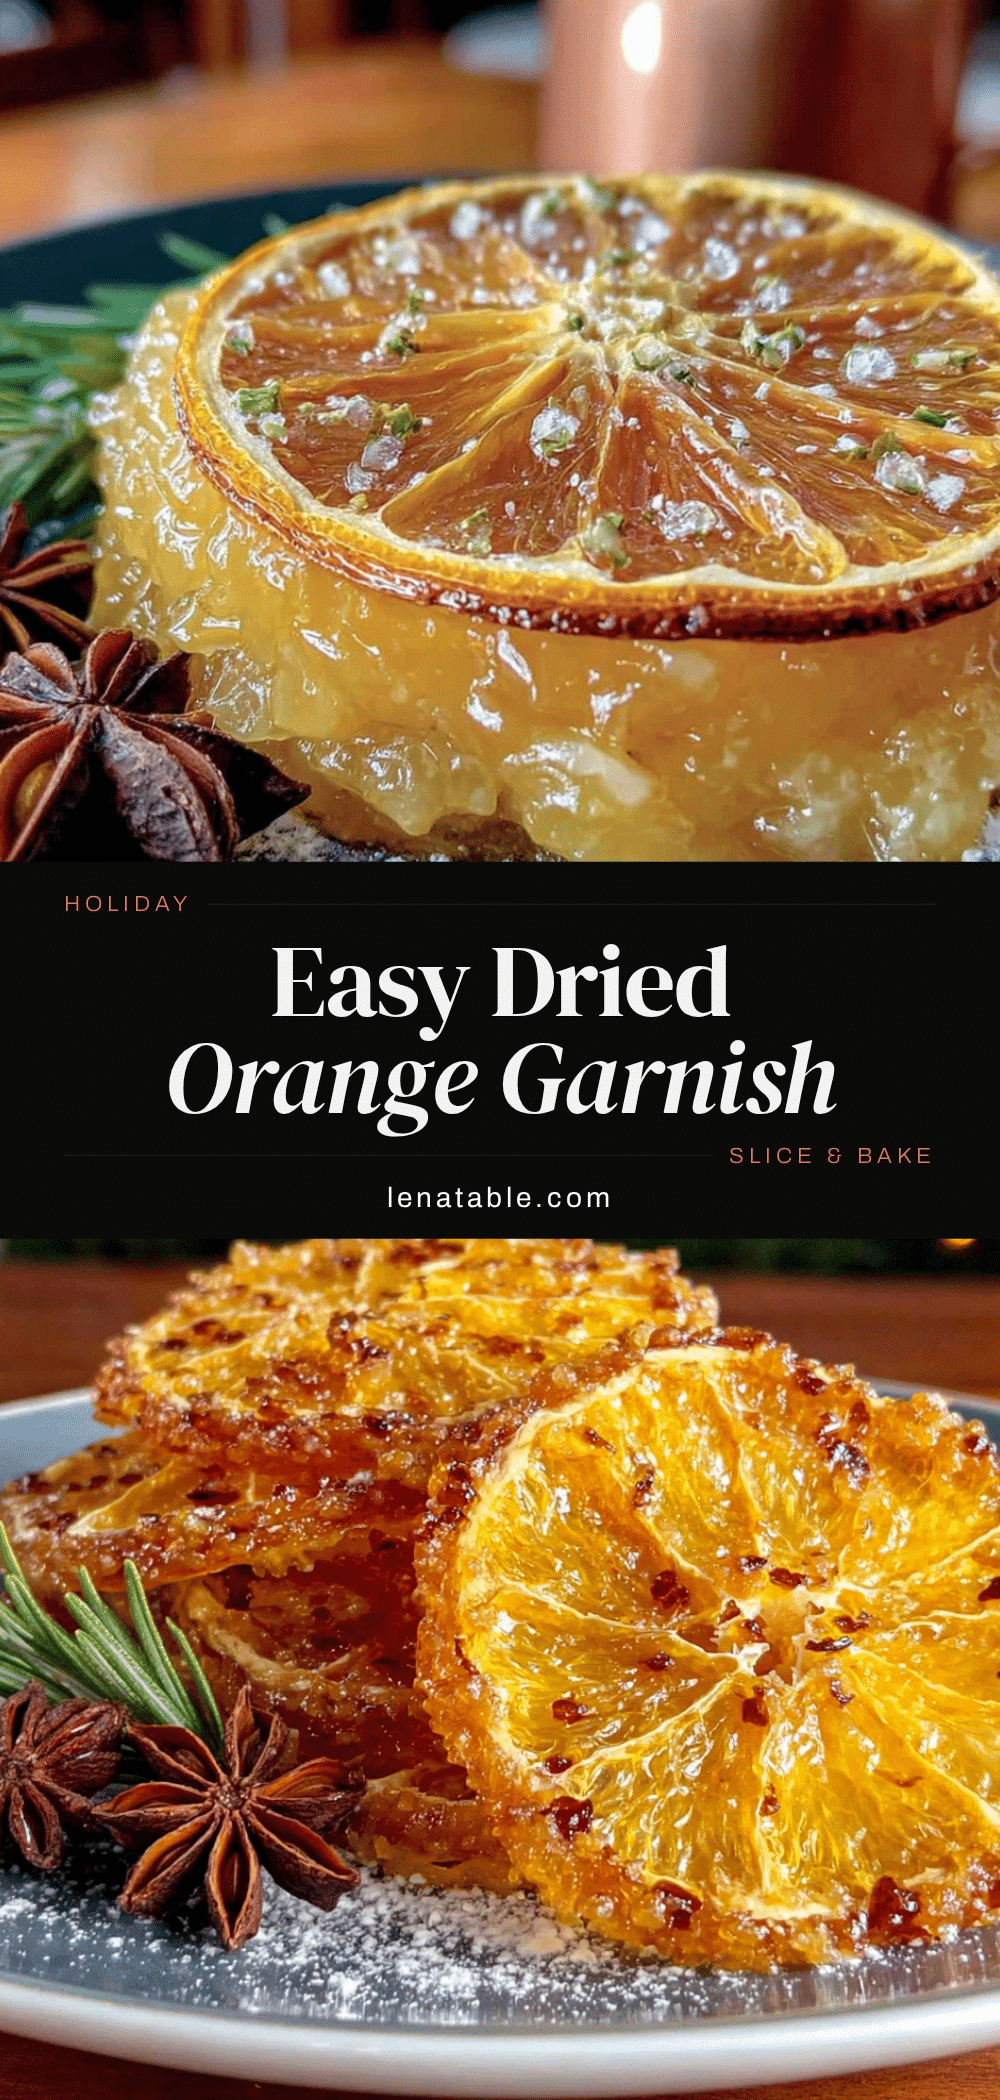
Easy Dried Orange Slices for Holiday Garnish

Transform fresh oranges into beautiful, fragrant dried slices perfect for garnishing holiday treats, cocktails, and decorations. This simple oven method requires just one ingredient and a few hours to create stunning, edible decorations that will make your home smell incredible.
- Prep Time: 10 minutes
- Cook Time: 2.5 to 3 hours
- Total Time: 2 hours 40 minutes to 3 hours 10 minutes
- Yield: 24-32 slices (depending on orange size and thickness) 1x
- Category: Garnish
- Cuisine: American
Ingredients
- 3–4 large fresh oranges (navel, blood, or Cara Cara)
- Optional: granulated sugar for dusting
- Optional: cinnamon or cardamom for spiced version
Instructions
- Preheat your oven to 200°F (93°C).
- Wash the oranges thoroughly under warm water and dry them with a clean towel.
- Slice the oranges evenly into 1/4 inch (6mm) thick slices using a sharp knife.
- Blot the slices with paper towels on both sides to remove excess surface moisture.
- Arrange the slices in a single layer on a parchment-lined baking sheet or on a wire rack placed on a baking sheet, ensuring they do not overlap.
- Bake for 2.5 to 3 hours. After 90 minutes, flip each slice over to ensure even drying.
- Start checking at the 2.5 hour mark. The slices should be dry to the touch but still slightly pliable. They will continue to firm up as they cool.
- Cool completely on the baking sheet for at least 30 minutes before handling or storing.
Notes
Thickness is crucial: aim for 1/4 inch slices. Too thin and they burn; too thick and they won’t dry properly. Blotting slices before baking reduces drying time significantly. Every oven runs differently; check frequently the first time. Let slices cool completely before judging doneness—they firm up as they cool. For best results, use within the first week for brightest color and strongest citrus aroma. Store in an airtight container at room temperature for 2-3 weeks or in the refrigerator for up to 2 months. Do not freeze.
Nutrition
- Serving Size: 1 slice
- Calories: 1520
- Sugar: 3
- Carbohydrates: 4
- Fiber: 1
Keywords: dried orange slices, holiday garnish, homemade decorations, citrus garnish, edible decorations, orange peel, holiday baking, easy recipe


