Love this? Save it for later!
Share the inspiration with your friends
The church potluck was in four hours and I’d completely forgotten. Everyone else would be bringing their grandmother’s legendary casseroles, slow-braised roasts, or those perfectly layered desserts that take two days to assemble. I had a pack of chicken thighs defrosting on the counter, a sad bunch of parsley, and absolutely no time. I mean, honestly? I almost just ordered pizza and showed up with a store-bought apology. But then I spotted my air fryer, dusty in the corner, and a little voice in my head said, “What’s the worst that could happen?” I threw together some garlic, herbs, and a prayer, tossed it all in the basket, and prayed the timer wouldn’t betray me. When I walked into that church hall with my humble little chicken, I felt like a fraud next to the spread of culinary masterpieces. Let me tell you, the silence after the first bite was deafening. Then came the questions. “What’s in this?” “Can I get the recipe?” “Did you really just make that in an air fryer?” I’d accidentally won the potluck with a recipe I’d panicked into existence. And now, every time I make this Cozy Crispy Garlic Herb Air Fryer Chicken, I think of that frantic morning and the happy accident that became my most-requested dish. Maybe you’ve been there—the panic, the scramble, the last-minute miracle. This recipe is that miracle, and it’s about to become your cozy weeknight hero.
Why You’ll Love This Recipe
Look, I’ve tested a lot of chicken recipes over the years. Some were dry, some were bland, and some just took way too much effort for a Tuesday night. This one is different. It’s the kind of recipe that makes you feel like a kitchen genius without actually having to be one.
- Quick & Easy: From fridge to table in under 30 minutes. Seriously, the air fryer does all the heavy lifting while you set the table or pour yourself a glass of wine.
- Simple Ingredients: You probably have garlic, herbs, and olive oil in your kitchen right now. No fancy trips to specialty stores required.
- Perfect for Cozy Nights: Whether it’s a cold winter evening, a rainy Sunday, or just a Tuesday that needs a little comfort, this chicken delivers that warm, soul-soothing feeling.
- Crowd-Pleaser: Kids love the crispy skin, adults love the garlic-herb punch, and everyone loves that it’s not dry. It’s a universal win.
- Unbelievably Delicious: The skin gets shatteringly crispy while the meat stays juicy and tender. It’s the texture combo that makes comfort food unforgettable.
What makes this recipe stand out from the hundreds of other chicken recipes out there? It’s the technique. Instead of just seasoning the outside, I create a garlic-herb paste that gets tucked under the skin, infusing every bite with flavor. And the air fryer? It’s the secret weapon that gives you that deep, golden-brown crust without a vat of oil. This isn’t just another version—it’s your new favorite version. The kind that makes you close your eyes after the first bite and forget whatever stress you were carrying.
What Ingredients You Will Need
This recipe uses simple, wholesome ingredients that come together to deliver bold, comforting flavor. Most of these are pantry staples, so you’re probably already set.
- Chicken Thighs (bone-in, skin-on): 4 pieces (about 1.5 lbs / 680g). The bone keeps the meat moist, and the skin gets gloriously crispy. I prefer thighs for their forgiving nature and rich flavor, but you can use drumsticks too.
- Garlic: 4 cloves, minced. Fresh is non-negotiable here. The jarred stuff just won’t give you that punchy, aromatic depth. I’ve used a garlic press in a pinch, but finely mincing with a knife gives better texture.
- Fresh Parsley: 2 tablespoons, finely chopped. Adds a fresh, bright note that cuts through the richness. Flat-leaf parsley has more flavor than curly, but either works.
- Fresh Rosemary: 1 tablespoon, finely chopped. Earthy and piney, it’s the soul of this dish. Dried rosemary works (use 1 teaspoon), but fresh is truly superior here.
- Fresh Thyme: 1 teaspoon leaves. Small but mighty. It adds a subtle lemony-herbaceous layer that ties everything together.
- Olive Oil: 2 tablespoons (30ml). Use a good quality extra virgin for flavor. It helps the seasoning stick and promotes that golden crispiness.
- Salt: 1 teaspoon (5g). I use kosher salt for its clean taste and easy pinchability. Don’t skimp—salt is what makes the skin crispy and the meat flavorful.
- Black Pepper: ½ teaspoon (2g), freshly ground. Adds a gentle warmth. Pre-ground pepper works, but fresh is noticeably better.
- Paprika: 1 teaspoon (2g). Optional, but I love it for color and a hint of smoky sweetness. Smoked paprika adds an even deeper flavor.
- Lemon Zest: From ½ lemon. A secret weapon! It brightens the whole dish without making it taste lemony. Just a whisper of citrus magic.
Equipment Needed
You don’t need a professional kitchen for this, but a few key tools make the process smooth and enjoyable.
- Air Fryer: The star of the show. Any basket-style or oven-style air fryer works. I use a 5.8-quart model, which fits 4 thighs perfectly without overcrowding. If yours is smaller, cook in batches.
- Mixing Bowl: A medium bowl for the garlic-herb paste. I use a glass one because it doesn’t absorb odors.
- Chef’s Knife and Cutting Board: For mincing garlic and herbs. A sharp knife makes prep feel effortless and safe.
- Tongs: For flipping the chicken without tearing the skin. Silicone-tipped ones are great for not scratching your air fryer basket.
- Meat Thermometer: Not strictly necessary, but it takes the guesswork out. An instant-read thermometer ensures perfectly cooked chicken every time (165°F / 74°C at the thickest part).
- Paper Towels: For patting the chicken dry. This is a crucial step for crispy skin, so don’t skip it.
Preparation Method
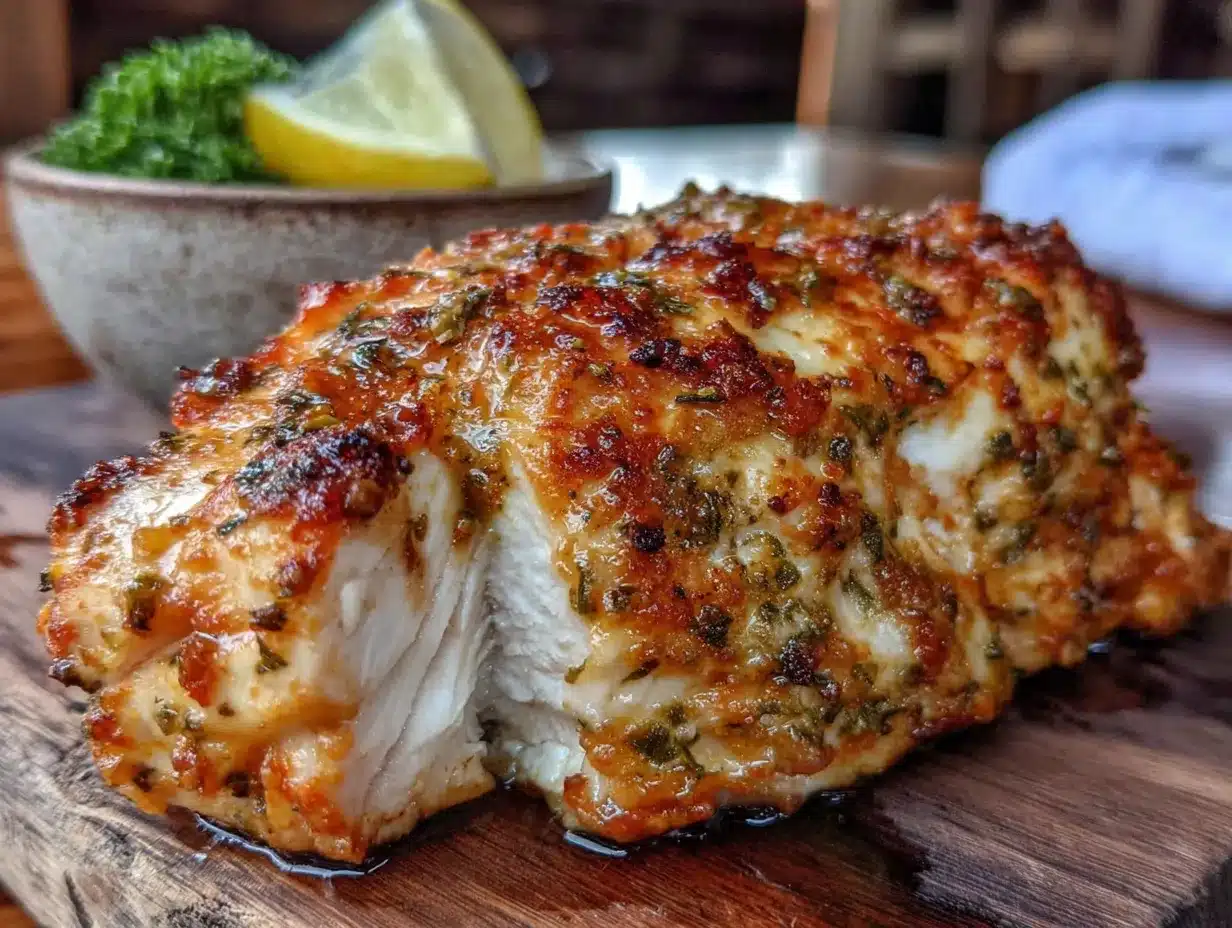
Let’s get cooking. This method is straightforward, but I’ve sprinkled in all the little tips I’ve learned from making this dozens of times.
- Pat the Chicken Dry (5 minutes): Take your chicken thighs out of the package and pat them thoroughly dry with paper towels. This is the single most important step for crispy skin. No joke. I once skipped this in a rush and ended up with soggy, pale chicken. Never again.
- Make the Garlic-Herb Paste (5 minutes): In a medium bowl, combine the minced garlic, chopped parsley, rosemary, thyme, olive oil, salt, pepper, paprika (if using), and lemon zest. Mix it into a fragrant, chunky paste. Smell it—that’s the smell of dinner.
- Season the Chicken (3 minutes): Using your fingers (yes, get in there), gently loosen the skin of each chicken thigh, creating a little pocket between the skin and the meat. Stuff about a teaspoon of the garlic-herb paste under the skin, spreading it around. Then rub the remaining paste all over the outside of the chicken. Don’t be shy—coat every nook and cranny.
- Preheat the Air Fryer (3 minutes): Set your air fryer to 375°F (190°C) and let it preheat for 3 minutes. This ensures the chicken starts cooking immediately, which helps the skin crisp up from the get-go.
- Arrange the Chicken (2 minutes): Place the chicken thighs in the air fryer basket, skin-side down, in a single layer. Make sure they’re not touching or overlapping. If they’re crowded, they’ll steam instead of crisp. I learned this the hard way when I tried to cook six thighs at once and ended up with sad, flabby skin.
- Air Fry the First Side (12 minutes): Cook at 375°F (190°C) for 12 minutes. The skin should be starting to turn golden and crispy. Don’t open the basket to peek too early—you’ll let out the heat.
- Flip and Continue (10-12 minutes): Using tongs, carefully flip each thigh over so the skin-side is now up. Air fry for another 10-12 minutes, or until the internal temperature reaches 165°F (74°C) and the skin is deep golden brown and shatteringly crisp. The time can vary slightly depending on your air fryer and the size of the thighs, so trust your thermometer more than the clock.
- Rest Before Serving (5 minutes): Once cooked, transfer the chicken to a plate and let it rest for 5 minutes. This allows the juices to redistribute, so every bite is moist and tender. I know it’s hard to wait, but trust me.
Cooking Tips & Techniques
I’ve made this recipe more times than I can count, and I’ve definitely made my share of mistakes. Here’s what I’ve learned so you don’t have to repeat my errors.
- Don’t Skip Drying the Skin: Moisture is the enemy of crispiness. If you’re in a hurry, you can even leave the chicken uncovered in the fridge for an hour to dry out the skin further. It’s a game-changer.
- Don’t Overcrowd the Basket: Air needs to circulate around each piece of chicken. If you cram them in, they’ll steam and you’ll get sad, soft skin. Cook in batches if needed—it’s worth the extra few minutes.
- Use a Meat Thermometer: I used to guess, and I ended up with dry chicken more times than I’d like to admit. A $10 instant-read thermometer is the best investment you can make for perfect chicken every time. Aim for 165°F (74°C) at the thickest part, near the bone.
- Let It Rest: I know the smell is intoxicating and you want to dig in immediately. But cutting into hot chicken releases all those precious juices onto the plate instead of keeping them in the meat. Five minutes of patience makes a world of difference.
- Adjust for Your Air Fryer: All air fryers run a little differently. If yours runs hot, check the chicken a few minutes early. If it runs cool, you might need an extra minute or two. Get to know your machine—it’s a relationship worth building.
Variations & Adaptations
This recipe is wonderfully flexible. Here are some ways I’ve tweaked it depending on my mood or what’s in the fridge.
- Lemon Herb Version: Add the juice of half a lemon to the paste and increase the lemon zest to a full lemon. It’s bright, zesty, and perfect for spring dinners.
- Spicy Kick: Add ½ teaspoon of red pepper flakes or a pinch of cayenne pepper to the garlic-herb paste. It adds a gentle warmth that doesn’t overpower the herbs.
- Dairy-Free & Gluten-Free: This recipe is already naturally gluten-free and dairy-free, so it’s perfect for those with dietary restrictions. Just double-check your paprika or other spices if you’re sensitive to cross-contamination.
- Chicken Breast Adaptation: Use boneless, skinless chicken breasts instead. Reduce the cooking time to 8 minutes per side, and check for doneness at 160°F (71°C) (it will carry-over cook to 165°F). Be careful not to overcook—breasts dry out faster than thighs.
- Drumstick Version: This works beautifully with chicken drumsticks too. Cook at 375°F (190°C) for 20-25 minutes, flipping halfway through. The skin gets wonderfully crispy, and the meat stays juicy.
Serving & Storage Suggestions
This chicken is a star on its own, but here’s how I like to serve it and keep it for later.
Serving: Serve the chicken hot, straight from the air fryer. The skin is at its crispiest right away. I love pairing it with something simple to soak up the juices—like creamy mashed potatoes, a crisp green salad with lemon vinaigrette, or roasted vegetables. A side of crusty bread is never a bad idea either, for wiping the plate clean.
Storage: Leftover chicken can be stored in an airtight container in the refrigerator for up to 4 days. The skin will soften a bit, but the flavor remains fantastic.
Reheating: The air fryer is your best friend for reheating. Pop the chicken back in at 350°F (175°C) for 4-5 minutes, or until heated through and the skin crisps back up. You can also reheat in a 350°F (175°C) oven for about 10 minutes. Avoid the microwave—it will make the skin rubbery and sad.
Freezing: You can freeze the cooked chicken for up to 3 months. Wrap each piece individually in plastic wrap, then place in a freezer bag. Thaw overnight in the refrigerator and reheat using the air fryer method above.
Nutritional Information & Benefits
Here’s an approximate breakdown per serving (one chicken thigh):
- Calories: 320
- Protein: 28g
- Fat: 22g
- Carbohydrates: 3g
- Fiber: 0g
- Sugar: 0g
Chicken thighs are a fantastic source of high-quality protein, which supports muscle health and keeps you feeling full and satisfied. Garlic and herbs like rosemary and thyme are packed with antioxidants and anti-inflammatory compounds. Olive oil provides healthy monounsaturated fats that are great for heart health. This dish is naturally low in carbs and free from gluten and dairy, making it suitable for a variety of dietary needs. It’s comfort food that actually nourishes you.
Conclusion
This Cozy Crispy Garlic Herb Air Fryer Chicken is proof that you don’t need hours in the kitchen or a long list of fancy ingredients to create something truly special. It’s the recipe that saved me from potluck panic and turned into a cozy weeknight staple. The crispy skin, the juicy meat, the aromatic garlic and herbs—it’s comfort in every bite. I love that it’s quick enough for a busy Tuesday but impressive enough for company. I’d love to hear how it turns out for you. Did you add your own twist? Serve it with something amazing? Leave a comment below and share your version—I read every single one. Until next time, happy cooking, and may your air fryer always deliver crispy perfection.
Frequently Asked Questions
Can I use boneless, skinless chicken thighs?
Absolutely. Boneless, skinless thighs will cook faster (about 10-12 minutes total at 375°F) and won’t get the same crispy skin, but they’ll still be incredibly juicy and flavorful. Just reduce the cooking time and check for doneness at 165°F.
Can I make this recipe in the oven instead of an air fryer?
Yes! Preheat your oven to 425°F (220°C). Place the seasoned chicken thighs on a wire rack set over a baking sheet (for better air circulation). Bake for 35-40 minutes, or until the skin is golden and crispy and the internal temperature reaches 165°F. The skin won’t be quite as shatteringly crisp as the air fryer, but it’s still delicious.
Can I use dried herbs instead of fresh?
You can, but the flavor won’t be quite as vibrant. Use about one-third of the amount called for fresh (e.g., 1 teaspoon dried rosemary instead of 1 tablespoon fresh). Dried herbs work best when they’re added early in the cooking process so they have time to rehydrate and release their flavor.
How do I keep the skin from getting soggy?
The two biggest culprits are moisture and overcrowding. Always pat the chicken dry with paper towels before seasoning. Make sure the pieces aren’t touching in the air fryer basket. And don’t skip the preheating step—starting in a hot environment helps the skin crisp immediately.
Can I prepare this chicken ahead of time?
Yes! You can season the chicken up to 24 hours in advance and keep it covered in the refrigerator. This actually helps the flavor penetrate deeper. When you’re ready to cook, just let it sit at room temperature for 15 minutes while the air fryer preheats, then cook as directed.
Pin This Recipe!
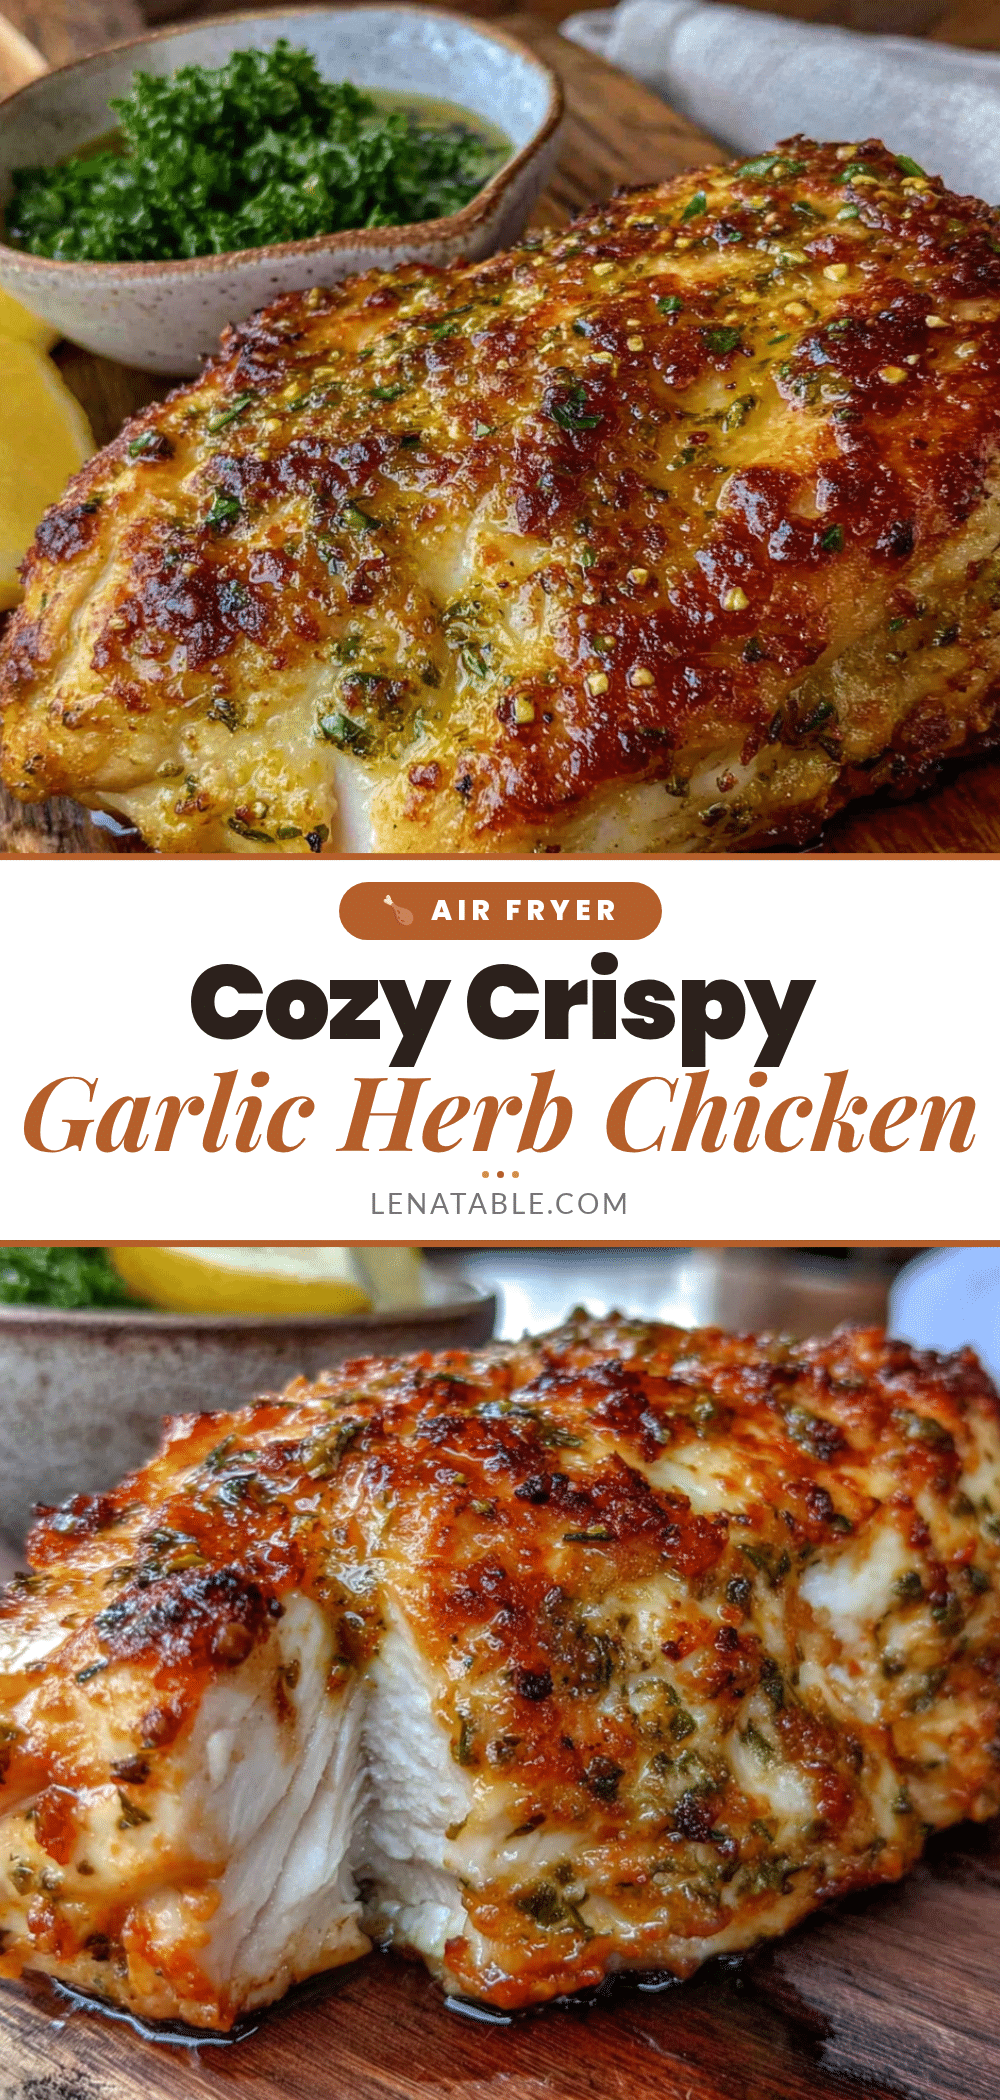
Cozy Crispy Garlic Herb Air Fryer Chicken

A quick and easy air fryer chicken recipe with crispy skin and juicy meat, infused with a garlic-herb paste. Perfect for busy weeknights or last-minute gatherings.
- Prep Time: 15 minutes
- Cook Time: 22-24 minutes
- Total Time: 37-39 minutes
- Yield: 4 servings 1x
- Category: Main Course
- Cuisine: American
Ingredients
- 4 bone-in, skin-on chicken thighs (about 1.5 lbs / 680g)
- 4 cloves garlic, minced
- 2 tablespoons fresh parsley, finely chopped
- 1 tablespoon fresh rosemary, finely chopped
- 1 teaspoon fresh thyme leaves
- 2 tablespoons olive oil
- 1 teaspoon kosher salt
- ½ teaspoon black pepper, freshly ground
- 1 teaspoon paprika (optional)
- Zest of ½ lemon
Instructions
- Pat the chicken thighs dry with paper towels.
- In a medium bowl, combine minced garlic, parsley, rosemary, thyme, olive oil, salt, pepper, paprika (if using), and lemon zest to form a paste.
- Gently loosen the skin of each chicken thigh and stuff about 1 teaspoon of the garlic-herb paste under the skin. Rub the remaining paste all over the outside of the chicken.
- Preheat the air fryer to 375°F (190°C) for 3 minutes.
- Place the chicken thighs in the air fryer basket in a single layer, skin-side down, without overcrowding.
- Air fry at 375°F (190°C) for 12 minutes.
- Flip the chicken thighs skin-side up and air fry for another 10-12 minutes, until the internal temperature reaches 165°F (74°C) and the skin is golden and crispy.
- Let the chicken rest for 5 minutes before serving.
Notes
For extra crispy skin, pat the chicken dry thoroughly and avoid overcrowding the air fryer basket. Use a meat thermometer to ensure perfect doneness. Let the chicken rest before serving to retain juices.
Nutrition
- Serving Size: 1 chicken thigh
- Calories: 320
- Sodium: 600
- Fat: 22
- Saturated Fat: 6
- Carbohydrates: 3
- Protein: 28
Keywords: air fryer chicken, crispy chicken, garlic herb chicken, easy chicken recipe, weeknight dinner, comfort food