Love this? Save it for later!
Share the inspiration with your friends
Introduction
“I swear, I never planned to become the go-to dessert person for every family party,” I laughed to my friend last spring, while carefully melting dark chocolate on a Wednesday evening. That night, I was prepping for my niece’s graduation celebration, and honestly, I was scrambling. I wanted something festive but simple—no complicated baking disasters this time. The idea hit me while I was tidying up the kitchen: why not create a chocolate treat that looks like graduation caps? It was inspired by watching her toss her cap in the air during rehearsal—such a joyful, fleeting moment I wanted to capture in a sweet bite.
What started as a last-minute experiment became the hit of the party. I remember getting interrupted by my dog mid-spread, smudging some chocolate onto the counter, but somehow that little imperfection made it feel homey and real. Maybe you’ve been there—trying to get everything just right but life having its own plans. This recipe for Perfect Graduation Cap Dark Chocolate Bark has stuck with me since, not just because it’s delicious but because it’s tied to that memory of celebration, laughter, and yes, a bit of chocolatey chaos.
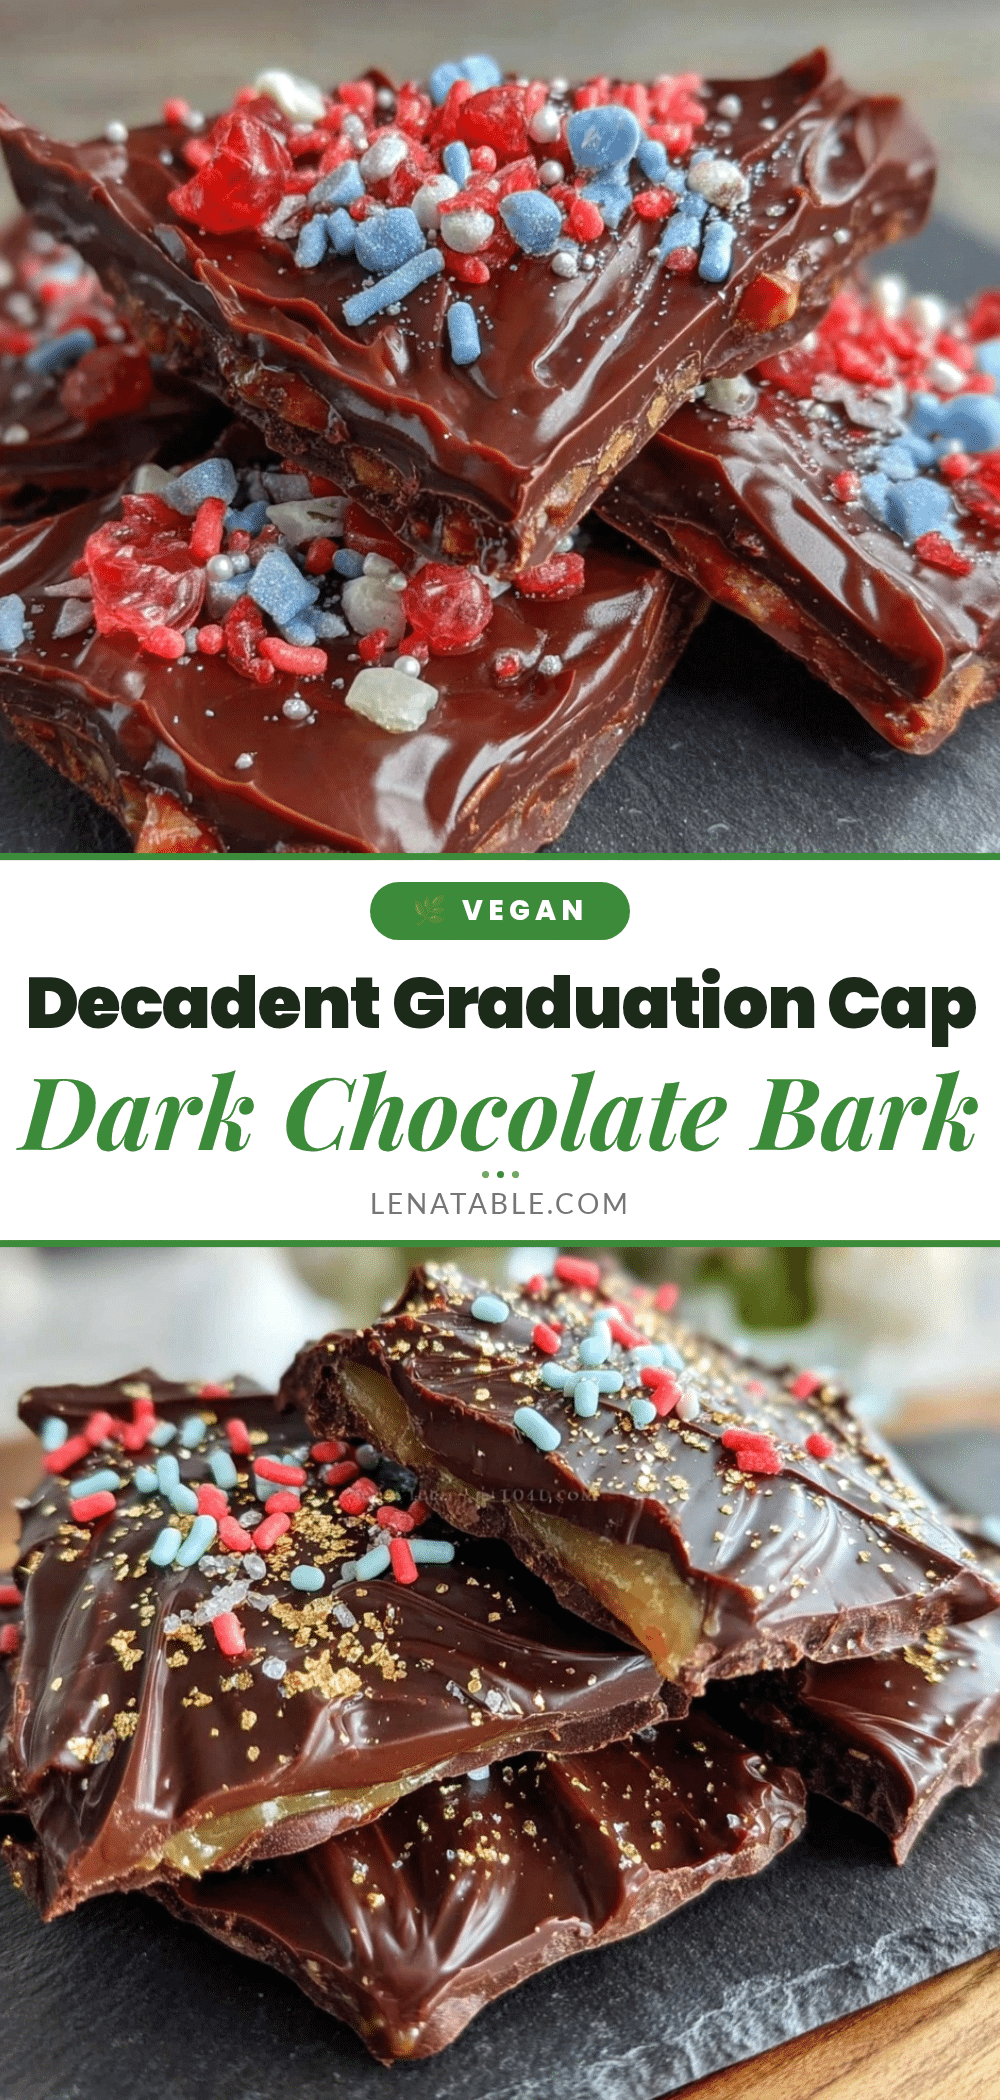
Let me tell you, this isn’t just any chocolate bark. It’s a simple yet stunning treat that brings the spirit of graduation right to your dessert table, perfect for celebrating milestones with friends and family. Whether you’re making it for a big party or just a cozy gathering, this recipe has that special touch that makes you smile with every bite.
Why You’ll Love This Recipe
After countless trials and friendly taste tests, I can say this Perfect Graduation Cap Dark Chocolate Bark recipe ticks all the boxes for an easy, crowd-pleasing celebration treat. Here’s why it might become your new party favorite:
- Quick & Easy: Comes together in under 30 minutes, perfect for last-minute party prep or unexpected guests.
- Simple Ingredients: No fancy or hard-to-find items—just quality dark chocolate, a few toppings, and edible decorations you can grab at your local store.
- Perfect for Celebrations: Whether it’s graduation, a milestone birthday, or any festive occasion, the graduation cap design adds a personalized, fun touch.
- Crowd-Pleaser: The bittersweet dark chocolate pairs beautifully with the crunchy texture, making it a favorite among kids and adults alike.
- Unbelievably Delicious: The texture is satisfyingly crisp with a hint of smooth creaminess from the chocolate that melts in your mouth.
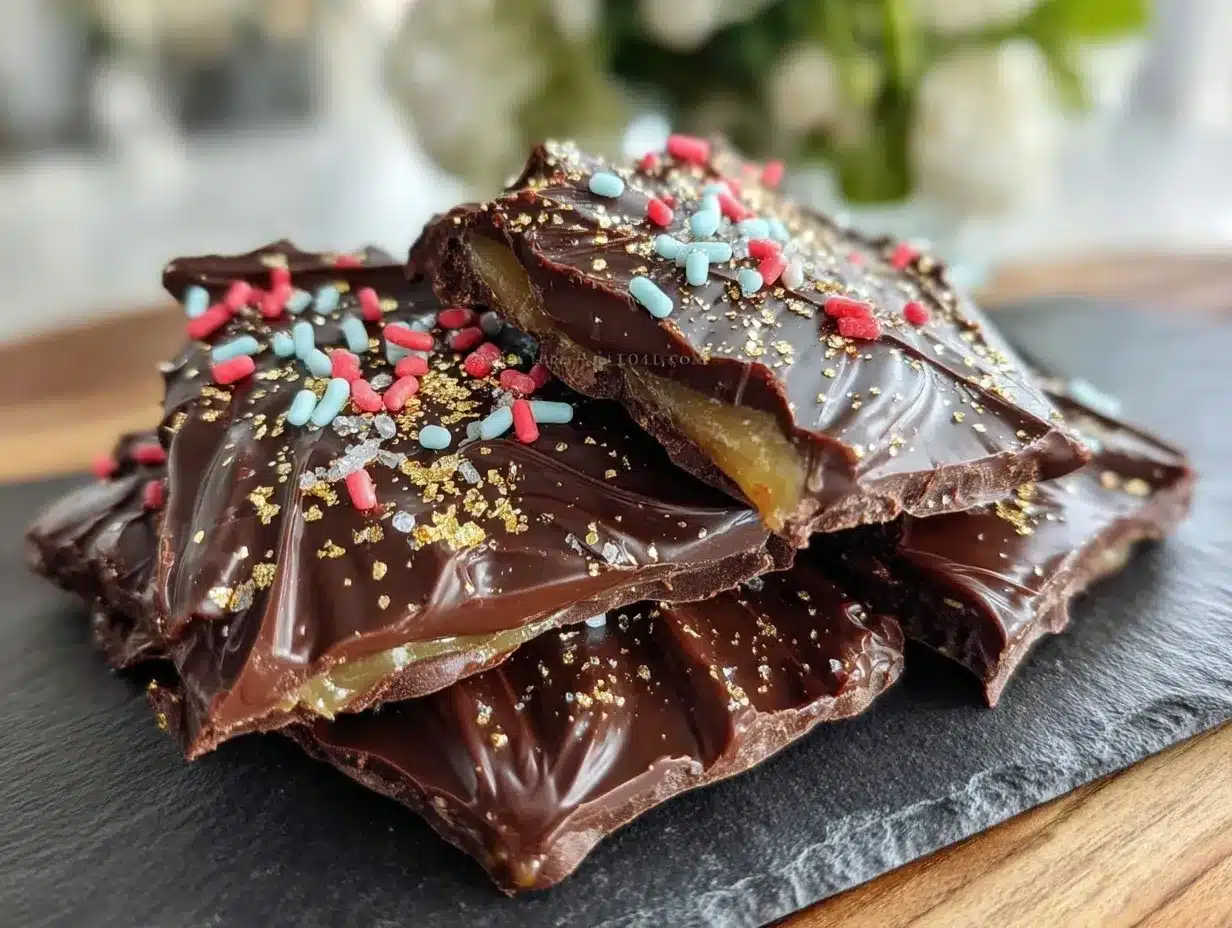
What sets this recipe apart? It’s the little details—the way I carefully lay out the chocolate to create perfect squares, topped with just the right edible gold dust or sprinkles to mimic the tassels on a cap. There’s a special technique for tempering the chocolate that gives the bark a glossy sheen and snap, so it feels fancy without the fuss. Honestly, it’s the kind of treat that makes you close your eyes after the first bite and think, “This is celebration on a plate.”
If you’re looking for a way to make your graduation party or any special occasion stand out, this recipe is a winner. Plus, it’s pretty fun to make—like crafting tiny edible memories.
What Ingredients You Will Need
This recipe uses straightforward, wholesome ingredients to deliver bold flavor and satisfying texture without the fuss. Most are pantry staples or easy to find at your local market. Here’s what you’ll need:
- Dark Chocolate: 12 oz (340g) of high-quality dark chocolate chips or bars (I recommend Ghirardelli 60% cacao for a perfect balance of bitterness and sweetness).
- White Chocolate: 2 oz (56g) for piping the details (optional, but adds a nice contrast for the tassels and outlines).
- Edible Gold Dust or Sprinkles: For the tassel and cap decoration (Wilton brand works well and is easy to find).
- Mini Pretzel Sticks or Black Licorice Pieces: About 12 small pieces to create the graduation cap’s mortarboard peak (optional but adds fun texture).
- Sea Salt Flakes: A pinch to sprinkle over the bark for a subtle flavor boost (balances the dark chocolate).
- Non-Stick Parchment Paper: For lining your baking sheet and easy removal of the bark.
Substitution tips: If you need a dairy-free option, swap regular dark chocolate with a vegan-certified brand like Enjoy Life. For gluten-sensitive guests, avoid licorice and use pretzels labeled gluten-free or skip entirely.
Equipment Needed
- Baking Sheet: A standard 9×13-inch (23×33 cm) sheet works perfectly. I like using aluminum pans for even heat distribution.
- Microwave-Safe Bowl or Double Boiler: For melting the chocolate gently without burning. I prefer a double boiler to keep control but a microwave with short bursts is fine.
- Spatula: A silicone spatula helps spread the melted chocolate evenly and scrape every bit from the bowl.
- Piping Bag or Small Zip-Top Bag: For piping the white chocolate details. You can snip a tiny corner for precise lines.
- Measuring Cups and Spoons: For accurate ingredient amounts to get consistent results.
- Cooling Rack (optional): Useful if you want to let the bark cool evenly off the sheet.
If you don’t have a double boiler, simply place a heatproof bowl over a pan of simmering water. I once used a metal bowl resting on a pot that was just slightly too small—ended up with steam everywhere, but no chocolate burned! Just a heads-up: patience is key when melting chocolate. Rushing it can cause clumps or scorching.
Preparation Method
- Prepare Your Work Area: Line a 9×13-inch (23×33 cm) baking sheet with non-stick parchment paper. This step is crucial for easy removal later. Set aside.
- Melt the Dark Chocolate: Chop the chocolate if using bars. Place 12 oz (340g) into a microwave-safe bowl or double boiler. Heat in 20-second intervals, stirring gently after each, until smooth and fully melted. This should take about 5 minutes total. Tip: Avoid getting water into the chocolate—it seizes up fast.
- Spread the Chocolate: Pour the melted dark chocolate onto the lined baking sheet. Use a spatula to spread it evenly into a roughly 10×12-inch (25×30 cm) rectangle, about 1/4 inch (6 mm) thick. Don’t worry about perfect edges—rustic is charming here.
- Shape the Caps: While the chocolate is still soft but starting to firm (about 5 minutes), use the back of a knife or a ruler edge to gently score the chocolate into squares about 2×2 inches (5×5 cm). This will help break them neatly later.
- Add the Mortarboard Peaks: Arrange the mini pretzel sticks or licorice pieces diagonally on each square’s corner to mimic the graduation cap’s peak. Press lightly so they stick but don’t sink too deep.
- Melt the White Chocolate: In a separate bowl, melt 2 oz (56g) of white chocolate using the same method. Transfer to a piping bag or zip-top bag with a tiny corner cut off.
- Pipe the Tassels and Details: Pipe thin lines of white chocolate along the edges of each square to highlight the cap shape. Then add a small tassel line on one corner of each cap. Before the white chocolate sets, sprinkle a pinch of edible gold dust or sprinkles over the tassels for that festive shimmer.
- Finish with Sea Salt: Lightly sprinkle sea salt flakes over the entire bark to balance the sweetness and add a little crunch.
- Let It Set: Allow the bark to cool completely at room temperature or pop it into the fridge for 20 minutes until firm.
- Break & Serve: Gently break along the scored lines into individual graduation cap pieces. Arrange on a platter and watch them disappear fast!
If you notice the chocolate isn’t setting well, it might be due to humidity or temperature. A quick chill in the fridge usually fixes that. Also, don’t skip the scoring step—it keeps the bark looking neat and makes serving easier.
Cooking Tips & Techniques
Working with chocolate can be a little intimidating, but here are some pro tips I’ve learned:
- Temper the Chocolate: If you want that perfect glossy finish and snap, tempering is key. I temper by melting two-thirds of the chocolate, then stirring in the remaining third off-heat to cool it down. It’s a game changer, trust me.
- Keep Ingredients Dry: Water is chocolate’s enemy. Even a drop can cause it to seize into a grainy mess. Use dry utensils and bowls.
- Patience When Melting: Heat chocolate gently and stir often. Rushing can scorch it and ruin texture.
- Multitask While Bark Sets: Use the cooling time to prep your decorations or clean up. Saves time and keeps your kitchen calm.
- Adjust Thickness: If you want chunkier bark, spread thicker layers but be mindful it takes longer to set.
- Experiment With Toppings: Don’t hesitate to mix nuts, dried fruit, or even crushed candy canes for different textures and flavors.
One time, I forgot to score the bark before it set solid—big mistake! It broke into odd shapes and was tricky to serve. Lesson learned: scoring while soft is a must-have step for neat pieces.
Variations & Adaptations
This graduation cap chocolate bark recipe is flexible and easy to adapt to different tastes and dietary needs:
- White Chocolate Base: Swap the dark chocolate for white chocolate for a sweeter, creamier version. Use dark chocolate for piping instead.
- Nutty Crunch: Add chopped toasted almonds or pistachios on top before the chocolate sets for extra texture and flavor.
- Seasonal Twist: For spring or summer graduations, sprinkle edible flower petals or colorful candy pearls instead of gold dust for a fresh look.
- Vegan/Dairy-Free: Use dairy-free chocolate chips and skip the white chocolate or use a vegan alternative like coconut-based melts.
- Personalized Touch: Write small names or graduation years on each cap with edible markers or piped chocolate for a custom party favor.
I once made a batch with a mix of dark and chili-infused chocolate—spicy and sweet. It was a surprising hit for adult guests craving something different.
Serving & Storage Suggestions
Serve this chocolate bark at room temperature for the best texture—firm but not cold. Arrange on a decorative platter or in individual clear bags tied with ribbon for party favors.
This bark pairs wonderfully with a glass of sparkling wine or a rich cup of coffee, balancing its bittersweet notes.
Store leftovers in an airtight container at cool room temperature or in the refrigerator for up to two weeks. Avoid moisture buildup by placing parchment between layers.
To refresh chilled bark before serving, leave it at room temperature for 15 minutes to soften slightly—this brings out the chocolate’s full flavor and aroma.
Flavors tend to mellow and harmonize after a day, so making it a day ahead can actually improve the taste.
Nutritional Information & Benefits
Each serving of this dark chocolate bark (about 1 oz/28g) contains approximately:
| Calories | 150 |
|---|---|
| Fat | 10g (6g saturated) |
| Carbohydrates | 15g (12g sugars) |
| Protein | 2g |
| Fiber | 3g |
Dark chocolate is known for its antioxidants and potential heart health benefits when enjoyed in moderation. The sea salt adds a savory balance without adding extra calories.
This recipe is naturally gluten-free (just watch for licorice if used) and can be made dairy-free with suitable chocolate brands. It’s a sweet treat that fits nicely into a balanced diet when shared and savored thoughtfully.
Conclusion
This Perfect Graduation Cap Dark Chocolate Bark is more than just a pretty party treat—it’s a little celebration in every bite. Whether you’re marking a graduation or just want an easy, festive sweet, this recipe brings joy and a touch of elegance without the fuss.
I love how it turns simple ingredients into something memorable, and honestly, it’s become my signature for celebrations big and small. I hope you’ll try making it your own—maybe add your twist or share it with someone special. Let me know how your batch turns out or what fun decorations you add!
Don’t hesitate to leave a comment or share your photos—I love hearing how these recipes find a place in your home. Here’s to sweet celebrations and delicious memories!
FAQs
Can I use milk chocolate instead of dark chocolate?
Yes, you can substitute milk chocolate for a sweeter, creamier bark. Just keep in mind it will be less intense and may set a bit softer.
How long does the chocolate bark keep fresh?
Stored properly in an airtight container, it lasts about two weeks at room temperature or refrigerated.
Is it necessary to use edible gold dust for the tassels?
No, it’s optional. You can use colored sprinkles, edible glitter, or even skip decorations for a simpler look.
Can I make this bark ahead of time?
Absolutely! It actually tastes better after resting 24 hours, making it perfect for preparing before your party.
What’s the best way to break the bark into pieces?
Score the chocolate while it’s still soft to create break lines, then once fully set, gently snap along those lines for clean pieces.
Pin This Recipe!
Perfect Graduation Cap Dark Chocolate Bark
A simple yet stunning dark chocolate bark treat designed to look like graduation caps, perfect for celebrations and easy to make with minimal ingredients.
- Prep Time: 10 minutes
- Cook Time: 10 minutes
- Total Time: 30 minutes
- Yield: About 24 pieces 1x
- Category: Dessert
- Cuisine: American
Ingredients
- 12 oz (340g) high-quality dark chocolate chips or bars (e.g., Ghirardelli 60% cacao)
- 2 oz (56g) white chocolate for piping details (optional)
- Edible gold dust or sprinkles for tassel and cap decoration
- About 12 mini pretzel sticks or black licorice pieces for mortarboard peaks (optional)
- Pinch of sea salt flakes
- Non-stick parchment paper for lining baking sheet
Instructions
- Line a 9×13-inch (23×33 cm) baking sheet with non-stick parchment paper.
- Chop dark chocolate if using bars. Melt 12 oz (340g) dark chocolate in a microwave-safe bowl or double boiler in 20-second intervals, stirring until smooth (about 5 minutes). Avoid water contact.
- Pour melted dark chocolate onto the lined baking sheet and spread evenly into a roughly 10×12-inch (25×30 cm) rectangle about 1/4 inch (6 mm) thick.
- While chocolate is soft but starting to firm (about 5 minutes), gently score the chocolate into 2×2 inch (5×5 cm) squares using the back of a knife or ruler edge.
- Arrange mini pretzel sticks or licorice pieces diagonally on each square’s corner to mimic the graduation cap’s mortarboard peak, pressing lightly.
- Melt 2 oz (56g) white chocolate using the same method. Transfer to a piping bag or zip-top bag with a tiny corner cut off.
- Pipe thin lines of white chocolate along the edges of each square and add a small tassel line on one corner of each cap. Before white chocolate sets, sprinkle edible gold dust or sprinkles over tassels.
- Lightly sprinkle sea salt flakes over the entire bark.
- Allow bark to cool completely at room temperature or refrigerate for 20 minutes until firm.
- Break bark gently along scored lines into individual graduation cap pieces and serve.
Notes
Temper the chocolate for a glossy finish and snap. Avoid water contact to prevent seizing. Score the bark while soft for neat pieces. Use dairy-free and gluten-free alternatives as needed. Bark sets better when chilled if humidity is high.
Nutrition
- Serving Size: 1 oz (28g) piece
- Calories: 150
- Sugar: 12
- Fat: 10
- Saturated Fat: 6
- Carbohydrates: 15
- Fiber: 3
- Protein: 2
Keywords: dark chocolate bark, graduation cap chocolate, party treats, easy chocolate bark, festive desserts, chocolate bark recipe


