Love this? Save it for later!
Share the inspiration with your friends
“You won’t believe what I found in the back of my fridge,” my friend Jenna laughed one late Saturday night as she pulled out a tangled bunch of garlic scapes. Honestly, I hadn’t given those curly green stalks much thought before—just another garden oddity. But that night, with a sudden craving for something tangy and fresh, she decided to throw together what she called “quick pickled garlic scapes with fresh dill.”
The kitchen lights were dim, the clock was ticking past midnight, and instead of the usual snacks, this unexpected little pickled treat stole the show. I remember thinking, “Why had I never tried pickling garlic scapes before?” They had this crisp snap with a punch of garlic that was somehow mellowed by the bright dill and subtle vinegar bite. It wasn’t fancy, no complicated steps, just a few ingredients and a bit of patience. Maybe you’ve been there too—staring into the fridge, hoping to whip up something tasty but simple?
That night’s experiment stuck with me. Since then, I’ve made this easy quick pickled garlic scapes recipe countless times—perfect for when you want a fast, flavorful snack or a zesty addition to salads and sandwiches. It’s a little tangy, a little garlicky, and honestly, a little addicting. So let me tell you why this recipe continues to be a kitchen favorite and why you might just want to keep a jar or two handy yourself.
Why You’ll Love This Recipe
This easy quick pickled garlic scapes recipe is genuinely a game-changer for anyone who enjoys fresh, homemade pickles without the fuss. From my many trials in the kitchen, here’s what makes it stand out:
- Quick & Easy: Ready in under 30 minutes, this recipe skips the long wait typical of traditional pickling, making it perfect for busy weeknights or spontaneous cravings.
- Simple Ingredients: All you need are fresh garlic scapes, vinegar, dill, and a few pantry staples—no fancy shopping required.
- Perfect for Snacking & More: Whether you’re adding a tangy crunch to your sandwich or jazzing up a cheese board, these pickles bring brightness to any occasion.
- Crowd-Pleaser: The fresh dill and garlic combo impresses even those who usually shy away from strong flavors.
- Unbelievably Delicious: The snap of the scapes paired with the sharpness of the vinegar and the herbaceous dill makes each bite a little celebration.
This isn’t just a quick pickle—it’s my go-to when I want a fresh, homemade touch that feels gourmet but takes almost no time. Plus, the balance of flavors here is just right; not too sour, not too bland. Honestly, if you’re new to pickling or just looking for a fresh way to use garlic scapes, this recipe will make you rethink what pickles can be.
What Ingredients You Will Need
This recipe uses simple, wholesome ingredients that come together to deliver bold flavor and satisfying crunch without any fuss. Most ingredients are pantry staples, and the garlic scapes are usually seasonal but easy to find at farmer’s markets or well-stocked grocery stores during spring and early summer.
- Fresh garlic scapes: about 1 pound (450 g), trimmed and cut into 2-inch pieces (choose firm, bright green stalks for the best crunch)
- Fresh dill: 3 to 4 sprigs (adds an herby brightness that pairs beautifully with the garlic)
- White vinegar: 1 cup (240 ml) (I prefer Heinz for a clean, sharp acidity)
- Water: 1 cup (240 ml) (helps balance the vinegar’s intensity)
- Granulated sugar: 1 tablespoon (12 g) (just enough to round out the tartness)
- Salt: 1 tablespoon (17 g) kosher or pickling salt (avoid iodized salt to keep the flavor pure)
- Garlic cloves: 2, peeled and smashed (optional, but adds a deeper garlic punch)
- Black peppercorns: 1 teaspoon (optional, for a subtle spice note)
If you want a gluten-free option, you’re good to go as is. For a slightly different twist, you can swap white vinegar with apple cider vinegar for a fruitier tang. Just keep in mind it will alter the flavor profile a bit.
Equipment Needed
- Glass jar with lid: A quart-sized (950 ml) jar works perfectly for this batch. Mason jars are ideal because they seal well and are easy to clean.
- Small saucepan: For heating the pickling liquid. A heavy-bottomed pan helps prevent scorching.
- Cutting board and sharp knife: For trimming and slicing the garlic scapes evenly.
- Tongs or fork: To pack the scapes into the jar without bruising them.
- Measuring cups and spoons: For precise ingredient amounts.
If you don’t have a mason jar, any clean, heatproof jar with a tight lid will do. I once made a batch in a repurposed pasta sauce jar—worked just fine! Just be sure to sterilize it by boiling in water for a few minutes before use.
Preparation Method
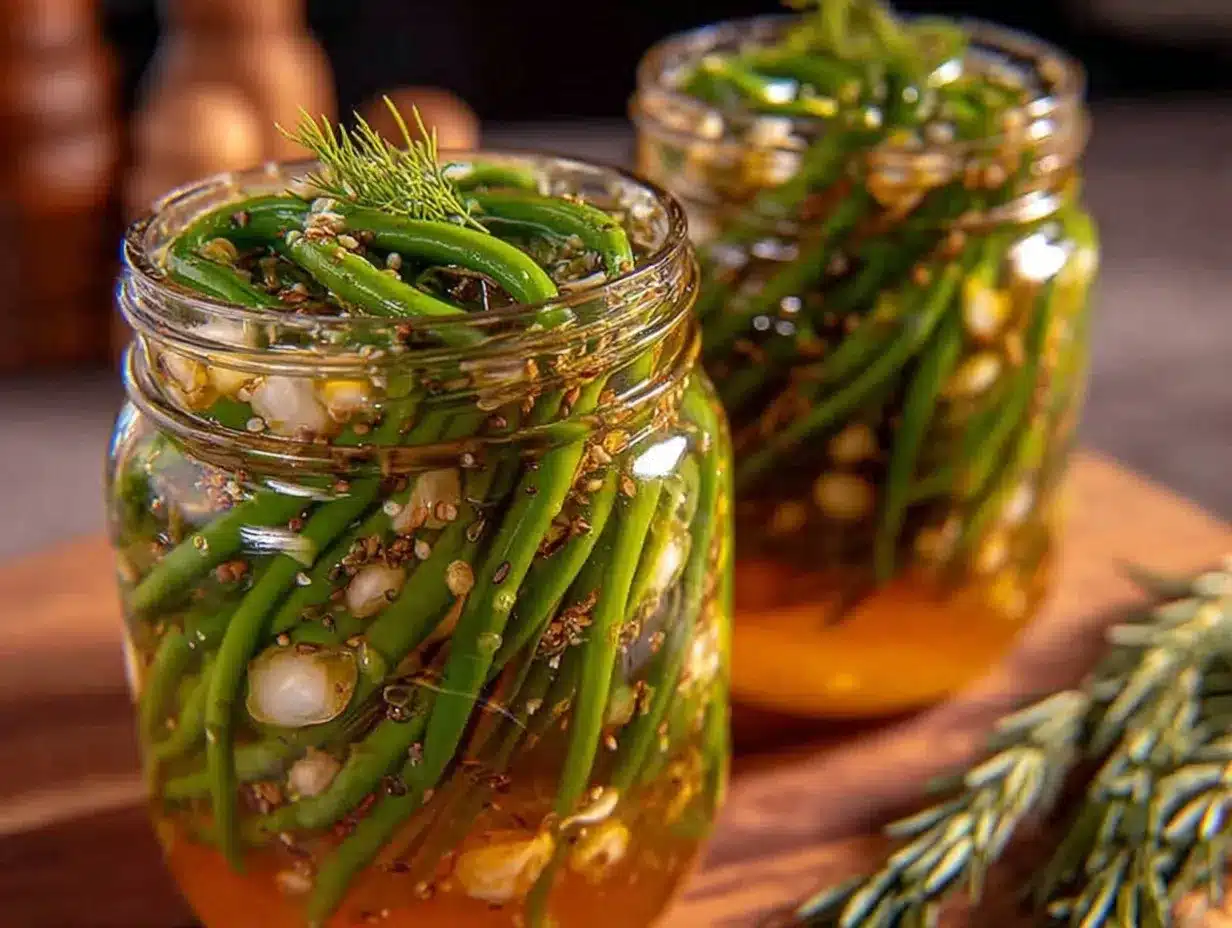
- Prepare the garlic scapes: Rinse 1 pound (450 g) of fresh garlic scapes under cold water, pat dry, then trim off the tough ends. Cut into 2-inch pieces for easy packing and bite-sized pickles. This should take about 5 minutes.
- Pack the jar: Place the fresh dill sprigs (3-4) and 2 smashed garlic cloves into the bottom of your clean quart-sized jar. Add 1 teaspoon black peppercorns if using. Pack the cut scapes tightly but without crushing them. This step sets the flavor foundation and should take around 3 minutes.
- Make the pickling liquid: In a small saucepan, combine 1 cup (240 ml) white vinegar, 1 cup (240 ml) water, 1 tablespoon (12 g) sugar, and 1 tablespoon (17 g) kosher salt. Bring to a boil over medium heat, stirring until the sugar and salt dissolve completely. This usually takes about 5 minutes.
- Pour the hot brine: Carefully pour the hot pickling liquid over the packed scapes in the jar, covering them completely. Leave about 1/2 inch (1.2 cm) of headspace at the top. You might see some bubbling—that’s normal!
- Seal and cool: Screw on the lid tightly and let the jar cool to room temperature on the counter. Once cooled, transfer it to the refrigerator.
- Wait and enjoy: Although these are “quick pickles,” they taste best after resting at least 24 hours. The flavors meld and the scapes soften slightly while keeping their crispness. They’ll keep well refrigerated for up to 2 weeks.
Pro tip: If the scapes float, gently press them down with a clean utensil to ensure they’re submerged in the brine. Also, I learned the hard way that using too much sugar made the pickles overly sweet, so stick to the measurements here for perfect balance.
Cooking Tips & Techniques
Pickling garlic scapes is straightforward, but a few tips can make your jars turn out just right every time. First, always use fresh, firm garlic scapes. Old or limp ones won’t have that satisfying snap.
When boiling your brine, stir constantly to dissolve the salt and sugar completely. I’ve found that heating the brine also slightly softens the scapes once poured, so don’t skip this step—it helps with texture.
Don’t worry about sterilizing jars for quick pickles stored in the fridge, but make sure the jar is clean and dry to avoid off flavors. A quick soak in hot soapy water and thorough rinse does the trick.
Also, keep an eye on the salt – kosher salt is best because it dissolves well and imparts cleaner flavor than table salt. If you accidentally use iodized salt, the pickles can taste metallic or cloudy.
Lastly, timing matters. While you can snack on these pickles after a few hours, I recommend waiting at least a full day so the flavors marry nicely. Plus, it’s worth the patience, trust me.
Variations & Adaptations
This easy quick pickled garlic scapes recipe is super adaptable. Here are a few ways to make it your own:
- Spicy kick: Add a few red pepper flakes or a sliced fresh chili to the jar for heat.
- Herb swap: If you don’t have fresh dill, try fresh tarragon or thyme for a different herbal twist.
- Low-sodium version: Reduce the salt to 1/2 tablespoon, but be aware this can affect preservation and flavor depth.
- Alternative vinegars: Use apple cider vinegar or rice vinegar for milder acidity and unique flavors.
- Fermented style: Skip the vinegar and do a natural fermentation with salt and water for a tangier, probiotic-rich pickle—just plan ahead, it takes longer!
One time, I tried adding lemon zest which gave the pickles a bright citrus note that was surprisingly refreshing. Feel free to experiment; quick pickles are incredibly forgiving.
Serving & Storage Suggestions
Serve these pickled garlic scapes chilled or at room temperature. They’re fantastic as a crunchy snack right out of the jar or chopped and sprinkled over salads and grain bowls for a pop of flavor.
They also make a fantastic accompaniment to roasted meats or grilled vegetables. Honestly, they bring a lovely contrast to rich, fatty foods with their sharp, herby tang.
Store leftovers in the refrigerator where they’ll stay fresh for up to two weeks. Always use a clean utensil to remove pickles to prevent contamination.
If you want to enjoy them warm, briefly sauté chopped pickled scapes in olive oil—they add a lovely tang to pasta or scrambled eggs.
Over time, the pickles’ flavor deepens and softens, so if you prefer crispier bites, eat them within a few days.
Nutritional Information & Benefits
Per serving (about 2 tablespoons): approximately 15 calories, 0 grams fat, 3 grams carbohydrates, 1 gram sugar, and 200 mg sodium.
Garlic scapes offer dietary fiber, vitamin C, and antioxidants, supporting immune health and digestion. The vinegar provides acetic acid, which some studies suggest may help regulate blood sugar and support weight management.
This recipe is naturally gluten-free, vegan, and low in calories—perfect for those watching their diet while craving bold flavors. Just keep an eye on the sodium if you’re salt-sensitive.
Conclusion
If you’re looking for an easy, flavorful, and quick way to enjoy garlic scapes, this pickled garlic scapes with fresh dill recipe is exactly what you need. It’s simple to make, packed with vibrant flavors, and perfect for beginners who want to try pickling without the hassle.
I love this recipe because it feels like a little kitchen victory every time I open a jar—the crunch, the tang, the fresh dill all come together perfectly. Honestly, it’s one of those recipes I keep coming back to, whether for a quick snack or to brighten up a meal.
Give it a go, and don’t be shy about making it your own. I’d love to hear how your pickled garlic scapes turn out, so drop a comment or share your twists below. Happy pickling!
FAQs About Easy Quick Pickled Garlic Scapes
Can I use frozen garlic scapes for pickling?
It’s best to use fresh garlic scapes for pickling to maintain that crisp texture. Frozen ones tend to be too soft and won’t give the same crunch.
How long do quick pickled garlic scapes last in the fridge?
They stay good for up to two weeks when stored properly in an airtight jar in the refrigerator.
Do I need to sterilize jars for quick pickling?
For refrigerator pickles, thorough cleaning and drying of jars is enough. Sterilizing is more important for long-term shelf storage.
Can I omit the sugar in this recipe?
Yes, you can skip the sugar if you prefer, but it helps balance the vinegar’s acidity and rounds out the flavor.
What else can I pickle using this quick method?
This brine works well for cucumbers, green beans, radishes, and even carrots—great for quick pickles with lots of crunch and flavor.
Pin This Recipe!
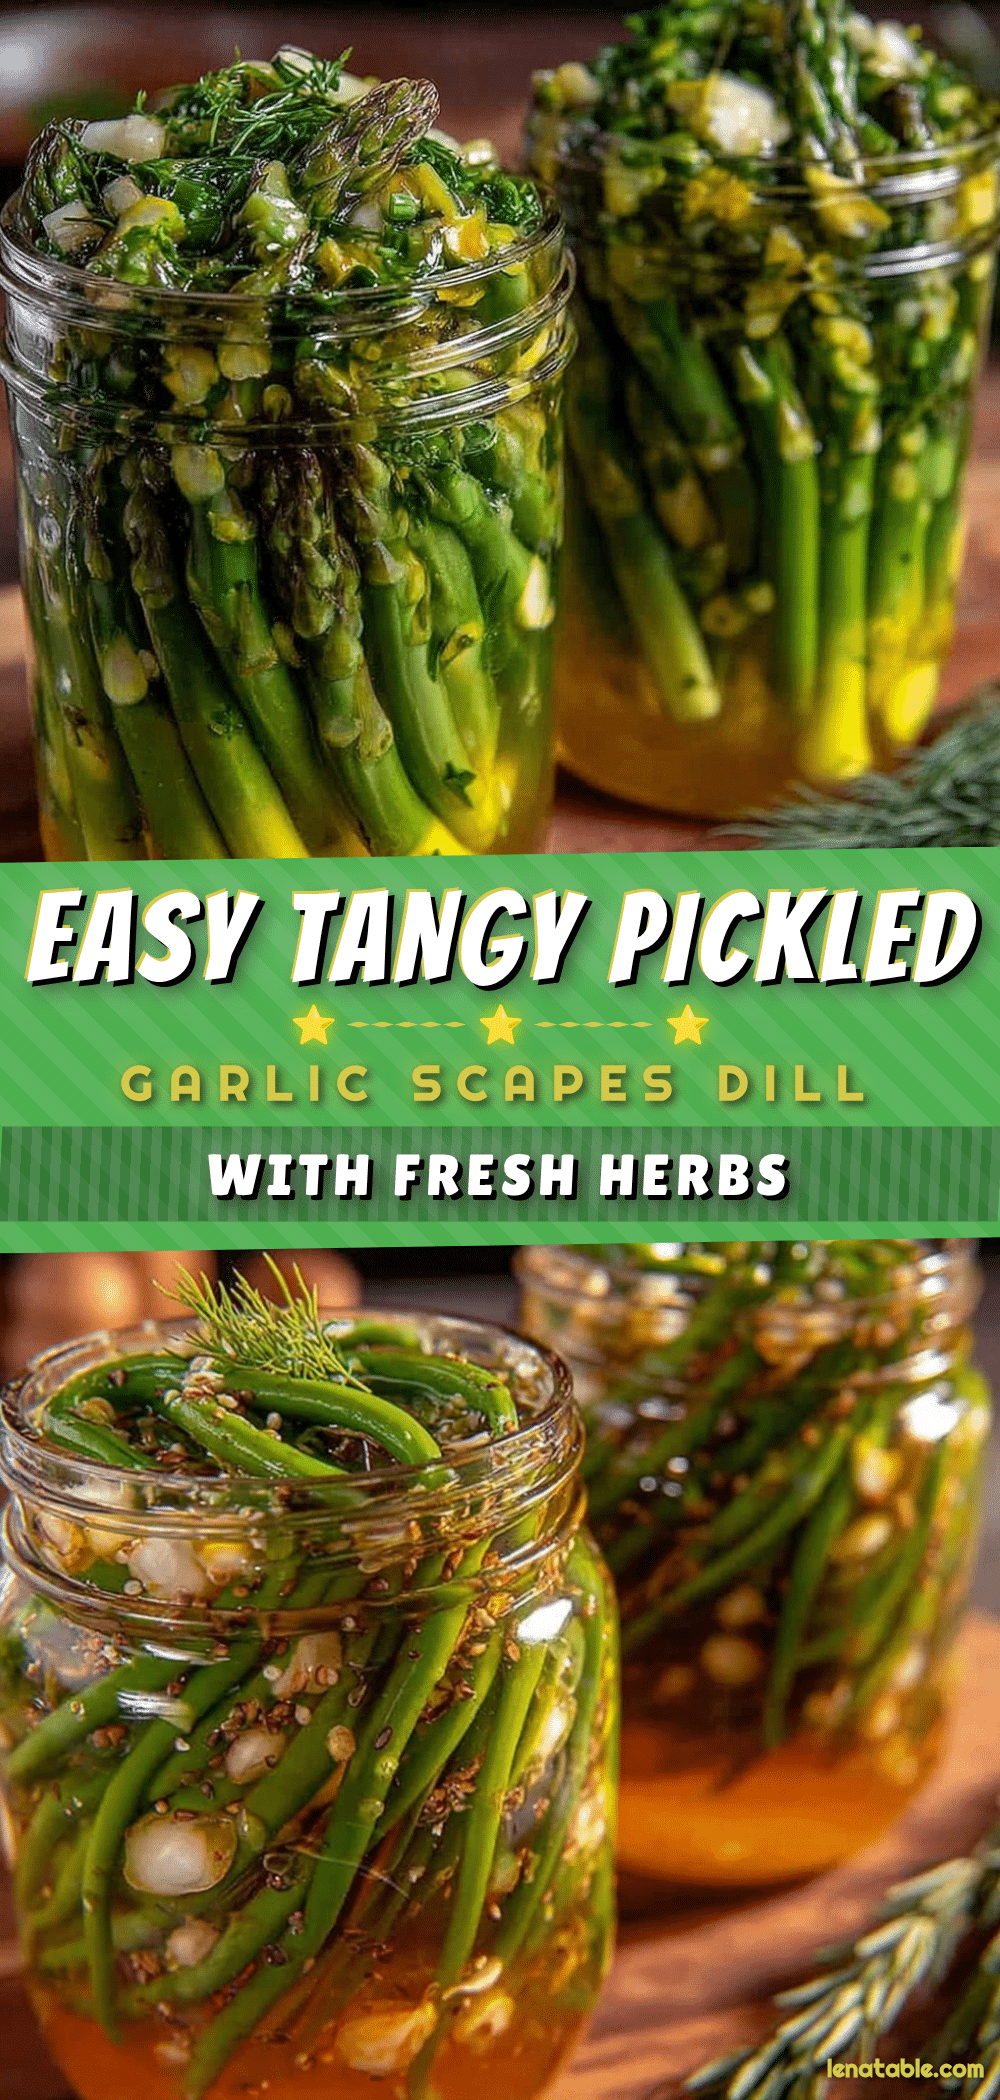
Easy Quick Pickled Garlic Scapes with Fresh Dill
A quick and easy recipe for pickled garlic scapes with fresh dill, perfect for beginners and ready in under 30 minutes. These pickles offer a tangy, garlicky crunch ideal for snacking or adding to salads and sandwiches.
- Prep Time: 10 minutes
- Cook Time: 5 minutes
- Total Time: 30 minutes
- Yield: 4 servings 1x
- Category: Snack
- Cuisine: American
Ingredients
- 1 pound fresh garlic scapes, trimmed and cut into 2-inch pieces
- 3 to 4 sprigs fresh dill
- 1 cup white vinegar (240 ml)
- 1 cup water (240 ml)
- 1 tablespoon granulated sugar (12 g)
- 1 tablespoon kosher salt (17 g)
- 2 garlic cloves, peeled and smashed (optional)
- 1 teaspoon black peppercorns (optional)
Instructions
- Rinse 1 pound of fresh garlic scapes under cold water, pat dry, trim off the tough ends, and cut into 2-inch pieces.
- Place 3 to 4 sprigs of fresh dill and 2 smashed garlic cloves into the bottom of a clean quart-sized jar. Add 1 teaspoon black peppercorns if using. Pack the cut scapes tightly but without crushing them.
- In a small saucepan, combine 1 cup white vinegar, 1 cup water, 1 tablespoon sugar, and 1 tablespoon kosher salt. Bring to a boil over medium heat, stirring until sugar and salt dissolve completely.
- Carefully pour the hot pickling liquid over the packed scapes in the jar, covering them completely and leaving about 1/2 inch of headspace.
- Screw on the lid tightly and let the jar cool to room temperature on the counter. Once cooled, transfer to the refrigerator.
- Wait at least 24 hours before eating to allow flavors to meld. Store refrigerated for up to 2 weeks.
Notes
Use fresh, firm garlic scapes for best crunch. Avoid iodized salt to prevent off flavors. Wait at least 24 hours before eating for best flavor. Store refrigerated and consume within 2 weeks. Optional additions include red pepper flakes for heat or alternative herbs like tarragon or thyme.
Nutrition
- Serving Size: About 2 tablespoons
- Calories: 15
- Sugar: 1
- Sodium: 200
- Carbohydrates: 3
Keywords: pickled garlic scapes, quick pickles, fresh dill, easy pickling, garlic scapes recipe, refrigerator pickles, tangy snack


