Love this? Save it for later!
Share the inspiration with your friends
I was standing in the grocery store aisle last October, staring at a jar of olives, when the smell of vinegar hit me—and suddenly I was seven years old at my Aunt Carol’s speckled Formica kitchen table. She was showing me how to slice an olive just right so it looked like a tiny black spider body, her knuckles swollen with arthritis but her fingers steady as a surgeon’s. I remember the way the afternoon light came through her yellow curtains, turning everything golden, and how she laughed when I accidentally dropped a olive slice on the floor and the dog gobbled it up before we could blink. She passed away three years ago, and I haven’t thought about those spider deviled eggs in decades. But there I was, crying in the olive aisle, and I knew I had to make them for my own kids.
Listen, I’m not the mom who throws Pinterest-perfect Halloween parties. Honestly, most years I forget to buy candy until the doorbell rings. But these spider deviled eggs? They’re the one thing I actually get excited about making every October. They’re silly, they’re spooky in a completely non-scary way, and my kids fight over who gets to place the olive spiders on top. I mean, how often does a snack cause that much joy?
Maybe you’ve been there—wanting to do something fun for Halloween but dreading complicated recipes that require specialty ingredients and three hours of your life. These spider deviled eggs are the opposite of that. They’re simple, they’re affordable, and they’re the kind of thing that makes kids light up without making you want to pull your hair out. So let me show you how to make them. I think Aunt Carol would be pretty happy knowing her silly little recipe is still making kids smile.
Why You’ll Love This Recipe
Let me tell you why these spider deviled eggs have become my go-to Halloween recipe year after year. First, they come together in under 30 minutes—seriously, from hard-boiled eggs to finished spiders, you’re looking at about half an hour of active time. For busy weeknights when you’re already juggling homework and costumes, that’s a win.
Here’s what makes this recipe stand out:
- Quick & Easy: You only need basic ingredients you probably already have in your fridge and pantry. No special trips to fancy grocery stores.
- Simple Ingredients: Eggs, mayonnaise, mustard, olives, and a few pantry staples. That’s it. Your wallet will thank you.
- Perfect for Halloween Parties: Whether it’s a school party, a family gathering, or just a fun dinner before trick-or-treating, these fit right in.
- Crowd-Pleaser: Kids think they’re hilarious, and adults appreciate that they’re actually delicious—not just cute.
- Budget-Friendly: A dozen eggs costs what, a couple bucks? This is Halloween snacking that won’t break the bank.
What makes this recipe different from every other deviled egg recipe out there? It’s the olive spiders. I know that sounds silly, but there’s something about turning a classic appetizer into a playful creature that makes everyone smile. Plus, I’ve tested this filling ratio about a dozen times to get that perfect creamy-not-runny texture that holds up well on a buffet table. No one wants sad, watery deviled eggs at their Halloween party.
This is the kind of recipe that makes you feel like a rockstar parent without actually doing much work. You can make them ahead of time, they travel well, and they always get photographed before anyone eats them. Honestly, that’s the mark of a great party food right there.
What Ingredients You Will Need
This recipe uses simple, everyday ingredients to create something that looks way more impressive than it actually is. The beauty of spider deviled eggs is that the ingredient list is short and sweet—most of it is probably in your kitchen right now.
For the Deviled Eggs
- 12 large eggs — Use the freshest eggs you can find for easiest peeling. If your eggs are older, they’ll peel even easier (fun fact: older eggs have a higher pH, which makes the shell separate from the white more easily).
- 1/3 cup mayonnaise — I prefer Hellmann’s or Duke’s for that tangy flavor, but any full-fat mayo works. Don’t use Miracle Whip unless you want a sweeter filling.
- 1 tablespoon yellow mustard — This gives the classic deviled egg color and tang. You can substitute Dijon if you want a more sophisticated flavor.
- 1 teaspoon white vinegar — Adds brightness and cuts through the richness. Apple cider vinegar works too.
- 1/4 teaspoon salt — Fine sea salt dissolves better than kosher salt here.
- 1/8 teaspoon black pepper — Freshly ground is nice, but pre-ground works fine.
- 1/4 teaspoon paprika — For garnish and a tiny bit of smoky flavor. Smoked paprika is amazing here.
For the Spider Decorations
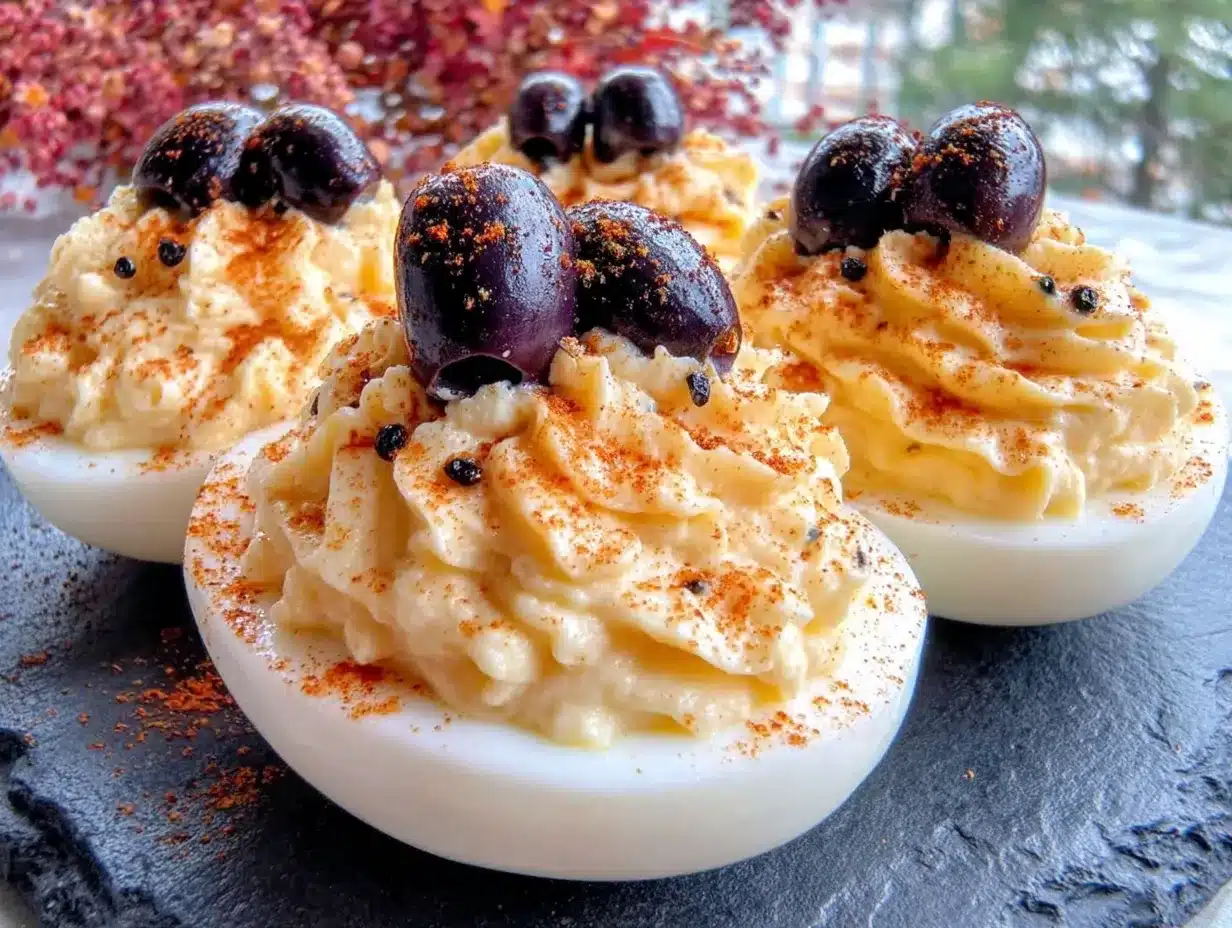
- 1 can (6 ounces) large pitted black olives — You need whole olives, not sliced. Look for the biggest ones you can find—they make better spider bodies.
- 1 jar (4 ounces) pimientos or roasted red peppers — For the spider eyes. You can also use small pieces of red bell pepper if you can’t find pimientos.
Ingredient Tips: When choosing olives, avoid the pre-sliced ones—you need whole olives to cut into the spider body shape. I’ve found that Lindsay or Pearls brand olives tend to be consistently large and firm, which makes them easier to slice. For the pimientos, look for the small jars in the olive aisle or near the pickles. They’re usually less than two dollars and last forever in the fridge.
Substitution Guidance: If you’re feeding someone with an egg allergy, this obviously won’t work—but you can make a similar spooky snack using avocado halves or cucumber boats filled with a creamy filling. For a dairy-free version, use vegan mayonnaise (I like Follow Your Heart brand). The olive spiders work the same no matter what you fill the eggs with.
Equipment Needed
You don’t need fancy equipment for these spider deviled eggs, which is part of why I love them. Here’s what you’ll need:
- Large saucepan — For boiling the eggs. Any pot that fits your eggs in a single layer works.
- Medium mixing bowl — For mashing the yolks and mixing the filling.
- Fork or potato masher — I prefer a fork because it gives me more control over the texture, but a potato masher works faster.
- Piping bag or zip-top bag — For filling the egg whites. A gallon-size zip-top bag works perfectly if you don’t have a piping bag.
- Sharp paring knife — For slicing the olives into spiders. A dull knife will squish them.
- Cutting board — Preferably small, just for the olives.
- Serving platter — Something flat that shows off the spiders. A black or orange platter looks extra festive.
Budget-Friendly Options: Don’t have a piping bag? Neither do I half the time. Just snip a small corner off a zip-top bag and you’re good to go. No potato masher? A fork works just fine, it just takes a minute longer. The only thing I wouldn’t skimp on is a good sharp knife for the olives—dull knives make squished, sad spiders.
I learned the hard way that using a serrated knife on olives is a disaster. They just crumble. A sharp paring knife gives you clean cuts, which means your spiders actually look like spiders instead of olive blobs. Trust me on this one.
Preparation Method
Let me walk you through this step by step. I’ve made these spider deviled eggs more times than I can count, so I’ve figured out all the little tricks that make them turn out perfectly.
Step 1: Hard-Boil the Eggs
Place your 12 eggs in a single layer in a large saucepan. Cover them with cold water by about an inch. Bring the water to a full rolling boil over high heat—you’ll see big bubbles and the eggs will start bouncing around a little. Once the water is boiling hard, turn off the heat, cover the pot, and let it sit for exactly 12 minutes.
While the eggs are cooking, prepare an ice bath. Fill a large bowl with cold water and plenty of ice cubes. After 12 minutes, use a slotted spoon to transfer the eggs to the ice bath. Let them chill for at least 10 minutes. This shock treatment stops the cooking immediately and makes the shells much easier to peel.
Pro tip: If you’re short on time, you can run cold water over the eggs for 5 minutes instead of using an ice bath. But the ice bath really does make peeling easier. I’ve tested both methods, and the ice bath wins every time.
Step 2: Peel the Eggs
Gently tap each egg on the counter to crack the shell all over. Start peeling from the wider end—there’s usually an air pocket there that makes it easier to get under the shell. Run the egg under cold water as you peel to help remove any stubborn shell pieces.
I’m not going to lie to you—sometimes eggs just don’t want to peel nicely. If you end up with a few ugly ones, don’t worry. You can still use them for the filling, and nobody will see them once they’re filled and topped with spiders.
Step 3: Cut and Prepare the Egg Whites
Once all your eggs are peeled, slice each one in half lengthwise. Carefully pop out the yolks into your mixing bowl. Arrange the empty egg white halves on your serving platter, cut side up. Try to keep them in neat rows so your spiders look organized.
If any of the egg whites tear, just put them on the platter anyway—the filling will hide most imperfections. I’ve had kids eat “broken” deviled eggs with zero complaints.
Step 4: Make the Filling
Add the mayonnaise, yellow mustard, white vinegar, salt, and pepper to the bowl with the egg yolks. Mash everything together with a fork until it’s smooth and creamy. Taste it and adjust the seasoning—maybe add a little more mustard or salt depending on your preference.
The filling should be thick enough to hold its shape but not so thick that it’s stiff. If it seems too dry, add another teaspoon of mayonnaise. If it seems too runny, add another yolk if you have one, or just chill it for 10 minutes before piping.
Step 5: Fill the Egg Whites
Spoon the filling into your piping bag or zip-top bag. If using a zip-top bag, push all the filling into one corner and twist the top to create pressure. Snip about 1/2 inch off the corner.
Pipe the filling into each egg white half, using a circular motion to create a nice swirl on top. You want the filling to mound slightly above the edge of the egg white. Don’t worry about being perfect—the spiders will cover any messy piping.
Step 6: Create the Spider Decorations
This is the fun part. Drain your olives and pat them dry with a paper towel. Using your sharp paring knife, slice each olive crosswise into thin rounds—you’ll get about 4-5 slices per olive. These rounds will be the spider bodies.
For each spider, you’ll need one olive round. Take a small piece of pimiento and cut it into tiny dots—these are the spider eyes. Place two eyes on top of each olive round.
Now for the legs. Cut thin strips from the remaining olive pieces. You want 8 tiny legs per spider. Arrange 4 legs on each side of the olive body, curling them slightly to look like spider legs. Place one completed spider on top of each deviled egg.
It sounds fiddly, but once you get the hang of it, you can make a spider in about 30 seconds. My kids love doing this part—their spiders look a little wonky, but that’s part of the charm.
Step 7: Garnish and Serve
Sprinkle a little paprika over the eggs for color. You can also add a tiny pinch of black pepper on the filling if you want extra contrast. Serve immediately or refrigerate until ready to serve.
Cooking Tips & Techniques
I’ve made these spider deviled eggs enough times to have a few tricks up my sleeve. Let me share what I’ve learned the hard way so you don’t have to make the same mistakes.
The Perfect Hard-Boiled Egg: The number one issue people have is overcooked eggs with that weird green ring around the yolk. That happens when you cook them too long or at too high a temperature. The method I shared—boil, then cover and let sit for 12 minutes—gives you perfectly cooked yolks every time. No green, no chalky texture, just creamy yellow goodness.
Peeling Without Tears: If you’re struggling with peeling, try adding a teaspoon of baking soda to the water before boiling. It raises the pH and helps the shells separate from the whites. Also, peeling under running water really does help. I resisted this tip for years thinking it was a waste of water, but honestly, it makes a huge difference.
Make-Ahead Strategy: You can hard-boil and peel the eggs up to three days in advance. Store them in a covered container in the fridge. You can also make the filling up to two days ahead—just keep it in a sealed container. Assemble the spider deviled eggs the day you plan to serve them for the best appearance.
Multitasking Tip: While the eggs are boiling and then chilling in the ice bath, use that time to slice your olives and prepare the spider decorations. This way everything is ready to go when the eggs are cool enough to handle.
Consistency is Key: If your filling is too runny, it won’t pipe nicely and will make a mess. If it’s too thick, it will be difficult to pipe and might tear the egg whites. The perfect consistency is like thick peanut butter—spreadable but not drippy. Add mayonnaise a teaspoon at a time until you get there.
I once tried to rush the cooling process and ended up with eggs that were still warm when I tried to peel them. Disaster. The shells stuck like glue, and I lost half the egg whites. Lesson learned: patience pays off with deviled eggs.
Variations & Adaptations
One of the best things about this recipe is how easily you can adapt it. Here are some variations I’ve tried and loved:
Dietary Variations
Low-Fat Version: Swap half the mayonnaise with plain Greek yogurt. It cuts the calories and adds a nice tangy flavor. Just be aware that yogurt-based fillings are a little softer, so pipe them carefully.
Keto-Friendly: These are already pretty low-carb, but you can make them even more keto-friendly by using avocado instead of mayonnaise. Mash half an avocado with the yolks for a creamy, healthy filling.
Spicy Version: Add a teaspoon of sriracha or a pinch of cayenne pepper to the filling. The heat contrasts beautifully with the cool, creamy texture. My husband loves this version.
Flavor Variations
Bacon Spider Deviled Eggs: Crumble crispy bacon on top of the filling before adding the olive spider. Because everything is better with bacon, right?
Everything Bagel Version: Sprinkle everything bagel seasoning on top of the filling before adding the spider. The sesame and poppy seeds add a nice crunch.
Curried Deviled Eggs: Add 1/2 teaspoon of curry powder to the filling for a warm, aromatic twist. This pairs surprisingly well with the olive spiders.
Seasonal Adaptations
Thanksgiving Leftovers: Use these as a fun way to use up hard-boiled eggs after Easter or as a spooky appetizer for fall gatherings. They’re not just for Halloween!
Summer Picnics: Make these for a summer picnic with a Halloween-in-July theme. Just use red bell pepper eyes instead of pimientos for a brighter look.
Serving & Storage Suggestions
These spider deviled eggs are best served chilled or at room temperature. I usually take them out of the fridge about 15 minutes before serving so they’re not ice-cold, which dulls the flavor.
Presentation Ideas: Arrange the eggs on a black or dark orange platter to make the spiders pop. You can also place them on a bed of fresh parsley or lettuce for a creepy “graveyard” look. For extra fun, add plastic spider rings around the platter or serve them alongside other Halloween snacks like mummy hot dogs or ghost-shaped cheese slices.
Complementary Dishes: These pair well with any Halloween party spread. Try them with pumpkin soup, roasted chicken wings, or a simple green salad. For drinks, apple cider or a crisp white wine works beautifully.
Storage Instructions: Store leftover spider deviled eggs in an airtight container in the refrigerator for up to 2 days. The filling might soften slightly, but they’ll still taste great. I don’t recommend freezing them—the texture of the egg whites becomes rubbery when thawed.
Reheating: These are served cold, so no reheating needed. If you’ve stored them, just take them out 10 minutes before serving to take the chill off.
Flavor Development: Honestly, these taste even better the next day. The flavors meld together overnight, and the filling becomes even creamier. Just add the olive spiders right before serving so they stay looking fresh and perky.
Nutritional Information & Benefits
Here’s the nutritional breakdown for one spider deviled egg (based on 24 servings from 12 eggs):
| Nutrient | Amount per serving |
|---|---|
| Calories | 85 |
| Total Fat | 7g |
| Saturated Fat | 1.5g |
| Cholesterol | 95mg |
| Sodium | 180mg |
| Total Carbohydrates | 1g |
| Protein | 5g |
Health Benefits: Eggs are an excellent source of high-quality protein and contain important nutrients like vitamin D, vitamin B12, and choline, which supports brain health. The olives add healthy monounsaturated fats and antioxidants. This is a snack that’s actually good for you—not just cute.
Dietary Considerations: This recipe is naturally gluten-free, low-carb, and vegetarian. For a dairy-free version, use vegan mayonnaise. For a nut-free version, no substitutions needed—this recipe is naturally nut-free. The main allergen to watch for is eggs, obviously.
Personal Wellness Perspective: I love that these spider deviled eggs let my kids have fun with their food while still eating something nutritious. They’re not loaded with sugar or artificial ingredients like so many Halloween treats. Plus, the protein keeps everyone full and happy during a long night of trick-or-treating.
Conclusion
These spider deviled eggs are more than just a Halloween snack—they’re a memory in the making. Every time I make them, I think of Aunt Carol’s yellow kitchen and the way she laughed when my olive spider fell apart. And now my own kids have their own memories of fighting over who gets to place the eyes on each spider.
I hope you’ll try this recipe and make it your own. Maybe your kids will decide that spiders should have six legs instead of eight. Maybe you’ll add bacon because your family loves bacon. That’s the beauty of cooking—you get to put your own spin on things. The important thing is that you’re making something fun and delicious for the people you love.
So go ahead, boil those eggs, slice those olives, and make some silly spiders. And if you end up with a few wonky-looking ones? That’s perfect. Real spiders aren’t perfect either. I’d love to hear how yours turn out—drop a comment below and share your spider creations. Happy Halloween, friends!
Frequently Asked Questions
Can I make these spider deviled eggs ahead of time?
Yes! You can hard-boil and peel the eggs up to 3 days ahead and make the filling up to 2 days ahead. Just assemble the spiders on top the day you plan to serve them so the olives stay looking fresh.
How do I get my eggs to peel easily?
Use older eggs (they peel better than fresh ones), add a teaspoon of baking soda to the boiling water, and shock them in an ice bath immediately after cooking. Peeling under running water also helps remove stubborn shell pieces.
Can I use a different filling for these spider deviled eggs?
Absolutely! Try adding avocado for a creamy twist, sriracha for heat, or curry powder for warmth. The olive spiders work on top of any deviled egg filling you like.
How long do spider deviled eggs last in the fridge?
They’ll keep for up to 2 days in an airtight container in the refrigerator. The filling might soften slightly, but they’ll still taste delicious. I don’t recommend freezing them.
Can I use something other than olives for the spiders?
Sure! Try using black beans for the bodies and tiny pieces of red bell pepper for the eyes. Or use small mozzarella balls with olive slices on top. Get creative with whatever you have in your kitchen.
Pin This Recipe!
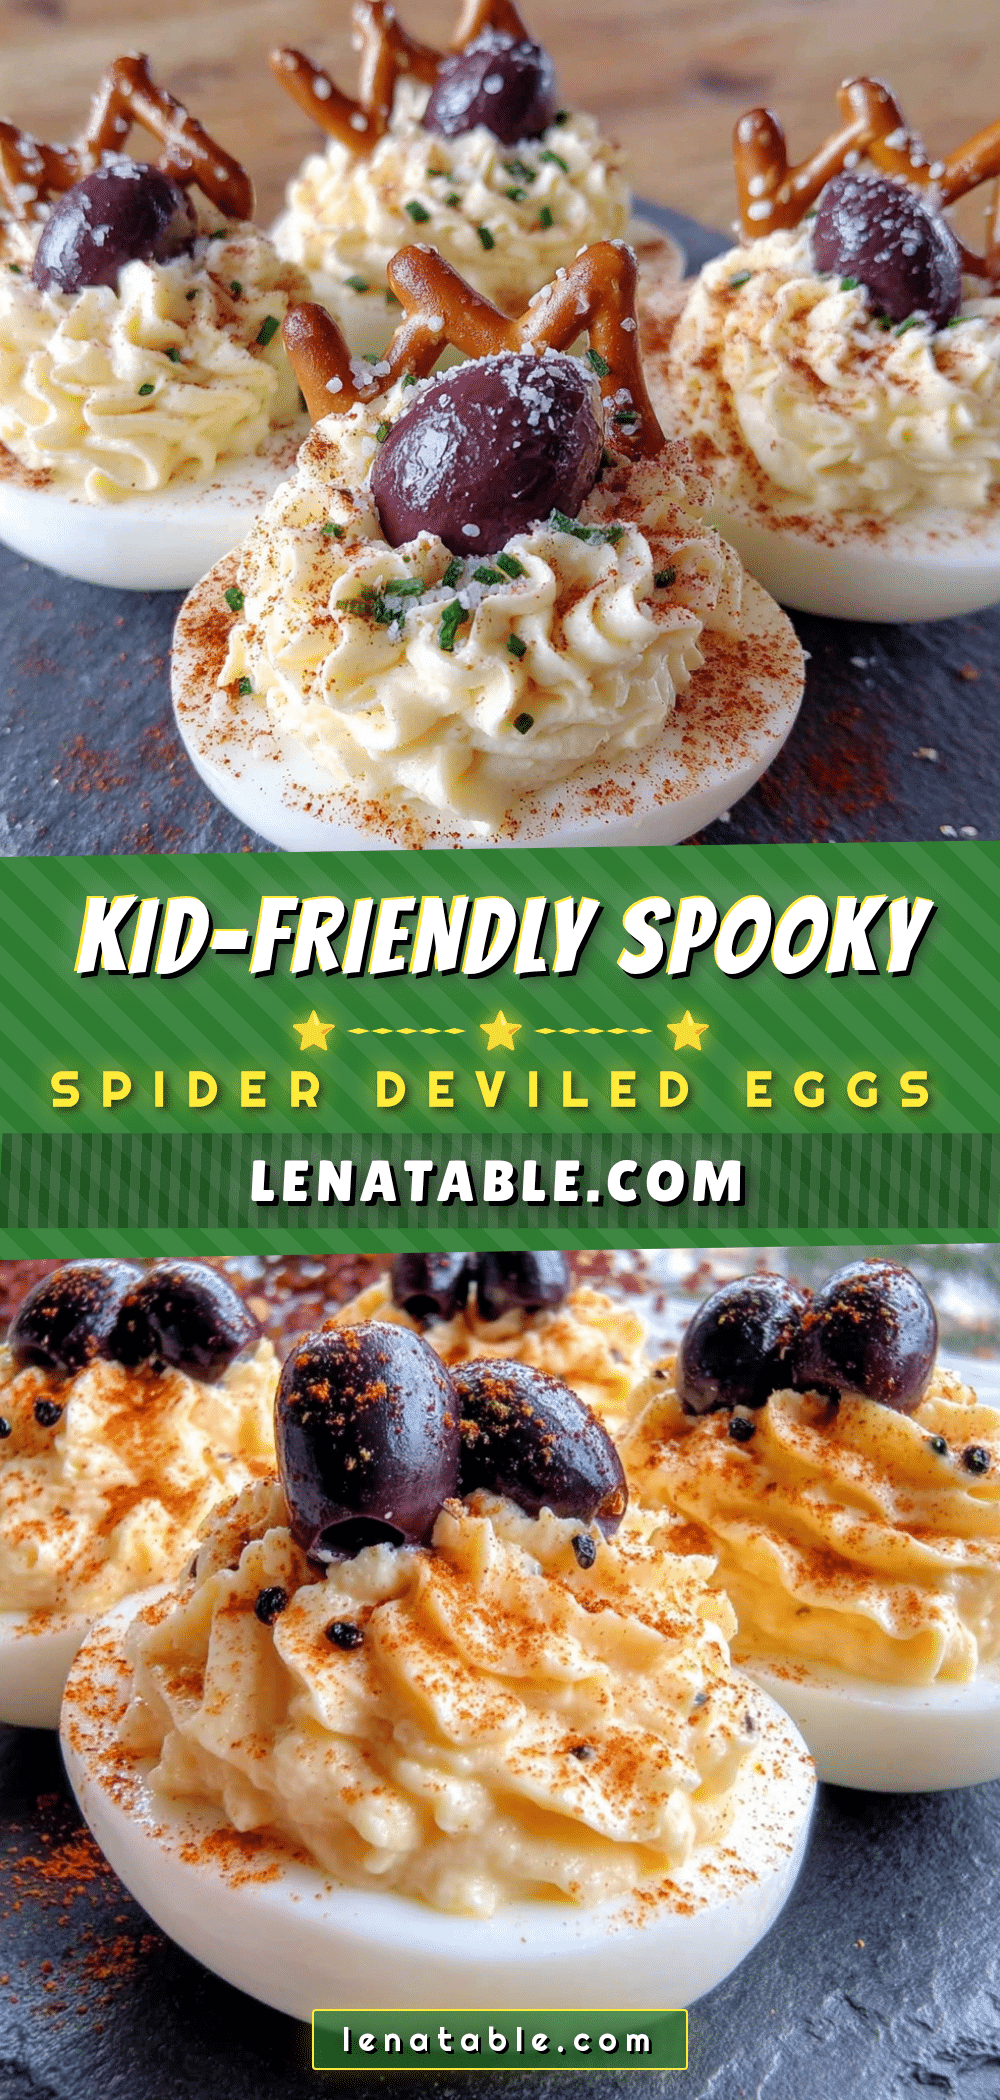
Easy Spider Deviled Eggs Recipe for Halloween Fun

These spider deviled eggs are a fun, spooky Halloween snack that comes together in under 30 minutes. With simple ingredients like eggs, mayonnaise, and olives, they’re a crowd-pleaser that kids and adults will love.
- Prep Time: 15 minutes
- Cook Time: 12 minutes
- Total Time: 27 minutes
- Yield: 24 servings 1x
- Category: Appetizer
- Cuisine: American
Ingredients
- 12 large eggs
- 1/3 cup mayonnaise
- 1 tablespoon yellow mustard
- 1 teaspoon white vinegar
- 1/4 teaspoon salt
- 1/8 teaspoon black pepper
- 1/4 teaspoon paprika
- 1 can (6 ounces) large pitted black olives
- 1 jar (4 ounces) pimientos or roasted red peppers
Instructions
- Place 12 eggs in a single layer in a large saucepan. Cover with cold water by about an inch. Bring to a full rolling boil over high heat, then turn off the heat, cover, and let sit for exactly 12 minutes.
- Prepare an ice bath. Transfer eggs to the ice bath and let chill for at least 10 minutes.
- Peel the eggs under cold running water. Slice each in half lengthwise and pop out the yolks into a mixing bowl. Arrange egg white halves on a serving platter.
- Add mayonnaise, yellow mustard, white vinegar, salt, and pepper to the yolks. Mash until smooth and creamy. Adjust seasoning to taste.
- Spoon filling into a piping bag or zip-top bag. Snip off a corner and pipe filling into each egg white half, mounding slightly.
- Drain olives and pat dry. Slice each olive crosswise into thin rounds (about 4-5 per olive). Cut pimientos into tiny dots for eyes. Place two eyes on each olive round.
- Cut thin strips from remaining olive pieces for legs. Arrange 4 legs on each side of each olive body. Place one spider on top of each deviled egg.
- Sprinkle paprika over the eggs. Serve immediately or refrigerate until ready to serve.
Notes
For easiest peeling, use older eggs and add a teaspoon of baking soda to the boiling water. The ice bath is key for easy peeling. You can hard-boil and peel eggs up to 3 days ahead; make filling up to 2 days ahead. Assemble spiders on the day of serving for best appearance.
Nutrition
- Serving Size: 1 spider deviled egg
- Calories: 85
- Sodium: 180
- Fat: 7
- Saturated Fat: 1.5
- Carbohydrates: 1
- Protein: 5
Keywords: spider deviled eggs, Halloween appetizer, deviled eggs, Halloween snack, easy Halloween recipe


