Love this? Save it for later!
Share the inspiration with your friends
This was supposed to be a simple batch of my grandmother’s cornbread dressing. I had the recipe memorized—the buttery pan, the fragrant sage, the way she’d crumble the cornbread with her hands while telling stories about her own mother’s kitchen. But somewhere between the grocery store and my countertop, the plan fell apart. I grabbed the wrong flour blend for the cornbread (a gluten-free one, by accident), realized I was out of the traditional bread cubes I always used, and the oven was preheating way too hot because I’d gotten distracted by a toddler demanding snacks. Honestly, I was already picturing the sad, crumbly mess I’d be serving my family that Thanksgiving. I mean, gluten-free stuffing? For a table full of picky eaters? It felt like a recipe for disaster.
But here’s the thing about kitchen accidents—sometimes they’re the best things that ever happen to you. That overly hot oven gave the edges a caramelized crunch I’d never gotten before. The gluten-free bread, which I’d been skeptical about, soaked up the broth in a way that was almost… better? And my kids, who usually pushed the stuffing around their plates, actually asked for seconds. Let me tell you, I nearly dropped the serving spoon. Maybe you’ve been there too, staring at a dish that turned out nothing like you planned, only to realize it’s exactly what your family needed. This Kid-Approved Gluten-Free Herb Stuffing was born from that moment of panic and happy surprise, and it’s been a staple on our table ever since.
Why You’ll Love This Recipe
I’ve tested this recipe more times than I can count, and I can honestly say it’s the one stuffing that works for everyone. It’s not just another gluten-free recipe that tastes like cardboard. It’s the real deal.
- Kid-Approved: My own children, who can spot a “healthy” substitute from a mile away, devour this without complaint. The texture is just right—not too mushy, not too dry.
- Simple Ingredients: No weird flours or hard-to-find items. You can find everything at your regular grocery store, and most of it is probably already in your pantry.
- Budget-Friendly: This recipe stretches a few affordable ingredients into a generous side dish that feeds a crowd without breaking the bank.
- Perfect for Holidays or Weeknights: It’s special enough for Thanksgiving but simple enough for a Sunday dinner with roast chicken.
- Make-Ahead Friendly: You can prep this the day before, and it actually gets better as the flavors meld together. Leftovers reheat beautifully, too.
What really sets this stuffing apart is the texture. Most gluten-free stuffings turn into a gluey paste or a dry, crumbly mess. But this one? It has those perfect crispy edges on top, a soft, tender interior, and every bite is packed with savory herb flavor. It’s the kind of dish that makes you close your eyes after the first bite—comfort food that feels like a hug, minus the gluten and the stress.
What Ingredients You Will Need
This recipe uses simple, wholesome ingredients to deliver bold flavor and satisfying texture without the fuss. Most of these are pantry staples, and the rest are easy to find at any grocery store.
- Gluten-free bread (about 10-12 cups, cubed) – I prefer a sturdy loaf like Schär or Udi’s. Avoid soft, squishy bread that will turn to mush. Day-old bread works best, but you can also toast fresh cubes in the oven.
- Unsalted butter (½ cup, or 1 stick) – Adds richness and helps the edges get golden and crispy.
- Yellow onion (1 large, diced) – Provides the savory base. Sweet onions work fine too, but yellow gives the best flavor.
- Celery ribs (3-4, diced) – Non-negotiable for classic stuffing texture and flavor.
- Garlic cloves (3-4, minced) – Adds depth. Fresh is best, but jarred minced garlic works in a pinch.
- Low-sodium chicken or vegetable broth (2 ½ to 3 cups) – This is where the moisture comes from. Low-sodium is important so you can control the salt level.
- Large eggs (2, lightly beaten) – Helps bind the stuffing together without making it heavy.
- Fresh sage (2 tablespoons, chopped) – The star herb for stuffing. Dried sage works too (use 2 teaspoons), but fresh is noticeably better.
- Fresh thyme (1 tablespoon, leaves stripped) – Adds an earthy, floral note. Dried thyme (1 teaspoon) is a fine substitute.
- Fresh rosemary (1 tablespoon, finely chopped) – Use sparingly—it’s potent. Dried rosemary (1 teaspoon) works, but crush it first.
- Fresh parsley (¼ cup, chopped) – For a fresh finish. Flat-leaf or curly both work.
- Salt (1 teaspoon, plus more to taste) – I use kosher salt for better control.
- Black pepper (½ teaspoon, freshly ground) – Adds a gentle warmth.
- Optional add-ins: Cooked and crumbled gluten-free sausage (½ lb), dried cranberries (½ cup), or chopped mushrooms (1 cup, sautéed).
Equipment Needed
You don’t need anything fancy for this recipe. Most of these tools are probably already in your kitchen.
- Large baking dish (9×13-inch works perfectly) – Glass or ceramic is ideal for even heating. If you only have metal, reduce the oven temperature by 25°F.
- Large skillet or sauté pan – For cooking the vegetables. A 12-inch pan gives you plenty of room.
- Large mixing bowl – You’ll need room to toss the bread cubes with the vegetables and broth.
- Sharp knife and cutting board – For dicing the onion, celery, and herbs.
- Whisk – For beating the eggs and mixing the broth.
- Wooden spoon or spatula – For stirring the vegetables and folding everything together.
- Aluminum foil – For covering the dish during the first part of baking.
If you don’t have a 9×13-inch dish, you can use a 10-inch cast-iron skillet or a 3-quart casserole dish. Just keep an eye on the baking time—different materials conduct heat differently. I’ve also made this in a disposable aluminum pan for potlucks, and it works great!
Preparation Method
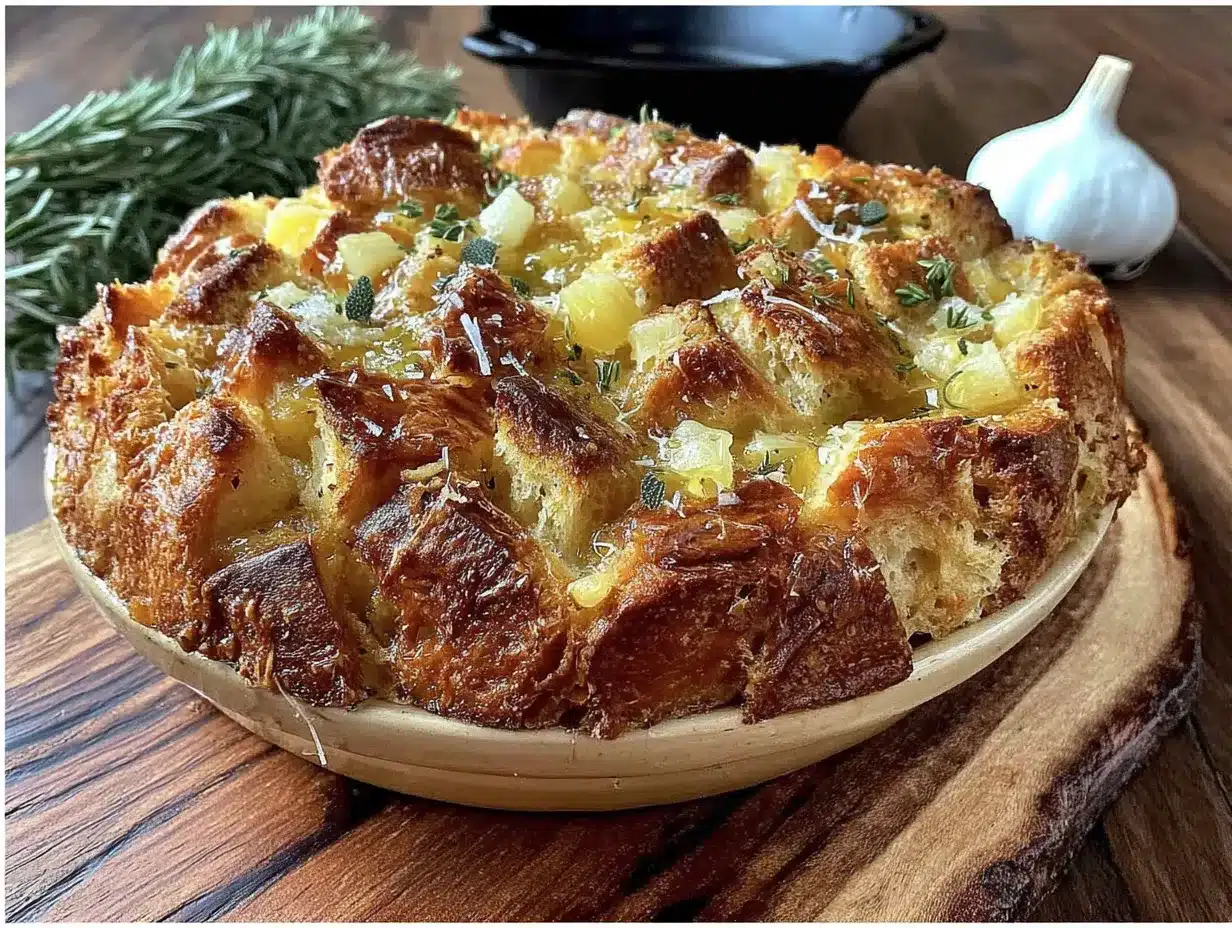
- Preheat your oven to 375°F (190°C). If you’re using day-old bread, you can skip this step for now. If your bread is fresh, spread the cubes on a baking sheet and toast them in the oven for 10-12 minutes, stirring once, until they’re dry and slightly golden. This prevents soggy stuffing.
- Prepare your bread cubes. Cut the gluten-free bread into ½-inch to ¾-inch cubes. You should have about 10-12 cups. Place them in your large mixing bowl. If you’re short on time, you can buy pre-cubed gluten-free stuffing mix, but I find the texture is better when you cube your own bread.
- Cook the vegetables. In your large skillet, melt the butter over medium heat. Add the diced onion and celery. Cook for 6-8 minutes, stirring occasionally, until the onion is translucent and the celery has softened. Add the minced garlic and cook for 1 more minute until fragrant. Don’t let the garlic burn—it will turn bitter.
- Season the vegetables. Stir in the fresh sage, thyme, rosemary, salt, and pepper. Cook for another minute to wake up the flavors. The kitchen will start smelling incredible at this point.
- Combine the bread and vegetables. Pour the cooked vegetable mixture over the bread cubes in the large bowl. Toss gently with your hands or a wooden spoon until everything is evenly distributed. Be careful not to break up the bread cubes too much.
- Whisk the broth and eggs. In a separate medium bowl, whisk together the chicken or vegetable broth and the beaten eggs until well combined. Pour this mixture over the bread and vegetable mixture. Fold everything together gently. The bread should be moist but not swimming in liquid. If it looks dry, add a splash more broth.
- Transfer to the baking dish. Pour the stuffing mixture into your greased 9×13-inch baking dish. Spread it into an even layer. Don’t press it down—you want some air pockets for texture.
- Bake covered. Cover the dish tightly with aluminum foil. Bake for 25 minutes. This steams the stuffing and ensures the inside is cooked through and tender.
- Bake uncovered. Remove the foil and continue baking for another 20-25 minutes, until the top is golden brown and crispy. If you like extra-crispy edges, you can bake for 5-10 minutes longer.
- Rest and serve. Let the stuffing rest for 5-10 minutes before serving. This allows it to set up a bit, making it easier to scoop. Garnish with the fresh parsley just before bringing it to the table.
Cooking Tips & Techniques
I’ve made this stuffing more times than I can count, and I’ve learned a few things the hard way. Here are my best tips for success.
Don’t skip toasting the bread. I know it’s an extra step, but it’s crucial. Fresh gluten-free bread is soft and will turn into paste if you add liquid directly. Toasting dries it out so it can absorb the broth without falling apart. Trust me on this one—I learned after making a gluey batch that nobody wanted to eat.
Watch your liquid ratio. Different gluten-free breads absorb liquid differently. Start with 2 ½ cups of broth, then add more if needed. The mixture should look moist but not soupy. If you accidentally add too much liquid, you can bake the stuffing a little longer uncovered to evaporate the excess.
Let the flavors meld. This stuffing actually tastes better if you make it a day ahead. The herbs have time to infuse the bread, and the texture becomes even more cohesive. Just prepare it up to step 7, cover it, and refrigerate. Add 10-15 minutes to the baking time since you’re starting from cold.
Use fresh herbs if you can. Dried herbs work in a pinch, but fresh herbs make a noticeable difference in this recipe. The sage is especially important—fresh sage has a bright, almost citrusy note that dried sage loses. If you’re using dried herbs, remember the rule: 1 tablespoon fresh = 1 teaspoon dried.
Don’t overmix. When you combine the bread with the vegetables and broth, fold gently. Overmixing will break down the bread cubes and give you a dense, heavy stuffing. You want distinct pieces of bread in every bite.
One time, I forgot to add the eggs entirely. The stuffing still tasted good, but it was much more crumbly and didn’t hold together well. The eggs are the glue that keeps everything in one place, so don’t skip them!
Variations & Adaptations
This recipe is flexible enough to adapt to different tastes and dietary needs. Here are some of my favorite variations.
Vegan Version: Replace the butter with vegan butter or olive oil. Use vegetable broth instead of chicken broth. Omit the eggs and add an extra ¼ cup of broth plus 2 tablespoons of flaxseed meal mixed with 6 tablespoons of water (let it sit for 5 minutes to form a gel). The texture will be slightly less firm, but it’s still delicious.
Sausage and Cranberry Stuffing: Brown ½ pound of gluten-free sausage (casings removed) in the skillet before cooking the vegetables. Remove the sausage and set it aside. Add it back when you combine the bread and vegetables. Toss in ½ cup of dried cranberries along with the herbs. The sweetness of the cranberries balances the savory sausage perfectly. This is my husband’s favorite version.
Mushroom and Leek Stuffing: Sauté 8 ounces of sliced mushrooms (cremini or button) with the onions and celery. Replace half the onion with 2 sliced leeks (white and light green parts only). The mushrooms add an earthy, umami depth that’s especially nice if you’re serving this with a vegetarian main dish.
Stuffing Muffins: Grease a 12-cup muffin tin and press the stuffing mixture into the cups. Bake at 375°F for 15-18 minutes until golden and crispy on top. These are perfect for portion control and kids love the individual servings. Plus, the edges get extra crispy!
Slow Cooker Version: Prepare the stuffing up to step 6, then transfer it to a greased slow cooker. Cook on low for 3-4 hours or on high for 1 ½-2 hours. Remove the lid for the last 30 minutes if you want a crispy top. This is a lifesaver when your oven is full of other dishes.
Serving & Storage Suggestions
This stuffing is best served warm, straight from the oven. The contrast between the crispy top and the tender interior is at its peak within the first 15 minutes out of the oven. I like to garnish it with a sprinkle of fresh parsley for a pop of color.
What to serve with it: This stuffing is a natural partner for roast chicken, turkey, or pork chops. It also works beautifully alongside a simple green salad or roasted vegetables for a lighter meal. For a full holiday spread, pair it with mashed potatoes, cranberry sauce, and gravy.
Storage: Leftover stuffing keeps well in an airtight container in the refrigerator for up to 4 days. The flavors actually continue to meld, so it might taste even better the next day. I’ve been known to eat it cold straight from the fridge as a snack—don’t judge me until you’ve tried it.
Freezing: You can freeze this stuffing for up to 3 months. Let it cool completely, then transfer it to a freezer-safe container or zip-top bag. To reheat, thaw it in the refrigerator overnight, then warm it in a 350°F oven for 15-20 minutes, covered with foil. You can also reheat individual portions in the microwave for 1-2 minutes.
Reheating: For the best texture, reheat stuffing in the oven rather than the microwave. The microwave will make it soggy. Spread the stuffing in a baking dish, add a splash of broth if it seems dry, cover with foil, and bake at 350°F for 15-20 minutes. Remove the foil for the last 5 minutes to re-crisp the top.
Nutritional Information & Benefits
Here’s the approximate nutritional breakdown for one serving (about 1 cup, without optional add-ins):
- Calories: 220
- Fat: 10g
- Carbohydrates: 28g
- Fiber: 3g
- Protein: 6g
- Sodium: 480mg
This stuffing is naturally gluten-free, making it a safe choice for those with celiac disease or gluten sensitivity. The celery and onions add fiber and antioxidants, while the herbs (sage, thyme, rosemary) are packed with anti-inflammatory compounds. If you use vegetable broth, this recipe is also vegetarian-friendly.
One thing I love about this recipe is that it’s lower in fat than many traditional stuffing recipes, which often call for a whole stick of butter plus additional oil. Here, the butter is used just for cooking the vegetables, and the bread itself provides enough structure without needing extra fat. It’s comfort food that won’t weigh you down.
If you’re watching your sodium intake, use low-sodium broth and reduce the added salt to ½ teaspoon. You can also boost the flavor with extra herbs and garlic instead of salt.
Conclusion
This Kid-Approved Gluten-Free Herb Stuffing started as a happy accident, but it’s become a cherished part of our family’s meal rotation. It’s proof that sometimes the best recipes come from the moments when everything goes wrong—and that gluten-free cooking doesn’t have to mean sacrificing flavor or texture.
I love this recipe because it brings people together. Whether it’s a holiday feast or a simple weeknight dinner, this stuffing has a way of making everyone at the table feel cared for. And honestly, isn’t that what cooking is all about? It’s not about perfection—it’s about showing up and making something good for the people you love.
I’d love to hear how this stuffing turns out for you! Did you try any of the variations? Did your kids ask for seconds? Drop a comment below and let me know. And if you have a favorite stuffing tradition, share that too—I’m always looking for new ideas to try. Happy cooking, friends!
Frequently Asked Questions
Can I make this stuffing ahead of time?
Absolutely! Prepare the stuffing up to the point of baking, cover it tightly, and refrigerate for up to 24 hours. When you’re ready to bake, add about 10-15 minutes to the covered baking time since you’re starting from cold. It’s a huge time-saver on busy holidays.
What’s the best gluten-free bread to use for stuffing?
I’ve had the best results with sturdy, crusty gluten-free breads like Schär’s Artisan Baker White Bread or Udi’s Whole Grain Loaf. Avoid soft sandwich breads or brioche-style gluten-free breads—they tend to turn mushy. Day-old bread is ideal, but fresh bread works if you toast it first.
Can I use dried herbs instead of fresh?
Yes, you can substitute dried herbs for fresh. Use 1 teaspoon of dried herbs for every 1 tablespoon of fresh herbs called for. So for this recipe, you’d use 2 teaspoons dried sage, 1 teaspoon dried thyme, 1 teaspoon dried rosemary, and 1 tablespoon dried parsley. Keep in mind that dried herbs are more concentrated, so don’t overdo it.
How do I prevent my stuffing from being too dry or too soggy?
The key is the bread-to-liquid ratio. Start with 2 ½ cups of broth and add more only if the bread seems dry. The mixture should look moist but not wet—when you squeeze a handful, a little liquid should drip out, but it shouldn’t be pooling. Also, make sure your bread is properly dried out before adding liquid. Toasted bread absorbs liquid evenly; fresh bread turns into paste.
Can I cook this stuffing inside a turkey?
I don’t recommend it for food safety reasons. Stuffing cooked inside a turkey needs to reach 165°F, and by the time the stuffing hits that temperature, the turkey meat is often overcooked and dry. Plus, gluten-free bread tends to absorb more fat and juices from the turkey, which can make it greasy. Baking it separately gives you better control and better results.
Pin This Recipe!
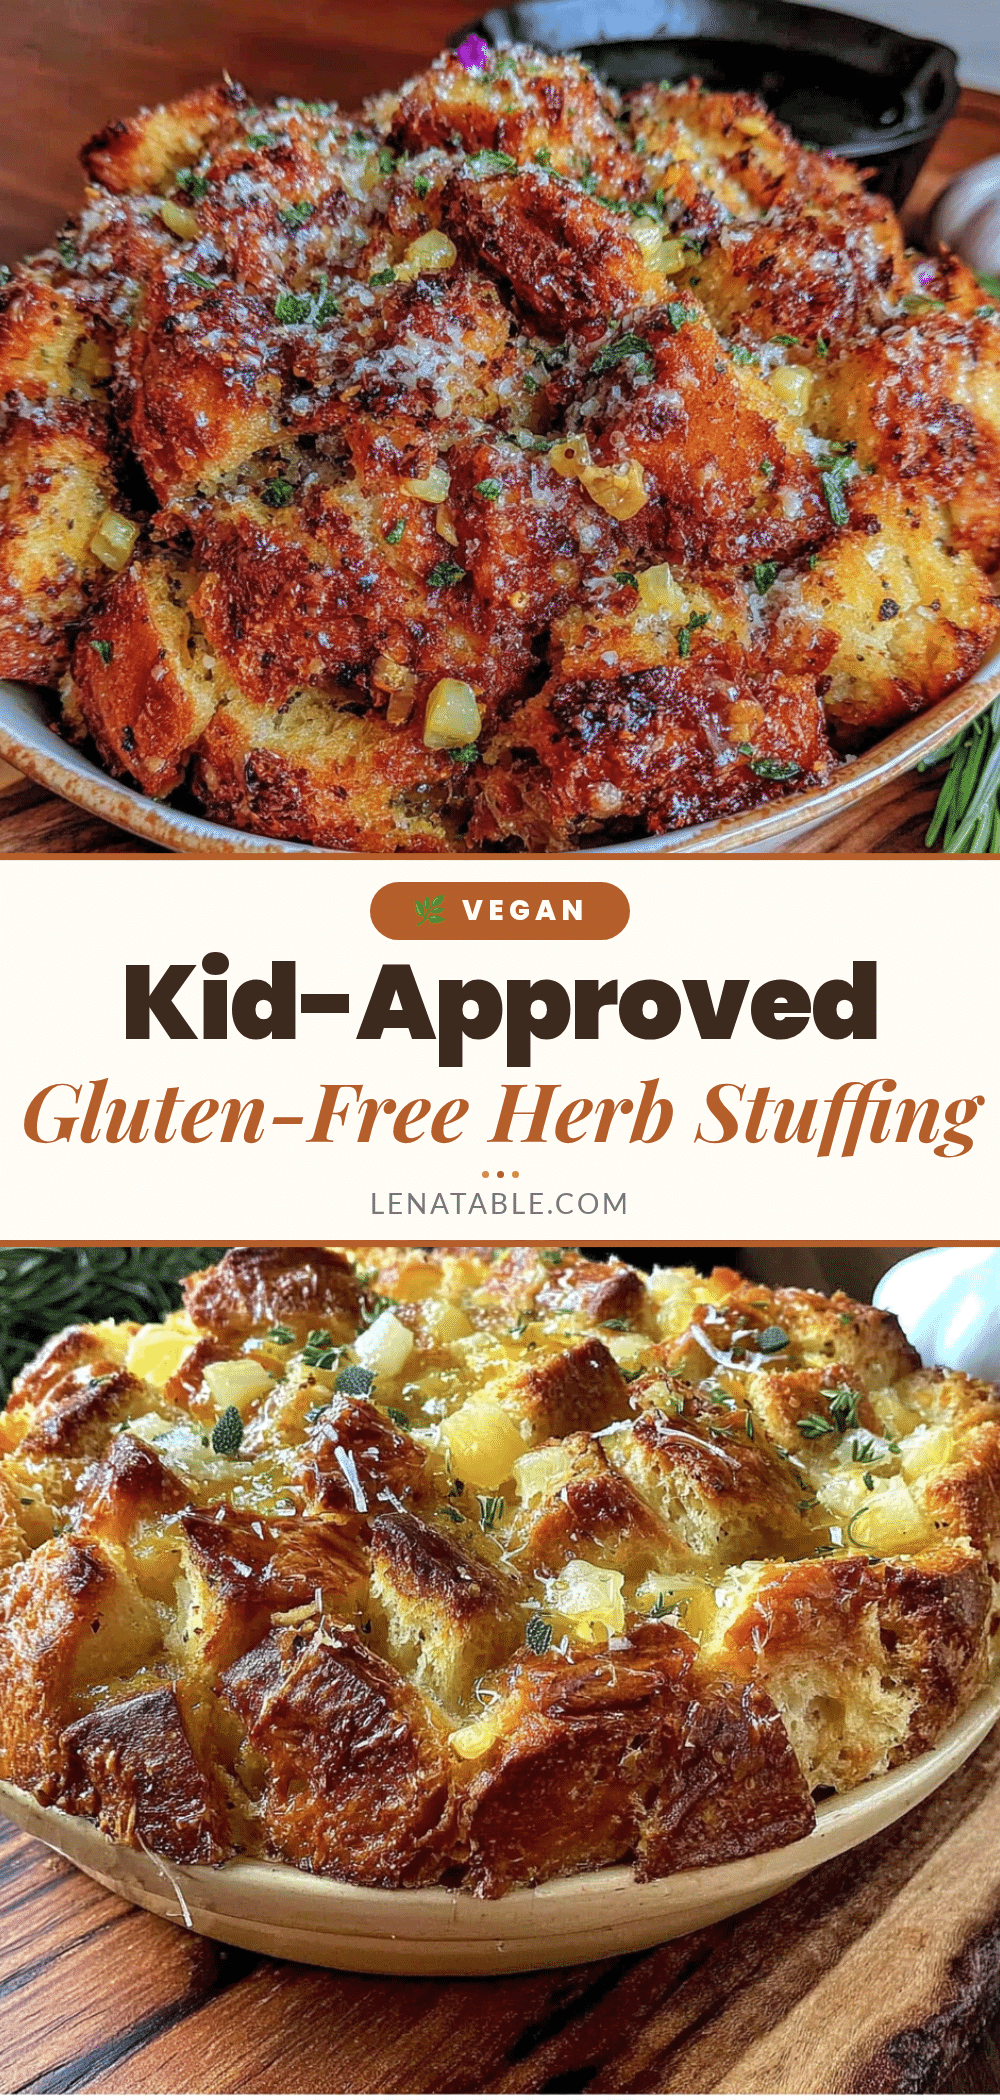
Best Gluten-Free Herb Stuffing (Kid-Approved!)

This Kid-Approved Gluten-Free Herb Stuffing is a happy accident turned family favorite. It’s perfectly crispy on the edges, tender inside, and packed with savory herb flavor—no one will guess it’s gluten-free.
- Prep Time: 20 minutes
- Cook Time: 45 minutes
- Total Time: 1 hour 5 minutes
- Yield: 8 servings 1x
- Category: Side Dish
- Cuisine: American
Ingredients
- 10–12 cups gluten-free bread, cubed (about 1 loaf, sturdy variety like Schär or Udi’s)
- ½ cup (1 stick) unsalted butter
- 1 large yellow onion, diced
- 3–4 celery ribs, diced
- 3–4 garlic cloves, minced
- 2 ½ to 3 cups low-sodium chicken or vegetable broth
- 2 large eggs, lightly beaten
- 2 tablespoons fresh sage, chopped (or 2 teaspoons dried)
- 1 tablespoon fresh thyme leaves (or 1 teaspoon dried)
- 1 tablespoon fresh rosemary, finely chopped (or 1 teaspoon dried, crushed)
- ¼ cup fresh parsley, chopped (for garnish)
- 1 teaspoon kosher salt, plus more to taste
- ½ teaspoon freshly ground black pepper
- Optional: ½ lb gluten-free sausage, cooked and crumbled; ½ cup dried cranberries; 1 cup mushrooms, chopped and sautéed
Instructions
- Preheat oven to 375°F (190°C). If using fresh bread, spread cubes on a baking sheet and toast for 10-12 minutes until dry and slightly golden. If using day-old bread, skip toasting.
- Cut gluten-free bread into ½-inch to ¾-inch cubes (about 10-12 cups). Place in a large mixing bowl.
- In a large skillet, melt butter over medium heat. Add diced onion and celery. Cook 6-8 minutes until onion is translucent and celery is softened. Add minced garlic and cook 1 minute until fragrant.
- Stir in fresh sage, thyme, rosemary, salt, and pepper. Cook 1 minute to release flavors.
- Pour cooked vegetable mixture over bread cubes in the bowl. Toss gently to combine, being careful not to break up bread cubes.
- In a separate bowl, whisk together broth and beaten eggs. Pour over bread mixture and fold gently until moistened. Add more broth if needed—mixture should be moist but not soupy.
- Transfer stuffing to a greased 9×13-inch baking dish. Spread evenly without pressing down.
- Cover tightly with aluminum foil. Bake for 25 minutes.
- Remove foil and bake for another 20-25 minutes until top is golden brown and crispy. For extra-crispy edges, bake 5-10 minutes longer.
- Let rest 5-10 minutes before serving. Garnish with fresh parsley.
Notes
For best texture, use day-old or toasted gluten-free bread. Start with 2 ½ cups broth and add more as needed. This stuffing can be made a day ahead—prepare through step 7, cover, and refrigerate. Add 10-15 minutes to covered baking time if starting from cold. For vegan version: replace butter with vegan butter or olive oil, use vegetable broth, omit eggs and add ¼ cup extra broth plus 2 tablespoons flaxseed meal mixed with 6 tablespoons water (let sit 5 minutes). Leftovers keep in refrigerator up to 4 days or freeze up to 3 months. Reheat in oven at 350°F for best texture.
Nutrition
- Serving Size: 1 cup
- Calories: 220
- Sugar: 4
- Sodium: 480
- Fat: 10
- Saturated Fat: 5
- Carbohydrates: 28
- Fiber: 3
- Protein: 6
Keywords: gluten-free stuffing, herb stuffing, kid-approved stuffing, Thanksgiving stuffing, gluten-free side dish, holiday stuffing, easy stuffing recipe