Love this? Save it for later!
Share the inspiration with your friends
The power went out halfway through my Halloween party prep. I stood there in the dark, holding a package of crescent roll dough that was already starting to sweat in my hands, and I just laughed. I mean, what else could you do when you’ve got twenty people showing up in two hours, a dead kitchen, and a plan that involved a very specific, very complicated appetizer that now wasn’t happening?
I’d spent the whole week planning this elaborate spread. There were going to be stuffed mushrooms shaped like eyeballs, a cheese ball that looked like a pumpkin, and these little pastry-wrapped things that required three different types of dough and a filling that took an hour to prepare. Then the storm rolled in, the lights flickered, and suddenly I was standing in a silent kitchen with nothing but a gas stove that still worked, a can of biscuits I’d grabbed on a whim, and a package of little smoked sausages my husband had thrown in the cart last minute. Honestly, I almost cried. Then I got annoyed. Then I got determined.
I started rolling those sausages in strips of dough, wrapping them like little bandages, and I remembered a silly joke about mummies my nephew had told me the week before. Maybe you’ve been there — that moment when a disaster forces you to get creative, and what comes out is somehow better than the original plan. That’s how these Mummy Pigs in a Blanket were born. They were ridiculous, they were simple, and they disappeared faster than anything else I’ve ever served at a party. Now I make them for every gathering, and people actually ask for them by name. Go figure.
Why You’ll Love This Recipe
Look, I’ve tested a lot of appetizer recipes over the years. Some were hits, some were… let’s just say the dog ate well that night. These Mummy Pigs in a Blanket are different. They’ve earned a permanent spot in my party rotation, and here’s why you’ll feel the same way:
- Incredibly Easy: We’re talking five ingredients and about twenty minutes of active time. You can literally make these while helping a kid with homework or answering the door for early guests.
- Simple Ingredients: Crescent roll dough, little smoked sausages, mustard, and a couple of pantry staples. No special trips to a fancy grocery store required.
- Perfect for Halloween Parties: They look like little mummies! Kids love them, adults think they’re clever, and they fit any spooky-themed gathering without being too gory.
- Crowd-Pleaser: I’ve served these at parties with kids running around and at adult gatherings where people were sipping cocktails. They disappear every single time. It’s almost embarrassing how fast they go.
- Unbelievably Delicious: The flaky, buttery dough wrapped around salty, smoky sausage with that tangy mustard dip? It’s simple comfort food that hits every single note right.
What makes this version different from the dozens of other pigs-in-a-blanket recipes out there? It’s the way the dough is wrapped. Instead of just rolling the sausage in a full strip of dough, you cut thin strips and wrap them like bandages, leaving a little gap for the “eyes.” It takes an extra minute per piece, but the visual payoff is huge. Plus, that mustard dip isn’t an afterthought — it’s a tangy, creamy counterpoint that makes every bite sing.
This is the kind of recipe that makes you feel like a kitchen genius without actually having to be one. It’s perfect for impressing guests without stress, and honestly, it’s the kind of thing that makes people close their eyes after the first bite. I’ve seen it happen.
What Ingredients You Will Need
This recipe uses simple, everyday ingredients that you probably already have in your kitchen. The magic is in how they come together, not in fancy or hard-to-find items.
- 1 can (8 oz) refrigerated crescent roll dough — I prefer Pillsbury for the flakiest texture, but any brand works. Make sure it’s the sheet-style dough if you can find it, otherwise the perforated kind is fine — just pinch the seams together.
- 24 small smoked sausages or cocktail wieners — Look for brands like Hillshire Farm or Lit’l Smokies. You want them to be bite-sized and fully cooked. I’ve tried the beef ones and the mixed pork-and-beef ones, and honestly, they both work great.
- 1 large egg — For the egg wash that gives them that beautiful golden-brown color. If you’re out of eggs, you can use a tablespoon of milk instead, but the color won’t be as rich.
- 1 tablespoon water — To thin out the egg wash so it brushes on evenly.
- Mustard seeds or black sesame seeds — For the eyes! This is the fun part. Mustard seeds give a nice pop of yellow that looks like glowing mummy eyes, while black sesame seeds look more like little creepy dots. I’ve used both, and they’re equally adorable.
For the Mustard Dip:
- 1/2 cup sour cream — Full-fat gives the creamiest texture, but Greek yogurt works in a pinch. I’ve tried both, and the sour cream version is richer and holds up better at room temperature.
- 2 tablespoons Dijon mustard — I recommend Grey Poupon for that sharp, tangy kick. Yellow mustard is too mild here — you want something that stands up to the rich sausage and dough.
- 1 tablespoon honey — Balances the tang of the mustard and adds a subtle sweetness. Local honey is nice if you have it, but any honey works.
- 1 teaspoon apple cider vinegar — Brightens everything up and cuts through the richness. Don’t skip this — it makes a difference.
- Pinch of salt and black pepper — Just to round out the flavors.
Equipment Needed
You don’t need a fancy kitchen to pull these off. Here’s what you’ll need:
- Baking sheet — A standard half-sheet pan works perfectly. Line it with parchment paper for easy cleanup. I’ve used foil in a pinch, but the bottoms don’t get as golden.
- Parchment paper — Trust me on this one. These little guys can stick, and peeling them off a bare pan is not fun.
- Sharp knife or pizza cutter — You’ll be cutting the dough into thin strips, and a pizza cutter makes this so much faster. A sharp chef’s knife works too, just be careful not to tear the dough.
- Pastry brush — For the egg wash. A silicone brush is my favorite because it doesn’t shed bristles. If you don’t have one, you can use a paper towel, but it’s messier.
- Small bowl — For whisking the egg wash.
- Small serving bowl — For the mustard dip.
- Cooling rack — Optional, but it helps keep the bottoms from getting soggy if you’re making a big batch.
If you’re making these for a crowd, I recommend having two baking sheets so you can bake them all at once. My first time making these, I only had one sheet and had to do two batches — the second batch sat around and the dough got a little sticky. Lesson learned.
Preparation Method
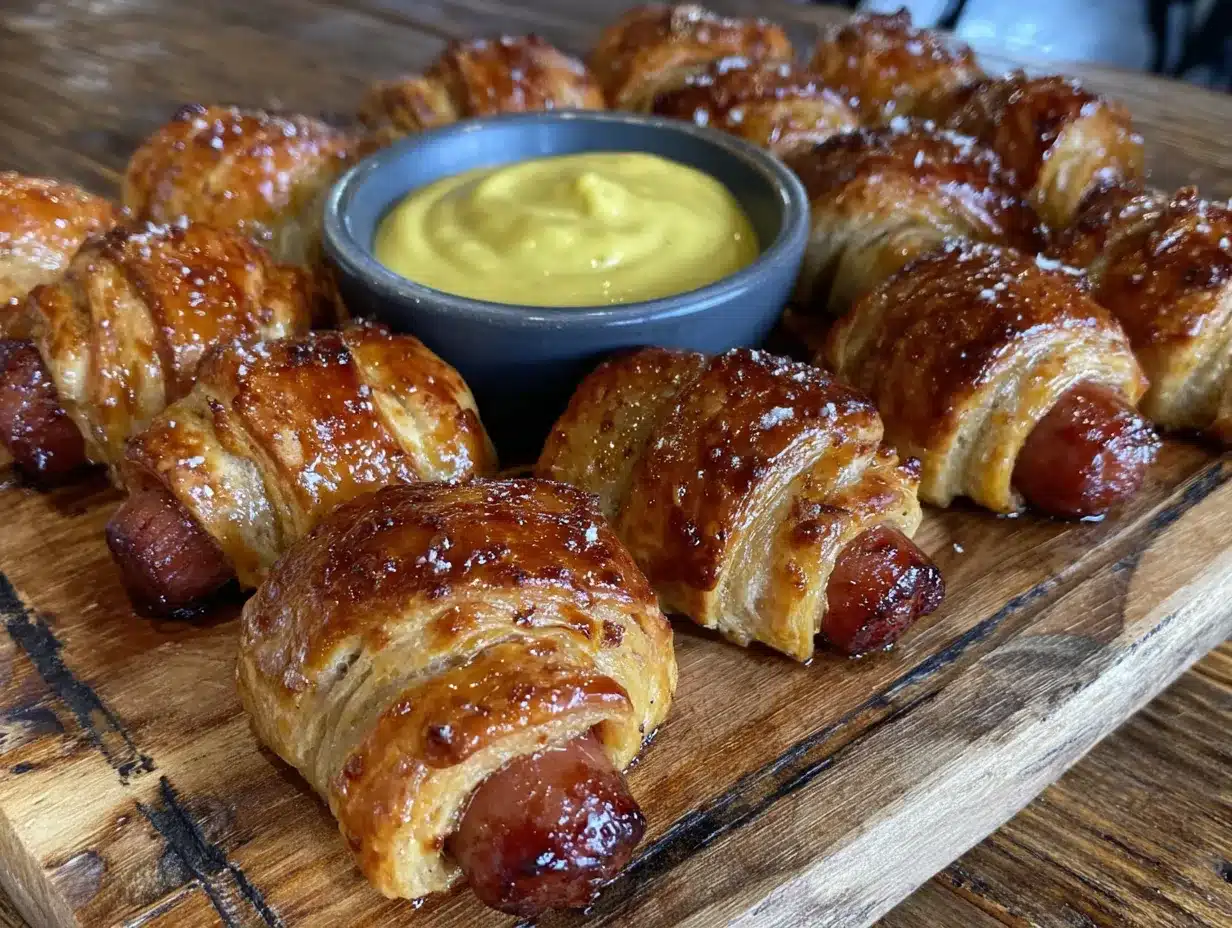
Let me walk you through this step by step. I’ve made these more times than I can count, so I’ve picked up a few tricks along the way.
- Preheat your oven to 375°F (190°C). Line a baking sheet with parchment paper. This is non-negotiable — the parchment makes cleanup a breeze and prevents sticking.
- Prepare the egg wash. Crack the egg into a small bowl, add the tablespoon of water, and whisk until smooth and frothy. Set it aside near your work station so you don’t forget about it later.
- Unroll the crescent dough. If you’re using the perforated kind, gently press the seams together with your fingers to create one solid sheet. You want it to be about 1/8-inch thick. If it’s too thick, the mummies look chunky instead of cute.
- Cut the dough into strips. Using a sharp knife or pizza cutter, slice the dough into thin strips about 1/4-inch wide and 4-5 inches long. You’ll need about 24 strips total. Don’t stress about making them perfect — mummies are supposed to look a little messy anyway. I’ve had strips that were uneven and they still turned out adorable.
- Wrap the sausages. Take one strip of dough and wrap it around a sausage, leaving a small gap near the top for the “eyes.” Start at the bottom and work your way up, slightly overlapping the dough as you go. The overlap is important — if you leave gaps, the sausage will peek through and it won’t look as mummy-like. Press the end of the dough gently to seal it. Repeat with all the sausages.
- Place on the baking sheet. Arrange the wrapped sausages on the prepared baking sheet, leaving about 1 inch of space between each one. They don’t spread much, but you want air to circulate so they get crispy all around.
- Brush with egg wash. Using your pastry brush, gently brush each mummy with the egg wash. Don’t soak them — a light, even coat is all you need. This is what gives them that gorgeous golden-brown color. I forgot to do this once, and they came out pale and sad. Don’t skip this step.
- Add the eyes. While the egg wash is still wet, press two mustard seeds or black sesame seeds into the exposed gap on each mummy. Press them in gently so they stick. If you’re using mustard seeds, they’ll look like glowing yellow eyes after baking. If you’re using black sesame seeds, they look more like creepy little dots. Both are great.
- Bake for 12-15 minutes. Place the sheet in the preheated oven and bake until the dough is golden brown and puffed. The exact time depends on your oven — I start checking at 12 minutes. You want them to be deeply golden, not just pale yellow. The sausages are already cooked, so you’re really just baking the dough.
- Cool slightly. Remove from the oven and let them cool on the baking sheet for 2-3 minutes. They’ll be incredibly hot straight out of the oven, and the dough needs a minute to set. Transfer them to a cooling rack if you have one, or serve them directly from the sheet.
- Make the mustard dip. While the mummies are baking, whisk together the sour cream, Dijon mustard, honey, apple cider vinegar, salt, and pepper in a small bowl. Taste it and adjust — I sometimes add a little more honey if I want it sweeter, or more mustard if I want it tangier. Cover and refrigerate until ready to serve.
- Serve warm. Arrange the mummies on a platter with the mustard dip in the center. They’re best served warm, but they’re still delicious at room temperature.
Cooking Tips & Techniques
I’ve made these mummies at least a dozen times now, and I’ve learned a few things the hard way. Let me save you some trouble.
Don’t overwork the dough. Crescent roll dough is delicate. If you handle it too much, it gets tough and doesn’t puff up as nicely. When you’re pressing the seams together or cutting strips, be gentle. I learned this after a batch came out looking like flat little bandages instead of fluffy mummies.
Keep the dough cold. If your kitchen is warm, the dough can get sticky and hard to work with. If that happens, pop the whole sheet of dough in the fridge for 10 minutes before cutting. I once made these on a hot summer day and the dough was practically melting in my hands — a quick chill saved the batch.
Watch the edges. The ends of the dough strips can burn if they’re too thin. If you notice some strips are thinner than others, tuck the ends underneath the sausage so they’re not exposed. This also makes the mummies look more polished.
Make ahead tip. You can assemble these up to 24 hours in advance. Just wrap them, place them on the baking sheet, cover tightly with plastic wrap, and refrigerate. Add the egg wash and eyes right before baking. I’ve done this for parties and it’s a lifesaver — you can focus on other things while these are in the oven.
Don’t overcrowd the pan. I know it’s tempting to cram as many as possible onto one sheet, but they need space to puff up. If they’re touching, they’ll steam instead of getting crispy. Use two sheets if you need to.
Test your oven temperature. Ovens run hot or cold sometimes. If your first batch comes out pale, bump the temperature up by 25 degrees. If they’re browning too fast, lower it. I ruined a batch because my oven was running 50 degrees hotter than the dial said.
Variations & Adaptations
One of the best things about this recipe is how flexible it is. Here are some ways to make it your own:
Spicy Mummies: Add a pinch of cayenne pepper or a dash of hot sauce to the mustard dip. I made this version for a game day party and it was a hit with the spice lovers. You can also use spicy smoked sausages instead of regular ones.
Cheesy Mummies: Before wrapping the sausage, tuck a thin strip of cheddar or mozzarella cheese between the dough and the sausage. The cheese melts and oozes out a little when you bite into it. I tried this with pepper jack once and it was incredible.
Vegetarian Version: Swap the smoked sausages for vegetarian cocktail sausages or even carrot sticks that have been roasted until tender. The dough wrapping works the same way. My vegetarian friend loved this version, though she said the carrot ones were a little trickier to wrap.
Gluten-Free Option: Use gluten-free crescent roll dough. It’s a little more delicate to work with, so be extra gentle when wrapping. The texture is slightly different, but the flavor is still great.
Different Dips: The mustard dip is my go-to, but you can also serve these with ketchup, ranch dressing, honey mustard, or even a spicy sriracha mayo. I once made a maple-dijon dip that was dangerously good.
Sweet Mummies: For a dessert version, use pancake sausages and wrap them in sweet biscuit dough. Brush with melted butter and cinnamon sugar instead of egg wash. Skip the mustard dip and serve with warm maple syrup. My kids went crazy for this version.
Serving & Storage Suggestions
These mummies are best served warm, fresh from the oven. The dough is flaky, the sausage is juicy, and the dip is cool and tangy — it’s a perfect combination. Arrange them on a platter in a circle or a fun pattern, with the mustard dip bowl in the center. If you’re serving them at a Halloween party, you can scatter some fake spider webs or plastic spiders around the platter for extra effect.
They pair beautifully with other party foods. I like to serve them alongside a veggie platter, some chips and dip, and maybe a spooky Halloween punch for the kids and something stronger for the adults. They also go great with a creamy pumpkin soup if you’re doing a sit-down dinner.
Storage: If you have leftovers (which is rare in my house), store them in an airtight container in the refrigerator for up to 3 days. The dough will soften a bit, but they’re still tasty.
Reheating: The best way to reheat them is in a 350°F oven for 5-7 minutes. This crisps the dough back up. Microwaving works in a pinch, but the dough gets chewy and soft. I’ve done it when I was desperate, and it’s fine, but not great.
Freezing: You can freeze the assembled, unbaked mummies. Place them on a baking sheet and freeze until solid, then transfer to a freezer bag. They’ll keep for up to 2 months. Bake from frozen, adding 2-3 minutes to the baking time. I’ve done this for holiday parties and it’s so convenient.
Flavor development: The mustard dip actually gets better after sitting in the fridge for a few hours. The flavors meld together and mellow out. I always make it the night before a party.
Nutritional Information & Benefits
Let’s be real — these are party appetizers, not health food. But here’s the approximate nutritional breakdown for one mummy with a tablespoon of dip:
- Calories: 120-140
- Protein: 4-5g
- Carbohydrates: 8-10g
- Fat: 8-10g
- Sodium: 350-400mg
The little smoked sausages are a good source of protein, and the sour cream in the dip provides some calcium. The mustard seeds, if you use them, contain antioxidants and anti-inflammatory compounds. But honestly, this is a treat — something fun for a party or a special occasion. I don’t worry about the numbers when I’m making these. They’re about joy, not nutrition.
Dietary considerations: This recipe contains gluten (from the crescent dough), dairy (from the egg wash and sour cream), and eggs. For a dairy-free version, use a plant-based egg wash (just water or plant milk) and a dairy-free yogurt for the dip. For a gluten-free version, use gluten-free crescent dough. Always check your ingredient labels if you’re cooking for someone with allergies.
If you’re watching your sodium intake, you can use low-sodium sausages, but the flavor won’t be quite as robust. I’ve tried it, and honestly, I prefer the regular version.
Conclusion
These Mummy Pigs in a Blanket are proof that sometimes the best recipes come from the worst situations. That power outage taught me something — you don’t need a complicated plan or fancy ingredients to make something people will remember. You just need a little creativity, a sense of humor, and the willingness to try something different.
I love this recipe because it’s forgiving. If your strips aren’t perfect, it doesn’t matter — mummies are supposed to look a little rough. If you burn a few, just eat them yourself and no one will know. It’s the kind of recipe that lets you relax and have fun, which is exactly what hosting should be about.
I’d love to hear how these turn out for you. Did you try a different dip? Did your kids help wrap them? Did you make them for a Halloween party or just a random Tuesday? Drop a comment below and let me know. And if you’re looking for more party-friendly recipes, check out my easy baked brie with cranberries — it’s another crowd-pleaser that comes together in minutes.
Happy cooking, and may your kitchen be full of happy accidents!
Frequently Asked Questions
Can I make these ahead of time for a party?
Absolutely! You can assemble them up to 24 hours in advance. Just wrap the sausages, place them on the baking sheet, cover with plastic wrap, and refrigerate. Add the egg wash and eyes right before baking. I do this all the time for parties — it makes hosting so much less stressful.
Can I use hot dogs instead of little smoked sausages?
Yes, but you’ll need to cut them into smaller pieces. I recommend cutting each hot dog into 4-5 pieces so they’re bite-sized. The baking time might need to increase by a minute or two since the pieces are larger. I’ve done this for kids’ parties and it works great.
My dough keeps tearing when I wrap the sausages. What am I doing wrong?
This usually happens when the dough is too warm. Pop it in the fridge for 10-15 minutes to firm up. Also, make sure you’re not stretching the dough too thin — strips should be about 1/4-inch wide. If they’re too thin, they’ll tear easily.
Can I use something other than crescent roll dough?
Sure! Puff pastry works beautifully — it’s even flakier. You can also use pizza dough or biscuit dough. Just adjust the baking time as needed. I’ve tried puff pastry and it was amazing, but it’s a little more work since you have to roll it out.
How do I get the eyes to stay on?
The key is to press them into the egg wash while it’s still wet. If the egg wash has dried, the seeds won’t stick. You can also use a tiny dab of mustard as “glue” to hold them in place. I’ve done both methods, and the egg wash works best.
Pin This Recipe!
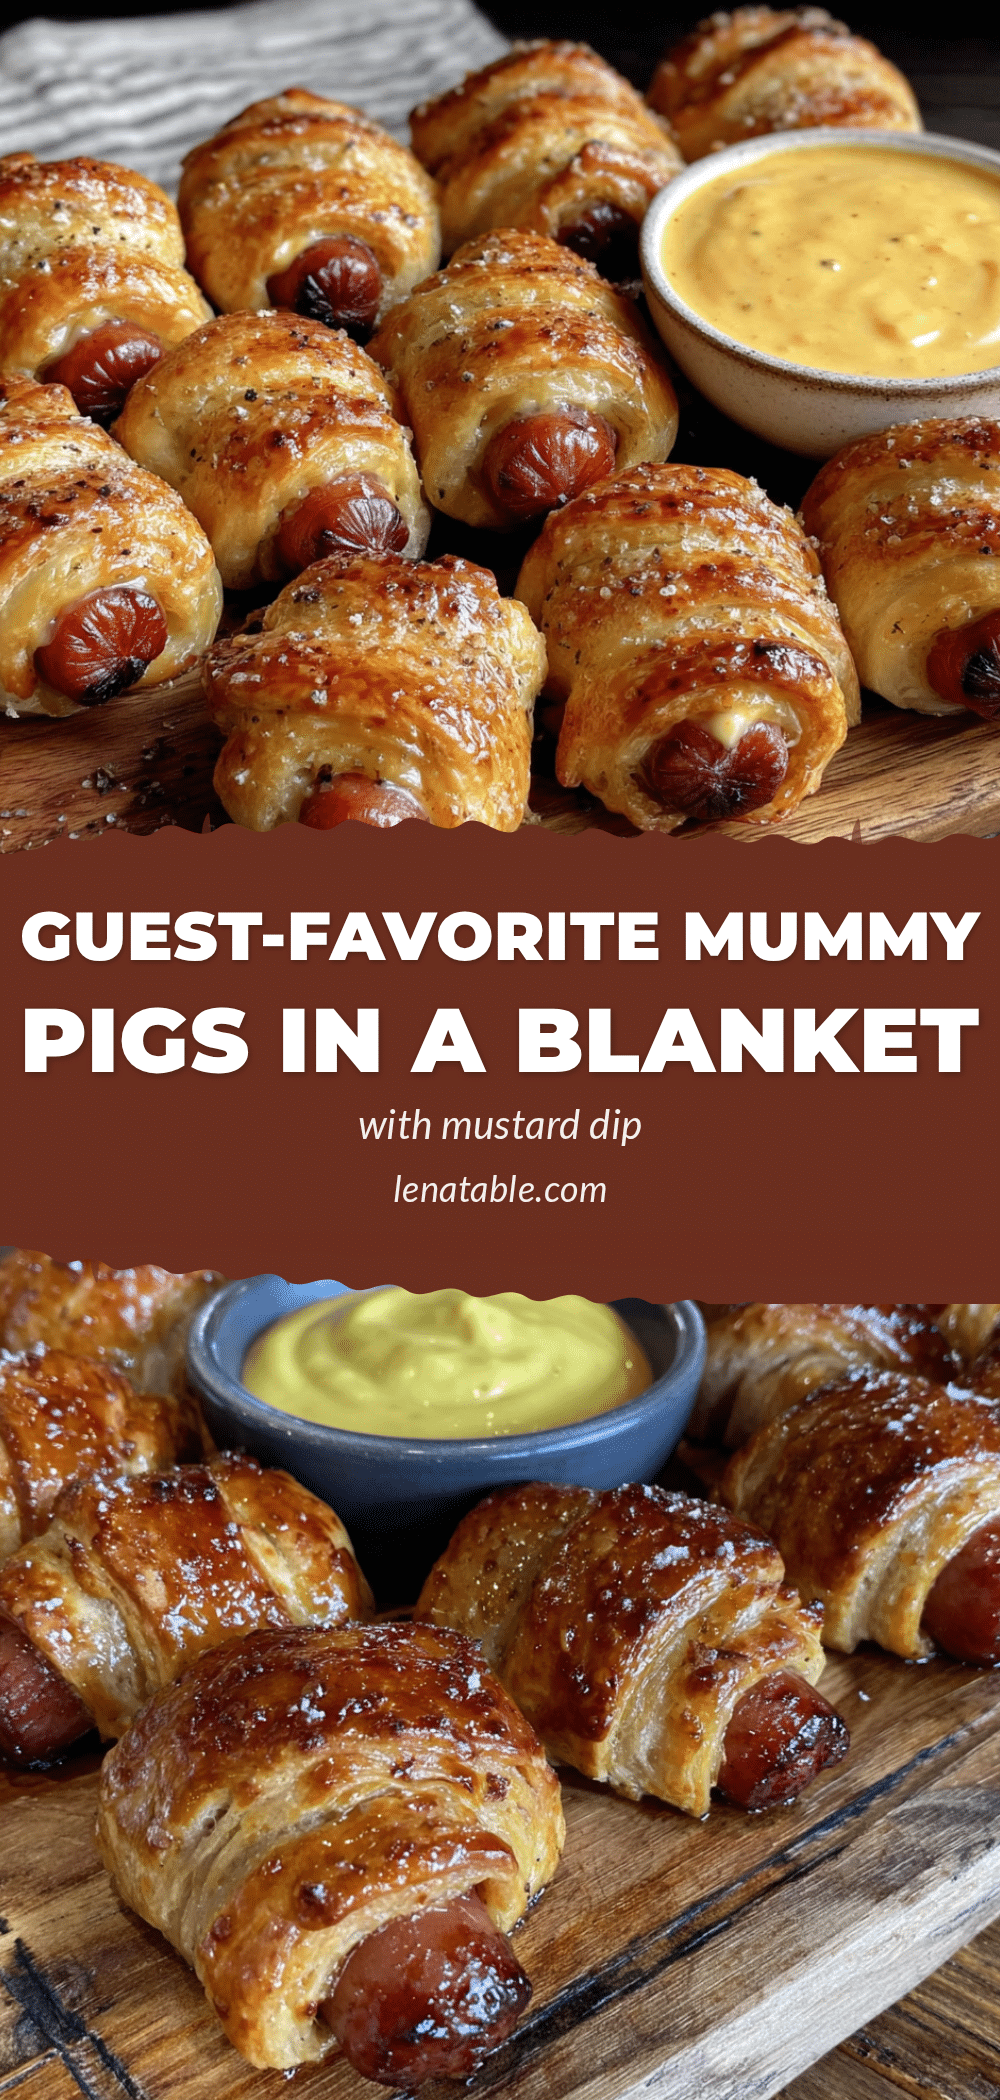
Best Mummy Pigs in a Blanket with Easy Mustard Dip

These Mummy Pigs in a Blanket are a fun and easy Halloween appetizer made with crescent roll dough wrapped around little smoked sausages, baked until golden, and served with a tangy mustard dip. Perfect for parties and guaranteed to disappear fast.
- Prep Time: 20 minutes
- Cook Time: 15 minutes
- Total Time: 35 minutes
- Yield: 24 servings 1x
- Category: Appetizer
- Cuisine: American
Ingredients
- 1 can (8 oz) refrigerated crescent roll dough
- 24 small smoked sausages or cocktail wieners
- 1 large egg
- 1 tablespoon water
- Mustard seeds or black sesame seeds (for eyes)
- 1/2 cup sour cream
- 2 tablespoons Dijon mustard
- 1 tablespoon honey
- 1 teaspoon apple cider vinegar
- Pinch of salt and black pepper
Instructions
- Preheat oven to 375°F (190°C). Line a baking sheet with parchment paper.
- Prepare the egg wash: crack the egg into a small bowl, add water, and whisk until smooth.
- Unroll the crescent dough. If using perforated dough, press seams together to form a solid sheet.
- Cut the dough into thin strips about 1/4-inch wide and 4-5 inches long (about 24 strips).
- Wrap each sausage with a strip of dough, leaving a small gap near the top for eyes. Start at the bottom and overlap slightly. Press the end to seal.
- Place wrapped sausages on the prepared baking sheet, about 1 inch apart.
- Brush each mummy lightly with egg wash.
- Press two mustard seeds or black sesame seeds into the exposed gap for eyes.
- Bake for 12-15 minutes, until golden brown and puffed.
- Cool on the baking sheet for 2-3 minutes.
- While baking, make the dip: whisk together sour cream, Dijon mustard, honey, apple cider vinegar, salt, and pepper in a small bowl. Refrigerate until ready to serve.
- Serve warm with the mustard dip.
Notes
You can assemble these up to 24 hours in advance and refrigerate. Add egg wash and eyes just before baking. For a gluten-free version, use gluten-free crescent roll dough. The mustard dip can be made a day ahead for better flavor.
Nutrition
- Serving Size: 1 mummy with 1 table
- Calories: 130
- Sugar: 2
- Sodium: 375
- Fat: 9
- Saturated Fat: 3
- Carbohydrates: 9
- Protein: 4
Keywords: mummy pigs in a blanket, Halloween appetizer, crescent roll sausages, easy party food, mustard dip


