Love this? Save it for later!
Share the inspiration with your friends
There used to be a little bakery tucked between a dry cleaner and a vintage shop on Main Street that made the most incredible pumpkin bars. When they closed three autumns ago—just a handwritten sign on the door saying “Thanks for the memories”—I honestly felt a little lost. Those bars were my October ritual. I’d grab one with a black coffee every Saturday morning, and that first bite of spiced, chewy pumpkin goodness was basically the official start of fall for me.
After maybe a dozen attempts—some too cakey, some that fell apart, one that my husband politely called “aggressively moist”—I finally cracked the code. These Chewy Pumpkin Chocolate Chip Cookie Bars are the ones. They have that dense, bendy texture that made the original so addictive, plus melty chocolate chips in every single bite. I mean, I actually squealed when I pulled the first successful batch out of the oven. My neighbor Karen came over to see what happened, and she left with half the pan. Worth it.
The secret, let me tell you, is all in how you handle the pumpkin. Too much and you’ve got pumpkin soup disguised as a bar. Too little and you might as well be eating a sugar cookie. But this version? It hits that sweet spot where the pumpkin flavor shines without making everything soggy. And the chocolate chips? They’re not optional. Trust me on this one. You know that feeling when you find a recipe that just works, no drama, no fuss? That’s this one. It’s the kind of bar you keep making all season long, and honestly, that’s exactly what I’ve been doing.
Why You’ll Love These Chewy Pumpkin Chocolate Chip Cookie Bars
Let me tell you why these bars have become my most-requested fall recipe. I’ve tested this thing six times—yes, six—to get the texture just right. My husband is a very willing taste tester, and my kids have declared these “better than the bakery ones.” That’s some serious praise in this house.
- Quick & Easy: From start to finish, you’re looking at about 35 minutes. No chilling the dough, no rolling individual cookies. Just mix, spread, bake, and devour.
- Simple Ingredients: You probably have most of this stuff already. Butter, sugar, eggs, flour—the usual suspects. The pumpkin is the star, and the chocolate chips do all the heavy lifting.
- Perfect for Fall Gatherings: These bars are made for potlucks, Halloween parties, Thanksgiving dessert tables, or just a Tuesday afternoon when you need something cozy.
- Crowd-Pleaser: I’ve brought these to three different events this season, and every single time, someone asks for the recipe. Kids love them. Adults love them. Even my friend who “doesn’t do pumpkin” ate three.
- Unbelievably Chewy: The texture is the thing here. They’re not cakey, not gooey, but perfectly chewy with slightly crisp edges. That’s the magic formula I spent weeks perfecting.
What makes these different from every other pumpkin bar recipe out there? It’s the technique. I use melted butter instead of creaming it, which gives you that dense, fudgy texture. And I add an extra egg yolk for richness without making things wet. The result is a bar that actually holds its shape, doesn’t get mushy, and delivers that pumpkin-spice-chocolate combo in every single bite. It’s comfort food reimagined—faster, simpler, but with the same soul-soothing satisfaction that makes you close your eyes after the first bite.
What Ingredients You Will Need
This recipe uses simple, wholesome ingredients to deliver that bold pumpkin flavor and chewy texture without any fuss. Most of these are pantry staples, which is exactly how I like it.
- Unsalted butter, melted and slightly cooled (1/2 cup, 1 stick) — I use Land O’Lakes because it’s consistent. Melting the butter instead of creaming it is what gives these bars their dense, chewy texture.
- Light brown sugar, packed (1 cup) — This adds moisture and that deep, caramel-like sweetness that pairs so well with pumpkin. Dark brown sugar works too, but the flavor will be more molasses-forward.
- Granulated sugar (1/4 cup) — Just a little to balance the brown sugar and help with spreading.
- Pumpkin purée (1/2 cup) — Make sure it’s 100% pumpkin purée, not pumpkin pie filling. I prefer Libby’s for its consistent thickness. If your purée looks watery, blot it with a paper towel before using.
- Large egg (1) — Room temperature, so it mixes in smoothly.
- Large egg yolk (1) — This extra yolk is my secret weapon. It adds richness and helps with that chewy texture without adding extra liquid.
- Vanilla extract (1 teaspoon) — Pure vanilla, not imitation. It makes a difference.
- All-purpose flour (1 and 3/4 cups) — Spoon and level it. Don’t scoop directly from the bag or you’ll end up with dry, crumbly bars.
- Baking soda (1/2 teaspoon) — Helps with spread and lift.
- Salt (1/2 teaspoon) — Balances the sweetness and brings out the pumpkin flavor.
- Pumpkin pie spice (1 and 1/2 teaspoons) — I use McCormick, but homemade works great too. If you don’t have it, use 1 teaspoon cinnamon, 1/4 teaspoon nutmeg, 1/4 teaspoon ginger, and a pinch of cloves.
- Cinnamon (1/2 teaspoon) — Extra warmth because you can never have too much cinnamon in a pumpkin recipe.
- Semi-sweet chocolate chips (1 cup) — I prefer Ghirardelli for the rich flavor. Milk chocolate makes these sweeter, dark chocolate gives a more grown-up vibe. Choose your adventure.
One thing I learned the hard way: don’t use fresh pumpkin purée for this recipe. It’s too watery and will make your bars soggy. Stick with canned for the best results. Also, if you’re using a different brand of chocolate chips, check the sweetness level. Some are sweeter than others, and you might want to adjust the sugar slightly.
Equipment Needed
You don’t need fancy equipment for these bars. That’s part of the beauty. Here’s what you’ll need:
- 9×9-inch baking pan — This is the perfect size for thick, chewy bars. An 8×8 works too, but your bars will be slightly thicker and可能需要 a few extra minutes in the oven.
- Parchment paper — I cannot stress this enough. Line your pan with parchment, leaving some overhang on two sides. It makes lifting the bars out so much easier. No scraping, no sticking, no drama.
- Mixing bowls — One medium for the wet ingredients, one large for the dry. Nothing fancy.
- Whisk — For mixing the wet ingredients smoothly.
- Rubber spatula — For folding everything together without overmixing.
- Measuring cups and spoons — Accurate measurements matter here, especially with the flour and pumpkin.
- Cooling rack — Letting the bars cool completely in the pan on a rack helps them set properly. If you try to cut them too soon, you’ll get a crumbly mess. Ask me how I know.
If you don’t have a 9×9 pan, a 9×13 will work—just know your bars will be thinner and bake faster. Check them at 15 minutes. And if you’re using a glass pan, reduce the oven temperature by 25°F to prevent over-browning.
Preparation Method
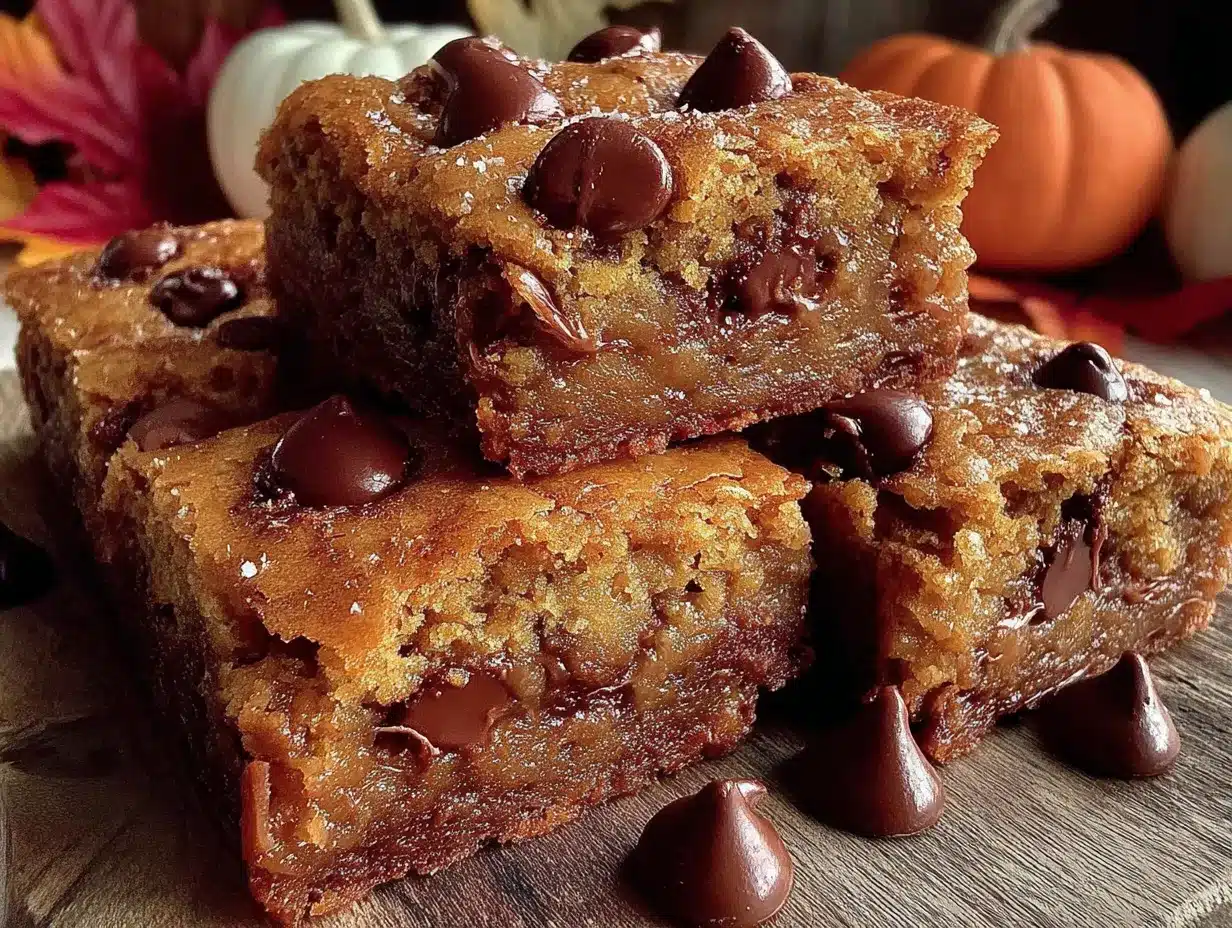
Alright, let’s make these bars. I’ve broken this down so even a beginner can nail it on the first try.
- Preheat your oven to 350°F (175°C). Line your 9×9-inch baking pan with parchment paper, leaving about 2 inches of overhang on two opposite sides. This is your handle for lifting the bars out later. Lightly spray the parchment with non-stick spray if you’re feeling extra cautious.
- Melt the butter. In a microwave-safe bowl, melt 1/2 cup of butter in 30-second bursts. Let it cool for about 5 minutes. You want it warm, not hot. If it’s too hot, it’ll cook the egg when you mix it in. I’ve done that. It’s not pretty.
- Mix the wet ingredients. In a medium bowl, whisk together the melted butter, brown sugar, and granulated sugar until smooth. It should look like wet sand. Add the pumpkin purée, egg, egg yolk, and vanilla extract. Whisk until everything is combined and smooth. Don’t worry if it looks a little separated—that’s normal.
- Combine the dry ingredients. In a large bowl, whisk together the flour, baking soda, salt, pumpkin pie spice, and cinnamon. Make sure there are no clumps of baking soda. I’ve missed one before, and biting into a pocket of baking soda is an experience you don’t want.
- Bring it together. Pour the wet ingredients into the dry ingredients. Use a rubber spatula to fold everything together gently. Stir just until you don’t see any more streaks of flour. A few lumps are totally fine. Overmixing will make the bars tough, and we want chewy, not tough.
- Add the chocolate chips. Fold in 1 cup of chocolate chips. Reserve about 2 tablespoons to sprinkle on top later. This makes the bars look prettier and ensures every bite has chocolate right at the surface.
- Spread the dough. Transfer the dough to your prepared pan. It will be thick and a little sticky. Use the spatula to spread it evenly into the corners. Wet your fingers slightly and press it down gently if it’s being stubborn. The dough should be about 1/2 inch thick.
- Sprinkle the reserved chocolate chips evenly over the top. Press them in lightly so they stick.
- Bake for 20-24 minutes. At 20 minutes, check the bars. The edges should be golden brown and set, and the center should look slightly underdone—a little puffy and soft. A toothpick inserted in the center should come out with a few moist crumbs, not wet batter. If it’s still jiggly, give it 2 more minutes. Every oven is different, so trust your eyes more than the timer.
- Cool completely. Place the pan on a cooling rack and let the bars cool for at least 30 minutes. This is crucial. If you try to cut them warm, they’ll crumble and fall apart. I know it’s hard to wait, but patience pays off here. After 30 minutes, use the parchment overhang to lift the entire block of bars out of the pan. Let them cool completely on the rack before slicing.
- Slice and serve. Use a sharp knife to cut into 16 squares. Wipe the knife clean between cuts for neat edges. Or just cut them however you want—they’re for you, after all.
Cooking Tips & Techniques
I’ve made these bars enough times to know where things can go wrong. Here’s what I’ve learned:
Don’t overmix the dough. This is the number one mistake. When you overmix, you develop too much gluten, and gluten makes things tough instead of chewy. Mix until the flour just disappears. A few streaks are fine. I promise they’ll bake out.
Watch the pumpkin. Pumpkin purée varies in water content. If your batter looks wetter than usual, add an extra tablespoon of flour. If it looks dry, add a teaspoon of milk. The dough should be thick and scoopable, not runny. I had one batch where the pumpkin was extra watery, and the bars spread into a thin, sad puddle. Learn from my mistake.
Use room temperature eggs. Cold eggs can seize the melted butter and create a lumpy batter. Set your egg out 30 minutes before you start, or place it in a bowl of warm water for 5 minutes. Simple fix.
Check your baking soda. If your baking soda is old, it won’t give the bars the right lift. Test it by dropping a little into vinegar. If it fizzes vigorously, you’re good. If not, buy a new box. It’s cheap insurance.
Bake on the middle rack. The middle rack gives the most even heat. If you bake too close to the top, the chocolate chips might burn before the bars are done. Too close to the bottom, and the bottom will get too dark.
Let them cool. I know I said this already, but it deserves repeating. Cooling sets the structure. If you cut too early, you’ll get a delicious but messy crumble. If you can wait until they’re completely cool, you’ll get clean, beautiful bars. The choice is yours.
Variations & Adaptations
This recipe is super flexible. Here are some ways to make it your own:
- Gluten-Free Version: Swap the all-purpose flour with a 1:1 gluten-free baking flour blend. I’ve used Bob’s Red Mill with great results. The texture will be slightly more tender, but still chewy and delicious.
- Dairy-Free Option: Use vegan butter or coconut oil instead of regular butter. Make sure your chocolate chips are dairy-free too. Enjoy Life makes great ones. The bars will be a little less rich, but still very tasty.
- Add Nuts: Fold in 1/2 cup of chopped pecans or walnuts along with the chocolate chips. The crunch adds a nice contrast to the soft, chewy bars. I do this when I’m feeling fancy.
- Swap the Chips: White chocolate chips, butterscotch chips, or even peanut butter chips all work beautifully. White chocolate and pumpkin is a classic combo. Butterscotch adds a caramel-like sweetness that’s perfect for fall.
- Spice It Up: Add 1/4 teaspoon of cardamom or allspice for a more complex spice profile. Or throw in a pinch of cayenne for a subtle heat that plays well with the chocolate.
- Make Them Vegan: Use a flax egg (1 tablespoon ground flaxseed + 3 tablespoons water) instead of the egg and extra yolk. Use vegan butter. The texture will be slightly different—more cakey than chewy—but still good.
I once made a batch with white chocolate chips and dried cranberries for a holiday party. They disappeared in 20 minutes. Sometimes the best variations come from what you have in the pantry.
Serving & Storage Suggestions
These bars are best served at room temperature, but they’re also amazing warm. If you want that just-baked experience, pop a bar in the microwave for 10 seconds. The chocolate gets all melty, and the pumpkin flavor feels extra cozy.
They pair beautifully with a hot cup of coffee, a chai latte, or a cold glass of milk. For a dessert spread, serve them alongside vanilla ice cream or a dollop of whipped cream. A drizzle of caramel sauce takes them over the top.
Storage: Store leftover bars in an airtight container at room temperature for up to 4 days. Layer them with parchment paper so they don’t stick together. If your kitchen is warm, you can refrigerate them, but let them come to room temperature before serving for the best texture.
Freezing: These bars freeze beautifully. Wrap individual bars in plastic wrap, then place them in a freezer-safe bag. They’ll keep for up to 3 months. To thaw, just leave them on the counter for about 30 minutes. Or microwave for 15 seconds if you’re impatient (like me).
The flavors actually develop over time. Day two, the pumpkin and spice flavors meld together even more. Day three, they’re still chewy and delicious. I’ve never had a batch last past day four, but I imagine they’d still be good.
Nutritional Information & Benefits
Here’s the approximate nutritional breakdown for one bar (based on 16 servings):
- Calories: 210
- Fat: 10g
- Carbohydrates: 30g
- Fiber: 1g
- Sugar: 18g
- Protein: 3g
These are a treat, not a health food, but they do have some redeeming qualities. Pumpkin is packed with vitamin A, which is great for your eyes and immune system. It’s also a good source of fiber and antioxidants. The chocolate chips contain flavonoids, which are linked to heart health. So, you know, there’s that.
If you’re watching your sugar intake, you can reduce the brown sugar to 3/4 cup and use dark chocolate chips, which have less sugar. The bars will be slightly less sweet but still delicious. For a lower-fat option, substitute half the butter with unsweetened applesauce. The texture will be a bit more cakey, but it works.
These bars contain gluten, dairy, and eggs. If you have allergies, check the variations section for suitable substitutions.
Conclusion
These Chewy Pumpkin Chocolate Chip Cookie Bars are everything I wanted them to be—and everything I missed from that little bakery on Main Street. They’re chewy, spiced, loaded with chocolate, and so easy to make that you’ll wonder why you ever bought pumpkin bars from a store. Honestly, they might even be better than the original. I mean that.
I hope you give these a try and make them your own. Add extra cinnamon if that’s your thing. Throw in some pecans. Use white chocolate chips. Whatever makes you happy. That’s the beauty of a simple recipe like this—it’s a starting point for your own kitchen adventures.
When you make them—and I know you will—come back and let me know how they turned out. Did you add anything? Change something? Did your family love them as much as mine does? I’d love to hear about it. Drop a comment below or tag me in your photos. Happy baking, friends. Fall is waiting.
Frequently Asked Questions
Can I use pumpkin pie filling instead of pumpkin purée?
No, don’t do that. Pumpkin pie filling has added sugar and spices, which will throw off the balance of the recipe. Stick with 100% pumpkin purée for the best results.
Why are my bars too cakey?
You probably overmixed the batter or used too much pumpkin purée. Overmixing develops gluten, which makes things cakey instead of chewy. Next time, mix just until the flour disappears, and make sure your pumpkin purée isn’t too watery.
Can I make these ahead of time?
Absolutely. These bars actually taste better the next day. Bake them, cool them completely, and store them in an airtight container. They’ll stay fresh for up to 4 days at room temperature.
Can I freeze the dough instead of baking it?
Yes! Press the dough into the pan, cover it tightly with plastic wrap and foil, and freeze for up to 3 months. When you’re ready to bake, let it thaw in the fridge overnight, then bake as directed. You might need to add a few extra minutes to the baking time.
Can I use a different pan size?
You can use an 8×8 pan for thicker bars, but you’ll need to increase the baking time by 3-5 minutes. For a 9×13 pan, the bars will be thinner and bake faster—check them at 15 minutes. Just keep an eye on them and use the toothpick test to know when they’re done.
Pin This Recipe!
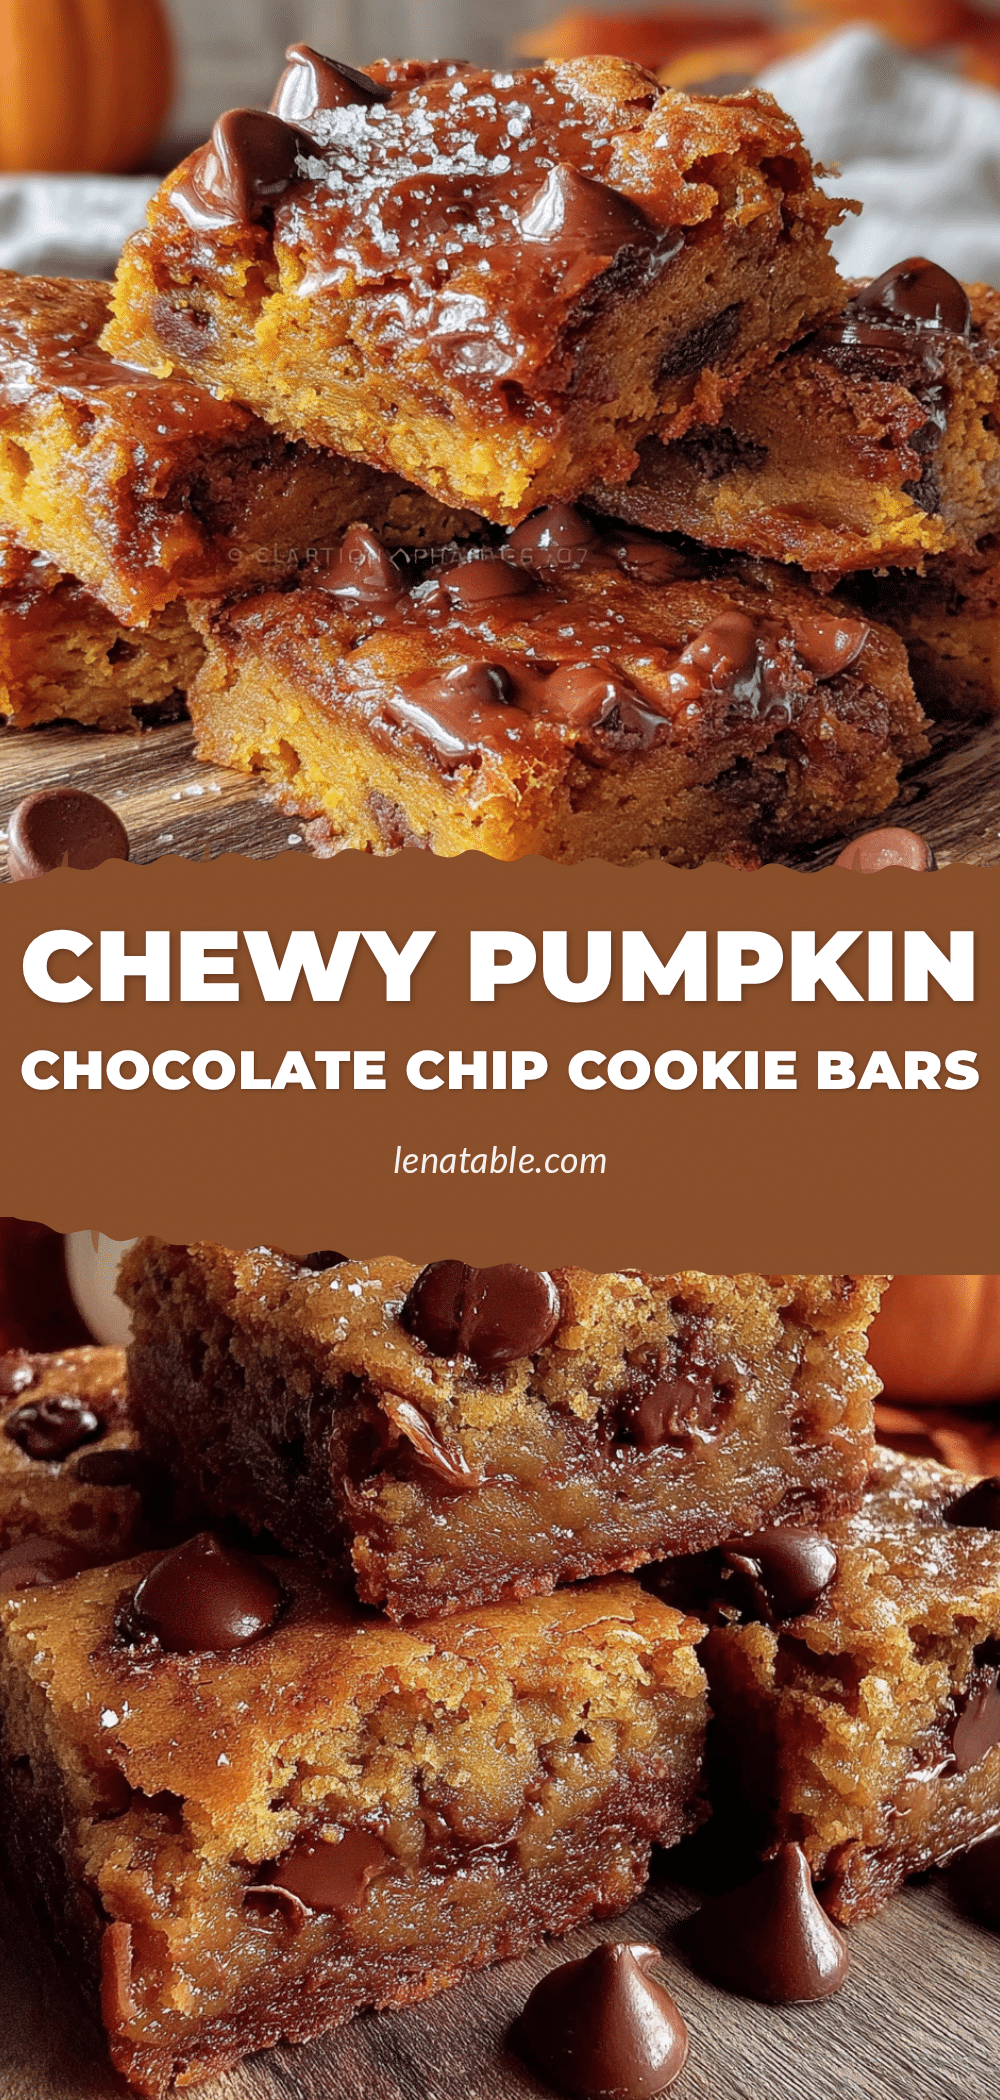
Chewy Pumpkin Chocolate Chip Cookie Bars: Easy Fall Dessert
These Chewy Pumpkin Chocolate Chip Cookie Bars are dense, bendy, and loaded with melty chocolate chips in every bite. They have that perfect chewy texture with slightly crisp edges, making them the ultimate fall dessert that comes together in just 35 minutes.
- Prep Time: 15 minutes
- Cook Time: 22 minutes
- Total Time: 37 minutes
- Yield: 16 servings 1x
- Category: Dessert
- Cuisine: American
Ingredients
- 1/2 cup (1 stick) unsalted butter, melted and slightly cooled
- 1 cup light brown sugar, packed
- 1/4 cup granulated sugar
- 1/2 cup pumpkin purée (100% pumpkin, not pie filling)
- 1 large egg, room temperature
- 1 large egg yolk
- 1 teaspoon pure vanilla extract
- 1 and 3/4 cups all-purpose flour, spooned and leveled
- 1/2 teaspoon baking soda
- 1/2 teaspoon salt
- 1 and 1/2 teaspoons pumpkin pie spice
- 1/2 teaspoon cinnamon
- 1 cup semi-sweet chocolate chips, plus 2 tablespoons for topping
Instructions
- Preheat your oven to 350°F (175°C). Line a 9×9-inch baking pan with parchment paper, leaving about 2 inches of overhang on two opposite sides. Lightly spray the parchment with non-stick spray if desired.
- Melt the butter in a microwave-safe bowl in 30-second bursts. Let it cool for about 5 minutes until warm, not hot.
- In a medium bowl, whisk together the melted butter, brown sugar, and granulated sugar until smooth. Add the pumpkin purée, egg, egg yolk, and vanilla extract. Whisk until combined and smooth.
- In a large bowl, whisk together the flour, baking soda, salt, pumpkin pie spice, and cinnamon until no clumps remain.
- Pour the wet ingredients into the dry ingredients. Use a rubber spatula to fold gently until just combined, with no streaks of flour. Do not overmix.
- Fold in 1 cup of chocolate chips. Reserve about 2 tablespoons for topping.
- Transfer the dough to the prepared pan. Spread evenly into the corners using the spatula. Wet your fingers slightly and press down gently if needed. The dough should be about 1/2 inch thick.
- Sprinkle the reserved chocolate chips evenly over the top and press them in lightly.
- Bake for 20-24 minutes. At 20 minutes, check: edges should be golden brown and set, center should look slightly underdone (puffy and soft). A toothpick inserted in the center should come out with a few moist crumbs, not wet batter.
- Place the pan on a cooling rack and let the bars cool for at least 30 minutes. Then use the parchment overhang to lift the entire block out of the pan. Let cool completely on the rack before slicing.
- Use a sharp knife to cut into 16 squares. Wipe the knife clean between cuts for neat edges.
Notes
Don’t use fresh pumpkin purée—it’s too watery. Stick with canned. Use room temperature eggs to prevent the melted butter from seizing. Let bars cool completely before cutting to avoid crumbling. For best texture, store at room temperature and serve warm (10 seconds in microwave).
Nutrition
- Serving Size: 1 bar
- Calories: 210
- Sugar: 18
- Sodium: 150
- Fat: 10
- Saturated Fat: 6
- Carbohydrates: 30
- Fiber: 1
- Protein: 3
Keywords: pumpkin bars, chocolate chip cookie bars, fall dessert, chewy pumpkin bars, easy pumpkin recipe, pumpkin chocolate chip


