Love this? Save it for later!
Share the inspiration with your friends
Introduction
“You know, I never planned on making apple pie that afternoon,” I said to myself as the smell of cinnamon and baked apples filled my kitchen. It was July 3rd, 2018, and the power flickered out just as I was about to start prepping dinner. Instead of panicking, I grabbed the basket of apples from the counter and decided to whip up something simple. The trick was, I only had butter left in the fridge for the crust, so I went all in with an all-butter crust – no shortcuts. Honestly, the crust turned out flaky and rich, balancing perfectly with the tart, cinnamon-spiced apples.
That pie became my go-to for every 4th of July since. Maybe you’ve been there: a sudden craving, a bit of improvisation, and bam – a new favorite recipe is born. This classic homemade 4th of July apple pie with an all-butter crust isn’t just dessert; it’s a little celebration on a plate. The flaky crust, the sweet-tart filling, and the memories baked right in make it a staple for summer gatherings and cozy nights alike.
Let me tell you, this recipe stayed with me because it’s straightforward but tastes like you spent hours perfecting it. Plus, that buttery crust? It’s a game changer. It’s the kind of pie that makes people close their eyes after the first bite, savoring every crumb. So, if you’re ready for a classic that feels like home and holiday magic all rolled into one, keep reading.
Why You’ll Love This Recipe
After testing countless apple pie recipes (and yes, burning a few crusts along the way), this one stands out for several reasons:
- Quick & Easy: Comes together in about 1 hour and 45 minutes, including baking. Perfect for busy summer afternoons before fireworks!
- Simple Ingredients: No fancy add-ins or weird preservatives—just fresh apples, pantry staples, and pure butter for that rich crust.
- Perfect for 4th of July: Nothing says Independence Day like a homemade apple pie served with a scoop of vanilla ice cream.
- Crowd-Pleaser: Whether kids or adults, everyone asks for seconds (and sometimes thirds).
- Unbelievably Delicious: That flaky all-butter crust gives it a tender, melt-in-your-mouth texture that’s hard to beat.
What makes this recipe different? It’s the crust. Many pies use shortening or a mix, but going full butter brings a depth of flavor and flakiness that feels downright indulgent. Plus, the filling’s balance of tart and sweet apples with just the right hint of cinnamon and nutmeg keeps each bite exciting. You won’t find a soggy bottom here—just perfectly crisp edges and a juicy center.
This pie isn’t just dessert; it’s comfort food that reminds you of summer evenings and laughter. If you want a pie that’s easy enough for a weekday but impressive enough for holiday guests, this is it.
What Ingredients You Will Need
This recipe uses simple, wholesome ingredients to deliver bold flavor and satisfying texture without the fuss. Most are pantry staples, and you can easily find fresh apples during the summer or fall seasons.
- For the crust:
- 2 ½ cups (315g) all-purpose flour (King Arthur Flour recommended for best structure)
- 1 tsp salt
- 1 tbsp granulated sugar (optional, adds slight sweetness)
- 1 cup (225g) unsalted butter, cold and cut into small cubes (I swear by Plugrá for that rich butter flavor)
- 4-6 tbsp ice water (adjust as needed to bring dough together)
- For the filling:
- 6-7 medium apples (about 3 lbs / 1.4 kg) – I like a mix of Granny Smith for tartness and Honeycrisp for sweetness
- ¾ cup (150g) granulated sugar
- ¼ cup (50g) light brown sugar, packed
- 2 tbsp all-purpose flour (helps thicken the filling)
- 1 ½ tsp ground cinnamon
- ¼ tsp ground nutmeg
- 1 tsp vanilla extract
- 1 tbsp lemon juice (to brighten flavors and prevent browning)
- 1 tbsp unsalted butter, cut into small pieces (for dotting on top before baking)
- For the topping (optional):
- 1 egg, beaten with 1 tbsp water (for egg wash)
- Coarse sugar, for sprinkling (adds a nice crunch and sparkle)
Pro Tip: If you want to make this gluten-free, swap the all-purpose flour in the crust for a high-quality gluten-free blend. Also, feel free to adjust the sweetness based on your apples’ tartness. And yes, you can use salted butter if that’s what you have—just reduce the added salt slightly in the dough.
Equipment Needed
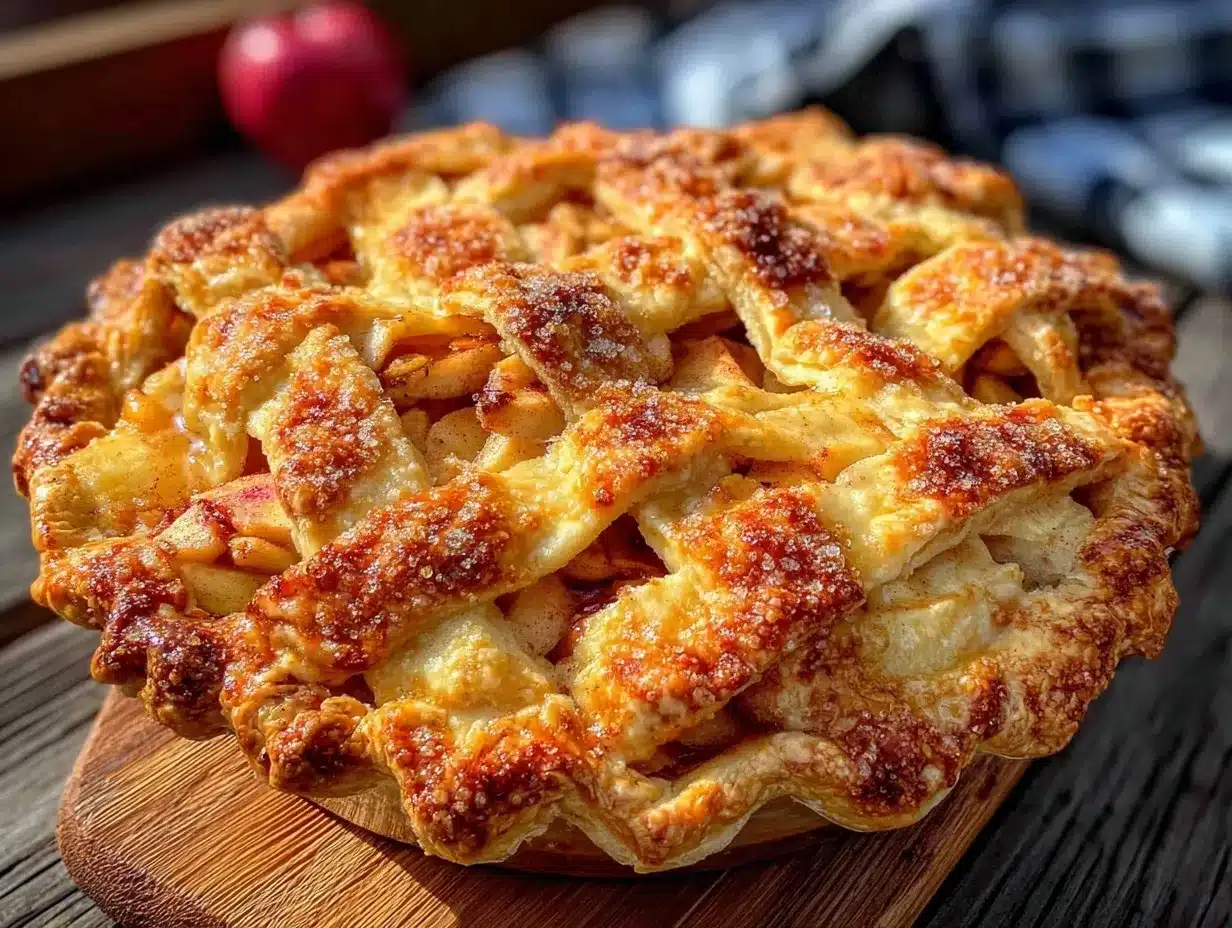
Here’s what you’ll want to have handy to nail this classic homemade 4th of July apple pie:
- 9-inch (23 cm) pie dish: Glass or ceramic works best—glass lets you check the crust’s bottom browning.
- Mixing bowls: One large for the filling and one for the dough.
- Pastry cutter or food processor: To cut butter into flour for the crust. Alternatively, two knives or your fingers work too, but be careful not to overwork the dough.
- Rolling pin: Essential for rolling out the dough evenly. A floured silicone mat helps prevent sticking.
- Sharp paring knife or apple corer: For peeling, coring, and slicing apples.
- Pastry brush: For the egg wash on the crust.
- Cooling rack: To let the pie rest after baking and avoid sogginess.
If you don’t have a pastry cutter, honestly, I’ve used my hands plenty of times—just keep the butter cold and don’t overmix. Also, for budget-friendly options, a wooden rolling pin and a sturdy glass pie dish work wonders without breaking the bank.
Preparation Method
- Prepare the crust: In a large mixing bowl, whisk together 2 ½ cups (315g) all-purpose flour, 1 tsp salt, and 1 tbsp sugar. Add the cold, cubed butter. Using a pastry cutter or your fingers, quickly cut the butter into the flour mixture until it resembles coarse crumbs with pea-sized pieces of butter. This usually takes about 3-5 minutes. Tip: Keep the butter cold to get that flaky texture.
- Add ice water: Sprinkle 4 tbsp of ice water over the mixture. Gently toss with a fork or your hands. Add more water, 1 tbsp at a time, until the dough just starts to come together when pressed. Avoid adding too much water to keep the dough from becoming sticky. Form the dough into two discs, wrap in plastic wrap, and refrigerate for at least 1 hour. Note: Chilling is key to prevent shrinking later.
- Prepare the filling: Peel, core, and slice the apples into ¼-inch (6 mm) thick slices. In a large bowl, combine the sliced apples with ¾ cup granulated sugar, ¼ cup brown sugar, 2 tbsp flour, 1 ½ tsp cinnamon, ¼ tsp nutmeg, 1 tsp vanilla extract, and 1 tbsp lemon juice. Toss everything until the apples are evenly coated. Set aside to macerate while you roll out the dough. This takes about 15 minutes.
- Roll out the bottom crust: On a lightly floured surface, roll one dough disc into a 12-inch (30 cm) circle, about ⅛-inch (3 mm) thick. Transfer it to the pie dish, easing it into the edges without stretching. Trim excess dough to leave about a 1-inch (2.5 cm) overhang.
- Add the filling: Spoon the apple mixture into the crust, piling it slightly higher in the center. Dot the filling with small pieces of the 1 tbsp unsalted butter. This adds richness and helps create a glossy finish inside.
- Roll out the top crust: Roll the second dough disc into a similar 12-inch (30 cm) circle. For a classic look, either place it whole over the filling or cut into strips to make a lattice. If using a whole top, cut slits for steam vents. Trim and fold the edges under the bottom crust overhang, then crimp with your fingers or a fork to seal.
- Apply egg wash: Brush the top crust gently with the beaten egg wash. Sprinkle with coarse sugar for sparkle and crunch. This step adds color and texture.
- Bake the pie: Preheat your oven to 425°F (220°C). Place the pie on the middle rack and bake for 15 minutes. Then reduce the oven temperature to 350°F (175°C) and bake for another 40-50 minutes, or until the crust is golden brown and the filling is bubbling. If the edges brown too quickly, cover them with foil or a pie shield halfway through baking.
- Cool the pie: Remove the pie from the oven and place it on a cooling rack. Let it cool for at least 2 hours before slicing. This resting time helps the filling thicken and the flavors meld.
Helpful hint: If you forget to chill the dough long enough like I once did on a hectic July morning, the crust can become tough. So, patience here really pays off. Also, keep an eye on the pie while baking; ovens vary, and you want that perfect golden crust.
Cooking Tips & Techniques
Making an apple pie that’s both flaky and flavorful requires a few insider tricks I picked up over the years:
- Keep everything cold: Cold butter and chilled dough are your best friends. Warm butter melts too fast, leading to a dense crust.
- Don’t overwork the dough: Mix just until combined. Over-kneading develops gluten, making the crust tough.
- Mix apple varieties: Combining tart Granny Smith and sweet Honeycrisp apples gives your filling a complex, balanced flavor and texture.
- Use flour to thicken: Tossing apples with a bit of flour prevents a soggy pie by absorbing excess juices.
- Watch your oven: Start with high heat to set the crust, then lower to cook through without burning.
- Rest before slicing: Cutting too soon causes the filling to run. Waiting lets the filling set beautifully.
Learned the hard way: one time, I skipped the egg wash and ended up with a dull, pale crust—definitely not the festive look I wanted for July 4th! And I once forgot to add lemon juice; the apples browned too quickly and lost their punch. So, these little steps make a big difference.
Variations & Adaptations
This classic apple pie is versatile, and you can easily adapt it to suit your tastes or dietary needs.
- Gluten-Free: Substitute the all-purpose flour in the crust with a gluten-free blend like Bob’s Red Mill 1-to-1. The texture will be slightly different but still delicious.
- Vegan Version: Swap the butter in the crust for a cold vegan butter or coconut oil, and use a flax egg (1 tbsp ground flaxseed + 3 tbsp water) for the egg wash.
- Spiced Up: Add a pinch of ground cloves or cardamom to the filling for a warm, aromatic twist.
- Mini Pies: Make individual 4-inch pies using a muffin tin for portable treats perfect for picnics or potlucks.
- Personal Favorite: I sometimes mix in a handful of chopped toasted pecans into the filling for extra crunch and nutty flavor—highly recommended if you want a surprise texture.
If you want to switch up the baking, try making hand pies with this dough for a quicker, no-slice-needed dessert. The all-butter crust holds up beautifully in smaller portions.
Serving & Storage Suggestions
This classic homemade 4th of July apple pie is best served warm or at room temperature. A scoop of vanilla ice cream or a dollop of whipped cream on the side takes it to another level. For a festive touch, serve with a sprinkle of fresh mint or a drizzle of caramel sauce.
Store leftover pie covered loosely with foil or plastic wrap in the refrigerator for up to 4 days. To freeze, wrap tightly in plastic wrap and then foil and freeze for up to 3 months. Thaw overnight in the refrigerator.
Reheat slices in a 350°F (175°C) oven for 10-15 minutes to bring back that fresh-baked warmth. Microwave works in a pinch but can make the crust a bit soggy.
Over time, the flavors meld and deepen, making this pie even tastier the next day—if it lasts that long! It’s a joy to enjoy with family or friends, and honestly, sometimes I find myself sneaking a slice just to relive those first-bite memories.
Nutritional Information & Benefits
Each slice (1/8 of the pie) delivers approximately:
| Calories | 320 kcal |
|---|---|
| Carbohydrates | 45g |
| Fat | 14g |
| Protein | 2g |
| Fiber | 3g |
Apples provide a good dose of dietary fiber and Vitamin C, while the butter in the crust adds richness and fat that helps keep you satisfied. This recipe is naturally free of nuts, making it allergy-friendly for many, though always double-check if serving guests with allergies.
For those watching carbs, consider smaller slices or pairing with a protein-rich side. The homemade nature means no preservatives or added chemicals, which is always a comforting thought when indulging in dessert.
Conclusion
This classic homemade 4th of July apple pie with an all-butter crust is a timeless recipe that brings comfort, celebration, and a bit of buttery magic to your table. It’s simple enough for a weekend baking project but special enough to impress your guests on Independence Day or any occasion.
Feel free to customize the filling or crust as you like—after all, the best recipes are the ones you make your own. I love how every bite of this pie reminds me of that power outage day turned unexpected baking adventure and the joy that came from it.
Give it a try, and let me know how your pie turns out! Share your tweaks, stories, or questions in the comments—I’d love to hear from you. Happy baking and happy 4th of July!
FAQs
What type of apples work best for apple pie?
Using a mix of tart and sweet apples like Granny Smith and Honeycrisp gives the best flavor and texture balance. Avoid very soft apples that turn mushy when baked.
Can I make the pie crust ahead of time?
Absolutely! You can prepare and chill the dough discs for up to 2 days in advance, wrapped tightly in plastic wrap.
How do I prevent a soggy bottom crust?
Make sure to toss the apples with flour to absorb excess juices, and bake the pie on the middle rack in a preheated oven. Using a glass pie dish helps monitor browning too.
Can I freeze this apple pie?
Yes, wrap the baked pie tightly in plastic and foil, then freeze for up to 3 months. Thaw overnight in the fridge before reheating.
What’s the best way to reheat leftover pie?
Reheat in a 350°F (175°C) oven for 10-15 minutes to keep the crust crisp. Avoid microwaving if possible, as it can make the crust soggy.
Pin This Recipe!
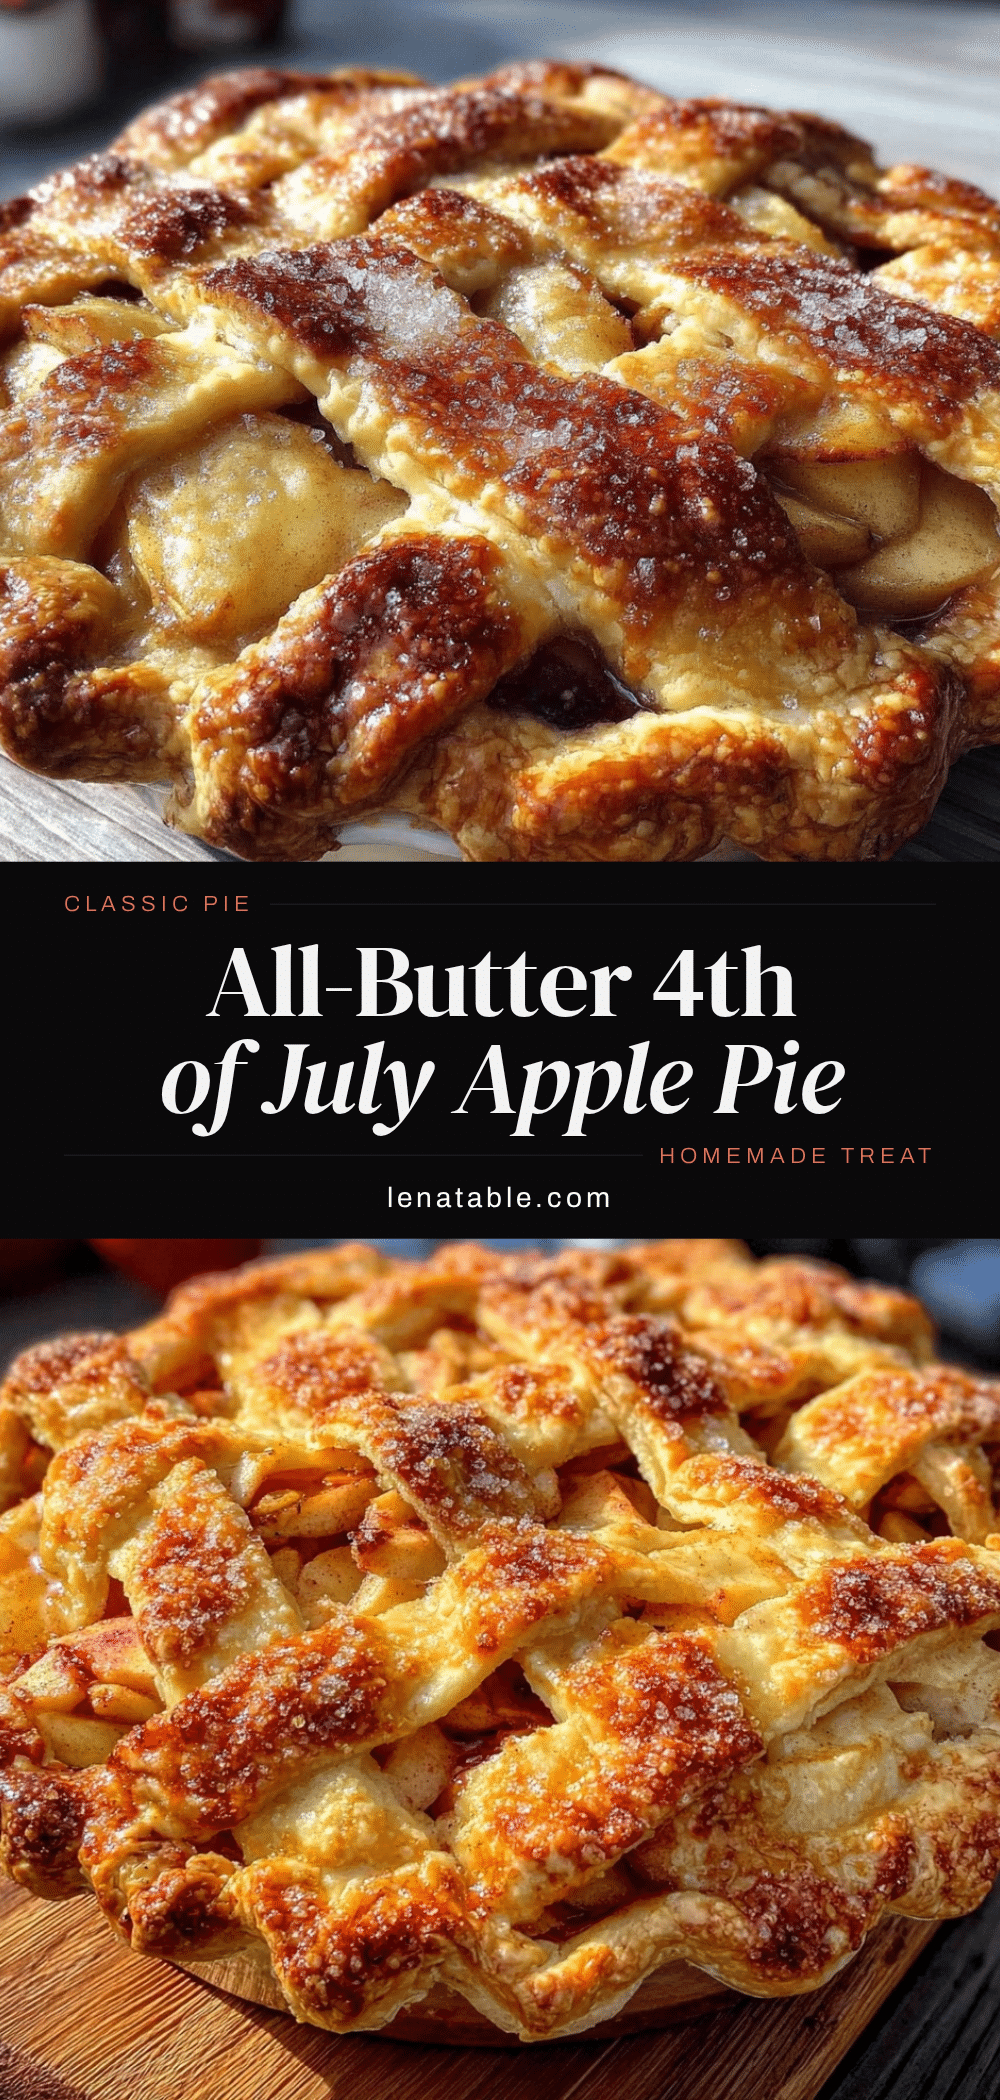
Classic Homemade 4th of July Apple Pie Easy All-Butter Crust Recipe
A classic homemade apple pie featuring a flaky all-butter crust and a sweet-tart cinnamon-spiced apple filling, perfect for 4th of July celebrations and cozy summer nights.
- Prep Time: 30 minutes
- Cook Time: 1 hour 5 minutes
- Total Time: 1 hour 35 minutes
- Yield: 8 servings 1x
- Category: Dessert
- Cuisine: American
Ingredients
- 2 ½ cups (315g) all-purpose flour
- 1 tsp salt
- 1 tbsp granulated sugar (optional)
- 1 cup (225g) unsalted butter, cold and cut into small cubes
- 4–6 tbsp ice water
- 6–7 medium apples (about 3 lbs / 1.4 kg), mix of Granny Smith and Honeycrisp
- ¾ cup (150g) granulated sugar
- ¼ cup (50g) light brown sugar, packed
- 2 tbsp all-purpose flour
- 1 ½ tsp ground cinnamon
- ¼ tsp ground nutmeg
- 1 tsp vanilla extract
- 1 tbsp lemon juice
- 1 tbsp unsalted butter, cut into small pieces
- 1 egg, beaten with 1 tbsp water (for egg wash, optional)
- Coarse sugar, for sprinkling (optional)
Instructions
- Prepare the crust: In a large mixing bowl, whisk together 2 ½ cups all-purpose flour, 1 tsp salt, and 1 tbsp sugar. Add cold, cubed butter and cut into flour mixture until coarse crumbs with pea-sized pieces form (3-5 minutes). Keep butter cold.
- Add ice water: Sprinkle 4 tbsp ice water over mixture and gently toss. Add more water 1 tbsp at a time until dough just comes together. Form dough into two discs, wrap in plastic, and refrigerate at least 1 hour.
- Prepare filling: Peel, core, and slice apples into ¼-inch slices. In a large bowl, combine apples with ¾ cup granulated sugar, ¼ cup brown sugar, 2 tbsp flour, 1 ½ tsp cinnamon, ¼ tsp nutmeg, 1 tsp vanilla extract, and 1 tbsp lemon juice. Toss to coat and set aside for 15 minutes.
- Roll out bottom crust: On floured surface, roll one dough disc into 12-inch circle about ⅛-inch thick. Transfer to 9-inch pie dish, easing into edges without stretching. Trim excess dough leaving 1-inch overhang.
- Add filling: Spoon apple mixture into crust, piling slightly higher in center. Dot with 1 tbsp unsalted butter pieces.
- Roll out top crust: Roll second dough disc into 12-inch circle. Place whole over filling or cut into strips for lattice. Cut slits for steam vents if whole. Trim and fold edges under bottom crust overhang, then crimp to seal.
- Apply egg wash: Brush top crust with beaten egg wash and sprinkle with coarse sugar for sparkle and crunch.
- Bake pie: Preheat oven to 425°F. Bake pie on middle rack for 15 minutes. Reduce temperature to 350°F and bake 40-50 minutes until crust is golden and filling bubbles. Cover edges with foil if browning too fast.
- Cool pie: Remove from oven and cool on rack at least 2 hours before slicing to let filling thicken and flavors meld.
Notes
Keep butter and dough cold for flaky crust. Do not overwork dough to avoid toughness. Use a mix of tart and sweet apples for balanced flavor. Toss apples with flour to prevent soggy crust. Rest pie at least 2 hours before slicing. Cover edges with foil if browning too quickly. Egg wash adds color and sparkle.
Nutrition
- Serving Size: 1 slice (1/8 of pie)
- Calories: 320
- Fat: 14
- Carbohydrates: 45
- Fiber: 3
- Protein: 2
Keywords: apple pie, 4th of July, all-butter crust, homemade pie, cinnamon apple pie, summer dessert, classic apple pie


