Love this? Save it for later!
Share the inspiration with your friends
There used to be a charming little bakery tucked away in a bustling corner of downtown Portland that made these unforgettable colorful ABC building block cake pops. When they unexpectedly closed one spring, I was honestly crushed. Those cake pops weren’t just desserts; they were tiny bursts of joy that turned every party into a whimsical celebration. I remember this one afternoon, trying to replicate the exact texture and vibrant colors in my cramped kitchen while my cat knocked over a bowl of sprinkles—I was a mess. After about a dozen attempts—some too crumbly, some too sweet—I finally got it right.
Let me tell you, chasing that perfect bite was worth every sticky finger and frosting smear. I mean, maybe you’ve been there with a recipe that just won’t cooperate until one day it does, and suddenly it feels like magic. These colorful ABC building block cake pops have stuck with me ever since because they’re not just cake; they’re a playful way to celebrate learning, birthdays, or just any fun moment. I’m excited to share the recipe that finally hit the mark and brought that bakery’s spirit back to life in my kitchen.
Why You’ll Love This Recipe
This colorful ABC building block cake pops recipe is one of those treats that’s as fun to make as it is to eat. Honestly, it’s been tested by my friends, my kid’s classmates, and even a couple of picky eaters, and it always wins big. Here’s why it’s a must-try:
- Quick & Easy: Comes together in under 60 minutes, perfect for last-minute celebrations or spontaneous creativity bursts.
- Simple Ingredients: No need for specialty stores—just basic pantry staples and a few colorful touches.
- Perfect for Fun Celebrations: Great for birthday parties, classroom treats, or any occasion where a little whimsy is welcome.
- Crowd-Pleaser: Kids love the bright colors and playful shapes, while adults appreciate the moist, flavorful cake.
- Unbelievably Delicious: The balance of sweet cake and smooth frosting is spot-on; these pops aren’t just cute, they’re seriously tasty.
What makes this version stand out is the technique I use to shape the cake into perfect little blocks and the way the frosting blends in for a smooth but firm texture. Plus, the bright edible letter decorations add that nostalgic building block vibe that’s hard to find anywhere else. Honestly, this recipe is comforting and playful all at once — the kind that reminds you of childhood but with grown-up flavors and no fuss.
What Ingredients You Will Need
This recipe uses simple, wholesome ingredients to deliver bold flavor and satisfying texture without any fuss. Most of these are pantry staples, and substituting is a breeze if you need to adjust for allergies or preferences.
- For the Cake:
- All-purpose flour – 2 cups (240g), sifted for a light texture
- Baking powder – 1 ½ teaspoons (6g), to give the cake a nice rise
- Salt – ¼ teaspoon (1g), just a pinch to balance sweetness
- Unsalted butter – ½ cup (115g), softened (I prefer Land O’Lakes for consistent results)
- Granulated sugar – 1 cup (200g), for sweet but not overpowering taste
- Large eggs – 2, room temperature (helps with fluffiness)
- Vanilla extract – 2 teaspoons (10ml), pure for the best aroma
- Whole milk – ½ cup (120ml), room temperature (can swap with almond milk if needed)
- Food coloring gel – assorted colors (for the building block effect; I like AmeriColor gels for vibrant hues)
- For the Frosting & Binding:
- Cream cheese – 8 oz (225g), softened (adds tang and moisture)
- Powdered sugar – 1 ½ cups (180g), sifted for smoothness
- Vanilla extract – 1 teaspoon (5ml)
- For Decoration:
- White chocolate or candy melts – 12 oz (340g), for coating (use colored melts for extra fun)
- Edible alphabet letter sprinkles or candy letters – enough to decorate each block
- Colored sanding sugar or nonpareils – optional, for extra sparkle
- Wooden or paper lollipop sticks – 20 to 24 pieces
You can swap the all-purpose flour for gluten-free flour blends if needed. Also, if you want a dairy-free version, try coconut cream cheese alternatives and dairy-free milk options. For seasonal twists, using natural fruit powders for coloring can add subtle flavors too.
Equipment Needed
- Mixing bowls – at least two (one for cake batter, one for frosting)
- Electric mixer or stand mixer – essential for smooth batter and frosting
- Baking pans – 8×8 inch (20×20 cm) square pan works best to keep the block shape
- Cooling racks – to cool the cake evenly
- Food-safe gloves – optional, but helpful for shaping and decorating
- Lollipop sticks – sturdy enough to hold cake pops without bending
- Microwave-safe bowls – for melting chocolate or candy melts
- Styrofoam block or cake pop stand – handy for drying dipped pops upright
- Offset spatula or butter knife – for spreading frosting smoothly
If you don’t own a stand mixer, a strong hand mixer will do the trick, though it might take a little longer. I learned the hard way that using a silicone spatula for folding ingredients helps keep the batter light and airy. For melting chocolate, go slow in short bursts in the microwave to avoid burning.
Preparation Method
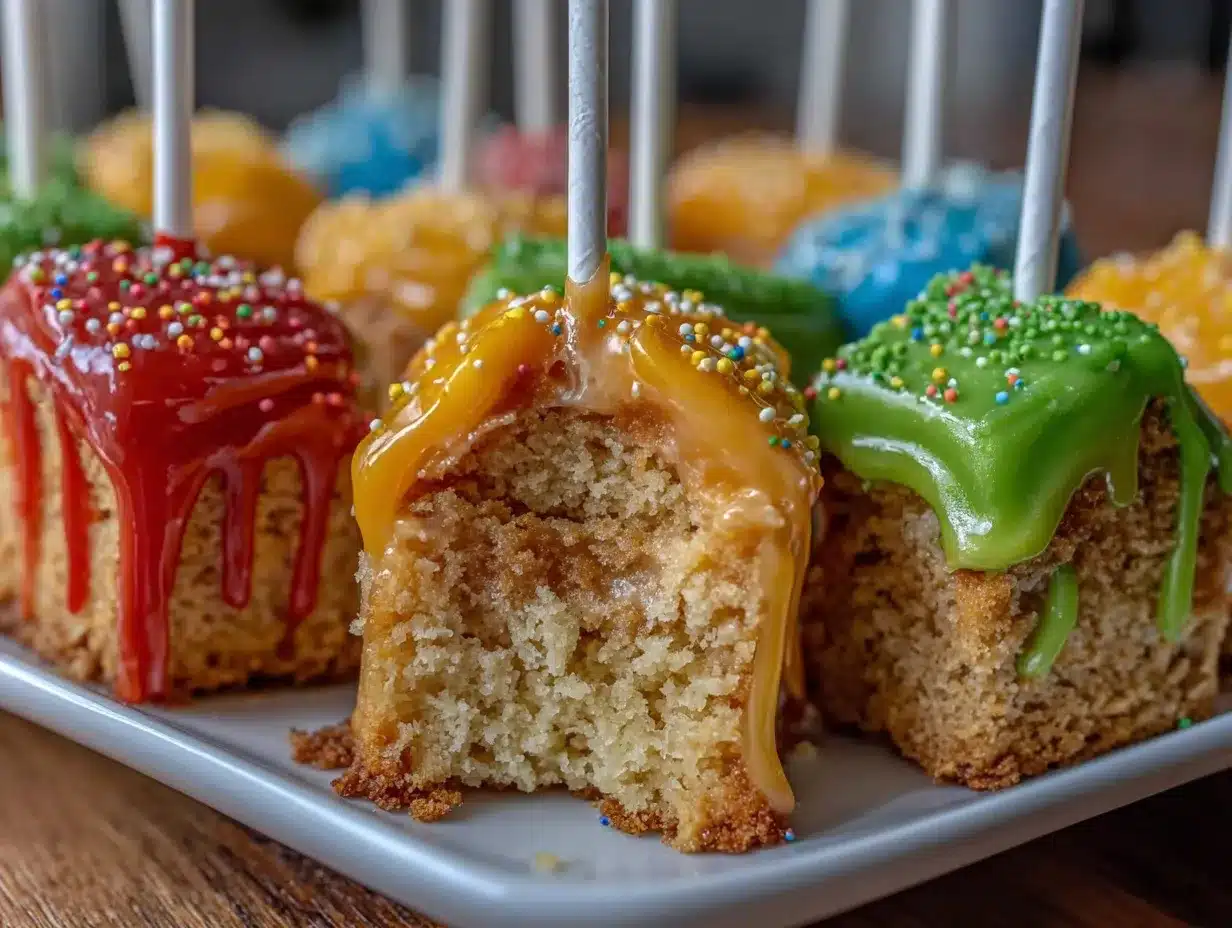
- Preheat your oven to 350°F (175°C). Grease and flour an 8×8 inch (20×20 cm) square baking pan or line it with parchment paper for easy removal. This step ensures your cake releases cleanly into perfect blocks.
- Mix dry ingredients: In a medium bowl, sift together 2 cups (240g) of all-purpose flour, 1 ½ teaspoons (6g) baking powder, and ¼ teaspoon (1g) salt. Set aside.
- Cream butter and sugar: In a large bowl, beat ½ cup (115g) softened butter with 1 cup (200g) granulated sugar until light and fluffy—about 3 to 4 minutes. This is where your mixer earns its keep, creating that smooth base.
- Add eggs and vanilla: Beat in 2 large eggs one at a time, followed by 2 teaspoons (10ml) vanilla extract. Make sure each egg is fully incorporated before adding the next.
- Alternate adding dry ingredients and milk: Gradually add the flour mixture in thirds, alternating with ½ cup (120ml) whole milk, starting and ending with flour. Mix gently to avoid overworking the batter.
- Divide and color: Split the batter evenly into 3 or 4 small bowls, depending on how many colors you want. Add a few drops of food coloring gel to each bowl and gently fold until the color is uniform.
- Layer the colors: Pour the colored batters side by side into the prepared pan to create a marbled, building-block effect. Use a toothpick or skewer to swirl the colors slightly, but don’t overmix.
- Bake: Place in the oven and bake for 30 to 35 minutes, or until a toothpick inserted in the center comes out clean. The cake should spring back lightly when pressed.
- Cool completely: Let the cake cool in the pan for 15 minutes, then transfer to a cooling rack until fully cooled. This step is crucial to avoid melting your frosting later.
- Prepare frosting: Beat 8 oz (225g) softened cream cheese with 1 ½ cups (180g) powdered sugar and 1 teaspoon (5ml) vanilla extract until smooth and creamy. Chill in the fridge for 10 minutes if it feels too soft.
- Crumble and mix: Crumble the cooled cake into a large bowl, then add ½ cup (120g) of the cream cheese frosting. Mix gently until the mixture is moist enough to hold shapes but not too sticky.
- Shape the blocks: Using your hands or a small cookie scoop, form the mixture into small rectangular blocks resembling building blocks—about 1½ inches (4 cm) per side. Place on parchment-lined trays.
- Insert sticks: Dip the tip of each lollipop stick in melted white chocolate, then insert halfway into each cake block. This helps the stick stay put once dipped.
- Chill: Refrigerate the cake pops for at least 1 hour, or until firm enough to dip without falling apart.
- Melt coating: Melt 12 oz (340g) white chocolate or candy melts in a microwave-safe bowl in 30-second bursts, stirring until smooth.
- Dip and decorate: Dip each chilled cake pop into the melted coating, letting excess drip off. Quickly add edible alphabet letters to mimic the ABC blocks and sprinkle colored sanding sugar if desired. Place upright in a stand to set.
- Set and serve: Allow the coating to harden completely at room temperature or in the fridge before serving. Enjoy the colorful fun!
Cooking Tips & Techniques
Making these colorful ABC building block cake pops taught me a few tricks that really make a difference. First, don’t rush the cooling process—warm cake mixed with frosting can get too soft and fall apart. Patience here pays off.
When mixing the frosting into the crumbled cake, go easy at first. Too much frosting makes the mixture gooey, which is tricky to shape. I always start with half a cup and add more if needed.
For the dipping, keep your melted chocolate warm but not hot. If it’s too thick, thin it out with a teaspoon of vegetable oil. Too hot, and it’ll melt your cake pops.
Also, I learned that dipping the stick tip in chocolate before inserting it into the cake pop really helps secure it. Otherwise, your pops might wobble or fall off during dipping.
Finally, work in small batches when decorating so the coating doesn’t set before you finish. Setting up a “decorating station” with all your toppings within reach makes the process smoother.
Variations & Adaptations
- Dietary: Swap regular cream cheese for dairy-free cream cheese and use gluten-free flour to make these cake pops allergen-friendly.
- Seasonal: In fall, add a pinch of cinnamon and nutmeg to the batter for a cozy twist. In summer, swap food coloring gels for natural beet or matcha powders.
- Flavor: Mix in finely chopped nuts or mini chocolate chips into the crumbled cake for extra texture. You can also experiment with flavored extracts like almond or lemon instead of vanilla.
- Cooking methods: Instead of baking in a pan, use a cake pop mold for uniform shapes, though I find the pan method gives a more authentic block look.
- Personal twist: I once tried adding a thin layer of peanut butter between the cake layers before crumbling—it was a delightful surprise for peanut lovers!
Serving & Storage Suggestions
These colorful ABC building block cake pops are best served at room temperature, allowing the coating to stay crisp but the cake inside soft. They make a perfect centerpiece for kids’ parties or fun classroom events.
Pair them with simple drinks like cold milk, lemonade, or even a sparkling berry punch to keep the festive mood going strong.
To store, place the cake pops in an airtight container lined with parchment paper in a single layer. They keep well in the refrigerator for up to 5 days. For longer storage, freeze them for up to a month—just let them thaw in the fridge before serving.
Reheating isn’t really needed, but if you want the cake inside a little softer, bring to room temperature for about 30 minutes. The flavors actually deepen with a day or two in the fridge, so they’re great to make ahead.
Nutritional Information & Benefits
Each colorful ABC building block cake pop contains approximately 180 calories, 7g of fat, 25g of carbohydrates, and 2g of protein. While these are treats, they include real cream cheese and are made from scratch, which means fewer preservatives and additives compared to store-bought alternatives.
The use of real butter and cream cheese provides a source of calcium and vitamin A, and you can control sugar amounts to suit your dietary preferences. For families mindful of allergens, the recipe’s flexibility allows easy swaps for gluten-free or dairy-free options.
Personally, I find this recipe a fun way to bring a little homemade goodness to celebrations without overloading on artificial ingredients. It’s a treat that feels like a special experience, not just empty calories.
Conclusion
These colorful ABC building block cake pops are more than just a recipe; they’re a joyful project and a playful treat that brings smiles every time. Whether you’re baking for a birthday, a classroom party, or just because, this recipe makes it easy to create something memorable and fun.
Feel free to tweak the colors, flavors, or decorations to match your event or personal taste. Honestly, that’s part of the fun. I keep coming back to this recipe because it reminds me of those afternoons chasing that perfect bakery bite and the happiness it brings.
Give it a try, and I’d love to hear how your colorful cake pops turn out or any creative twists you add. Share your stories and photos—it’s always a blast to see how this simple recipe sparks your own celebrations!
Frequently Asked Questions
- Can I use a boxed cake mix instead of homemade batter? Yes, you can substitute with a boxed cake mix to save time, but homemade batter gives a better texture and flavor for shaping.
- How do I prevent the cake pops from falling off the sticks? Dip the stick tip in melted chocolate before inserting into the cake block and chill well before dipping to secure the bond.
- What’s the best way to store leftover cake pops? Keep them in an airtight container in the refrigerator for up to 5 days or freeze for longer storage.
- Can I make these cake pops without food coloring? Absolutely, the cake will still taste great. You can also use natural colorings like beet powder or matcha for subtle hues.
- Is there a way to make these cake pops less sweet? You can reduce the sugar slightly in both the cake and frosting or use less sugary candy melts for coating.
Pin This Recipe!
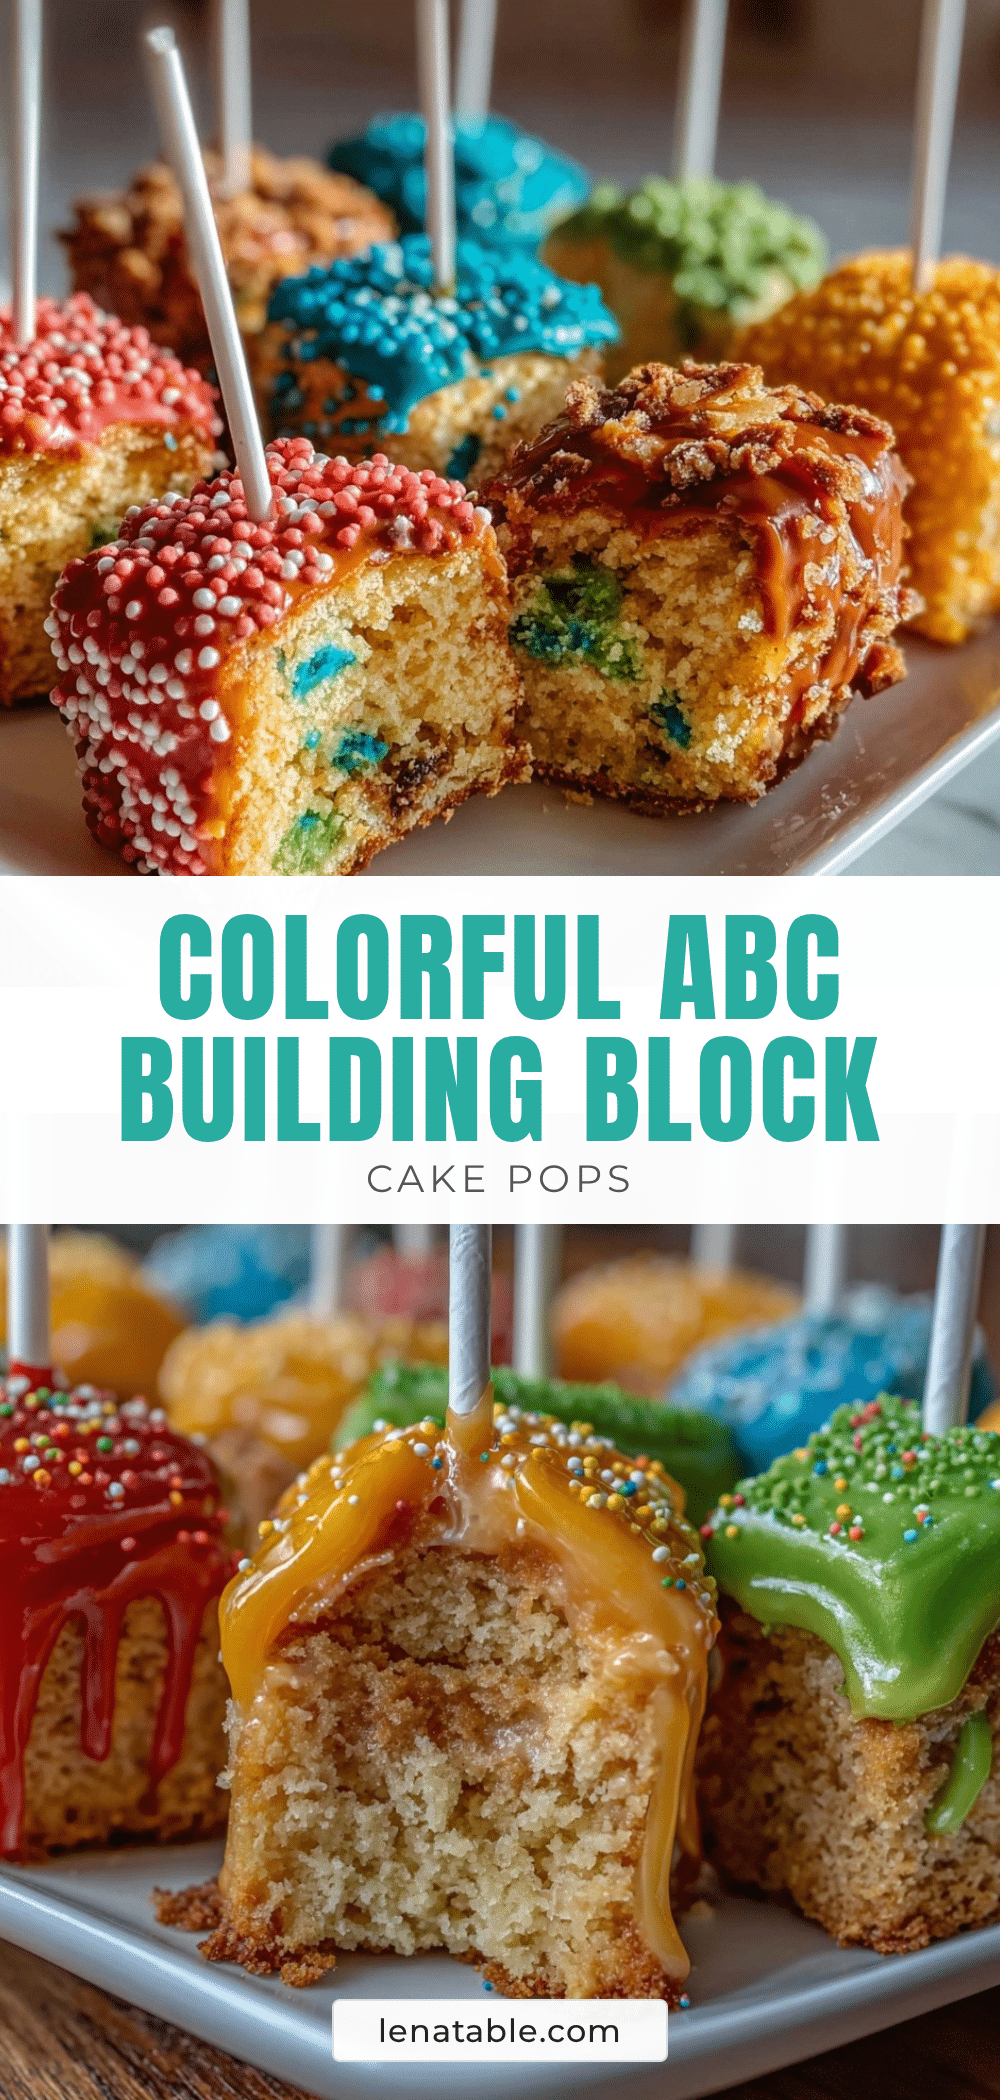
Colorful ABC Building Block Cake Pops

These colorful ABC building block cake pops are fun to make and perfect for celebrations, combining moist cake with smooth frosting and vibrant edible decorations.
- Prep Time: 25 minutes
- Cook Time: 35 minutes
- Total Time: 1 hour 30 minutes
- Yield: 20 to 24 cake pops 1x
- Category: Dessert
- Cuisine: American
Ingredients
- 2 cups (240g) all-purpose flour, sifted
- 1 ½ teaspoons (6g) baking powder
- ¼ teaspoon (1g) salt
- ½ cup (115g) unsalted butter, softened
- 1 cup (200g) granulated sugar
- 2 large eggs, room temperature
- 2 teaspoons (10ml) vanilla extract
- ½ cup (120ml) whole milk, room temperature
- Food coloring gel, assorted colors
- 8 oz (225g) cream cheese, softened
- 1 ½ cups (180g) powdered sugar, sifted
- 1 teaspoon (5ml) vanilla extract
- 12 oz (340g) white chocolate or candy melts
- Edible alphabet letter sprinkles or candy letters
- Colored sanding sugar or nonpareils (optional)
- 20 to 24 wooden or paper lollipop sticks
Instructions
- Preheat oven to 350°F (175°C). Grease and flour an 8×8 inch (20×20 cm) square baking pan or line with parchment paper.
- In a medium bowl, sift together flour, baking powder, and salt. Set aside.
- In a large bowl, beat softened butter and granulated sugar until light and fluffy, about 3 to 4 minutes.
- Beat in eggs one at a time, then add vanilla extract, mixing fully after each addition.
- Gradually add flour mixture in thirds, alternating with milk, starting and ending with flour. Mix gently.
- Divide batter evenly into 3 or 4 bowls. Add food coloring gel to each and fold until uniform color.
- Pour colored batters side by side into the pan to create a marbled building-block effect. Swirl slightly with a toothpick.
- Bake for 30 to 35 minutes or until a toothpick inserted in the center comes out clean.
- Cool cake in pan for 15 minutes, then transfer to a cooling rack until completely cooled.
- Beat cream cheese, powdered sugar, and vanilla extract until smooth. Chill if too soft.
- Crumble cooled cake into a large bowl. Add ½ cup (120g) of cream cheese frosting and mix gently until moist but not sticky.
- Shape mixture into small rectangular blocks about 1½ inches (4 cm) per side. Place on parchment-lined trays.
- Dip tip of each lollipop stick in melted white chocolate, then insert halfway into each cake block.
- Refrigerate cake pops for at least 1 hour until firm.
- Melt white chocolate or candy melts in microwave-safe bowl in 30-second bursts, stirring until smooth.
- Dip each chilled cake pop into melted coating, letting excess drip off. Quickly add edible letters and optional sanding sugar.
- Place dipped pops upright in a stand to set. Allow coating to harden completely before serving.
Notes
Do not rush cooling to prevent cake pops from falling apart. Start with ½ cup frosting when mixing with crumbled cake to avoid gooey texture. Dip stick tips in melted chocolate before inserting to secure. Melt chocolate slowly in microwave to avoid burning. Work in small batches when decorating to prevent coating from setting too soon.
Nutrition
- Serving Size: 1 cake pop
- Calories: 180
- Fat: 7
- Carbohydrates: 25
- Protein: 2
Keywords: cake pops, colorful cake pops, ABC cake pops, building block cake pops, kids party dessert, fun celebration treats


