Love this? Save it for later!
Share the inspiration with your friends
Introduction
I was restocking groceries last Friday evening when the faint scent of vanilla from a nearby candle caught me off guard — and suddenly I was eight again, sitting cross-legged on the cracked kitchen tiles of my childhood home. My Aunt Marlene was humming softly as she scraped the tiny black seeds from a vanilla bean pod, her fingers stained with the fragrant paste that promised something magical. I remember the cracked ceramic bowl she used, chipped just so, and the way she’d let me lick the spoon, insisting it was the best part of making her ice cream. Honestly, I forgot half the ingredients the first time I tried recreating that creamy vanilla bean ice cream myself, and, well, there was a minor kitchen disaster involving a spilled can of condensed milk and a very sticky floor. But despite the mess, that recipe stuck with me—not just for the sweetness but because it was simple, honest, and utterly comforting. Maybe you’ve been there too, chasing a taste or a smell that feels just out of reach. This creamy no-churn vanilla bean ice cream recipe is my way of holding onto that little moment, and I’m excited to share it with you.
Why You’ll Love This Recipe
Let me tell you, this creamy no-churn vanilla bean ice cream isn’t your everyday frozen treat. I’ve tested it in my kitchen more times than I can count, tweaking it until the texture felt just right and the flavor really popped. Here’s why you’ll want to make this 3-ingredient delight next time you crave something sweet and simple:
- Quick & Easy: Comes together in under 10 minutes, no ice cream maker needed — perfect for spontaneous dessert cravings or busy weeknights.
- Simple Ingredients: Uses just heavy cream, sweetened condensed milk, and real vanilla bean — you probably already have these on hand.
- Perfect for Any Occasion: Whether it’s a casual family dinner or a small gathering, this ice cream is a guaranteed crowd-pleaser.
- Crowd-Pleaser: Kids and adults alike rave about the rich, creamy texture and the subtle warmth of vanilla bean.
- Unbelievably Delicious: The natural vanilla bean seeds add a real depth of flavor that’s miles ahead of plain vanilla extract-based recipes.
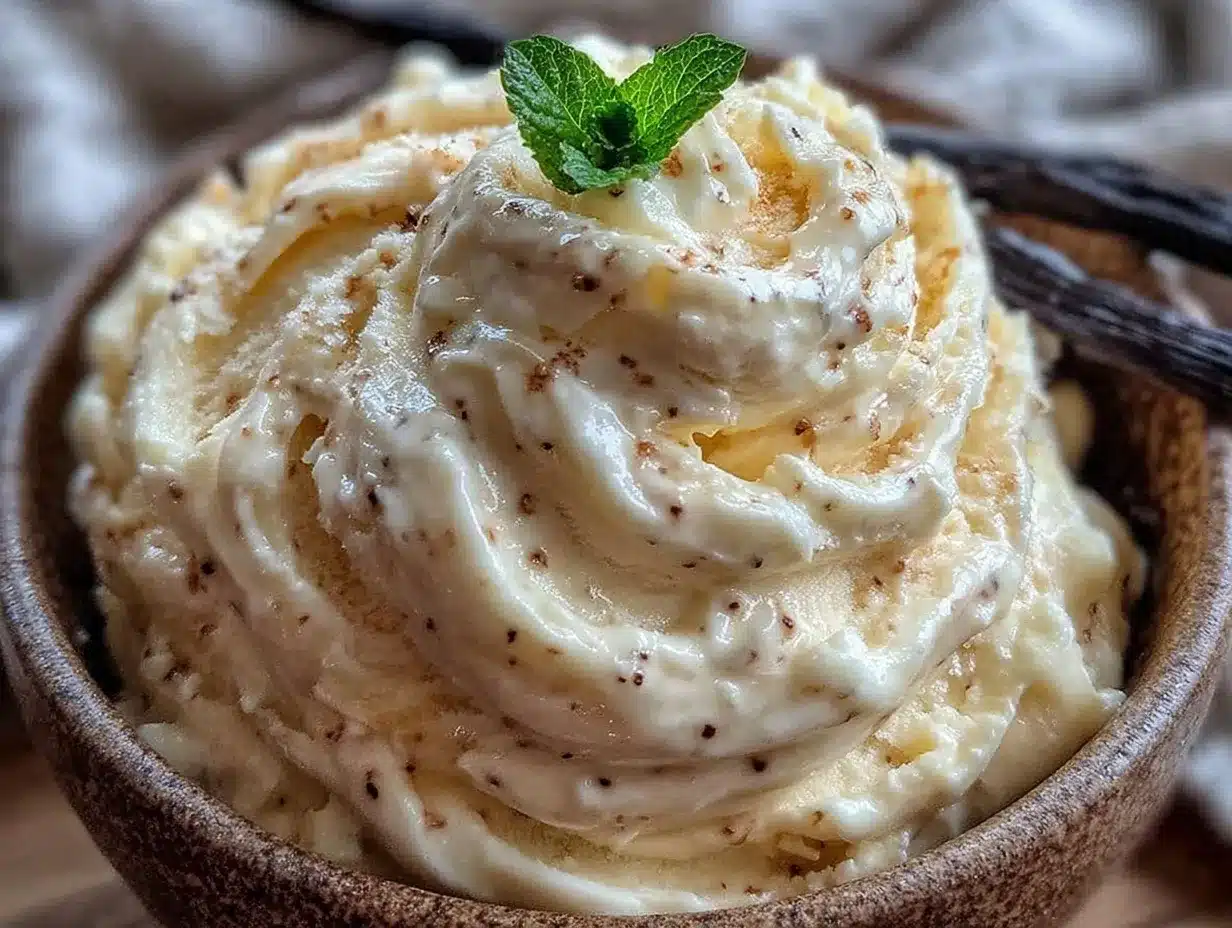
What sets this apart? The way the vanilla bean seeds swirl through the ice cream, giving it a speckled, artisanal look and an aromatic punch. Plus, skipping the churning means it’s easier to make than a lot of other homemade ice creams. It’s honestly the kind of recipe that makes you pause, close your eyes, and savor that first cool, creamy bite. If you want a dessert that feels both nostalgic and fresh, this recipe is a total winner.
What Ingredients You Will Need
This creamy no-churn vanilla bean ice cream recipe calls for three simple, pantry-friendly ingredients that come together to create something truly special. Here’s a breakdown:
- Heavy Whipping Cream (1 ½ cups / 360 ml): The backbone of the ice cream’s creamy texture. I always recommend using fresh, high-quality cream for the richest results.
- Sweetened Condensed Milk (1 can, 14 oz / 397 g): Adds sweetness and body without needing to add sugar separately. I prefer Eagle Brand or similar trusted brands.
- Vanilla Bean (1 whole pod): Split and scraped for those signature black seeds. If you can’t find fresh vanilla beans, pure vanilla bean paste is a decent stand-in, but the pod gives the best aroma and visual appeal.
Optional tips:
- You can swap heavy cream with coconut cream for a dairy-free twist, but expect a slightly different texture.
- If fresh vanilla bean isn’t available, 2 teaspoons of pure vanilla extract can work, but the flavor won’t be as intense or speckled.
- For a little extra depth, some people add a pinch of sea salt, but I keep it simple here to highlight the vanilla bean’s natural sweetness.
Equipment Needed
Since this is a no-churn recipe, the equipment list is refreshingly short:
- Mixing Bowl: A large, chilled bowl works best (I keep mine in the fridge beforehand to help the cream whip better).
- Electric Mixer or Stand Mixer: For whipping the heavy cream to soft peaks. You can use a hand whisk if you’re feeling ambitious, but it’ll take longer and tire your arm.
- Spatula: For folding in the sweetened condensed milk and vanilla bean seeds gently.
- Freezer-Safe Container: A loaf pan or plastic container with a lid to freeze your ice cream.
Optional:
- A fine grater or microplane if you want to zest a little lemon or orange peel for a twist.
- If you’re lucky enough to have one, a vacuum-sealed container can help prevent ice crystals from forming, but this is totally optional.
Preparation Method
- Chill your mixing bowl and beaters: Pop your mixing bowl and beaters in the fridge for about 15 minutes before starting. Cold equipment helps the cream whip faster and fluffier.
- Prepare the vanilla bean: Using a sharp knife, carefully split the vanilla bean pod lengthwise and scrape out the tiny black seeds with the back of the knife. Set both seeds and pod aside.
- Whip the heavy cream: Pour 1 ½ cups (360 ml) of heavy whipping cream into your chilled bowl. Using an electric mixer, beat on medium-high speed until soft peaks form — this usually takes about 3 to 4 minutes. The cream should hold gentle peaks but still be soft enough to fold.
- Combine condensed milk and vanilla: In a separate bowl, stir the 14 oz (397 g) can of sweetened condensed milk with the scraped vanilla bean seeds and the empty pod (the pod will infuse extra flavor during freezing). Mix gently to distribute the seeds evenly.
- Fold the mixtures together: Remove the vanilla pod from the condensed milk mixture. Then, gently fold the condensed milk mixture into the whipped cream in 2-3 additions. Use a spatula and fold carefully to keep the airiness — you want that creamy texture, not a flat mess.
- Transfer and freeze: Pour the combined mixture into a freezer-safe container, smoothing the top with your spatula. Cover tightly with a lid or plastic wrap. Freeze for at least 6 hours, preferably overnight, until firm.
- Serving tip: When ready to serve, let the ice cream sit at room temperature for 5 minutes to soften slightly for the perfect scoop.
Pro tip: If you notice the ice cream becoming too hard or icy, try stirring it gently once or twice during the first 2 hours of freezing to keep it smooth.
Cooking Tips & Techniques
Making this creamy no-churn vanilla bean ice cream is pretty straightforward, but a few tricks can make a big difference:
- Whipping cream properly: Don’t overbeat! Stop at soft peaks for the best texture. Overwhipped cream can turn grainy and tough.
- Vanilla bean prep: Make sure to scrape out every last bit of those tiny seeds — they hold most of the flavor and give that beautiful speckled look.
- Folding gently: It’s tempting to mix everything quickly, but folding keeps the air trapped in the whipped cream so your ice cream stays light and creamy.
- Freezing tips: Use a shallow container for faster, more even freezing. Also, avoid opening the freezer often during the first freeze to prevent ice crystals.
- Timing: Plan ahead! While the prep is quick, the freezing time can’t be rushed if you want that perfect scoop.
One time I skipped chilling my bowl and ended up with cream that wouldn’t whip properly — the ice cream turned out more like frozen soup. Learned the hard way, but now I keep everything cold and ready. Trust me, that little wait pays off big time.
Variations & Adaptations
This basic recipe is a fantastic canvas for flavors and dietary tweaks:
- Chocolate swirl: Gently fold in ½ cup of melted bittersweet chocolate before freezing for a marbled effect.
- Dairy-free version: Swap heavy cream with full-fat coconut cream and use sweetened condensed coconut milk for a tropical twist.
- Berry infusion: Stir in ½ cup of fresh or frozen mashed berries for a fruity burst.
- Nutty crunch: Add ½ cup of toasted chopped pecans or almonds just before freezing for texture contrast.
- Less sweet option: Use half the condensed milk and add 2 tablespoons of honey or maple syrup instead, adjusting sweetness to taste.
Personally, I once experimented by adding a teaspoon of ground cinnamon and a splash of bourbon — it was a hit at our holiday party, with a cozy, warming spice note. Feel free to get creative!
Serving & Storage Suggestions
This creamy no-churn vanilla bean ice cream is best served slightly softened — just 5 minutes out of the freezer. It pairs wonderfully with fresh fruit, warm pies, or a drizzle of caramel sauce. For a simple afternoon treat, a scoop alongside a slice of my homemade chocolate cake (similar to my moist chocolate cake recipe) is unbeatable.
To store, keep the ice cream tightly sealed in an airtight container to avoid freezer burn. It lasts well for up to 2 weeks in the freezer, though I recommend enjoying it sooner for the best texture.
When reheating isn’t really an option here, but if the ice cream is too hard, just let it sit at room temperature for a bit before scooping. Flavors tend to mellow and develop after a day or two, making each bite even more luscious.
Nutritional Information & Benefits
This recipe balances indulgence with simplicity. A typical ½ cup (125 ml) serving contains approximately:
| Calories | 250-300 kcal |
|---|---|
| Fat | 18-20 g (mostly from heavy cream) |
| Sugar | 23-25 g (from sweetened condensed milk) |
| Protein | 3-4 g |
Vanilla bean itself brings antioxidants and a subtle anti-inflammatory effect, which is a nice bonus. This recipe is naturally gluten-free, and with coconut cream swaps, it can be dairy-free and vegan-friendly too. If you’re watching sugar intake, you might want to experiment with less sweetened condensed milk or sugar substitutes, but honestly, this treat is meant for special moments.
Conclusion
This creamy no-churn vanilla bean ice cream recipe is a little treasure for anyone who loves easy, delicious homemade treats without fuss or fancy gadgets. It’s a recipe I keep returning to because it brings a quiet joy that feels both nostalgic and fresh. Feel free to make it your own with tweaks and flavors that suit your taste. I’d love to hear what variations you try or any fun moments you have making it—so please drop a comment below! Let’s keep sharing the delight of simple homemade ice cream that tastes like a hug in a bowl.
Frequently Asked Questions
- Can I use vanilla extract instead of a vanilla bean?
Yes, you can substitute 2 teaspoons of pure vanilla extract, but the flavor and speckled look won’t be quite the same. - Do I really need an ice cream maker?
Nope! This recipe is designed to be no-churn, so you just freeze the mixture in a container. - How long does the ice cream need to freeze?
At least 6 hours or overnight for best texture and firmness. - Can I add mix-ins like chocolate chips or nuts?
Absolutely! Fold them in gently before freezing for extra texture and flavor. - What if my ice cream is too icy?
Try stirring it gently a couple of times during the first 2 hours of freezing to break up ice crystals and keep it smooth.
Pin This Recipe!
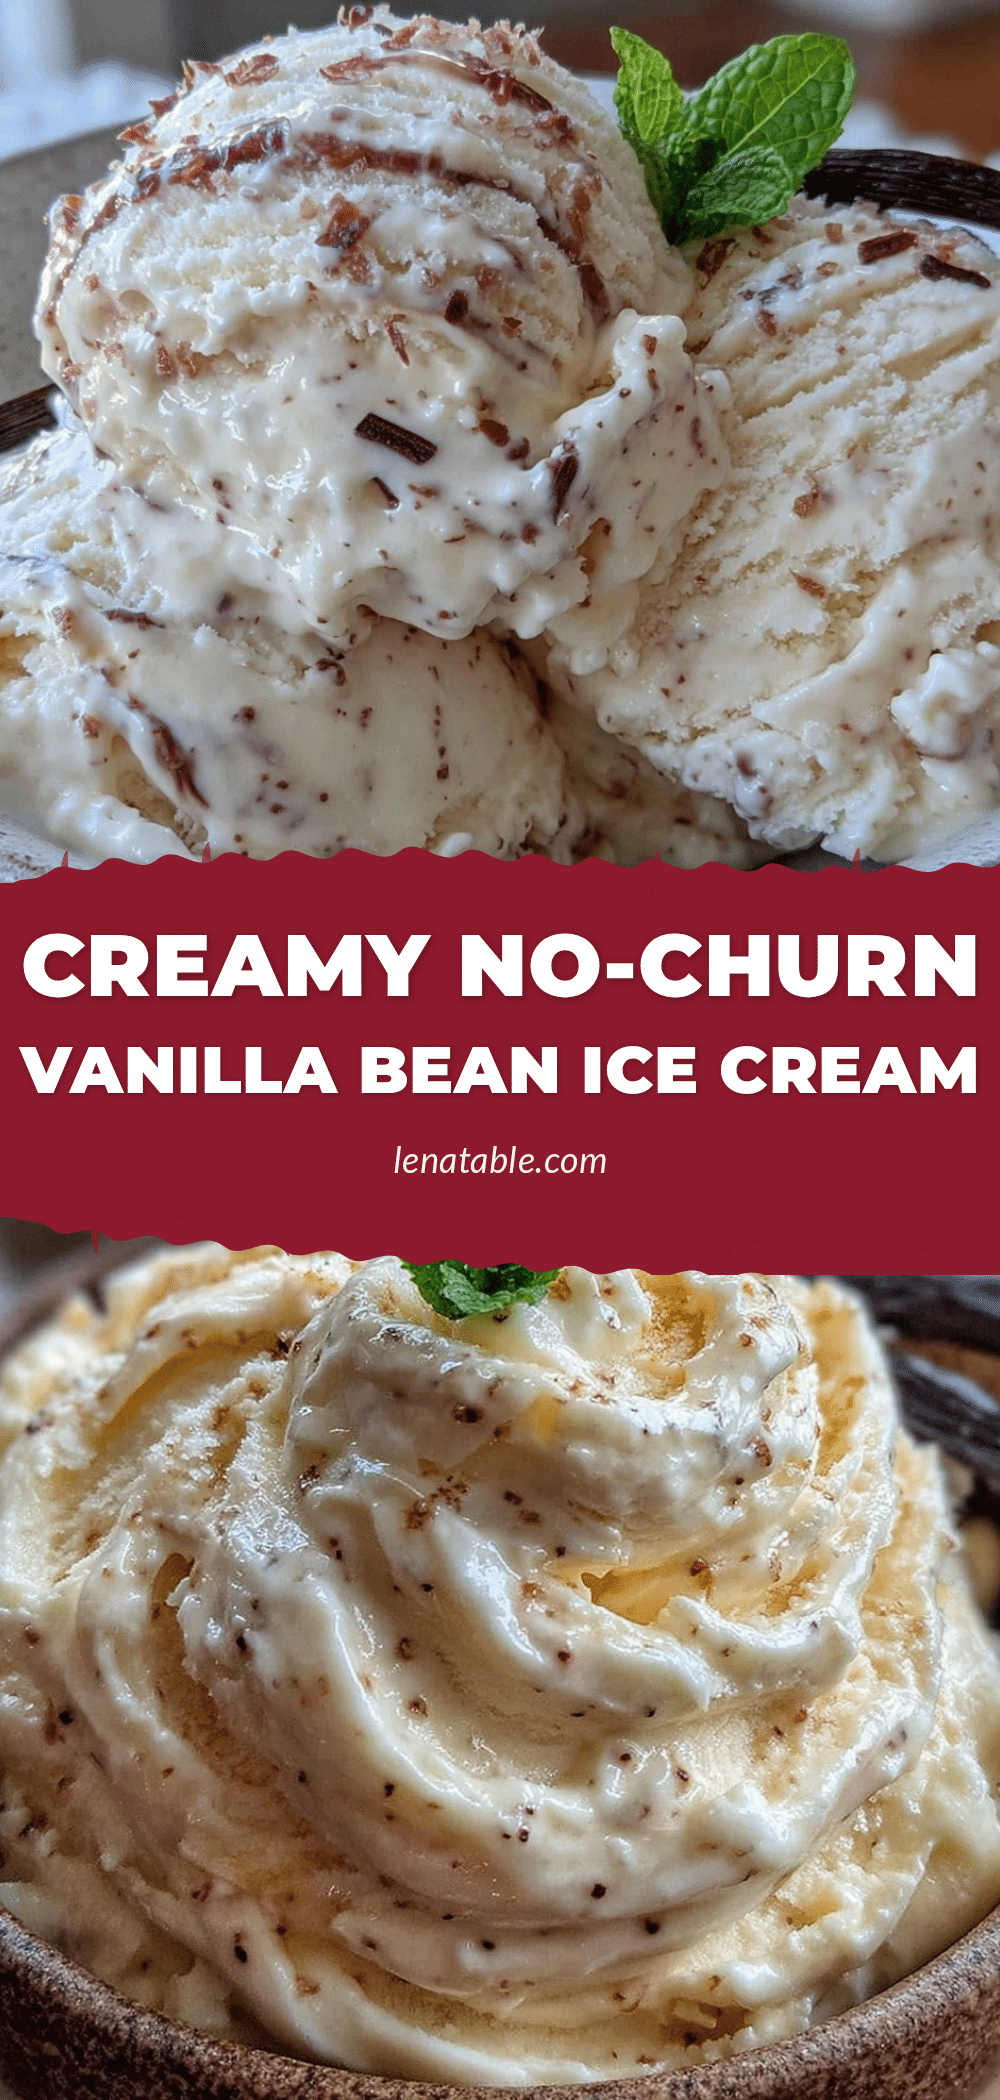
Creamy No-Churn Vanilla Bean Ice Cream Recipe Easy 3-Ingredient Delight

A simple, no-churn vanilla bean ice cream made with just three ingredients: heavy cream, sweetened condensed milk, and real vanilla bean. Perfect for a quick, creamy, and nostalgic homemade treat without an ice cream maker.
- Prep Time: 15 minutes
- Cook Time: 0 minutes
- Total Time: 6 hours 15 minutes
- Yield: 6 servings 1x
- Category: Dessert
- Cuisine: American
Ingredients
- 1 ½ cups (360 ml) heavy whipping cream
- 1 can (14 oz / 397 g) sweetened condensed milk
- 1 whole vanilla bean pod, split and scraped
Instructions
- Chill your mixing bowl and beaters in the fridge for about 15 minutes before starting.
- Split the vanilla bean pod lengthwise and scrape out the tiny black seeds with the back of a knife. Set seeds and pod aside.
- Pour heavy whipping cream into the chilled bowl and beat with an electric mixer on medium-high speed until soft peaks form (about 3 to 4 minutes).
- In a separate bowl, stir the sweetened condensed milk with the scraped vanilla bean seeds and the empty pod to infuse flavor.
- Remove the vanilla pod from the condensed milk mixture.
- Gently fold the condensed milk mixture into the whipped cream in 2-3 additions using a spatula, keeping the mixture airy.
- Pour the combined mixture into a freezer-safe container, smooth the top, cover tightly, and freeze for at least 6 hours or overnight until firm.
- Before serving, let the ice cream sit at room temperature for 5 minutes to soften slightly for the perfect scoop.
Notes
Chill your mixing bowl and beaters before whipping cream for better texture. Fold ingredients gently to keep airiness. Use a shallow container for faster freezing. Stir gently once or twice during the first 2 hours of freezing if ice cream becomes too hard or icy. Let ice cream soften 5 minutes before scooping.
Nutrition
- Serving Size: ½ cup (125 ml)
- Calories: 275
- Sugar: 24
- Sodium: 50
- Fat: 19
- Saturated Fat: 12
- Carbohydrates: 24
- Protein: 3.5
Keywords: no-churn ice cream, vanilla bean ice cream, easy ice cream recipe, 3-ingredient ice cream, homemade ice cream, no ice cream maker dessert


