Love this? Save it for later!
Share the inspiration with your friends
My roommate swore she hated homemade ice cream. For years. Then one unbearably humid Saturday afternoon — the kind where the AC struggles and the freezer hums a little too loud — I made this creamy no-churn vanilla bean ice cream recipe “just for myself.” I found her stealthily spooning from the bowl, eyes half-closed, utterly smitten. Honestly, I wasn’t trying to change her mind; I just wanted a quick, fuss-free dessert after a long day. But there she was, caught in the act of proving herself wrong.
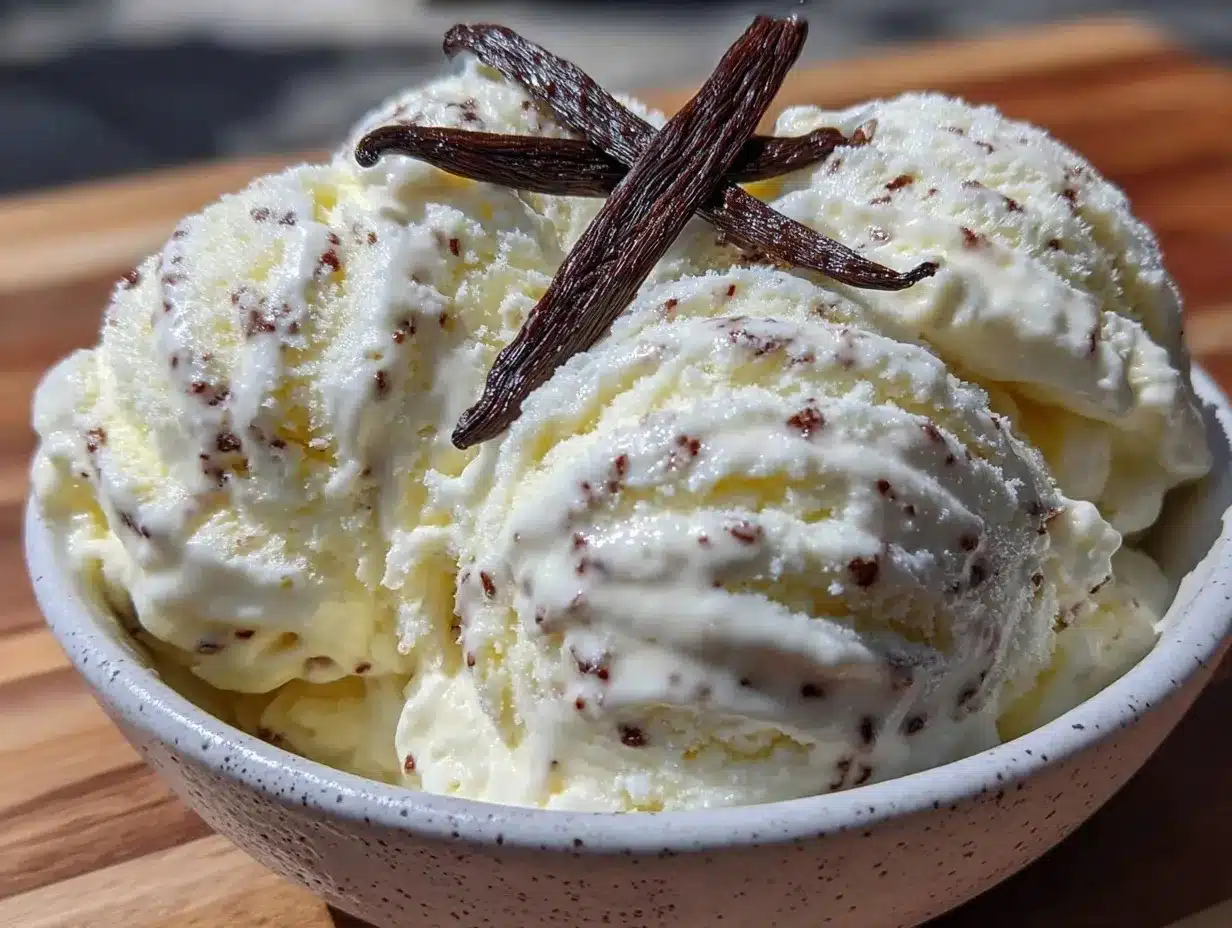
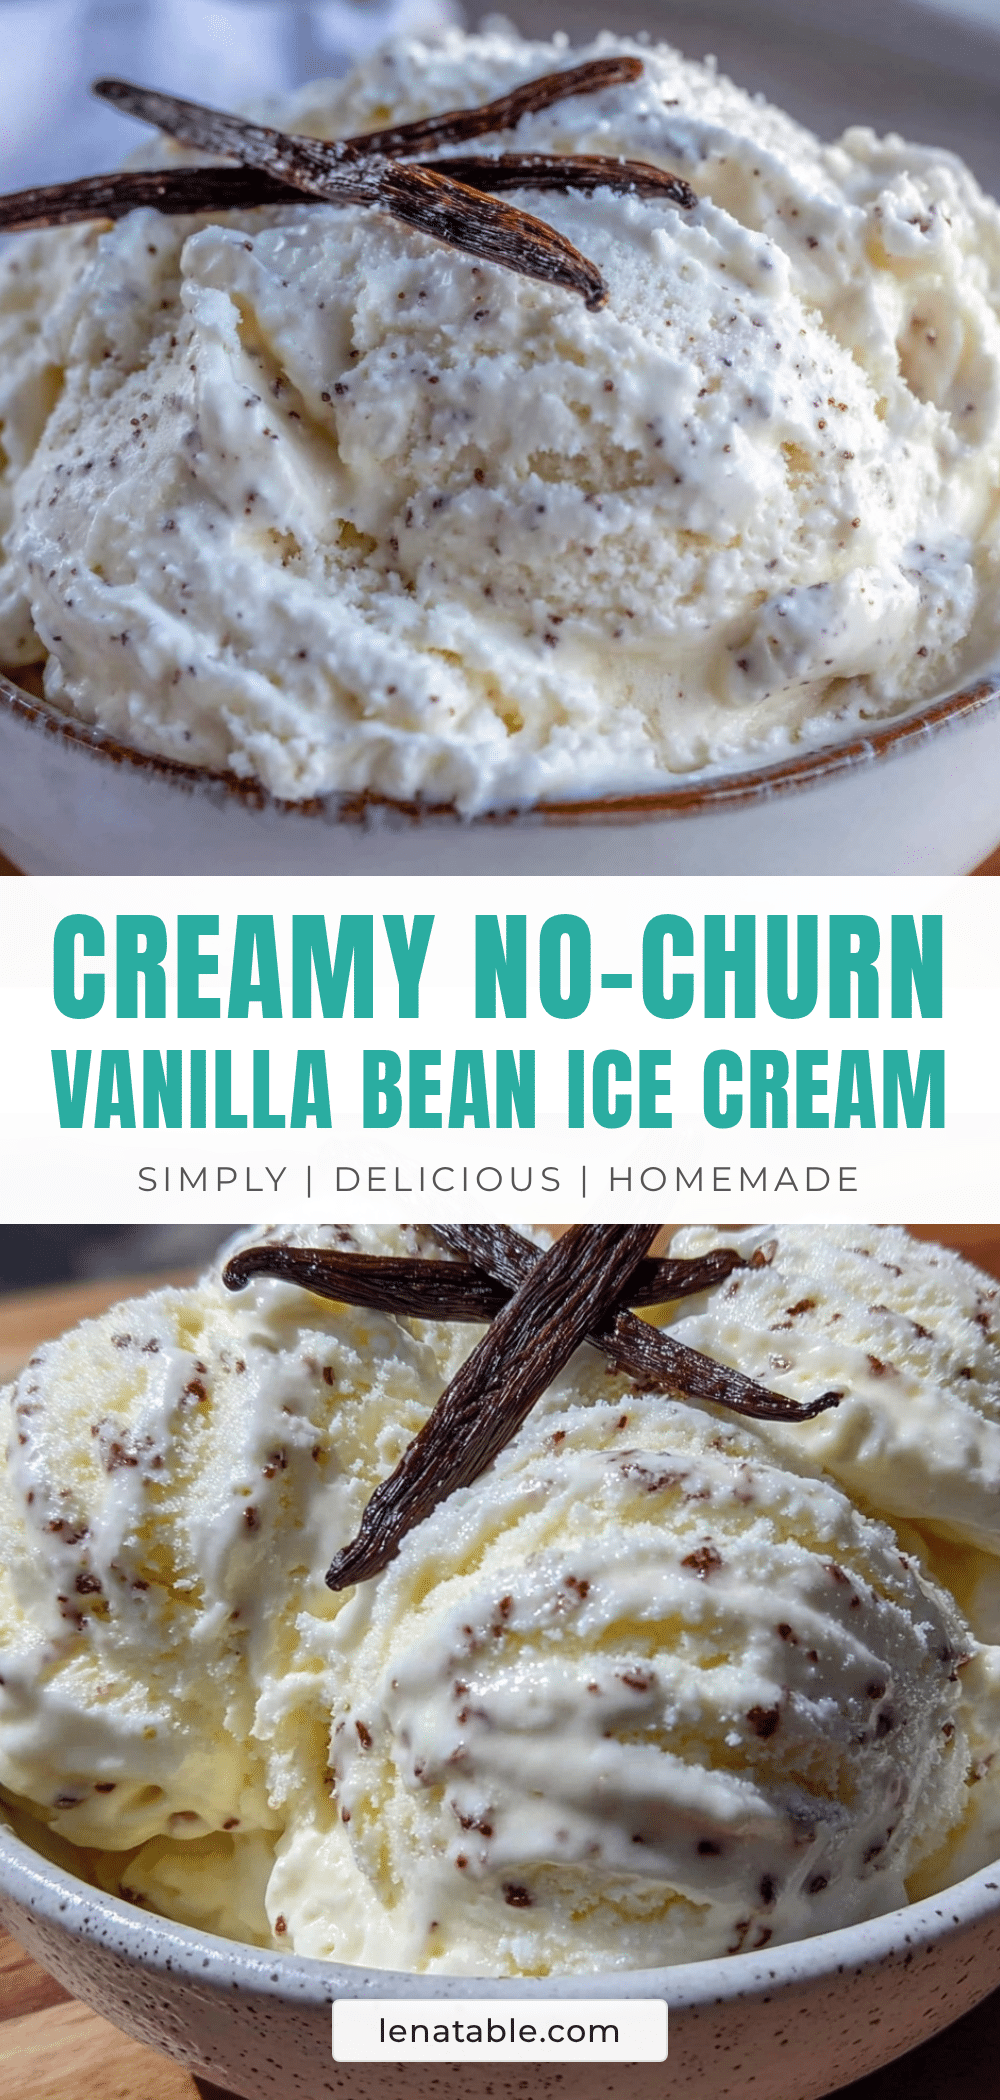
She had always claimed that homemade ice cream was either too icy or too complicated — you know, the kind that requires a fancy machine and endless standing by the freezer door. But this no-churn version changed the game. The texture was smooth and luscious, the vanilla bean specks gave it that authentic, real-deal vibe, and the flavor? Pure, simple, soul-soothing. It was like the ice cream I’d been chasing in fancy parlors, but right there in our tiny kitchen, without a machine in sight.
Maybe you’ve been there — craving creamy ice cream but dreading the effort or the mess. I get it. And that’s why this recipe stuck with me. It’s honest, approachable, and honestly, a little smug in how effortlessly it wins over skeptics. If you’re tired of complicated desserts or just want that perfect scoop of vanilla bean indulgence, you’re in the right place. Let me tell you, this is the one I keep making when I want to impress without stress, and maybe, just maybe, convert someone else in the process.
Why You’ll Love This Creamy No-Churn Vanilla Bean Ice Cream Recipe
After testing countless ice cream recipes (some hits, some misses), this creamy no-churn vanilla bean ice cream recipe quickly became my go-to. It’s genuinely a little magic in a bowl, and here’s why I trust you’ll love it too:
- Quick & Easy: Ready in about 15 minutes of hands-on time, perfect for busy nights or spontaneous dessert cravings.
- Simple Ingredients: You probably have everything in your pantry — heavy cream, sweetened condensed milk, and a real vanilla bean or paste.
- Perfect for Any Occasion: Whether it’s a casual family dinner, a summer BBQ, or an impromptu treat, this recipe fits right in.
- Crowd-Pleaser: Kids and adults alike rave about how creamy and flavorful it is — no one guesses it’s no churn!
- Unbelievably Delicious: The vanilla bean specks add that authentic touch that turns plain vanilla into something special.
This isn’t just another no-churn ice cream. The secret is in using a real vanilla bean or high-quality vanilla bean paste, which gives it a depth of flavor you won’t get from mere extract. Plus, the balance between the whipped cream and sweetened condensed milk creates a texture so smooth, it almost melts on your tongue. Honestly, it’s a recipe I’ve made countless times, sometimes forgetting to add the vanilla (true story!) and still coming back to because it’s just so forgiving and reliable.
So if you’re after that perfect homemade vanilla bean ice cream without the hassle, this is your recipe. It’s comfort food in a scoop, pure and simple.
Ingredients You Will Need
This creamy no-churn vanilla bean ice cream recipe uses simple, wholesome ingredients to deliver that rich, smooth flavor and satisfying texture without fuss. Most are pantry staples, with just a touch of something special for that authentic vanilla bean taste.
- Heavy Cream (2 cups / 480 ml) – For that classic creamy texture. I always go with a brand like Organic Valley for consistent richness.
- Sweetened Condensed Milk (1 can, 14 oz / 396 g) – The sweetness and creaminess base, also acts as a natural stabilizer.
- Vanilla Bean (1 whole bean) – Split and scraped for the seeds. The real deal makes all the difference.
- Vanilla Bean Paste (1 teaspoon) – Optional, but I add this alongside the bean for extra vanilla punch.
- Salt (a pinch) – Just a tiny bit to balance the sweetness and highlight the vanilla.
Ingredient tips: If fresh vanilla beans aren’t available, vanilla bean paste is a brilliant substitute to maintain those pretty specks and intense flavor. For a dairy-free version, swap heavy cream for coconut cream and sweetened condensed milk for a vegan condensed milk alternative.
Equipment Needed
- Mixing Bowls: One large bowl to whip the cream and another for combining ingredients.
- Electric Mixer or Stand Mixer: To whip the heavy cream to soft peaks — makes a huge difference in ease and texture.
- Rubber Spatula: For gentle folding, preserving the whipped cream’s airiness.
- Measuring Cups and Spoons: Accuracy matters here for balance.
- Loaf Pan or Airtight Container: To freeze the mixture (metal pans freeze faster, but plastic works fine too).
If you don’t have a mixer, I’ve whipped cream by hand before — it’s a workout, but doable if you’re patient. I recommend investing in a handheld electric mixer if you make desserts often; it really smooths the prep time. Cleaning up is a breeze since there’s no ice cream machine involved.
Preparation Method
- Prepare the Vanilla: Split the vanilla bean lengthwise using a sharp knife. Scrape out the seeds with the back of the knife and set aside. If you’re using vanilla bean paste, have it ready.
- Whip the Heavy Cream: In a chilled large mixing bowl, pour the 2 cups (480 ml) of heavy cream. Using an electric mixer, whip on medium-high speed until soft peaks form, about 3-4 minutes. You want it fluffy but not dry or grainy.
- Mix Condensed Milk and Vanilla: In a separate bowl, combine the sweetened condensed milk (14 oz / 396 g), vanilla bean seeds, vanilla bean paste (if using), and a pinch of salt. Stir gently until the vanilla is evenly distributed.
- Fold Cream into Condensed Milk Mixture: Add about one-third of the whipped cream into the condensed milk vanilla mixture and fold gently to lighten it. Then fold in the remaining whipped cream carefully to maintain the airy texture.
- Transfer and Freeze: Pour the mixture into a loaf pan or airtight container. Smooth the top with a spatula, cover tightly with plastic wrap or lid, and freeze for at least 6 hours or overnight. The texture should be creamy and scoopable.
- Serving: Remove from the freezer 5-10 minutes before scooping to soften slightly for easier serving.
Pro tip: Don’t rush the folding step. Overmixing deflates the whipped cream and leads to icier texture. Also, scraping the vanilla bean seeds carefully ensures you don’t waste that precious flavor. I once forgot the salt — and while it was still good, that tiny pinch really wakes up the flavors.
Cooking Tips & Techniques for Perfect No-Churn Ice Cream
Making no-churn ice cream can seem deceptively simple, but a few tricks make all the difference:
- Chill Your Tools: Cold bowls and beaters help whip the cream faster and better. I sometimes pop them in the freezer for 10 minutes.
- Soft Peaks Only: Stop whipping the cream as soon as it holds soft peaks. Over-whipping leads to butter, under-whipping results in flat ice cream.
- Gentle Folding: Use a rubber spatula and fold with care to keep as much air as possible in the mixture for that creamy texture.
- Vanilla Bean Handling: Scraping vanilla beans can be messy. Use the back of a knife and scrape over the bowl to catch every tiny seed.
- Freeze Time: Resist the urge to dig in too early. The longer it sets, the creamier it becomes.
One time, I tried to speed things up by freezing for just 3 hours — big mistake. The texture was icy and crumbly. Lesson learned: patience is key. Also, I find that adding a pinch of salt balances the sweetness perfectly.
Variations & Adaptations
This creamy no-churn vanilla bean ice cream recipe is a fantastic base for creativity. Here are some ways to switch it up:
- Chocolate Swirl: Gently fold in 1/2 cup (120 ml) of cooled melted dark chocolate before freezing.
- Berry Mix-In: Fold fresh or frozen berries (around 1 cup / 150 g) into the mixture for a fruity twist. In summer, fresh strawberries or blueberries really shine.
- Nutty Crunch: Add toasted chopped pecans or almonds (1/2 cup / 60 g) for texture.
- Dairy-Free Version: Replace heavy cream with coconut cream and use sweetened condensed coconut milk instead of dairy.
- Flavor Swap: Use a cinnamon stick to infuse the condensed milk before mixing, then remove before folding in cream.
Personally, I once stirred in a spoonful of peanut butter and some mini chocolate chips — it was a game changer. Feel free to experiment without fear; this recipe is forgiving and adapts well.
Serving & Storage Suggestions
Serve this vanilla bean ice cream straight from the freezer, letting it sit at room temperature for 5-10 minutes for easy scooping. Presentation-wise, a simple scoop in a chilled bowl or waffle cone works wonders.
Pair with freshly sliced fruit, warm brownies, or a drizzle of homemade caramel sauce for a dessert that looks and tastes like you spent hours on it.
Store ice cream in an airtight container to avoid freezer burn and maintain creaminess. It keeps well for up to 2 weeks. For best texture, thaw slightly before serving — microwave for 10-15 seconds or leave out a bit.
Interestingly, the vanilla flavor deepens if you let the ice cream sit overnight after freezing. So if you’re planning ahead, it only gets better.
Nutritional Information & Benefits
One serving (about 1/2 cup / 120 g) of this creamy no-churn vanilla bean ice cream contains approximately:
| Calories | 250 |
|---|---|
| Fat | 16g |
| Saturated Fat | 10g |
| Sugars | 20g |
| Protein | 3g |
The heavy cream provides a good source of fat that contributes to satiety, while the vanilla bean adds antioxidants. This recipe is naturally gluten-free and can be adapted for dairy-free diets with simple swaps.
From a wellness standpoint, I appreciate that this recipe uses real ingredients and no artificial stabilizers or preservatives, making it a cleaner indulgence. Moderation is key, but you know that already when it comes to ice cream!
Conclusion
So, why should you try this creamy no-churn vanilla bean ice cream recipe? It’s simple, fast, and honestly, a little indulgent without the usual fuss. You don’t need a fancy machine or a long ingredient list — just a few staples and a little patience.
Feel free to tweak the vanilla intensity, add mix-ins, or adjust sweetness to make it truly yours. I love this recipe because it’s a dependable crowd-pleaser that always surprises me with how good it tastes despite the simplicity.
Give it a shot, and please share your tweaks or questions! There’s something special about homemade ice cream that brings people together, and I’d love to hear how this one lands on your kitchen table.
Happy scooping!
FAQs About Creamy No-Churn Vanilla Bean Ice Cream
Can I make this ice cream without a vanilla bean?
Yes, you can substitute with 2 teaspoons of high-quality vanilla extract or vanilla bean paste. The paste is best if you want those little vanilla specks and a richer flavor.
How long does it take to freeze properly?
It needs at least 6 hours, ideally overnight, to set fully and achieve that creamy texture.
Can I add mix-ins like nuts or chocolate chips?
Absolutely! Fold them in gently after mixing the base and before freezing to keep the texture even.
Is this recipe suitable for a dairy-free diet?
Yes, swap heavy cream for coconut cream and use sweetened condensed coconut milk to keep the creaminess intact.
Can I store leftovers in the freezer?
Yes, keep it in an airtight container for up to 2 weeks. Let it soften slightly before serving for the best texture.
Pin This Recipe!
Creamy No-Churn Vanilla Bean Ice Cream
A quick and easy no-churn vanilla bean ice cream recipe that delivers smooth, luscious texture and authentic vanilla flavor without the need for an ice cream machine.
- Prep Time: 15 minutes
- Cook Time: 0 minutes
- Total Time: 6 hours 15 minutes
- Yield: 8 servings 1x
- Category: Dessert
- Cuisine: American
Ingredients
- 2 cups (480 ml) heavy cream
- 1 can (14 oz / 396 g) sweetened condensed milk
- 1 whole vanilla bean, split and scraped
- 1 teaspoon vanilla bean paste (optional)
- Pinch of salt
Instructions
- Split the vanilla bean lengthwise using a sharp knife. Scrape out the seeds with the back of the knife and set aside. If using vanilla bean paste, have it ready.
- In a chilled large mixing bowl, pour the 2 cups (480 ml) of heavy cream. Using an electric mixer, whip on medium-high speed until soft peaks form, about 3-4 minutes.
- In a separate bowl, combine the sweetened condensed milk (14 oz / 396 g), vanilla bean seeds, vanilla bean paste (if using), and a pinch of salt. Stir gently until the vanilla is evenly distributed.
- Add about one-third of the whipped cream into the condensed milk vanilla mixture and fold gently to lighten it. Then fold in the remaining whipped cream carefully to maintain the airy texture.
- Pour the mixture into a loaf pan or airtight container. Smooth the top with a spatula, cover tightly with plastic wrap or lid, and freeze for at least 6 hours or overnight.
- Remove from the freezer 5-10 minutes before scooping to soften slightly for easier serving.
Notes
Chill your mixing bowls and beaters before whipping cream for better results. Stop whipping cream at soft peaks to avoid butter formation. Fold gently to keep airiness. Freeze for at least 6 hours or overnight for best texture. Let ice cream sit 5-10 minutes before scooping. For dairy-free version, substitute heavy cream with coconut cream and sweetened condensed milk with vegan condensed milk alternative.
Nutrition
- Serving Size: 1/2 cup (120 g)
- Calories: 250
- Sugar: 20
- Fat: 16
- Saturated Fat: 10
- Carbohydrates: 20
- Protein: 3
Keywords: no-churn ice cream, vanilla bean ice cream, homemade ice cream, easy dessert, no machine ice cream, creamy ice cream


