Love this? Save it for later!
Share the inspiration with your friends
Introduction
“I wasn’t expecting much when I dropped by to borrow some sugar for my morning coffee, but the moment I stepped inside, the scent of vanilla and fresh-baked cookies hit me right in the face,” my neighbor said with a shrug, as if this was just a regular Tuesday afternoon. Honestly, the aroma alone pulled me into the kitchen before I even took off my shoes. There she was, casually decorating tiny, perfectly shaped alphabet sugar cookies like it was no big deal — just another snack for her kids’ back-to-school lunchboxes. No fancy frosting, no elaborate setup, just those cute little letters lined up on a cooling rack, waiting to bring a smile to the kids’ faces.
I remember almost knocking over a cracked mixing bowl as I reached for a cup, completely distracted by the colors and shapes. You know that feeling when something simple looks so effortless but you can tell it must have taken practice? That’s exactly what these mini alphabet sugar cookies felt like. My neighbor wasn’t trying to impress anyone — she was just making a treat that made the chaos of school mornings a little sweeter.
Since that day, I’ve kept this recipe close. It’s the kind of baking that feels like a gentle hug after a hectic morning, and honestly, it’s a great way to sneak in a little fun while packing lunches. If you’ve ever wanted to add a bit of whimsy to back-to-school treats without turning your kitchen upside down, this recipe might just be your new go-to.
Why You’ll Love This Recipe
I’ve tested these cute mini alphabet sugar cookies more times than I can count, tweaking the dough and decorating just right. It’s a recipe that balances simplicity with a touch of magic — perfect for busy parents, teachers, or anyone wanting to make school days a little brighter.
- Quick & Easy: The dough comes together in under 15 minutes, and baking takes just 8-10 minutes per batch — ideal for those last-minute treat ideas.
- Simple Ingredients: No need for fancy or hard-to-find items. You probably have everything in your pantry already.
- Perfect for Back to School: These cookies are bite-sized, fun, and make lunchboxes way more exciting.
- Crowd-Pleaser: Kids adore the mini letters, and adults appreciate the perfect balance of buttery sweetness.
- Unbelievably Delicious: The texture is just right — crisp edges with soft centers, and the subtle vanilla flavor keeps you coming back.
What makes this recipe different? It’s the little details — like chilling the dough just enough to roll it smoothly and using a simple royal icing that dries matte, so the letters look hand-painted without the fuss. Plus, the size of these cookies means you can spell out names, messages, or just have fun with the alphabet. Honestly, it’s a recipe that turns a simple sugar cookie into a playful, personalized treat.
What Ingredients You Will Need
This recipe uses simple, wholesome ingredients to deliver bold flavor and that classic sugar cookie texture you love, all without the fuss. Most are pantry staples, and substitutions are easy if you want to customize or accommodate dietary needs.
- For the Cookie Dough:
- 2 ¾ cups (345 g) all-purpose flour (I like King Arthur for consistent results)
- 1 teaspoon baking powder
- ½ teaspoon salt
- 1 cup (227 g) unsalted butter, softened (room temperature, adds richness)
- 1 ½ cups (300 g) granulated sugar
- 1 large egg (room temperature for better mixing)
- 2 teaspoons pure vanilla extract (quality matters — Nielsen-Massey is my go-to)
- 2 tablespoons whole milk (or dairy-free alternative like almond milk)
- For the Royal Icing:
- 2 cups (240 g) powdered sugar, sifted
- 3 tablespoons meringue powder or 1 egg white (for natural option)
- 5-6 tablespoons water (adjust until reaching a pipeable consistency)
- Food coloring gels (optional, for decorating letters)
Tip: If you want gluten-free, swap the all-purpose flour for a 1-to-1 gluten-free baking blend. For dairy-free, just replace butter with vegan butter and milk with your favorite plant-based milk. The cookie dough is forgiving, so small tweaks work well.
Equipment Needed
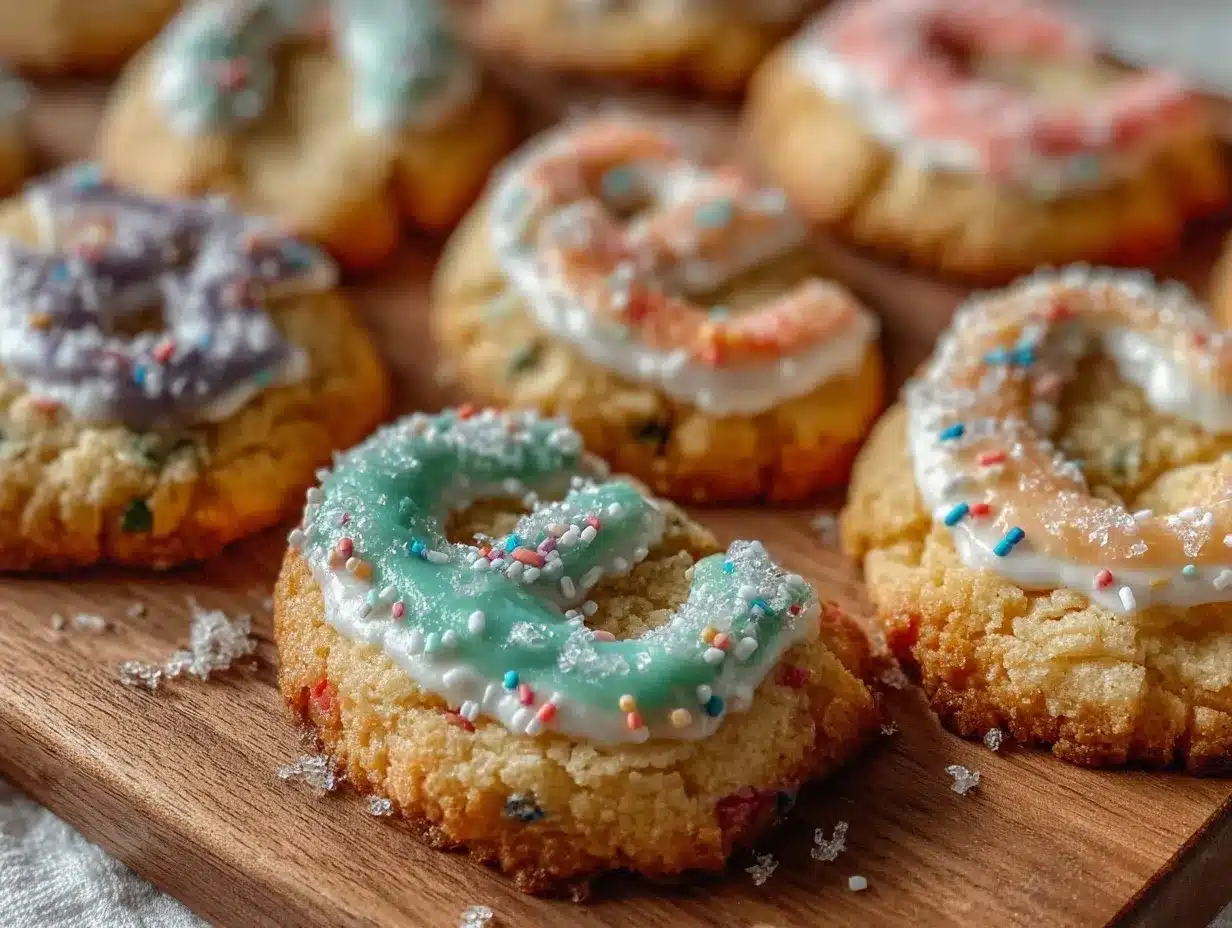
- Mixing bowls (medium and large) — glass or stainless steel preferred
- Electric mixer or stand mixer — hand mixing works but takes longer
- Rolling pin — a small one is handy for the mini cookie size
- Alphabet cookie cutters — small, ideally 1 to 1.5 inches tall
- Baking sheets — non-stick or lined with parchment paper
- Cooling racks — to help cookies cool evenly and stay crisp
- Piping bags and small round piping tips for royal icing (or zip-top bags with a tiny corner snipped)
If you don’t have alphabet cutters, you can use a sharp knife or small cookie cutters for shapes and simply write letters with icing. I’ve also used silicone baking mats to prevent sticking, which I highly recommend for easy cleanup. For budget-friendly baking, a silicone spatula and measuring spoons are must-haves that won’t break the bank.
Preparation Method
- Mix Dry Ingredients: In a medium bowl, whisk together 2 ¾ cups (345 g) flour, 1 teaspoon baking powder, and ½ teaspoon salt. Set aside. (About 5 minutes)
- Cream Butter and Sugar: In a large bowl, beat 1 cup softened unsalted butter with 1 ½ cups granulated sugar on medium speed until light and fluffy — around 3 to 4 minutes. This step is key for tender cookies with a slight lift.
- Add Egg and Vanilla: Beat in 1 large room-temperature egg and 2 teaspoons vanilla extract until fully combined. Scrape down the bowl if needed to make sure everything blends smoothly.
- Combine Wet and Dry: Reduce mixer speed to low and gradually add the flour mixture alternately with 2 tablespoons milk. Mix just until incorporated — don’t overmix or the cookies could turn tough.
- Chill the Dough: Shape the dough into a disc, wrap tightly with plastic wrap, and refrigerate for at least 1 hour or overnight. Chilling helps prevent spreading and makes rolling easier.
- Preheat Oven and Prepare Pans: Heat oven to 350°F (175°C). Line baking sheets with parchment paper.
- Roll and Cut: On a lightly floured surface, roll dough to about ¼ inch (6 mm) thickness. Use alphabet cutters to cut mini letters, transferring them carefully to baking sheets about 1 inch (2.5 cm) apart.
- Bake: Bake for 8-10 minutes or until edges are just golden. The cookies will still be soft when hot but will firm up as they cool.
- Cool: Transfer cookies to wire racks to cool completely before decorating. (Patience here pays off!)
- Prepare Royal Icing: Mix powdered sugar, meringue powder (or egg white), and water until smooth and pipeable. Divide and tint with food gel colors if desired.
- Decorate: Use piping bags with small round tips to pipe letters onto cookies. Let icing dry completely (about 2 hours) before storing or packing for school.
Pro tip: If the dough feels too sticky, sprinkle a bit more flour, but don’t go overboard. When piping icing, steady hands help, but if you mess up, just scrape and start over — no pressure! Sometimes I get distracted by my kids asking questions mid-piping, so I’ve learned to keep extra cookies on hand.
Cooking Tips & Techniques
These mini alphabet sugar cookies are simple, but a few tricks make all the difference:
- Chill the dough: This is the biggest game-changer. It firms up the butter so the cookies hold their shape and don’t spread into blobs.
- Don’t overmix: Once you add the flour, mix just until combined. Overworking the dough can make cookies tough instead of tender.
- Use parchment paper or silicone mats: Prevent sticking and make cleanup a breeze.
- Roll evenly: Aim for consistent thickness so cookies bake uniformly. I sometimes use rolling pin rings or dowels to keep the dough flat.
- Keep an eye on baking time: These small cookies bake fast, so watch carefully — the edges should be lightly golden, not brown.
- Practice piping icing: If you’re new to decorating, try piping on parchment paper first to get comfortable.
- Store properly: Store cookies in an airtight container once icing is dry to keep them crisp.
From personal experience, I once forgot to chill the dough and ended up with a cookie sheet full of melted letters — a funny disaster that taught me not to skip that step! Also, multitasking helps; I usually bake one batch while prepping icing for the next. Makes the process feel less like a marathon.
Variations & Adaptations
You can customize these cute mini alphabet sugar cookies in many ways to fit your style or dietary needs:
- Flavor Twists: Add a teaspoon of almond extract or lemon zest to the dough for a subtle flavor boost.
- Gluten-Free Version: Use a gluten-free baking blend and make sure your royal icing ingredients are allergen-free.
- Vegan Adaptation: Replace butter with vegan margarine and the egg with a flax egg or commercial egg replacer. Use aquafaba in royal icing instead of egg whites.
- Decorating Styles: Instead of royal icing, try a simple glaze made from powdered sugar and milk for a glossy finish.
- Seasonal Colors: Customize icing colors for holidays or school spirit days — red and green for Christmas, or your kid’s school colors for a personalized touch.
One time, I swapped in pumpkin pie spice for a fall batch — it was surprisingly good and gave the kitchen that cozy vibe. If you want to try a quicker route, cut out simple shapes and use edible markers for the letters instead of piping.
Serving & Storage Suggestions
Serve these mini alphabet sugar cookies at room temperature for the best texture — crisp on the edges with a tender bite inside. They’re perfect as a snack alongside a glass of milk or packed in lunchboxes for a little surprise mid-day.
For a fun presentation, try arranging cookies to spell out your child’s name or a motivational word like “A+” or “Smile” on a pretty plate. They also pair nicely with fruit slices or a warm cup of tea for an afternoon break.
Store cookies in an airtight container at room temperature for up to 5 days. If you want to keep them longer, freeze the undecorated cookies in a sealed bag for up to 3 months. After thawing, decorate as usual. For decorated cookies, refrigeration can cause icing to sweat, so it’s best to keep them cool but not too cold.
When reheating, just let cookies come to room temperature naturally — microwaving can soften them too much. Over time, the flavors meld and the cookies become even more satisfying.
Nutritional Information & Benefits
Each mini alphabet sugar cookie (about 1.5 inches) contains approximately 70-80 calories, 3 grams of fat, 10 grams of carbohydrates, and 1 gram of protein. They’re a sweet treat best enjoyed in moderation.
The recipe’s key ingredients, like real butter and eggs, provide essential fats and proteins, while vanilla adds antioxidants. Using quality vanilla extract and fresh ingredients makes a subtle difference in flavor and nutrition.
For dietary considerations, this recipe can be adjusted gluten-free or vegan with easy swaps. Just be mindful of allergens such as eggs and dairy if you’re serving kids with sensitivities.
From a wellness perspective, these cookies are a joyful way to celebrate special moments without overindulging, especially when portioned as cute minis rather than large, heavy cookies.
Conclusion
These cute mini alphabet sugar cookies are more than just a back-to-school treat — they’re a way to add a little fun and sweetness to the daily grind. Whether you’re a busy parent, a teacher, or just someone who loves baking, this recipe brings simple ingredients and a playful touch together in a way that feels effortless but special.
Feel free to customize with your favorite flavors, colors, or shapes — baking should be joyful, not stressful. I keep coming back to this recipe because it turns a simple sugar cookie into something memorable, and honestly, it’s a great way to brighten a hectic morning or celebrate a small win.
If you try this recipe, I’d love to hear about your favorite letter combos or decorating tips — leave a comment or share your photos! Happy baking and here’s to sweet starts and little moments of joy.
FAQs
Can I make the cookie dough ahead of time?
Yes! You can prepare the dough up to 3 days in advance and keep it wrapped tightly in the refrigerator. Just let it sit at room temperature for 10-15 minutes before rolling out.
What if I don’t have alphabet cookie cutters?
No worries. You can use small round cutters or shapes and write letters on the cookies with icing after baking. Alternatively, use a sharp knife to cut letter shapes freehand if you’re feeling creative!
How do I store decorated cookies to keep them fresh?
Store fully dried decorated cookies in an airtight container at room temperature for up to 5 days. Avoid refrigeration to prevent icing from sweating.
Can I freeze the cookie dough or baked cookies?
Yes, the dough freezes well for up to 3 months. Freeze baked cookies undecorated in a sealed bag and thaw before decorating.
What’s the best way to get smooth royal icing for decorating?
Sift powdered sugar before mixing and add water gradually until you get a pipeable but not runny consistency. Practice piping on parchment paper first to build confidence.
Pin This Recipe!
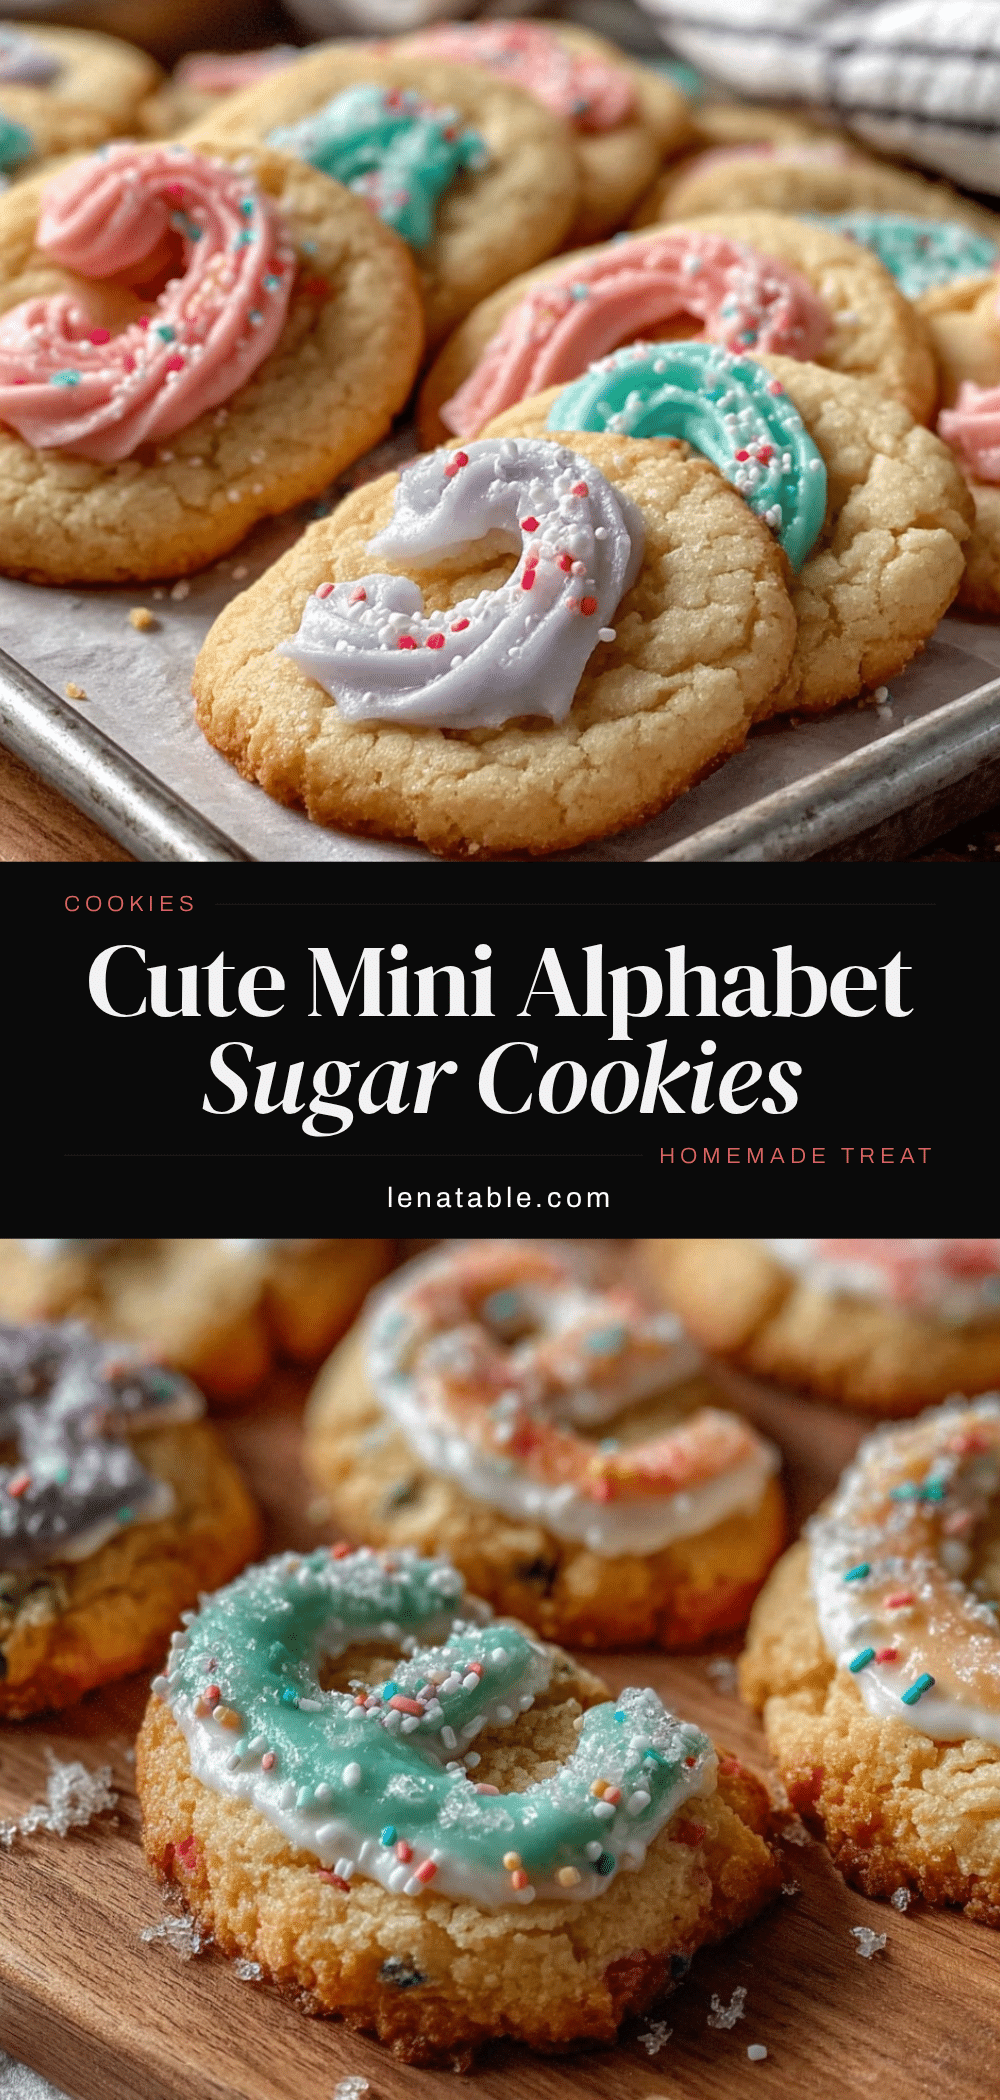
Cute Mini Alphabet Sugar Cookies Recipe Easy Back to School Treats

These mini alphabet sugar cookies are bite-sized, fun, and perfect for back-to-school lunchboxes. They feature crisp edges with soft centers and a subtle vanilla flavor, decorated with simple royal icing for a playful, personalized treat.
- Prep Time: 15 minutes
- Cook Time: 8-10 minutes
- Total Time: 1 hour 25 minutes
- Yield: About 48 mini cookies 1x
- Category: Dessert
- Cuisine: American
Ingredients
- 2 ¾ cups (345 g) all-purpose flour
- 1 teaspoon baking powder
- ½ teaspoon salt
- 1 cup (227 g) unsalted butter, softened (room temperature)
- 1 ½ cups (300 g) granulated sugar
- 1 large egg (room temperature)
- 2 teaspoons pure vanilla extract
- 2 tablespoons whole milk or dairy-free alternative like almond milk
- 2 cups (240 g) powdered sugar, sifted
- 3 tablespoons meringue powder or 1 egg white
- 5–6 tablespoons water (adjust until reaching a pipeable consistency)
- Food coloring gels (optional)
Instructions
- Mix dry ingredients: In a medium bowl, whisk together 2 ¾ cups flour, 1 teaspoon baking powder, and ½ teaspoon salt. Set aside.
- Cream butter and sugar: In a large bowl, beat 1 cup softened unsalted butter with 1 ½ cups granulated sugar on medium speed until light and fluffy, about 3 to 4 minutes.
- Add egg and vanilla: Beat in 1 large room-temperature egg and 2 teaspoons vanilla extract until fully combined. Scrape down the bowl if needed.
- Combine wet and dry: Reduce mixer speed to low and gradually add the flour mixture alternately with 2 tablespoons milk. Mix just until incorporated; do not overmix.
- Chill the dough: Shape dough into a disc, wrap tightly with plastic wrap, and refrigerate for at least 1 hour or overnight.
- Preheat oven and prepare pans: Heat oven to 350°F (175°C). Line baking sheets with parchment paper.
- Roll and cut: On a lightly floured surface, roll dough to about ¼ inch (6 mm) thickness. Use alphabet cutters to cut mini letters, transferring them carefully to baking sheets about 1 inch (2.5 cm) apart.
- Bake: Bake for 8-10 minutes or until edges are just golden. Cookies will be soft when hot but firm up as they cool.
- Cool: Transfer cookies to wire racks to cool completely before decorating.
- Prepare royal icing: Mix powdered sugar, meringue powder (or egg white), and water until smooth and pipeable. Divide and tint with food gel colors if desired.
- Decorate: Use piping bags with small round tips to pipe letters onto cookies. Let icing dry completely (about 2 hours) before storing or packing.
Notes
Chill the dough for at least 1 hour to prevent spreading and make rolling easier. Do not overmix the dough once flour is added to keep cookies tender. Use parchment paper or silicone mats to prevent sticking. Practice piping icing on parchment paper before decorating cookies. Store decorated cookies in an airtight container at room temperature for up to 5 days. Freeze undecorated cookies for up to 3 months.
Nutrition
- Serving Size: 1 mini cookie (about
- Calories: 75
- Sugar: 7
- Sodium: 50
- Fat: 3
- Saturated Fat: 2
- Carbohydrates: 10
- Protein: 1
Keywords: mini sugar cookies, alphabet cookies, back to school treats, easy sugar cookies, royal icing cookies, bite-sized cookies, kids snacks


