Love this? Save it for later!
Share the inspiration with your friends
I was standing in the parking lot of a hardware store last October when a breeze carried the smell of burnt sugar and warm cinnamon across the asphalt. And just like that, I was seven years old again, sitting cross-legged on my aunt Lena’s kitchen floor, watching her pull a baking sheet from the oven. She’d let the pumpkin seeds cool just long enough for me to burn my tongue anyway — and I did, every single time, because I couldn’t wait. She passed away three years ago, and I swear I haven’t smelled that exact combination of caramelized sugar and toasted seeds since. Until that random Tuesday afternoon by the lumber section.
The thing is, I’d been making savory roasted pumpkin seeds for years. Salt, pepper, maybe some garlic powder. They were fine. They were forgettable. But that parking lot moment sent me home with a bag of sugar, a fresh jar of cinnamon, and a mission. I burned the first batch, obviously — let me tell you, sugar goes from golden to black in about thirty seconds flat. The second batch was too sticky. The third? The third was close enough to make me tear up a little, which is embarrassing to admit, but here we are.
Honestly, this recipe became my weeknight victory lap. You know that feeling when dinner is done, the kitchen is a disaster, and you just want something sweet and crunchy without pulling out a mixer? That’s where these cinnamon sugar roasted pumpkin seeds come in. They’re done in twenty minutes, use ingredients you probably already have, and they make your whole house smell like a bakery. Maybe you’ve been there — standing over a hot pan, needing something good to happen fast. This is that recipe. It stayed with me because it’s not just about the taste. It’s about the fact that I can have it, and have it fast, even on a tired Tuesday.
Why You’ll Love This Recipe
Let me be real with you — I’ve tested this recipe about seven times to get it just right. The first batch was a sticky mess. The second was burnt. But by batch three, I had something worth sharing. Here’s why this version works, especially when you’re short on time and energy.
- Quick & Easy : From start to finish, these are on your counter in under 20 minutes. No complicated steps, no waiting around. You can make them while your dinner is finishing up.
- Simple Ingredients : You need pumpkin seeds, sugar, cinnamon, butter, and a pinch of salt. That’s it. No trips to a specialty store, no weird ingredients you’ll use once and forget about.
- Perfect for Weeknights : This is the kind of snack you make when you need something sweet but don’t want to bake a whole batch of cookies. It hits that craving fast.
- Crowd-Pleaser : I brought a bag to my neighbor’s house last week and her kids finished them before the movie started. Adults love them too — there’s something about that crunchy-sweet combo that gets everyone.
- Unbelievably Delicious : The sugar caramelizes just enough to create a brittle coating, and the cinnamon warms everything up. It’s simple, but it’s the kind of simple that makes you close your eyes after the first bite.
What makes this different from other pumpkin seed recipes? Most people either roast them savory or make a complicated candied version that requires a candy thermometer. Not this one. I use a stovetop method that gives you perfect caramelization without the fuss. The butter helps the sugar stick evenly, and the cinnamon isn’t just sprinkled on top — it’s cooked right into the coating. This isn’t another boring snack. It’s comfort food that comes together in the time it takes to watch one episode of a show.
What Ingredients You Will Need
This recipe uses simple, honest ingredients that you probably already have in your pantry. No fancy stuff here — just the basics that come together to make something special.
For the Pumpkin Seeds:
- 1 cup raw pumpkin seeds (also called pepitas — look for the green hulled ones for best texture) (rinsed and patted completely dry — wet seeds won’t caramelize properly)
- 3 tablespoons unsalted butter (I use Kerrygold for the richness, but any unsalted butter works) (melted)
- ¼ cup granulated sugar (regular white sugar works best here — brown sugar can make them too sticky)
- 1 teaspoon ground cinnamon (I prefer Saigon cinnamon for its stronger, sweeter flavor, but regular cinnamon is fine)
- ¼ teaspoon salt (just enough to balance the sweetness — don’t skip it)
- ½ teaspoon vanilla extract (optional, but it adds a lovely warmth that rounds out the cinnamon)
Ingredient Selection Tips:
If you’re scooping seeds from a fresh pumpkin, make sure you wash them thoroughly and dry them completely. Any leftover pumpkin flesh will make them soggy instead of crispy. For the quickest version, grab a bag of pre-hulled pepitas from the store — they’re already clean and ready to go. I usually buy mine from the bulk section at Whole Foods or Sprouts, but any brand works.
Substitution Guidance:
- Use coconut oil instead of butter for a dairy-free version — it still caramelizes nicely, though the flavor will be slightly different
- Swap in coconut sugar for a less refined option — just note that the color will be darker and the texture slightly less crunchy
- Add a pinch of nutmeg or cardamom along with the cinnamon for a warmer spice profile
- If you only have salted butter, reduce the added salt to just a tiny pinch
One thing I learned the hard way — don’t use pre-roasted seeds for this recipe. They’re already dry and won’t absorb the butter-sugar mixture the same way. Raw seeds are the way to go. Trust me on this one.
Equipment Needed
You don’t need much for this recipe, which is honestly my favorite thing about it. Here’s what you’ll need:
- Large non-stick skillet (10 or 12-inch works best — the non-stick surface is crucial so the sugar doesn’t stick and burn)
- Wooden spoon or silicone spatula (for stirring — metal can scratch your non-stick pan)
- Baking sheet (for spreading the seeds to cool — any size works)
- Parchment paper or silicone baking mat (trust me, you want this — cleanup is so much easier)
- Measuring cups and spoons
- Small bowl (for mixing the sugar and cinnamon together before adding)
Budget-Friendly Options:
If you don’t have a non-stick skillet, a well-seasoned cast iron pan can work — just watch it carefully and stir constantly. No parchment paper? You can spread the seeds directly on a clean baking sheet, but you’ll need to scrape them off while they’re still warm. I’ve done it that way, and it’s fine, but the parchment makes life easier.
Personal Experience:
I used a cheap non-stick pan for my first few attempts, and the coating started wearing off after a few uses. If you make these often (which you will), invest in a decent non-stick skillet. My OXO Good Grips pan has held up beautifully for two years now. Also, don’t walk away while these are cooking — I learned that lesson when I answered the door and came back to a smoking pan. Set a timer, seriously.
Preparation Method
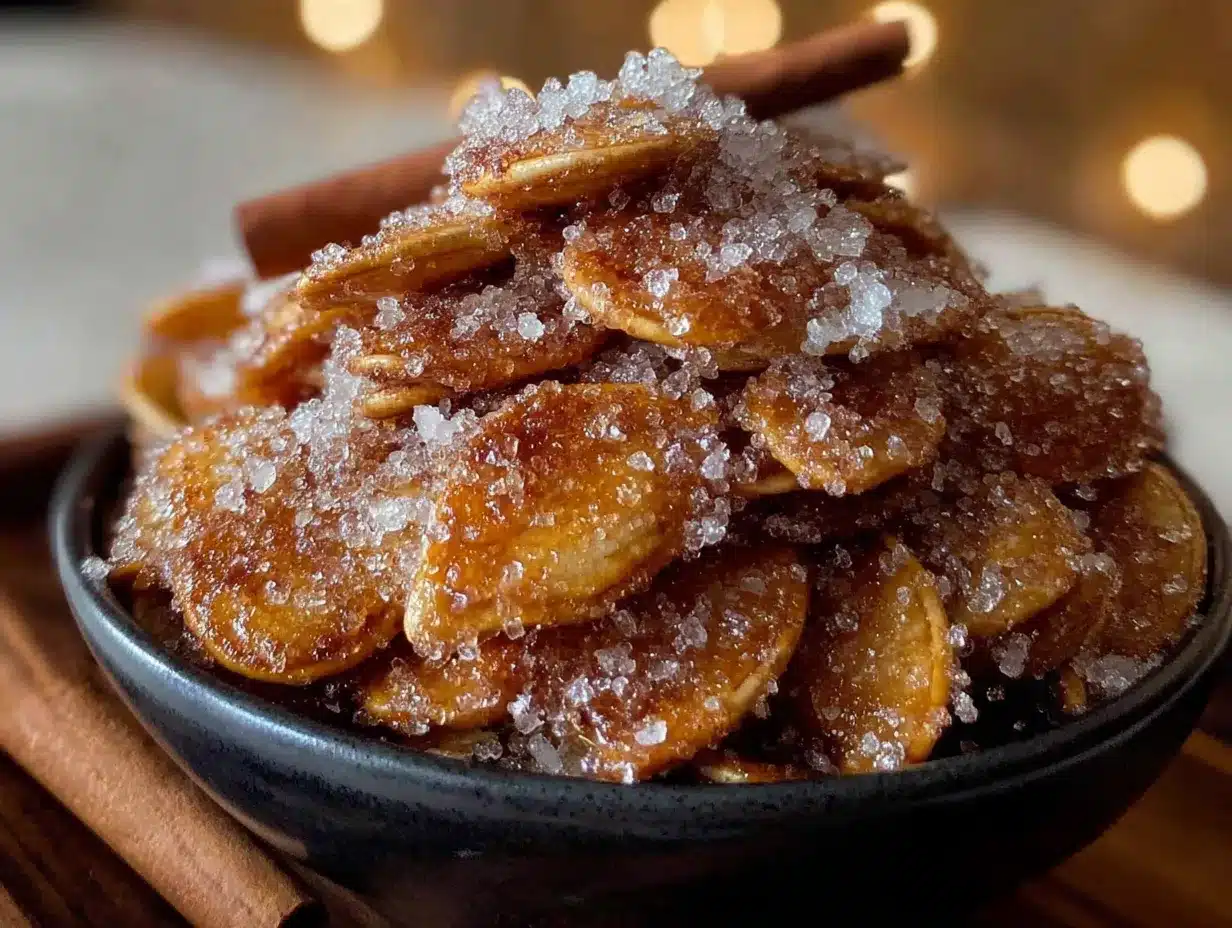
Alright, let’s get these seeds made. I promise this is straightforward, but I’ll walk you through every step so you don’t make the same mistakes I did.
- Prep your seeds (2 minutes) : If you’re using fresh pumpkin seeds, rinse them in a colander to remove any stringy pumpkin bits. Pat them completely dry with a clean kitchen towel or paper towels. This is important — any moisture will steam the seeds instead of letting them get crispy. If you’re using store-bought pepitas, just give them a quick rinse and dry them well.
- Mix the dry ingredients (1 minute) : In a small bowl, combine the ¼ cup sugar, 1 teaspoon cinnamon, and ¼ teaspoon salt. Stir them together with a fork until the cinnamon is evenly distributed. This step seems small, but it makes a difference — if you just sprinkle cinnamon on top later, you’ll get clumps.
- Heat the pan (1 minute) : Place your non-stick skillet over medium heat. Add the 3 tablespoons of butter and let it melt completely. Swirl the pan to coat the bottom evenly. The butter should be bubbly but not browning — if it starts to brown, your heat is too high. Turn it down a notch.
- Toast the seeds (3-4 minutes) : Add the 1 cup of pumpkin seeds to the melted butter. Stir them constantly with your wooden spoon or silicone spatula. You’ll hear them start to pop and sizzle — that’s normal. Keep stirring until they turn a light golden brown and smell nutty. This takes about 3 to 4 minutes. Don’t walk away here — they can burn fast.
- Add the sugar mixture (30 seconds) : Sprinkle the cinnamon-sugar mixture evenly over the seeds. Stir quickly and constantly to coat every seed. The sugar will start to melt and bubble almost immediately. If you’re using the vanilla extract, add it now and stir it in. Keep stirring for about 30 seconds until the sugar is fully melted and the seeds are glossy.
- Spread to cool (1 minute) : Immediately pour the seeds onto your prepared baking sheet (lined with parchment or a silicone mat). Spread them into a single layer using the back of your spoon. Work quickly — the sugar will start to harden as it cools. If you wait too long, you’ll have one big clump instead of individual seeds.
- Cool completely (10 minutes) : Let the seeds sit undisturbed for at least 10 minutes. They’ll firm up as they cool. Don’t touch them while they’re hot — the sugar is molten and will burn you. I know from experience. Once they’re completely cool, they should be crunchy and easy to break apart.
- Break into pieces (1 minute) : If any seeds are stuck together, gently break them apart with your fingers. They should separate easily. If they’re still sticky, they need more cooling time.
Sensory Cues to Watch For:
- When toasting, the seeds should smell nutty and look golden — not brown or dark
- The sugar mixture should bubble and look like a thin glaze coating each seed
- When cooling, you’ll hear a slight crackling sound as the sugar hardens — that’s a good sign
Troubleshooting Tips:
- If your seeds are chewy instead of crunchy, they weren’t dried well enough before cooking, or you didn’t cook the sugar long enough
- If the sugar burned, your heat was too high — medium heat is the sweet spot
- If the seeds are clumped together in a solid mass, you didn’t spread them fast enough — next time, have your baking sheet ready before you start cooking
Cooking Tips & Techniques
I’ve made this recipe enough times to know where things go wrong. Here’s what I’ve learned, sometimes the hard way.
Keep your heat steady. Medium heat is your friend here. If you go too high, the sugar burns before the seeds are properly toasted. Too low, and the seeds get soggy instead of crunchy. I tested this on different burners — gas vs. electric — and medium works on both. Trust the process.
Stir constantly. I cannot stress this enough. The sugar coating is thin and burns fast. I learned this when I stopped to answer a text message and came back to a pan of blackened seeds. Set a timer if you have to. Stir, stir, stir.
Prep everything before you start. Have your sugar mixture mixed, your butter measured, your baking sheet lined. Once you start cooking, things move fast. You don’t want to be hunting for the cinnamon while your butter is browning. I keep everything on a tray next to the stove — it makes the whole process feel effortless.
Let them cool completely. I know it’s tempting to grab a handful right away, but warm seeds are soft. They need that full 10 minutes to crisp up. I once served them too early and everyone thought they were weirdly chewy. They were fine after cooling, but the first impression was ruined. Patience pays off here.
Double the batch if you’re smart. These disappear fast. I usually make a double batch and store half in an airtight container. They stay crunchy for about a week — if they last that long. My kids have been known to sneak handfuls straight from the container.
Variations & Adaptations
This base recipe is great, but sometimes you want to switch things up. Here are some variations I’ve tried and loved.
Spicy-Sweet Version: Add ¼ teaspoon of cayenne pepper to the sugar mixture. The heat hits after the sweetness, and it’s surprisingly addictive. I made this for a football party and people couldn’t stop eating them. Just go easy on the cayenne — you can always add more, but you can’t take it out.
Maple Cinnamon Version: Replace the granulated sugar with 3 tablespoons of maple syrup. Reduce the butter to 2 tablespoons since the syrup adds moisture. Cook the seeds a minute or two longer to let the syrup caramelize. The flavor is deeper and more complex — almost like a maple candy. This one is my husband’s favorite.
Pumpkin Spice Version: Swap the cinnamon for 1½ teaspoons of pumpkin pie spice. The blend of cinnamon, nutmeg, ginger, and cloves gives these a cozy fall flavor. I make this version every October and bring bags to my book club. They always ask for the recipe.
Chocolate Drizzle Version: After the seeds have cooled completely, melt ¼ cup of dark chocolate chips and drizzle them over the seeds. Let the chocolate set before breaking the seeds apart. This turns them into a dessert that feels fancy but takes almost no extra effort. I did this for a holiday party and people thought I bought them from a bakery.
Dietary Adaptations:
- Vegan: Use coconut oil or vegan butter instead of regular butter. The texture is slightly different — a bit less rich — but still delicious.
- Gluten-Free: This recipe is naturally gluten-free, but double-check your cinnamon and vanilla extract labels if you’re sensitive.
- Lower Sugar: Reduce the sugar to 2 tablespoons and add an extra pinch of cinnamon. They’re less sweet but still satisfying.
Serving & Storage Suggestions
These seeds are versatile — you can serve them in so many ways. Here’s what works best.
Serving Temperature: Room temperature is ideal. The sugar coating is fully set and gives that satisfying crunch. If you serve them warm, they’ll be slightly softer, which isn’t bad, but the texture is best when they’ve cooled completely.
Presentation Ideas: I like to serve them in a simple bowl or mason jar. For parties, I put them in a small ceramic dish with a little scoop. They also look great sprinkled over a bowl of vanilla ice cream — the crunch contrasts perfectly with the creamy texture. You can also use them as a topping for yogurt parfaits or oatmeal.
Complementary Dishes: These pair beautifully with a warm cup of chai tea or hot apple cider. For a dessert board, arrange them alongside dark chocolate, dried cranberries, and sharp cheddar cheese. The sweet-spicy seeds balance the savory cheese in a way that surprises people every time.
Storage Instructions: Store completely cooled seeds in an airtight container at room temperature. They’ll stay crunchy for up to one week. Do not refrigerate them — the moisture in the fridge will make them soft. If they do get soft, you can re-crisp them in a 300°F oven for 3 to 4 minutes. Let them cool again before eating.
Freezer Instructions: These freeze well! Place cooled seeds in a freezer-safe bag or container. They’ll keep for up to three months. Thaw at room temperature for about 15 minutes before serving. The texture holds up surprisingly well — I’ve done this several times when I made a double batch.
Flavor Development: These are actually best the day after you make them. The flavors meld together overnight, and the cinnamon becomes more pronounced. I’ve tested this side by side — fresh vs. day-old — and the day-old batch always wins. So don’t feel bad if you make them ahead of time.
Nutritional Information & Benefits
Let’s be honest — these are a treat, not a health food. But they’re not as bad as you might think.
Estimated Nutritional Values (per ¼ cup serving):
- Calories: 180
- Total Fat: 12g
- Saturated Fat: 4g
- Carbohydrates: 14g
- Sugar: 10g
- Fiber: 2g
- Protein: 6g
- Sodium: 150mg
Health Benefits of Key Ingredients:
- Pumpkin seeds are packed with magnesium, zinc, and healthy fats. They’re great for heart health and sleep quality — that magnesium helps you relax.
- Cinnamon has anti-inflammatory properties and can help regulate blood sugar. It’s one of those spices that tastes good and does good things for your body.
- Butter provides vitamin A and healthy saturated fats. In moderation, it’s not the enemy — it’s what makes these seeds taste so satisfying.
Dietary Considerations:
- Gluten-free (check labels)
- Can be made dairy-free with coconut oil
- Can be made vegan with plant-based butter
- Contains tree nuts? No — these are seed-based and nut-free
- Contains dairy if using butter
Personal Perspective:
I don’t believe in demonizing food. These seeds are a treat, and that’s okay. They satisfy my sweet tooth with a fraction of the sugar I’d get from a candy bar. Plus, that protein and fiber mean I actually feel full after eating them — not that hollow, unsatisfied feeling you get from processed snacks. Balance is everything.
Conclusion
These cinnamon sugar roasted pumpkin seeds are the kind of recipe that earns a permanent spot in your rotation. They’re fast enough for a busy weeknight, simple enough for beginner cooks, and delicious enough to impress anyone who tries them. That parking lot smell led me to something I make at least twice a month now — sometimes for a party, sometimes just because I need a little sweetness after a long day.
I love that you can tweak them to match your mood. Spicy one week, maple the next, chocolate-drizzled when you’re feeling fancy. They’re forgiving and flexible, which is exactly what a weeknight recipe should be.
Now I want to hear from you. Have you tried making these? Did you add your own twist? Drop a comment below and let me know how they turned out. And if you loved them, share this recipe with a friend who needs a quick, satisfying snack in their life. Trust me — they’ll thank you.
Happy snacking, friends. You’ve got this.
Frequently Asked Questions
Can I use salted pumpkin seeds for this recipe?
I wouldn’t recommend it. Salted seeds will make the final result too salty, especially since we’re adding salt to the sugar mixture. Stick with raw, unsalted seeds for the best balance of sweet and salty.
Why did my seeds turn out chewy instead of crunchy?
This usually happens for two reasons: either the seeds weren’t dried properly before cooking, or the sugar wasn’t cooked long enough. Make sure your seeds are patted completely dry, and cook the sugar mixture until it’s bubbling and glossy — about 30 seconds after adding it.
Can I make these in the oven instead of on the stovetop?
You can, but the texture will be different. To bake them, toss the seeds with melted butter and the sugar mixture, then spread on a baking sheet. Bake at 350°F for 12 to 15 minutes, stirring halfway through. They’ll be less intensely caramelized but still tasty.
How do I keep the seeds from sticking together?
Spread them in a single layer on the parchment-lined baking sheet immediately after cooking. Work quickly — the sugar sets fast. If they do clump, break them apart gently once they’re completely cool.
Can I use brown sugar instead of white sugar?
You can, but the results will be different. Brown sugar has more moisture, so the seeds may turn out slightly softer and stickier. The flavor will be richer, with molasses notes. If you try it, reduce the butter to 2 tablespoons to compensate for the extra moisture.
Pin This Recipe!
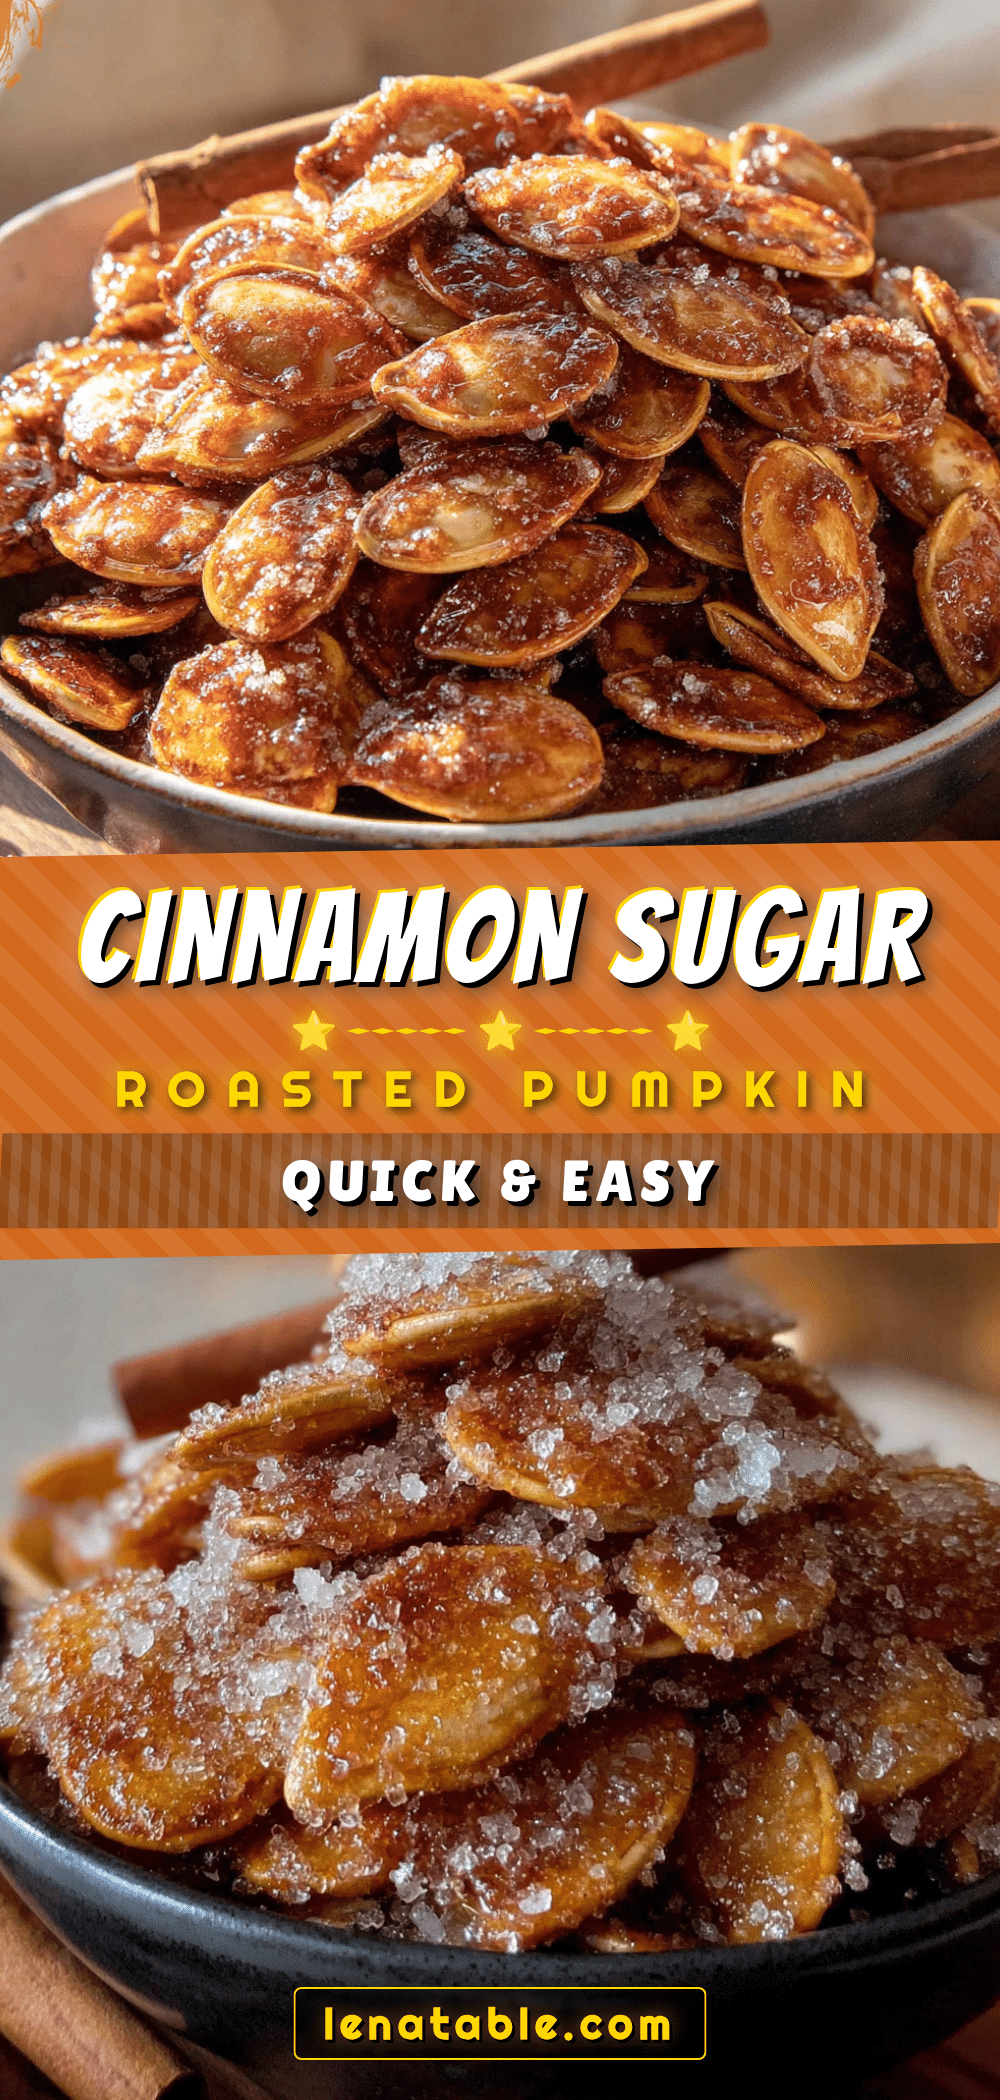
Easy Cinnamon Sugar Roasted Pumpkin Seeds: Best 20-Minute Snack

These cinnamon sugar roasted pumpkin seeds are a quick, 20-minute snack that combines crunchy pumpkin seeds with a sweet, caramelized cinnamon coating. Perfect for weeknights, they use simple ingredients and deliver a delicious, crowd-pleasing treat.
- Prep Time: 5 minutes
- Cook Time: 5 minutes
- Total Time: 20 minutes
- Yield: 4 servings 1x
- Category: Snack
- Cuisine: American
Ingredients
- 1 cup raw pumpkin seeds (pepitas), rinsed and patted dry
- 3 tablespoons unsalted butter, melted
- 1/4 cup granulated sugar
- 1 teaspoon ground cinnamon
- 1/4 teaspoon salt
- 1/2 teaspoon vanilla extract (optional)
Instructions
- Prep your seeds: Rinse fresh pumpkin seeds in a colander to remove stringy bits. Pat completely dry with a clean towel. If using store-bought pepitas, rinse and dry well.
- Mix the dry ingredients: In a small bowl, combine 1/4 cup sugar, 1 teaspoon cinnamon, and 1/4 teaspoon salt. Stir with a fork until evenly distributed.
- Heat the pan: Place a large non-stick skillet over medium heat. Add 3 tablespoons butter and let it melt completely. Swirl to coat the bottom. The butter should be bubbly but not browning.
- Toast the seeds: Add 1 cup pumpkin seeds to the melted butter. Stir constantly with a wooden spoon or silicone spatula for 3-4 minutes, until seeds turn light golden brown and smell nutty.
- Add the sugar mixture: Sprinkle the cinnamon-sugar mixture evenly over the seeds. Stir quickly and constantly for about 30 seconds until the sugar melts and seeds are glossy. If using vanilla extract, add it now.
- Spread to cool: Immediately pour the seeds onto a baking sheet lined with parchment paper or a silicone mat. Spread into a single layer using the back of a spoon. Work quickly.
- Cool completely: Let the seeds sit undisturbed for at least 10 minutes. They will firm up as they cool.
- Break into pieces: Gently break apart any stuck-together seeds with your fingers. They should separate easily.
Notes
Keep heat steady at medium. Stir constantly to prevent burning. Prep all ingredients before starting. Let seeds cool completely for best crunch. Double the batch for larger groups. Store in an airtight container at room temperature for up to 1 week. For best flavor, make a day ahead.
Nutrition
- Serving Size: 1/4 cup
- Calories: 180
- Sugar: 10
- Sodium: 150
- Fat: 12
- Saturated Fat: 4
- Carbohydrates: 14
- Fiber: 2
- Protein: 6
Keywords: cinnamon sugar pumpkin seeds, roasted pumpkin seeds, easy snack, 20-minute recipe, fall snack, pepitas


