Love this? Save it for later!
Share the inspiration with your friends
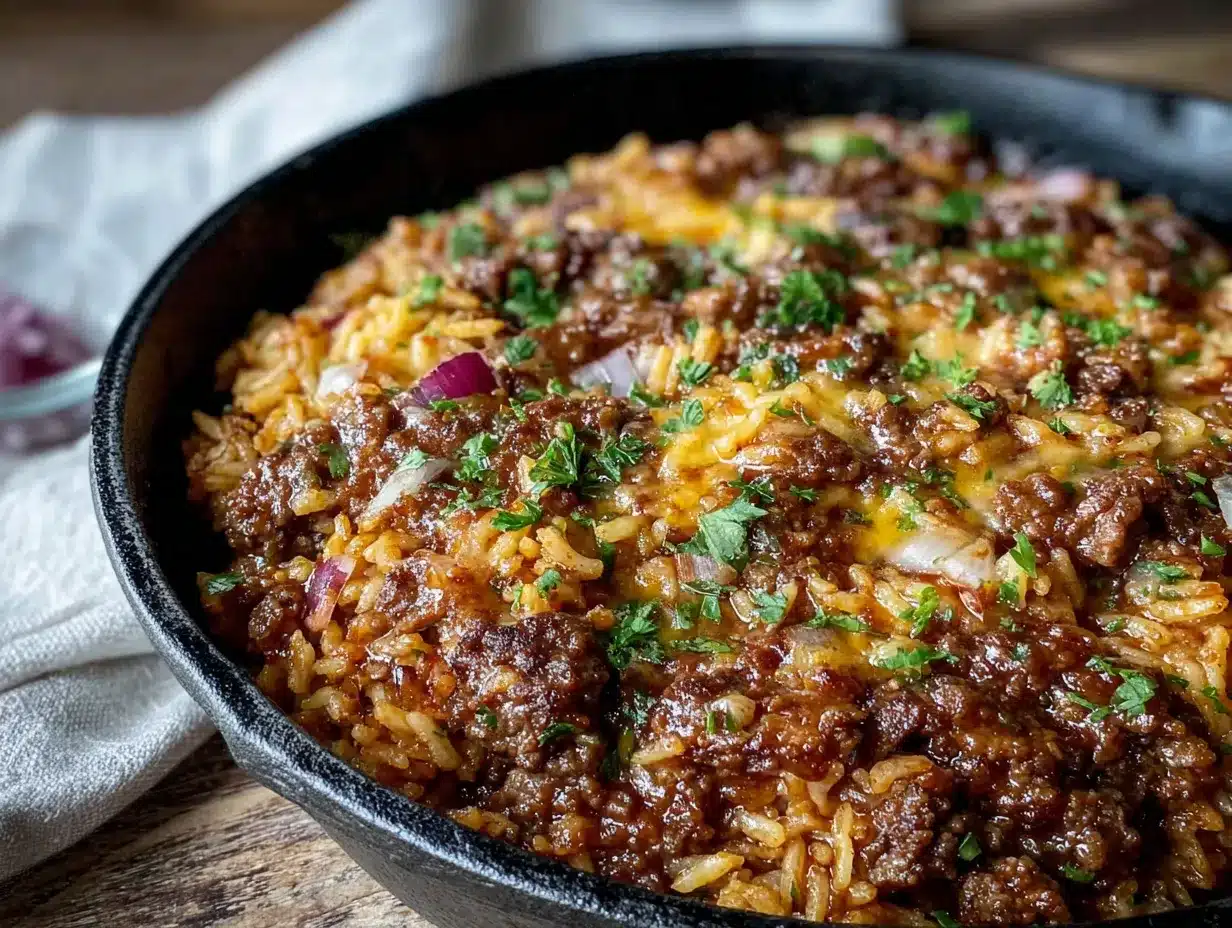
Let me tell you why this Easy Ground Beef and Rice Skillet has become my secret weapon for every single gathering I host. It’s the dish I turn to when I want to actually enjoy my own party instead of sweating in the kitchen.
- One-Pan Wonder: Everything cooks in a single skillet, which means less cleanup and more time with your guests. I mean, who wants to be scrubbing pots when everyone’s having a good time?
- Budget-Friendly Feeds a Crowd: Ground beef and rice are some of the most affordable ingredients out there, and this recipe stretches beautifully. You can easily double it without breaking the bank.
- Prep-Ahead Perfect: You can chop your veggies and measure your spices the night before. When guests arrive, you’re already ahead of the game.
- Customizable for Any Guest: Got someone who doesn’t eat dairy? Leave out the cheese. Need gluten-free? This recipe is naturally gluten-free as written. It’s that flexible.
- Always Gets Rave Reviews: Honestly, every time I serve this, someone asks for the recipe. It’s one of those dishes that tastes like you spent hours on it, but you didn’t.
What makes this version different from all the other ground beef and rice recipes out there? It’s the layering of flavors. Most recipes just dump everything in a pot and hope for the best. But I’ve learned through years of trial and error that browning the meat properly, toasting the rice just slightly, and using the right combination of spices makes all the difference. The rice stays fluffy, the beef stays tender, and every single bite is packed with savory goodness.
This is the kind of meal that makes you look like a rockstar host without the stress. It’s comfort food that feels special enough for a dinner party but easy enough for a Tuesday night.
What Ingredients You Will Need
This recipe uses simple, everyday ingredients to create something truly memorable. Most of these are probably already in your pantry, which is exactly what you want when you’re hosting and don’t have time for a special grocery run.
For the Skillet Base
- 1 pound ground beef (80/20) – The 80/20 blend gives you enough fat for flavor without being greasy. I prefer grass-fed beef when I can find it, but honestly, any good-quality ground beef works beautifully.
- 1 medium yellow onion, diced – Yellow onions have the best balance of sweetness and bite for this dish. White onions work too, but they’re a bit sharper.
- 3 cloves garlic, minced – Fresh garlic is non-negotiable here. The jarred stuff just doesn’t have the same punch.
- 1 green bell pepper, diced – Adds color and a subtle sweetness that balances the savory beef. Red or orange bell peppers work great too if that’s what you have.
- 1 cup long-grain white rice, uncooked – I’ve tested this with jasmine rice and basmati, and both work perfectly. Just avoid instant rice—it gets mushy.
- 2 cups beef broth – Low-sodium is best so you can control the salt level. If you’re out of broth, chicken broth works in a pinch.
- 1 can (14.5 oz) diced tomatoes, undrained – Fire-roasted diced tomatoes add a subtle smokiness that I absolutely love. Regular diced tomatoes are fine too.
- 1 tablespoon tomato paste – This little addition deepens the tomato flavor and gives the dish a richer color.
- 1 teaspoon smoked paprika – Smoked paprika is the secret to that “what’s in this?” flavor. Regular paprika works but won’t have the same depth.
- 1 teaspoon dried oregano – Oregano adds an earthy, slightly peppery note that pairs perfectly with the beef.
- ½ teaspoon cumin – Just enough to add warmth without overpowering everything else.
- Salt and black pepper to taste – I usually start with 1 teaspoon of salt and ½ teaspoon of pepper, then adjust at the end.
For the Topping (Optional but Recommended)
- 1 cup shredded cheddar cheese – Sharp cheddar adds a nice tang. Monterey Jack or a Mexican blend works great too.
- Fresh parsley or cilantro, chopped – For color and freshness. I use cilantro when I’m feeling fancy.
- Sour cream or Greek yogurt – A dollop on top adds creaminess and helps cool things down if you’ve added extra spice.
Equipment Needed
You don’t need a fancy kitchen to pull this off. Here’s what you’ll actually use:
- Large skillet or Dutch oven (12-inch) – A deep skillet with a lid is ideal. I use my trusty cast iron Dutch oven because it holds heat so evenly. If you don’t have a lid, foil works as a makeshift cover.
- Wooden spoon or spatula – For breaking up the ground beef and stirring. I prefer wood because it won’t scratch your pan.
- Chef’s knife and cutting board – For dicing the onion and bell pepper. A sharp knife makes this job so much easier.
- Measuring cups and spoons – Accuracy matters, especially with the rice-to-liquid ratio.
- Can opener – For the diced tomatoes.
- Grater (if using block cheese) – Pre-shredded cheese is fine, but freshly grated melts more smoothly.
If you don’t have a large skillet, use a large pot instead. Just keep an eye on the heat because pots can cook differently than skillets. I once tried making this in a nonstick pan that was too small, and it was a mess—rice everywhere. Learn from my mistake!
Preparation Method
This comes together faster than you’d think. Here’s how I do it, step by step, with all the little tricks I’ve picked up along the way.
- Prep your ingredients first. Dice the onion and bell pepper, mince the garlic, and measure out your spices. Having everything ready makes the cooking process smooth and stress-free. Trust me, you don’t want to be chopping onions while the beef is burning.
- Heat your skillet over medium-high heat. Add a drizzle of oil—about a tablespoon. Let it get hot until it shimmers. This is crucial for good browning.
- Add the ground beef. Break it up with your spoon as it cooks. Let it sit without stirring for a minute or two to develop a nice brown crust. That crust is pure flavor. Cook for about 5-7 minutes until no longer pink.
- Remove the beef with a slotted spoon and set it aside on a plate. Leave about a tablespoon of rendered fat in the pan. If there’s too much, pour some off—you want just enough to cook the veggies.
- Add the diced onion and bell pepper to the same pan. Cook over medium heat for 3-4 minutes until the onion is translucent and starting to soften. Scrape up any browned bits from the bottom of the pan—that’s where the flavor lives.
- Add the minced garlic and cook for 30 seconds until fragrant. Don’t let it burn, or it’ll turn bitter. I’ve done that before, and it’s not pretty.
- Stir in the tomato paste, smoked paprika, oregano, cumin, salt, and pepper. Cook for 1 minute, stirring constantly. This toasts the spices and deepens their flavor.
- Add the uncooked rice and stir for 1-2 minutes until the grains are slightly translucent at the edges. This toasting step is what keeps the rice from getting mushy later.
- Pour in the beef broth and diced tomatoes (with their juices). Stir everything together, scraping up any remaining browned bits from the bottom.
- Return the cooked ground beef to the skillet. Stir to combine. Bring the mixture to a boil.
- Reduce the heat to low, cover the skillet, and let it simmer. Cook for 18-20 minutes without lifting the lid. I know it’s tempting to peek, but steam is what cooks the rice perfectly.
- After 18 minutes, check the rice. It should be tender and have absorbed most of the liquid. If it’s still a bit firm, cover and cook for 2-3 more minutes.
- Remove from heat. If using cheese, sprinkle it over the top, cover, and let it sit for 2-3 minutes until melted.
- Fluff the rice with a fork before serving. This separates the grains and makes everything look beautiful.
- Garnish with fresh parsley or cilantro and serve with sour cream on the side.
Cooking Tips & Techniques
I’ve made this dish more times than I can count, and I’ve learned a few things the hard way. Here are my best tips to make sure yours turns out perfect every time.
Don’t skip browning the meat properly. I used to rush this step, and my beef always came out gray and sad. Let it develop that deep brown crust—it’s where the rich, savory flavor comes from. If you crowd the pan, the meat will steam instead of brown. Work in batches if you’re doubling the recipe.
Toast the rice before adding liquid. This was a game-changer for me. Toasting the rice for just a minute or two in the hot pan with the spices keeps the grains separate and fluffy. Skipping this step leads to sticky, clumpy rice.
Resist the urge to stir while it simmers. I know, I know—it’s hard. But every time you lift that lid, steam escapes, and the cooking time gets thrown off. Trust the process. The rice will cook evenly if you leave it alone.
Use low-sodium broth. This gives you control over the salt level. Different brands of broth have wildly different sodium contents, and you can always add more salt at the end if needed. You can’t take it out.
Let it rest before serving. Those last few minutes off the heat are important. The rice continues to absorb any remaining liquid, and the flavors meld together. I once served it straight from the stove, and it was good, but letting it rest made it amazing.
Variations & Adaptations
One of the best things about this recipe is how easy it is to change up. Here are some of my favorite variations.
Mexican-Style Skillet
Swap the oregano for chili powder and add a can of drained black beans along with the tomatoes. Top with pickled jalapeños and a squeeze of lime juice. I made this for a taco night once, and everyone went crazy for it.
Italian-Inspired Version
Use Italian seasoning instead of the cumin and paprika. Add a cup of chopped mushrooms and a handful of spinach at the end. Top with mozzarella and fresh basil. Serve with crusty bread for dipping—so good.
Low-Carb Adaptation
Replace the rice with cauliflower rice. Cook the cauliflower rice separately and stir it in at the end. You’ll need to reduce the broth to about 1 cup since cauliflower doesn’t absorb liquid the same way. This version is lighter but still satisfying.
Spicy Kick
Add a diced jalapeño along with the bell pepper, or stir in a teaspoon of red pepper flakes with the spices. I love doing this when I’m serving a crowd that likes heat. Just make sure to have extra sour cream on hand to cool things down.
Cheesy Broccoli Version
Stir in a cup of frozen broccoli florets during the last 5 minutes of cooking. The extra cheese on top gets all melty and delicious. My kids actually ask for this version by name.
Serving & Storage Suggestions
This dish is incredibly versatile when it comes to serving. Here’s how I like to do it.
Serving Temperature: Serve it hot, straight from the skillet. The cheese should be melted and bubbly, and the rice should be steaming. I put the whole skillet right on the table—it makes for a beautiful presentation and keeps everything warm.
What to Serve Alongside: A simple green salad with a tangy vinaigrette cuts through the richness beautifully. I also love serving this with warm tortillas or crusty bread for scooping up every last bit. For drinks, a cold beer or a glass of red wine pairs perfectly. If you’re feeling fancy, a pitcher of margaritas is always a hit.
Storage Instructions: Let any leftovers cool completely, then transfer to an airtight container. It will keep in the refrigerator for up to 4 days. The flavors actually get better as they meld together overnight.
Freezing: This freezes beautifully. Portion it into freezer-safe containers and freeze for up to 3 months. Thaw overnight in the refrigerator before reheating.
Reheating Tips: The best way to reheat is in a skillet over medium heat with a splash of broth or water to loosen things up. Cover and heat for 5-7 minutes, stirring occasionally. You can also microwave individual portions, but the rice might get a bit softer. I actually prefer the leftovers—they taste even better the next day.
Nutritional Information & Benefits
Here’s an approximate breakdown per serving (based on 6 servings, without optional toppings):
- Calories: 420
- Protein: 28g
- Carbohydrates: 38g
- Fat: 18g
- Fiber: 3g
- Iron: 4mg (22% DV)
This dish is packed with protein from the beef, which helps keep you full and satisfied. The rice provides energy from complex carbohydrates, while the bell peppers and tomatoes add a good dose of vitamin C and antioxidants. If you use lean ground beef (90/10), you can reduce the fat content significantly.
It’s also naturally gluten-free, which makes it a great option for guests with celiac disease or gluten sensitivity. Just double-check your broth and spice labels to be safe.
From a wellness perspective, I love that this meal feels indulgent but is actually quite balanced. It’s comfort food that doesn’t leave you feeling heavy or guilty. Perfect for when you want to treat your guests without derailing your own healthy eating habits.
Conclusion
This Easy Ground Beef and Rice Skillet has saved me more times than I can count. It’s the recipe I turn to when I want to feed a crowd without spending the whole evening in the kitchen. It’s reliable, delicious, and somehow always impresses people more than it should for how simple it is.
I hope you give this a try for your next gathering. Customize it however you like—make it spicy, make it cheesy, make it your own. That’s the beauty of a recipe like this. It’s a starting point, not a rulebook.
When you make it, I want to hear about it. Drop a comment below and tell me how it turned out, what variations you tried, or if your guests asked for the recipe (they will). And if you took a photo, share it on Pinterest and tag me—I love seeing your creations!
Happy cooking, friend. Your next amazing dinner party is just one skillet away.
Frequently Asked Questions
Can I use brown rice instead of white rice?
Yes, but you’ll need to adjust the cooking time and liquid. Brown rice takes about 40-45 minutes to cook and needs about ½ cup more broth. I recommend par-cooking the brown rice first or using a quick-cook brown rice to save time.
Can I make this in a slow cooker?
Absolutely! Brown the beef and sauté the veggies first, then transfer everything to the slow cooker. Cook on low for 4-5 hours or on high for 2-3 hours. Add the rice during the last hour of cooking so it doesn’t get mushy.
How do I prevent the rice from getting mushy?
The key is not lifting the lid while it simmers and using the right rice-to-liquid ratio. Also, toasting the rice before adding liquid helps keep the grains separate. If your rice is still mushy, you might have added too much liquid or cooked it too long.
Can I substitute ground turkey or chicken?
Yes, ground turkey or chicken works great. Since they’re leaner, you might need to add a tablespoon of oil when browning to prevent sticking. The flavor will be slightly milder, so consider adding an extra pinch of salt and spices.
How do I scale this recipe for a larger crowd?
This recipe doubles beautifully. Use a large Dutch oven or a big pot. Keep in mind that a larger batch might need an extra 5-10 minutes of cooking time. You can also make it in two separate skillets if you don’t have a pot big enough.
Pin This Recipe!
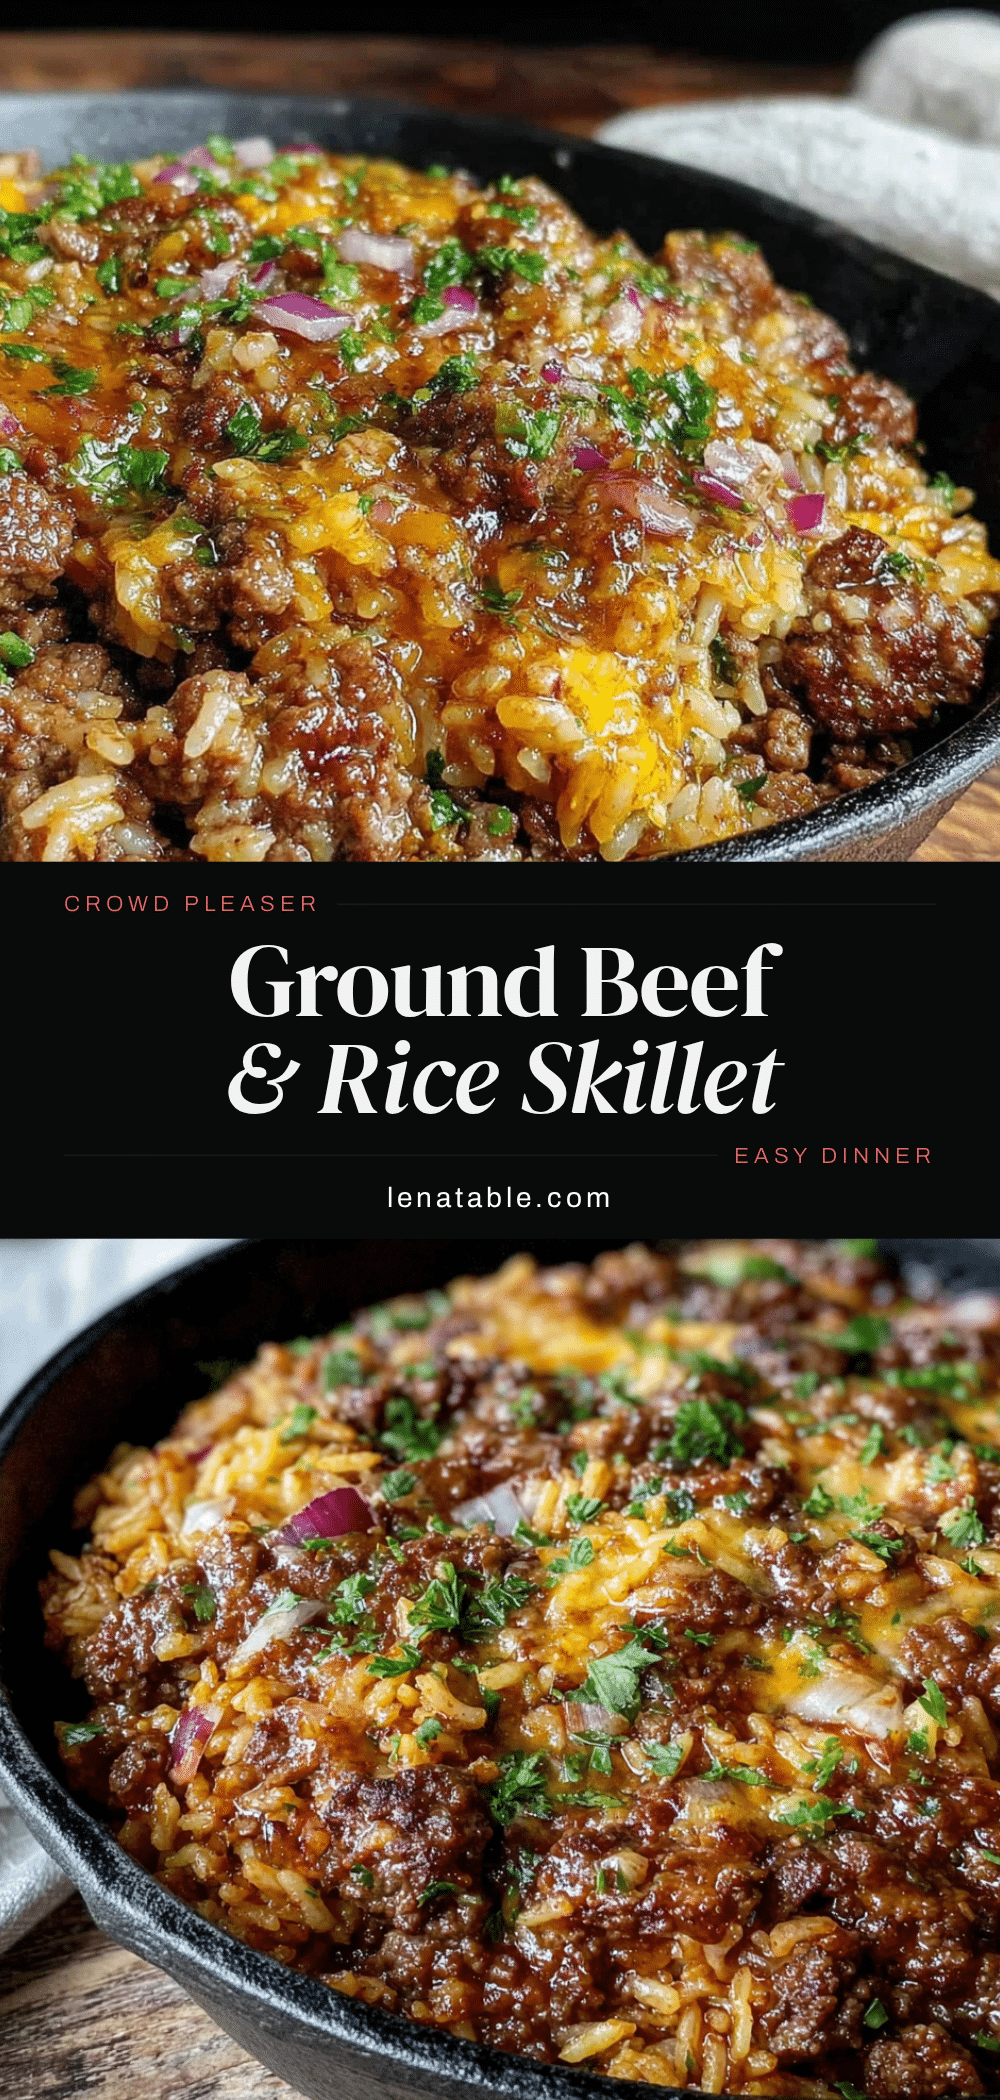
Easy Ground Beef and Rice Skillet: Best One-Pan Dinner
This Easy Ground Beef and Rice Skillet is a one-pan wonder that feeds a crowd with minimal cleanup. It’s budget-friendly, prep-ahead perfect, and customizable for any guest, making it the ideal dish for gatherings or busy weeknights.
- Prep Time: 15 minutes
- Cook Time: 30 minutes
- Total Time: 45 minutes
- Yield: 6 servings 1x
- Category: Main Course
- Cuisine: American
Ingredients
- 1 pound ground beef (80/20)
- 1 medium yellow onion, diced
- 3 cloves garlic, minced
- 1 green bell pepper, diced
- 1 cup long-grain white rice, uncooked
- 2 cups beef broth, low-sodium
- 1 can (14.5 oz) diced tomatoes, undrained
- 1 tablespoon tomato paste
- 1 teaspoon smoked paprika
- 1 teaspoon dried oregano
- ½ teaspoon cumin
- Salt and black pepper to taste
- 1 cup shredded cheddar cheese (optional)
- Fresh parsley or cilantro, chopped (optional)
- Sour cream or Greek yogurt (optional)
Instructions
- Prep your ingredients first: dice the onion and bell pepper, mince the garlic, and measure out your spices.
- Heat your skillet over medium-high heat. Add a drizzle of oil—about a tablespoon. Let it get hot until it shimmers.
- Add the ground beef. Break it up with your spoon as it cooks. Let it sit without stirring for a minute or two to develop a nice brown crust. Cook for about 5-7 minutes until no longer pink.
- Remove the beef with a slotted spoon and set it aside on a plate. Leave about a tablespoon of rendered fat in the pan.
- Add the diced onion and bell pepper to the same pan. Cook over medium heat for 3-4 minutes until the onion is translucent and starting to soften. Scrape up any browned bits from the bottom of the pan.
- Add the minced garlic and cook for 30 seconds until fragrant.
- Stir in the tomato paste, smoked paprika, oregano, cumin, salt, and pepper. Cook for 1 minute, stirring constantly.
- Add the uncooked rice and stir for 1-2 minutes until the grains are slightly translucent at the edges.
- Pour in the beef broth and diced tomatoes (with their juices). Stir everything together, scraping up any remaining browned bits from the bottom.
- Return the cooked ground beef to the skillet. Stir to combine. Bring the mixture to a boil.
- Reduce the heat to low, cover the skillet, and let it simmer. Cook for 18-20 minutes without lifting the lid.
- After 18 minutes, check the rice. It should be tender and have absorbed most of the liquid. If it’s still a bit firm, cover and cook for 2-3 more minutes.
- Remove from heat. If using cheese, sprinkle it over the top, cover, and let it sit for 2-3 minutes until melted.
- Fluff the rice with a fork before serving.
- Garnish with fresh parsley or cilantro and serve with sour cream on the side.
Notes
Don’t skip browning the meat properly—it develops deep flavor. Toast the rice before adding liquid to keep grains separate. Resist the urge to stir while simmering; steam cooks the rice perfectly. Use low-sodium broth to control salt level. Let the dish rest for a few minutes before serving to allow flavors to meld.
Nutrition
- Serving Size: 1 serving (about 1.5
- Calories: 420
- Sugar: 5
- Sodium: 680
- Fat: 18
- Saturated Fat: 7
- Carbohydrates: 38
- Fiber: 3
- Protein: 28
Keywords: ground beef and rice skillet, one-pan dinner, easy ground beef recipe, budget-friendly dinner, gluten-free dinner


