Love this? Save it for later!
Share the inspiration with your friends
My sister asked why I couldn’t just melt the chocolate in the microwave. I started to explain why that wouldn’t work—something about tempering, about the importance of a double boiler, about the science of chocolate seizing. Then I stopped. Honestly, I had been making peppermint bark for years using the “proper” method, and I was tired. The kitchen was already a mess from holiday baking, and the thought of hauling out my double boiler felt like too much. So I shrugged and said, “You know what? Let’s try it your way.”
That was three Christmases ago, and I haven’t gone back since. The microwave method—using short bursts and stirring between each one—turned out to be not just easier but actually better for this particular recipe. The chocolate stayed perfectly smooth, and I didn’t have to worry about a single drop of water sneaking into the bowl. I mean, let me tell you, that moment of being wrong about something in the kitchen? It sticks with you. It makes you question all the other “rules” you’ve been following without thinking.
This easy homemade peppermint bark with dark chocolate has become my go-to holiday gift. It’s the one I bring to cookie exchanges, the one I package up in little cellophane bags for neighbors, the one that disappears fastest from the dessert table. Maybe you’ve been there—standing in the baking aisle, overwhelmed by all the fancy candy-making supplies, wondering if you really need them. The answer is no. You really don’t.
Why You’ll Love This Recipe
This isn’t just another peppermint bark recipe. After testing this version more times than I’d like to admit, I can tell you it hits every mark for a holiday treat that feels special without being complicated. Here’s what makes it stand out:
- Quick & Easy : Comes together in under 20 minutes of active time. The hardest part is waiting for the chocolate to set.
- Simple Ingredients : You need exactly four ingredients—dark chocolate, white chocolate, peppermint extract, and candy canes. No specialty stores required.
- Perfect for Gift-Giving : This bark travels beautifully, looks impressive, and makes everyone think you spent hours on it.
- Crowd-Pleaser : It’s the rare dessert that satisfies both dark chocolate lovers and those who prefer milkier sweets.
- Unbelievably Delicious : The contrast between the rich dark chocolate and the cool, crunchy peppermint is pure magic.
What makes this version different is the technique. Using the microwave means the chocolate stays at a consistent temperature, and you avoid the risk of burning it. Plus, the layering method I developed—spreading the dark chocolate first, letting it set, then adding the white chocolate—creates a cleaner break and a more professional look. You know that feeling when you bite into a piece of bark and it shatters perfectly? That’s what we’re going for here.
This recipe isn’t just good—it’s the kind that makes you close your eyes after the first bite. It’s holiday comfort food reimagined: faster, simpler, but with the same soul-soothing satisfaction. Perfect for impressing guests without stress, or turning a simple Tuesday night into something memorable.
What Ingredients You Will Need
This recipe uses simple, pantry-friendly ingredients to deliver that classic peppermint bark flavor without the fuss. Most of these are probably already in your holiday baking stash.
- Dark chocolate chips or bars, 12 ounces (I prefer Ghirardelli 60% cacao chips for consistent melting and a rich, not-too-bitter flavor)
- White chocolate chips or bars, 12 ounces (Look for a brand that contains cocoa butter—Guittard and Ghirardelli both work beautifully. Avoid “white baking chips” that are mostly oil; they don’t melt as smoothly)
- Peppermint extract, 1/2 teaspoon (Use pure peppermint extract, not peppermint oil, which is much stronger and can easily overpower the chocolate)
- Candy canes or peppermint candies, 1/2 cup crushed (About 6-8 standard candy canes. Crush them yourself for the best texture—store-bought crushed peppermint is often too fine)
- Optional: coconut oil or vegetable shortening, 1 teaspoon (Adding this to the white chocolate helps it melt more smoothly and prevents it from seizing)
For the dark chocolate, I’ve tested this with both chips and chopped chocolate bars. Chips are more convenient and melt evenly, but chopped bars give you a slightly smoother finish. Either works perfectly. For the white chocolate, this is where quality really matters. I learned this the hard way after a batch seized up and turned into a grainy mess. Trust me on this one—spend the extra dollar for a brand with real cocoa butter.
When it comes to the candy canes, I recommend using traditional peppermint ones rather than the flavored varieties. The strawberry or blueberry versions can create some interesting color combinations, but they don’t have the same cooling, crisp peppermint flavor that makes this bark so addictive. Crush them in a sealed plastic bag using a rolling pin or the bottom of a heavy skillet. Leave some pieces larger for visual appeal and some finely crushed for even distribution.
Equipment Needed
You don’t need much for this recipe, which is part of its charm. Here’s what you’ll need:
- Microwave-safe bowls (two medium-sized ones, preferably glass or ceramic)
- Baking sheet or jelly roll pan (a 9×13-inch pan works perfectly, or a standard half-sheet pan)
- Parchment paper (essential for easy removal—don’t skip this)
- Spatula or offset spatula (for spreading the chocolate evenly)
- Rolling pin or heavy skillet (for crushing the candy canes)
- Ziploc bag (to contain the candy cane pieces while crushing)
- Measuring spoons (for the peppermint extract)
If you don’t have an offset spatula, a regular rubber spatula works just fine. I’ve also used the back of a spoon in a pinch. For the baking sheet, any rimmed pan will do—the rim keeps the melted chocolate from spilling over the edges. I’ve made this on a cookie sheet without rims before, and let’s just say it was a sticky situation. Learn from my mistakes.
Preparation Method
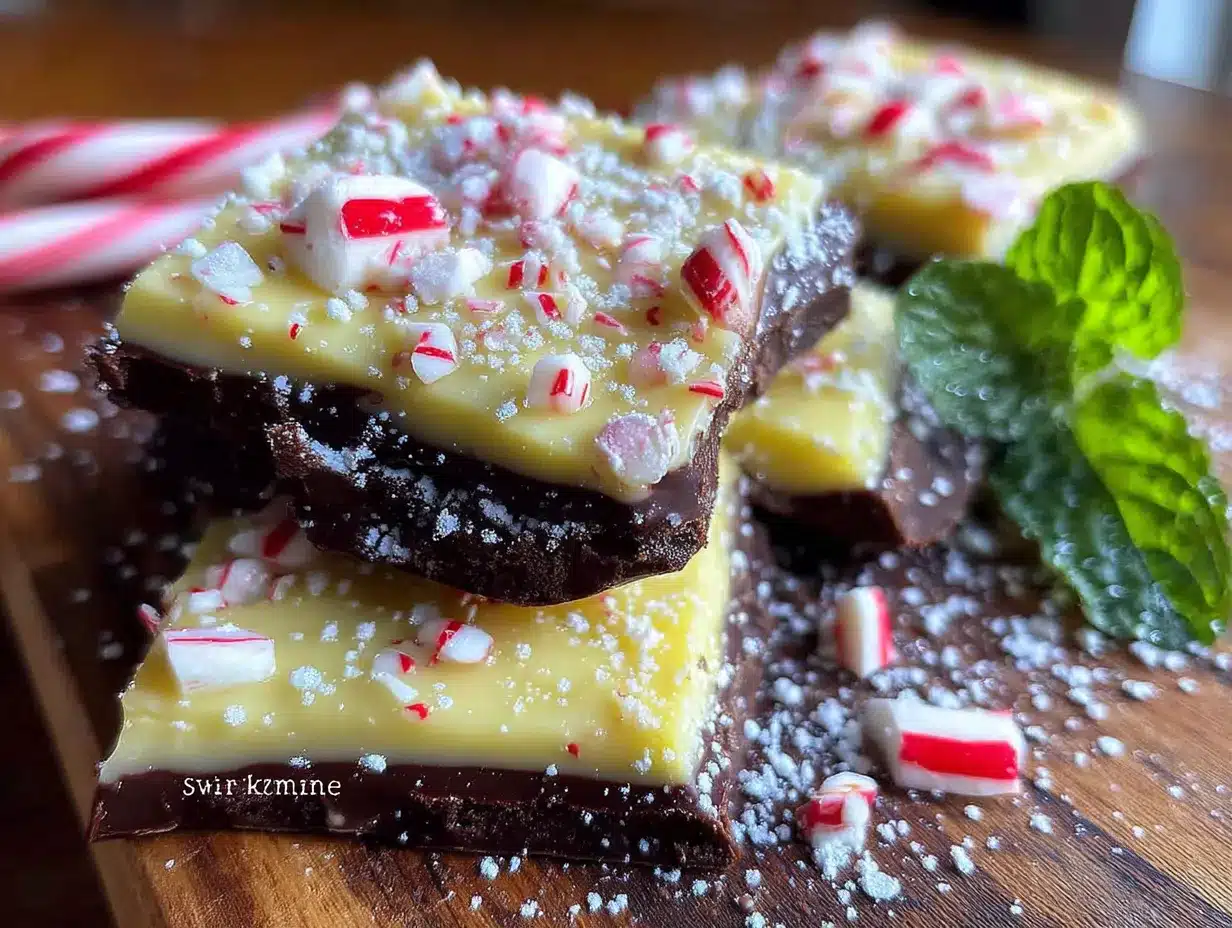
Let’s get to the fun part. This recipe moves quickly, so I like to have everything measured and ready before I start melting anything.
- Line your baking sheet with parchment paper. Make sure the parchment extends up the sides a bit—this makes lifting the finished bark out much easier. Press the paper into the corners so it lies flat.
- Crush the candy canes. Place them in a sealed ziploc bag and whack them with a rolling pin or the bottom of a heavy skillet. You want a mix of fine crumbs and small chunks. Set aside about 2 tablespoons for the top garnish.
- Melt the dark chocolate. Place the dark chocolate chips in a microwave-safe bowl. Microwave on high for 30 seconds, then stir. Continue microwaving in 15-second intervals, stirring thoroughly between each one, until the chocolate is completely smooth. This usually takes about 1-2 minutes total. The chocolate will look shiny and should flow like thick syrup.
- Add the peppermint extract. Stir 1/4 teaspoon of the peppermint extract into the melted dark chocolate. Mix until fully incorporated. The kitchen will smell amazing at this point.
- Spread the dark chocolate layer. Pour the melted dark chocolate onto the prepared baking sheet. Use your spatula to spread it into an even layer, about 1/4-inch thick. Don’t worry if it’s not perfectly rectangular—the rustic edges are part of the charm. I usually aim for a rough 9×13-inch rectangle.
- Let the dark chocolate set. Place the baking sheet in the refrigerator for 15-20 minutes, or until the chocolate is firm to the touch. It should be solid but not rock-hard. While it sets, you can start on the white chocolate layer.
- Melt the white chocolate. Place the white chocolate chips in a clean microwave-safe bowl. If you’re using the optional coconut oil, add it now. Microwave on high for 30 seconds, then stir. Continue in 15-second intervals, stirring well each time, until smooth. White chocolate is more delicate than dark, so be careful not to overheat it. It should be smooth and glossy.
- Add the remaining peppermint extract. Stir the remaining 1/4 teaspoon into the melted white chocolate.
- Spread the white chocolate layer. Pour the melted white chocolate over the set dark chocolate layer. Gently spread it into an even layer, being careful not to disturb the dark chocolate underneath. If the dark chocolate has shifted, just smooth it back into place.
- Add the crushed candy canes. Immediately sprinkle the crushed candy canes evenly over the white chocolate layer. Press them in gently with your fingers or the back of a spoon so they stick. Reserve the 2 tablespoons you set aside for a final garnish.
- Final set. Return the baking sheet to the refrigerator for at least 30 minutes, or until the bark is completely firm. It should feel solid and break cleanly when snapped.
- Break into pieces. Once set, lift the parchment paper out of the pan. Peel the bark away from the paper and break it into irregular pieces by hand. I prefer rustic, uneven shards—they look more homemade and inviting. You can also use a sharp knife to cut clean squares if you’re packaging them as gifts.
One thing I learned after my first few batches: don’t rush the setting time. If the chocolate isn’t fully firm, the layers can separate when you break the bark. Patience pays off here. The bark should snap with a clean, satisfying sound when it’s ready.
Cooking Tips & Techniques
After making this peppermint bark more times than I can count, I’ve picked up a few tricks that make the process smoother and the results more consistent.
Don’t overheat the chocolate. This is the number one mistake I see. Chocolate burns easily, and once it seizes, there’s no going back. The microwave method works beautifully, but only if you use short intervals and stir between each one. If your chocolate looks thick and grainy, you’ve overheated it. Start over with fresh chocolate—it’s worth it.
Use the right white chocolate. I cannot stress this enough. White chocolate chips that contain cocoa butter melt smoothly and taste creamy. Cheaper “white baking chips” are mostly palm oil and sugar, and they tend to seize up or develop a greasy texture. I’ve had great results with Ghirardelli and Guittard brands. If you’re unsure, check the ingredients list—cocoa butter should be listed first or second.
Crush candy canes strategically. I used to crush them into a uniform fine powder, but the bark looked flat and the peppermint flavor was too intense. Now I aim for a mix of textures: some fine crumbs that melt into the white chocolate, and some larger chunks that provide a satisfying crunch. It makes a big difference in both appearance and mouthfeel.
Let the bark come to room temperature before breaking. This is a tip I learned from a pastry chef friend. If you break the bark straight from the refrigerator, it can shatter unevenly and create lots of tiny fragments. Let it sit at room temperature for 5-10 minutes first. The chocolate will still be firm, but it will break more cleanly into larger, more attractive pieces.
Layer in the right order. I’ve tried both orders—white chocolate on bottom, dark on top—and I always come back to dark chocolate first. The dark chocolate provides a sturdy base, and the white chocolate layer stays softer and more delicate. Plus, the visual contrast of the dark base with the white top is more striking.
Variations & Adaptations
This peppermint bark is endlessly adaptable. Here are some variations I’ve tried and loved:
- Milk Chocolate Version : Swap the dark chocolate for milk chocolate if you prefer a sweeter, creamier bark. The process is exactly the same. I made this for a friend who claims she “doesn’t like dark chocolate,” and she ate half the batch in one sitting.
- Extra Peppermint Kick : For true peppermint lovers, add 1/4 teaspoon of peppermint extract to the crushed candy canes before sprinkling them on top. This gives an extra burst of flavor with every bite.
- Dairy-Free Adaptation : Use dairy-free dark chocolate and dairy-free white chocolate. Look for brands like Enjoy Life or Pascha that make allergy-friendly options. The texture will be slightly different, but the flavor is still fantastic.
- Holiday Sprinkle Variation : After adding the crushed candy canes, sprinkle on some festive holiday sprinkles or edible glitter. This is a fun one to make with kids, and it looks gorgeous on a dessert table.
- Chocolate Swirl Version : Instead of two distinct layers, try swirling the white chocolate into the dark chocolate before it sets. Use a knife or skewer to create gentle swirls, then top with crushed candy canes. The visual effect is stunning, and each piece has a different ratio of dark to white chocolate.
I’ve also experimented with adding a thin layer of dark chocolate on top of the white chocolate, creating a triple-layer bark. It’s decadent and beautiful, but honestly, the classic two-layer version is so good that I rarely bother with the extra step.
Serving & Storage Suggestions
This peppermint bark is incredibly versatile when it comes to serving and storing. Here’s what I’ve learned:
Serving Temperature: Peppermint bark is best served at room temperature. The chocolate softens slightly, making it easier to bite into, and the peppermint flavor becomes more pronounced. If you’ve stored it in the refrigerator, let it sit out for about 10 minutes before serving.
Presentation Ideas: Arrange the broken pieces on a festive platter or in a glass jar for a simple, elegant display. For gift-giving, place pieces in cellophane bags tied with red or green ribbon. I’ve also layered pieces in a decorative tin lined with parchment paper—it makes a beautiful hostess gift.
Complementary Pairings: This bark pairs beautifully with a cup of hot coffee, a mug of hot cocoa, or a glass of cold milk. For an adult twist, serve it alongside a peppermint martini or a dark stout beer. The rich chocolate and cool peppermint complement a wide range of beverages.
Storage Instructions: Store peppermint bark in an airtight container at room temperature for up to 2 weeks. If your kitchen is warm or humid, you can store it in the refrigerator, but let it come to room temperature before serving. For longer storage, freeze the bark in a freezer-safe container for up to 3 months. Place parchment paper between layers to prevent sticking.
Flavor Development: Interestingly, the peppermint flavor becomes more subtle after a day or two. The bark is actually at its best about 24 hours after making it—the flavors meld together beautifully. If you’re making it for a party, I recommend preparing it the day before.
Nutritional Information & Benefits
While peppermint bark is definitely a treat, there are a few bright spots worth mentioning. A typical serving (about 2 ounces, or a few good-sized pieces) contains approximately:
- Calories: 280-320
- Fat: 18-22g
- Carbohydrates: 30-35g
- Sugar: 25-30g
- Protein: 3-5g
Dark chocolate, especially at 60% cacao or higher, contains antioxidants called flavonoids that may support heart health. It also provides small amounts of iron, magnesium, and zinc. The peppermint itself has been used for centuries to aid digestion and soothe the stomach—though let’s be honest, we’re eating this for the flavor, not the health benefits.
If you’re watching your sugar intake, you can use sugar-free dark chocolate and sugar-free white chocolate. The texture will be slightly different, but the peppermint flavor still shines through. For a lower-fat version, try using dark chocolate with a higher cacao percentage (70-85%), which naturally contains less sugar and more cocoa solids.
As always, this bark contains dairy (from the white chocolate) and may contain traces of nuts depending on the brands you choose. Check labels if you’re serving anyone with allergies.
Conclusion
This easy homemade peppermint bark with dark chocolate has earned a permanent spot in my holiday baking rotation. It’s the recipe I turn to when I want something that looks impressive but doesn’t require hours in the kitchen. It’s the gift I give when I want people to know I cared enough to make something from scratch, even if it only took me 20 minutes.
I love how forgiving this recipe is. You can’t really mess it up—even if the layers aren’t perfectly even or the candy canes are a little unevenly distributed, it still tastes amazing. That’s the kind of recipe I want in my life, especially during the busy holiday season.
Now I want to hear from you. Have you tried making peppermint bark before? What’s your favorite variation? Drop a comment below and let me know—I’m always looking for new ideas to try. And if you make this recipe, tag me in your photos. I love seeing your creations!
Happy holidays, and happy baking!
Frequently Asked Questions
Can I use peppermint oil instead of peppermint extract?
You can, but be very careful. Peppermint oil is much more concentrated than extract. Start with just a few drops and taste as you go. Too much can make the bark taste like toothpaste, and there’s really no way to fix that once it’s mixed in.
Why did my white chocolate seize up?
White chocolate is more delicate than dark chocolate and seizes easily when overheated or exposed to moisture. Make sure your bowl is completely dry, and use short microwave intervals. Adding a teaspoon of coconut oil or vegetable shortening can help stabilize it.
How do I get clean, even pieces of bark?
For clean pieces, let the bark come to room temperature for 5-10 minutes, then use a sharp chef’s knife to cut it into squares or rectangles. Score the chocolate first with the knife, then apply firm, even pressure to break it along the lines. For rustic shards, just break it by hand.
Can I make this recipe vegan?
Absolutely. Use dairy-free dark chocolate and dairy-free white chocolate. Look for brands like Enjoy Life, Pascha, or Hu that are specifically labeled vegan. The process is exactly the same, and the result is just as delicious.
How far in advance can I make this for gifts?
You can make this bark up to 2 weeks in advance if stored properly in an airtight container at room temperature. For longer storage, freeze it for up to 3 months. Just make sure it’s completely cool and set before wrapping or packaging it.
Pin This Recipe!
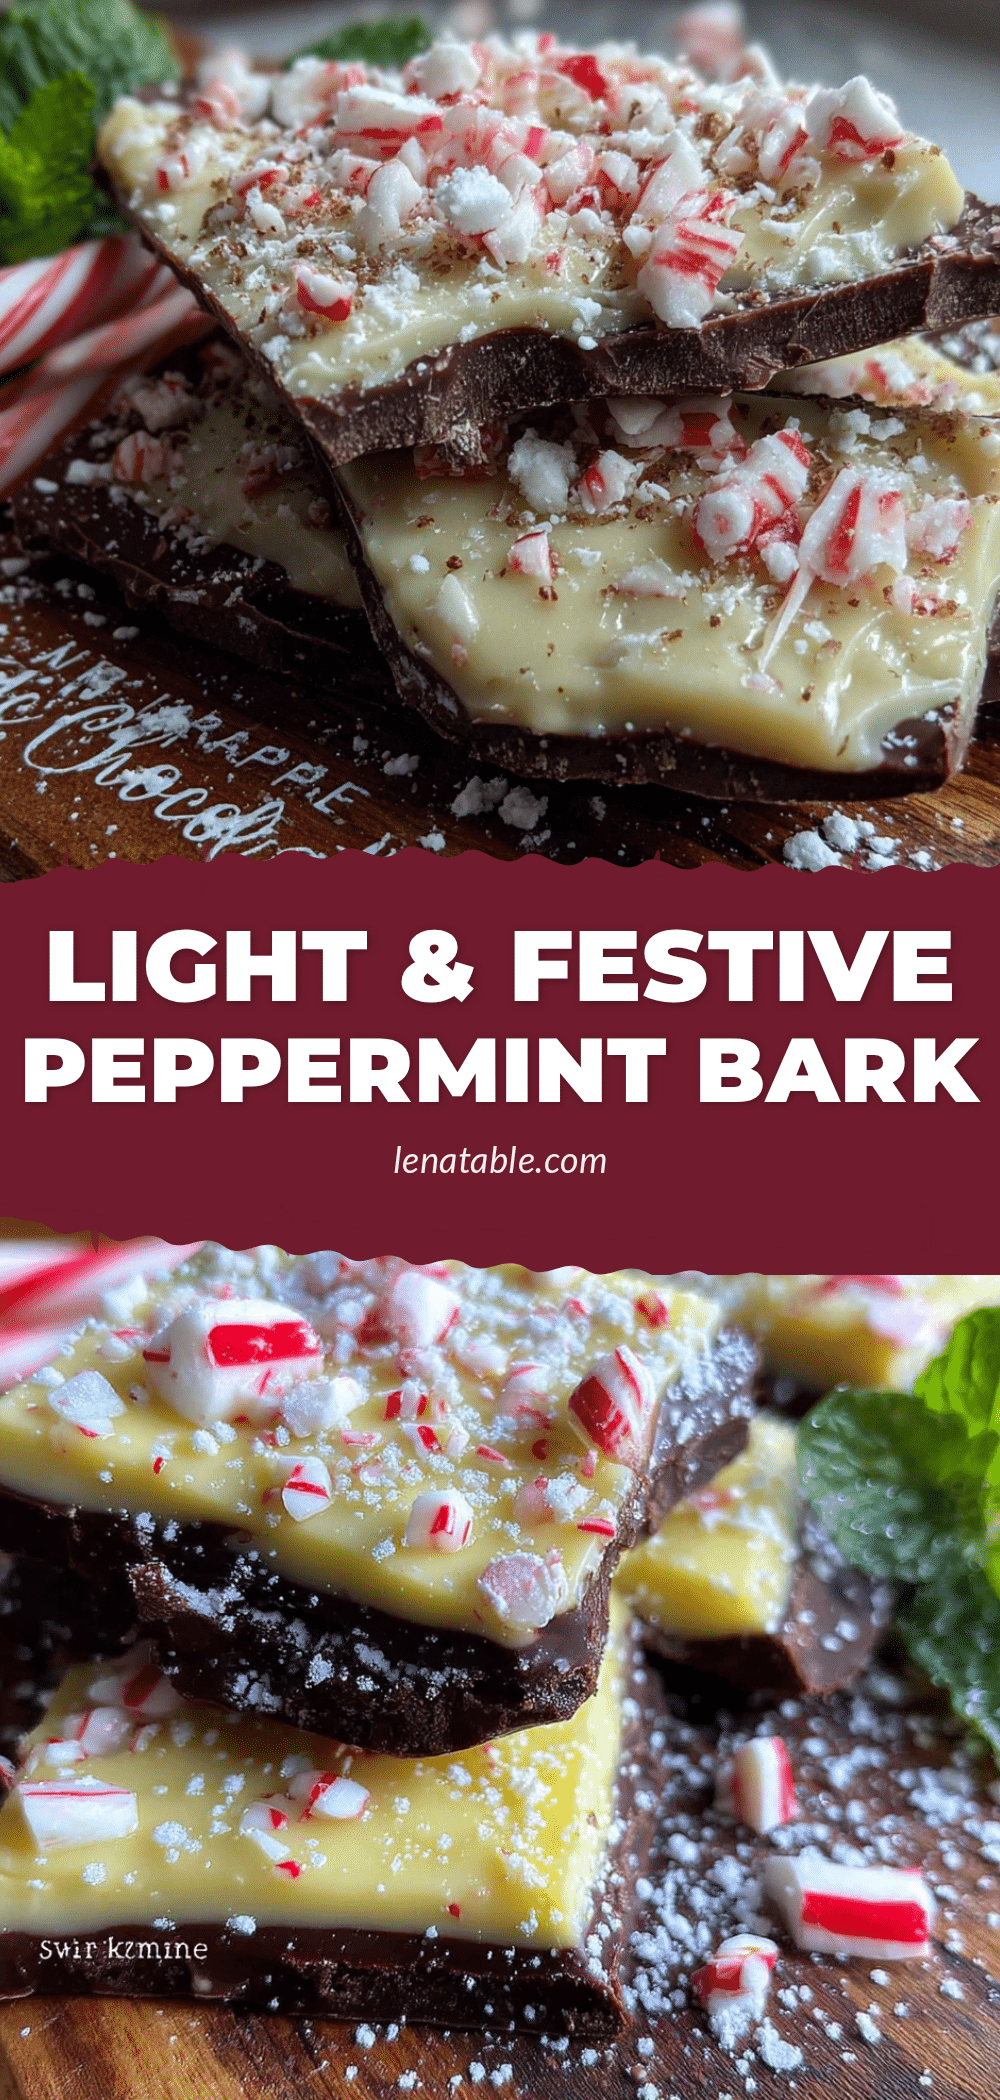
Easy Homemade Peppermint Bark with Dark Chocolate

This easy homemade peppermint bark with dark chocolate is a quick and simple holiday treat that comes together in under 20 minutes of active time. Using the microwave method, you get perfectly smooth chocolate layers topped with crunchy peppermint candy—perfect for gift-giving or holiday gatherings.
- Prep Time: 20 minutes
- Cook Time: 5 minutes
- Total Time: 1 hour 5 minutes (including chilling)
- Yield: 12 servings 1x
- Category: Dessert
- Cuisine: American
Ingredients
- 12 ounces dark chocolate chips or bars (60% cacao, such as Ghirardelli)
- 12 ounces white chocolate chips or bars (with cocoa butter, such as Guittard or Ghirardelli)
- 1/2 teaspoon pure peppermint extract
- 1/2 cup crushed candy canes or peppermint candies (about 6–8 standard candy canes)
- 1 teaspoon coconut oil or vegetable shortening (optional, for smoother white chocolate)
Instructions
- Line a baking sheet (9×13-inch or half-sheet pan) with parchment paper, letting it extend up the sides.
- Crush the candy canes in a sealed ziploc bag using a rolling pin or heavy skillet. Aim for a mix of fine crumbs and small chunks. Set aside about 2 tablespoons for garnish.
- Place the dark chocolate chips in a microwave-safe bowl. Microwave on high for 30 seconds, then stir. Continue in 15-second intervals, stirring thoroughly between each, until completely smooth (about 1-2 minutes total).
- Stir 1/4 teaspoon of the peppermint extract into the melted dark chocolate.
- Pour the melted dark chocolate onto the prepared baking sheet and spread into an even layer about 1/4-inch thick (roughly 9×13 inches).
- Refrigerate the dark chocolate layer for 15-20 minutes, until firm to the touch.
- Place the white chocolate chips (and optional coconut oil) in a clean microwave-safe bowl. Microwave on high for 30 seconds, then stir. Continue in 15-second intervals, stirring well each time, until smooth and glossy.
- Stir the remaining 1/4 teaspoon peppermint extract into the melted white chocolate.
- Pour the melted white chocolate over the set dark chocolate layer and gently spread into an even layer without disturbing the dark chocolate.
- Immediately sprinkle the crushed candy canes evenly over the white chocolate layer, pressing them in gently. Reserve the 2 tablespoons for final garnish.
- Return the baking sheet to the refrigerator for at least 30 minutes, until completely firm.
- Once set, lift the parchment paper out of the pan. Peel the bark away from the paper and break into irregular pieces by hand, or cut into clean squares with a sharp knife.
Notes
Don’t overheat the chocolate; use short microwave intervals and stir between each. Use white chocolate with cocoa butter for best results. Let bark come to room temperature for 5-10 minutes before breaking for cleaner pieces. Store in an airtight container at room temperature for up to 2 weeks, or freeze for up to 3 months.
Nutrition
- Serving Size: 2 ounces (about 2-3
- Calories: 300
- Sugar: 28
- Sodium: 30
- Fat: 20
- Saturated Fat: 12
- Carbohydrates: 33
- Fiber: 2
- Protein: 4
Keywords: peppermint bark, dark chocolate, white chocolate, holiday candy, easy dessert, microwave chocolate, Christmas treat, homemade candy