Love this? Save it for later!
Share the inspiration with your friends
It was 10:47 PM on a completely unremarkable Tuesday, and I was staring into the fridge like it owed me money. The craving hit me out of nowhere—something warm, cheesy, and deeply satisfying. I didn’t have the energy for a complicated recipe, but I had a pound of ground beef, some leftover rice from Chinese takeout earlier that week, and a block of cheddar that was starting to look a little lonely. That’s when the idea arrived: what if I just threw it all in one pan and let it figure itself out?
Honestly, I was skeptical at first. My track record with one-pan meals was mixed—sometimes they came out great, other times they were a sad, watery mess. But something about the late hour made me impulsive. I grabbed my trusty cast iron skillet, browned the beef without overthinking it, and started tossing things in. A can of diced tomatoes, some onion powder because I was out of fresh onions, a handful of frozen corn that I found buried in the freezer. By the time the cheese melted on top, I was already grabbing a fork.
That first bite? Let me tell you, it was one of those moments where you just close your eyes and chew. The beef was savory, the rice had soaked up all those juices, and the cheese—oh, the cheese was perfectly gooey. I made a mess of the stovetop, burned my tongue a little, and didn’t care one bit. This easy one-pan cheesy beef and rice skillet became my go-to for those nights when I need dinner to happen fast but I still want it to feel like a real meal. Maybe you’ve been there too—staring at your pantry, hoping for inspiration. This recipe is that inspiration.
Why You’ll Love This Recipe
I’ve tested this easy one-pan cheesy beef and rice skillet more times than I can count, tweaking the seasoning, adjusting the liquid ratio, and even trying it with different types of cheese. It’s been through the wringer, and I can confidently say—this version is the one that works every single time.
- Quick & Easy: From start to finish, this dish comes together in about 30 minutes. Perfect for busy weeknights or those evenings when you just can’t deal with a sink full of dishes.
- Simple Ingredients: No fancy grocery trips needed. You probably already have ground beef, rice, cheese, and a few pantry staples in your kitchen right now.
- Perfect for Busy Families: This is the kind of meal that pleases kids and adults alike. It’s hearty, comforting, and doesn’t require any convincing at the dinner table.
- Crowd-Pleaser: I’ve brought this to potlucks and family gatherings, and it always gets devoured. People ask for the recipe every single time.
- Unbelievably Delicious: The combination of savory beef, tender rice, and melted cheese is pure comfort food magic. It’s the kind of dish that makes you go back for seconds.
What makes this recipe different from all the other cheesy rice skillets out there? It’s the technique. Instead of cooking the rice separately and then mixing it in, I cook everything together in one pan. The rice absorbs all the beefy, tomatoey goodness as it simmers, infusing every grain with flavor. No bland rice here, folks. Plus, I’ve nailed the cheese-to-everything-else ratio, so you get that perfect cheesy pull in every bite.
This isn’t just another weeknight dinner—it’s the kind of meal that makes you feel like you’ve got your life together, even when you don’t. It’s comfort food that’s actually achievable on a Tuesday night, and honestly, that’s a beautiful thing.
What Ingredients You Will Need
This recipe uses simple, wholesome ingredients that come together to deliver big flavor without any fuss. Most of these are pantry staples, so you might not even need a shopping trip.
- Ground beef (1 lb / 450g) – I prefer 80/20 for the best flavor, but leaner works too. Just add a splash of oil if using extra lean.
- Long-grain white rice (1 cup / 200g) – Uncooked. Basmati or jasmine work beautifully. Avoid instant rice, which can get mushy.
- Beef broth (2 cups / 480ml) – Low-sodium is best so you can control the salt. I like Swanson or Kitchen Basics for consistent flavor.
- Diced tomatoes (1 can, 14.5 oz / 411g) – Fire-roasted adds a nice smoky depth, but regular works great too. Don’t drain them—the liquid is key.
- Shredded cheddar cheese (1.5 cups / 170g) – Sharp cheddar gives the most flavor. Shred it yourself for better melting—pre-shredded has anti-caking agents that can make it grainy.
- Onion (1 medium, diced) – Yellow or white. If you’re in a rush, 1 teaspoon of onion powder works in a pinch.
- Garlic (3 cloves, minced) – Fresh is always better, but jarred minced garlic will do.
- Frozen corn (1 cup / 150g) – Adds a pop of sweetness and color. Canned corn, drained, is fine too.
- Chili powder (1 teaspoon) – Gives a warm, mild heat. Use smoked paprika for a different vibe.
- Cumin (1/2 teaspoon) – Earthy and warm. Skip it if you’re not a fan.
- Salt and black pepper (to taste) – Start with 1/2 teaspoon salt and 1/4 teaspoon pepper, then adjust.
- Olive oil (1 tablespoon) – For browning the beef. Any neutral oil works.
- Optional garnish – Fresh parsley or green onions for a pop of color and freshness.
For the best texture, look for firm, long-grain rice. Short-grain rice can work but will be stickier. If you’re gluten-free, double-check your broth and diced tomatoes—most are gluten-free, but it’s worth a look.
Equipment Needed
One of the best things about this recipe is how little equipment it requires. Here’s what you’ll need:
- Large skillet or sauté pan (12-inch / 30cm with a lid) – A deep, heavy-bottomed skillet works best. I use my trusty cast iron, but a stainless steel or non-stick pan with a lid is perfect.
- Wooden spoon or spatula – For breaking up the beef and stirring. A silicone spatula is great for scraping up any browned bits.
- Cheese grater – If you’re shredding your own cheese (which I highly recommend). A box grater or food processor with a shredding disc works.
- Sharp knife and cutting board – For dicing the onion and mincing the garlic. A good chef’s knife makes this quick and easy.
- Measuring cups and spoons – For accuracy. I’ve eyeballed it before, and it’s not the same.
- Can opener – Unless you’re using the pull-tab cans, which are a game-changer.
If you don’t have a lid that fits your skillet, a large piece of aluminum foil works as a makeshift cover. Just crimp the edges tight. And if you’re using a non-stick pan, be careful with metal utensils—they’ll scratch the surface.
Preparation Method
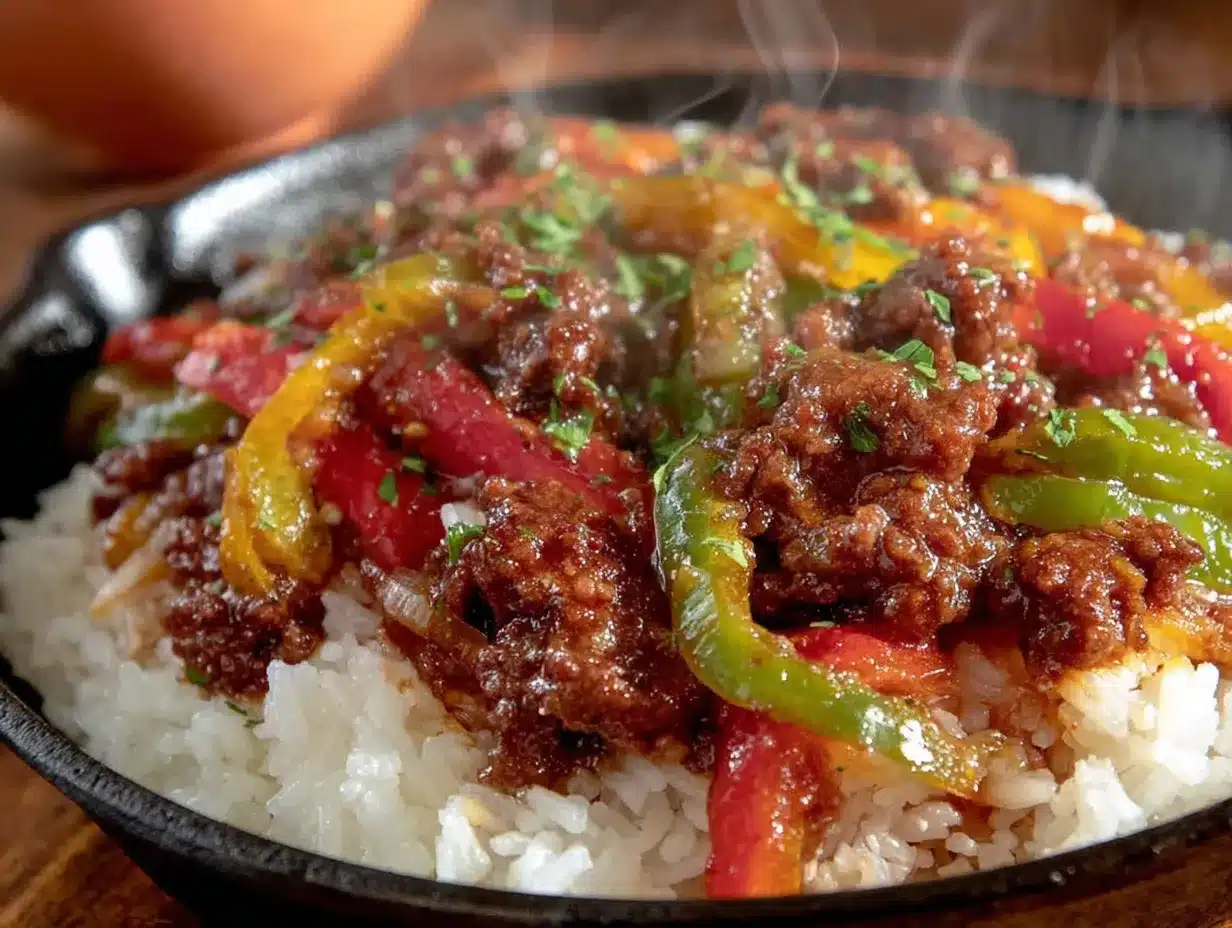
Let’s get cooking. This easy one-pan cheesy beef and rice skillet comes together in a few simple steps, and I’ll walk you through each one so you nail it every time.
- Brown the beef. Heat 1 tablespoon of olive oil in your large skillet over medium-high heat. Add the ground beef and break it up with your wooden spoon. Cook for 5-7 minutes, stirring occasionally, until it’s nicely browned and no longer pink. Don’t rush this step—browning adds so much flavor. If there’s excess fat, carefully spoon it out, leaving about a tablespoon in the pan.
- Sauté the aromatics. Reduce the heat to medium. Add the diced onion and cook for 2-3 minutes until it starts to soften. Stir in the minced garlic and cook for another 30 seconds until fragrant. Your kitchen should smell amazing at this point—if it doesn’t, your garlic might be past its prime.
- Add the rice and seasonings. Sprinkle in the uncooked rice, chili powder, cumin, salt, and pepper. Stir everything together for about a minute. This toasts the rice slightly and coats it in all those beefy flavors. You’ll see the rice start to look a little translucent at the edges.
- Pour in the liquids. Add the beef broth and the can of diced tomatoes (with their juices). Give everything a good stir, scraping up any browned bits from the bottom of the pan. Those bits are pure gold—don’t leave them behind.
- Bring to a simmer. Increase the heat to high and bring the mixture to a boil. Once it’s bubbling, reduce the heat to low, cover the skillet with the lid, and let it simmer gently. Set a timer for 18 minutes. Resist the urge to lift the lid and peek—the steam is what cooks the rice perfectly.
- Check the rice. After 18 minutes, remove the lid carefully (steam is hot!). The rice should be tender and most of the liquid should be absorbed. If the rice is still a bit firm and there’s liquid left, cover and cook for 2-3 more minutes. If it’s dry but the rice isn’t done yet, add a splash of broth or water.
- Add the corn and cheese. Stir in the frozen corn (no need to thaw it first). Then sprinkle the shredded cheddar evenly over the top. Cover the skillet again and let it sit off the heat for 2-3 minutes. The residual heat will melt the cheese into a glorious, gooey blanket.
- Garnish and serve. Remove the lid and admire your work. Sprinkle with fresh parsley or green onions if you’re feeling fancy. Scoop into bowls and serve hot. Watch how quickly it disappears.
One thing I learned the hard way: don’t stir the rice too much after you add the liquid. It releases starch and can make the dish gummy. Just one good stir to combine everything, then let it do its thing.
Cooking Tips & Techniques
After making this easy one-pan cheesy beef and rice skillet more times than I care to admit, I’ve picked up a few tricks that make a real difference. Let me share them so you don’t have to learn the hard way.
Don’t skip browning the beef properly. I used to rush this step, cooking the beef until it was just no longer pink. But taking the extra few minutes to get a deep, golden-brown crust adds a layer of savory flavor that you just can’t get any other way. Let the beef sit in the pan for a minute before breaking it up—that’s what builds the crust.
Watch your heat. After you add the broth and tomatoes, it’s tempting to keep the heat high to hurry things along. But a gentle simmer is what you want. If it’s boiling aggressively, the liquid will evaporate too quickly and your rice will be undercooked. Low and slow, my friend.
Use day-old rice if you’re swapping. If you want to use leftover rice instead of cooking it from scratch, that works too. Just skip the step where you add uncooked rice and broth. Instead, stir in 3 cups of cooked rice along with about 1/2 cup of broth and the tomatoes. Cook for 5-7 minutes until everything is heated through and the flavors meld. It’s a great way to use up leftovers.
Season as you go. I used to add all the salt at the end, but the flavors never quite came together. Now I season the beef while it browns, add a pinch with the rice, and adjust at the end. Layering the seasoning makes everything taste more cohesive.
One mistake I’ll never make again: I once used pre-shredded cheese from a bag, thinking it would save time. The cheese melted into a grainy, oily mess instead of that smooth, creamy blanket I was after. Never again. Shredding your own cheese takes two minutes and makes a world of difference.
Variations & Adaptations
This easy one-pan cheesy beef and rice skillet is endlessly adaptable. Here are some variations I’ve tried and loved:
- Spicy Southwest Version: Add a diced jalapeño with the onions, use pepper jack cheese instead of cheddar, and throw in a can of drained black beans. Top with sliced avocado and a squeeze of lime. It’s like a fiesta in a bowl.
- Low-Carb Option: Swap the rice for cauliflower rice. Cook the cauliflower rice separately (it gets watery if cooked with the beef), then stir it in at the end with the cheese. It’s not quite the same texture, but it scratches the itch when you’re watching carbs.
- Vegetarian Version: Replace the ground beef with two cans of drained and rinsed black beans or a pound of crumbled plant-based meat. Use vegetable broth instead of beef broth. The beans add a nice creamy texture that works surprisingly well.
- Cheesy Taco Skillet: Swap the chili powder and cumin for a packet of taco seasoning. Top with crushed tortilla chips, sour cream, and a drizzle of hot sauce. It’s basically deconstructed tacos, and it’s amazing.
- Add Veggies: Diced bell peppers, zucchini, or spinach all work great. Add bell peppers with the onions, zucchini halfway through the simmer, and stir in spinach right before adding the cheese. It’s an easy way to sneak in extra nutrients.
My personal favorite variation is the spicy Southwest version. I made it on a whim one Sunday when I was craving something with a kick, and it’s been in regular rotation ever since. The pepper jack cheese adds this creamy heat that pairs perfectly with the cool avocado.
Serving & Storage Suggestions
This dish is best served hot, right out of the skillet. The cheese should be melty and the rice tender. I like to scoop it into bowls and top with a dollop of sour cream, a sprinkle of fresh cilantro, and maybe a few dashes of hot sauce if I’m feeling adventurous.
What to serve with it: A simple side salad with a tangy vinaigrette cuts through the richness beautifully. Or some steamed broccoli or green beans for a pop of color and crunch. If you’re really hungry, warm tortillas on the side are never a bad idea—you can make little tacos with the leftovers.
Storage: Let any leftovers cool completely, then transfer to an airtight container. It will keep in the refrigerator for up to 4 days. The rice will absorb more liquid as it sits, so the texture will be a bit softer the next day—still delicious, just different.
Reheating: The best way to reheat is in a skillet over medium-low heat with a splash of broth or water. Stir occasionally until heated through, about 5-7 minutes. You can also microwave it in 30-second bursts, stirring between each, but the texture won’t be quite as good. Add a little extra cheese on top when reheating for that fresh-from-the-skillet feel.
Freezing: This freezes surprisingly well. Portion into freezer-safe containers and freeze for up to 3 months. Thaw overnight in the refrigerator and reheat as directed. I like to freeze individual portions for quick lunches—just grab one and go.
One thing I’ve noticed: the flavors actually deepen after a day in the fridge. It’s one of those rare dishes that tastes even better as leftovers. The spices meld together, and the rice soaks up all those beefy juices. Don’t be surprised if you find yourself looking forward to lunch the next day.
Nutritional Information & Benefits
Here’s the estimated nutritional breakdown for one serving of this easy one-pan cheesy beef and rice skillet (based on 6 servings):
| Nutrient | Amount per Serving |
|---|---|
| Calories | 485 |
| Protein | 28g |
| Carbohydrates | 42g |
| Fat | 22g |
| Saturated Fat | 10g |
| Fiber | 3g |
| Sodium | 680mg |
This meal is a solid source of protein, thanks to the ground beef, which helps keep you full and supports muscle health. The tomatoes provide a good dose of vitamin C and lycopene, an antioxidant linked to heart health. Rice offers easily digestible carbohydrates for quick energy, while the cheese adds calcium for strong bones.
If you’re watching your sodium, use low-sodium broth and tomatoes, and go easy on the added salt. For a lower-fat version, swap the ground beef for lean ground turkey or chicken, and use reduced-fat cheese. The flavor will be a little different, but it’s still satisfying.
From a wellness perspective, I love that this dish feels indulgent but is made from real, whole ingredients. It’s not “health food,” but it’s honest food—the kind that nourishes you and makes you feel good about what you’re eating. Balance, right?
Conclusion
This easy one-pan cheesy beef and rice skillet is the kind of recipe that saves dinner on those nights when you have nothing planned and zero energy. It’s simple, it’s satisfying, and it’s ridiculously delicious. I’ve made it for myself on quiet weeknights, for my family when they visit, and for friends who needed a warm meal after a long day—and it never disappoints.
What I love most about this recipe is how forgiving it is. You can swap ingredients, adjust the seasonings, or throw in whatever vegetables are lingering in your fridge, and it still comes out great. It’s a blueprint for a good meal, not a rigid set of rules. So make it your own. Add more cheese if that’s your thing (it’s definitely my thing). Throw in some jalapeños for heat. Serve it with tortilla chips for crunch.
I’d love to hear how it turns out for you. Did you try a variation? Did your kids devour it? Did you discover a new favorite spice combo? Drop a comment below and let me know. And if you share it on social media, tag me—I want to see your beautiful skillet creations. Until next time, happy cooking, and remember: the best meals are the ones shared with the people you love.
Frequently Asked Questions
Can I use brown rice instead of white rice?
You can, but the cooking time will be different. Brown rice needs about 40-45 minutes to cook, so you’ll need to add more liquid (about 1/2 cup extra broth) and simmer for longer. Check the rice at the 40-minute mark and add more liquid if needed. The texture won’t be quite the same—brown rice is chewier—but it’s a great whole-grain option.
Can I make this in a slow cooker or Instant Pot?
For the Instant Pot, use the sauté function to brown the beef and aromatics, then add the rice, broth, and tomatoes. Cook on high pressure for 5 minutes with a natural release. Stir in the corn and cheese at the end. For a slow cooker, brown the beef first, then add everything except the rice and cheese. Cook on low for 6-8 hours, then stir in cooked rice and cheese before serving.
What if my rice is still hard after 18 minutes?
Don’t panic. It happens sometimes, especially if your rice is older or the heat was too low. Add 1/4 cup of broth or water, cover, and cook for another 3-5 minutes. Check again. If it’s still firm, repeat with another splash of liquid. The key is to keep the pan covered so the steam can do its job.
Can I use ground turkey or chicken instead of beef?
Absolutely. Ground turkey or chicken works great, though they have less fat, so the dish won’t be quite as rich. Add an extra tablespoon of olive oil when browning to compensate. I’ve made it with ground turkey many times, and it’s still delicious—just a little lighter in flavor.
How do I prevent the cheese from becoming greasy?
The secret is to shred your own cheese from a block. Pre-shredded cheese is coated with anti-caking agents like cellulose or potato starch, which prevent it from melting smoothly. When you shred it yourself, it melts into a creamy, cohesive layer instead of separating into grease. Also, add the cheese off the heat and let the residual warmth melt it gently.
Pin This Recipe!
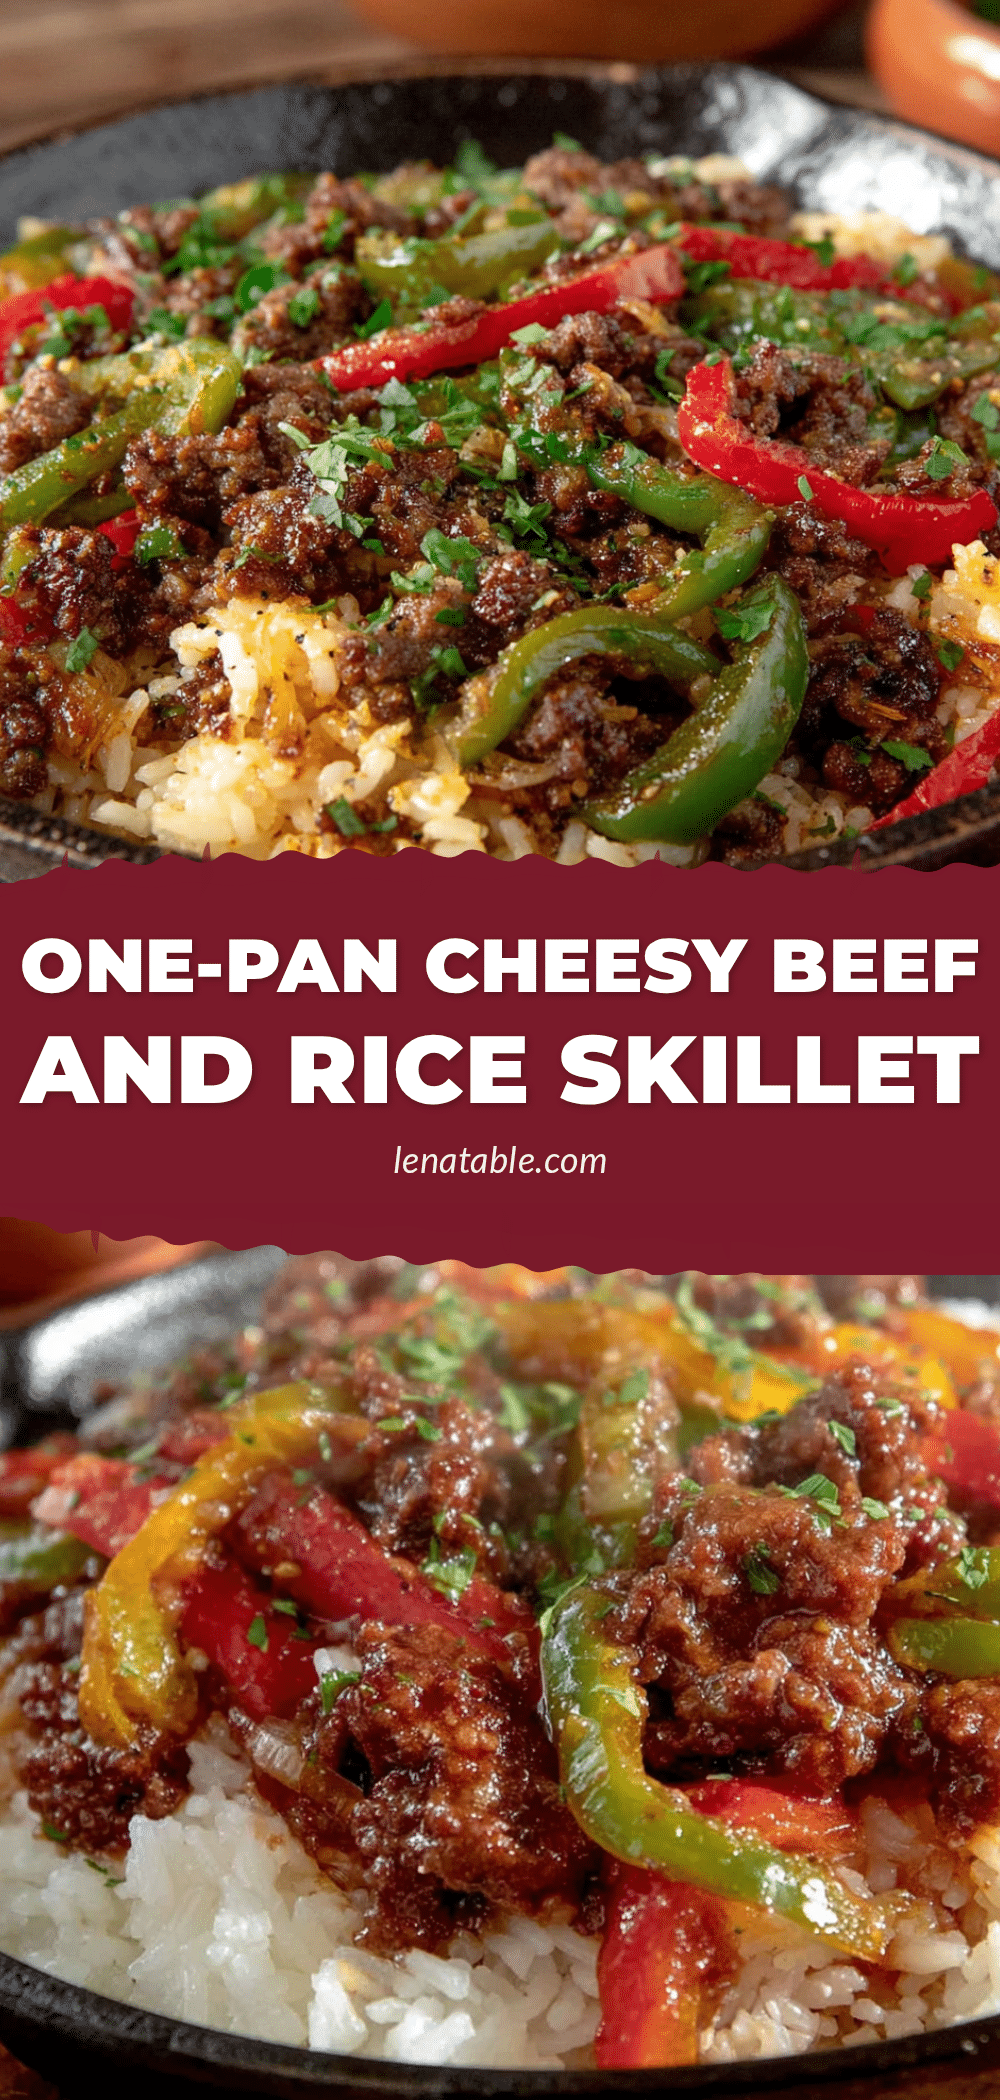
Easy One-Pan Cheesy Beef and Rice Skillet Recipe

A quick and easy one-pan meal featuring savory ground beef, tender rice, and melted cheddar cheese. Perfect for busy weeknights, this comforting dish comes together in about 30 minutes with simple pantry ingredients.
- Prep Time: 10 minutes
- Cook Time: 25 minutes
- Total Time: 35 minutes
- Yield: 6 servings 1x
- Category: Main Course
- Cuisine: American
Ingredients
- 1 lb (450g) ground beef (80/20 preferred)
- 1 cup (200g) long-grain white rice (uncooked)
- 2 cups (480ml) low-sodium beef broth
- 1 can (14.5 oz / 411g) diced tomatoes (fire-roasted preferred, undrained)
- 1.5 cups (170g) shredded sharp cheddar cheese
- 1 medium onion, diced
- 3 cloves garlic, minced
- 1 cup (150g) frozen corn
- 1 teaspoon chili powder
- 1/2 teaspoon cumin
- 1/2 teaspoon salt (or to taste)
- 1/4 teaspoon black pepper (or to taste)
- 1 tablespoon olive oil
- Optional garnish: fresh parsley or green onions
Instructions
- Heat 1 tablespoon olive oil in a large skillet (12-inch/30cm with lid) over medium-high heat. Add ground beef and cook for 5-7 minutes, breaking it up with a wooden spoon, until browned and no longer pink. Spoon out excess fat, leaving about 1 tablespoon in the pan.
- Reduce heat to medium. Add diced onion and cook for 2-3 minutes until softened. Stir in minced garlic and cook for 30 seconds until fragrant.
- Sprinkle in uncooked rice, chili powder, cumin, salt, and pepper. Stir for about 1 minute to toast the rice and coat it in flavors.
- Pour in beef broth and undrained diced tomatoes. Stir well, scraping up any browned bits from the bottom of the pan.
- Increase heat to high and bring to a boil. Reduce heat to low, cover, and simmer gently for 18 minutes. Do not lift the lid during cooking.
- After 18 minutes, remove lid carefully. Rice should be tender and most liquid absorbed. If rice is still firm with liquid remaining, cover and cook 2-3 more minutes. If dry but rice not done, add a splash of broth or water.
- Stir in frozen corn (no need to thaw). Sprinkle shredded cheddar evenly over the top. Cover and let sit off heat for 2-3 minutes until cheese is melted.
- Garnish with fresh parsley or green onions if desired. Serve hot.
Notes
For best results, shred cheese from a block instead of using pre-shredded cheese to avoid graininess. Don’t stir the rice too much after adding liquid to prevent gumminess. For leftover rice, skip uncooked rice and broth; stir in 3 cups cooked rice with 1/2 cup broth and tomatoes, cook 5-7 minutes. Leftovers keep in refrigerator up to 4 days or freeze up to 3 months. Reheat in skillet with splash of broth.
Nutrition
- Serving Size: 1 serving (about 1.5
- Calories: 485
- Sugar: 4
- Sodium: 680
- Fat: 22
- Saturated Fat: 10
- Carbohydrates: 42
- Fiber: 3
- Protein: 28
Keywords: one-pan meal, cheesy beef and rice, easy dinner, weeknight dinner, ground beef recipe, comfort food, skillet dinner


