Love this? Save it for later!
Share the inspiration with your friends
“You know that moment when the summer sun is blazing, and all you want is something cold and refreshing? Well, last Fourth of July, I was at this tiny neighborhood block party, and honestly, I hadn’t planned on bringing anything fancy. I just grabbed some yogurt, berries, and popsicle molds from my kitchen, thinking, why not? The result? These Fresh Layered Red White and Blue Yogurt Popsicles that stole the show.”
It wasn’t some grand culinary plan—more like a happy accident. I forgot the ice cream at home, so I had to improvise with what was left in the fridge. As I layered strawberries, creamy yogurt, and blueberries, I watched kids and adults alike pause mid-conversation, eyes lighting up with every bite. The popsicles were not just a treat; they were a celebration on a stick. Maybe you’ve been there—scrambling for something simple yet impressive for a summer gathering. These popsicles became my go-to for perfectly timed, hassle-free desserts that bring a little festive joy and a lot of smiles.
Let me tell you, the textures—the cool creaminess of the yogurt, the burst of fresh berries, the vibrant colors—make these popsicles unforgettable. And the best part? You don’t need a fancy recipe or hard-to-find ingredients. Plus, they’re light enough to feel good about, even if you’re sneaking a second one (or third, no judgment here). This recipe has stuck around because it’s genuinely easy to make, looks fantastic, and tastes like a breath of fresh summer air.
Why You’ll Love This Recipe
After testing this Fresh Layered Red White and Blue Yogurt Popsicles recipe multiple times, I can honestly say it’s become a summer staple at my house. Whether you’re hosting a backyard barbecue, a Fourth of July picnic, or just looking for a simple way to cool off, this recipe hits all the right notes.
- Quick & Easy: These popsicles come together in under 20 minutes, with freezing time aside. Perfect for last-minute celebrations or craving a refreshing snack.
- Simple Ingredients: You likely have everything on hand—plain yogurt, fresh or frozen berries, and a little honey or sweetener if you like.
- Perfect for Patriotic Occasions: The red, white, and blue layers bring a festive touch to Fourth of July, Memorial Day, or any summer party.
- Crowd-Pleaser: Kids love the sweet, creamy layers, and adults appreciate the fresh fruit and light texture.
- Unbelievably Delicious: The combination of tart berries and smooth yogurt is like a mini dessert and snack rolled into one.
This isn’t your average popsicle. The layering technique adds a fun visual twist, and the yogurt base keeps it creamy and satisfying without being too heavy. Plus, testing different berry combinations revealed that swapping blueberries for blackberries or raspberries can totally change the flavor profile while keeping that patriotic vibe alive. Honestly, it’s a recipe that’s as flexible as it is festive.
What Ingredients You Will Need
This recipe uses simple, wholesome ingredients to deliver bold flavor and satisfying texture without the fuss. Most are pantry and fridge staples, and you can easily swap fresh for frozen depending on the season.
- For the Red Layer:
- 1 cup fresh or frozen strawberries, hulled and sliced (I prefer fresh for the best flavor, but frozen works well too)
- 1 tablespoon honey or maple syrup (adjust to taste, optional)
- For the White Layer:
- 1 ½ cups plain Greek yogurt (I recommend Fage or Chobani for creaminess)
- 2 tablespoons honey or agave syrup (optional, for a touch of sweetness)
- 1 teaspoon vanilla extract (adds subtle warmth)
- For the Blue Layer:
- 1 cup fresh or frozen blueberries (wild blueberries pack extra flavor if you can find them)
- 1 tablespoon honey or sweetener of choice (optional)
You can swap Greek yogurt with dairy-free coconut yogurt for a vegan or dairy-free option. Look for firm, small-curd yogurts for the best texture and layering effect. For a lower sugar version, feel free to omit the sweeteners completely; the fruit’s natural sweetness shines through.
Equipment Needed
- Popsicle molds (silicone or plastic) – Silicone molds make it easier to unmold the popsicles without breaking.
- Blender or food processor – For pureeing the fruit layers smooth.
- Mixing bowls – At least three, to prepare each colored layer separately.
- Spoons or small ladles – For layering the mixtures carefully into the molds.
- Freezer – Obviously essential! Make sure it’s cold enough for a firm freeze (0°F or -18°C).
If you don’t have popsicle molds, small paper cups with wooden sticks work as a budget-friendly alternative. Just be sure to cover the cups with foil and poke the sticks through to keep them upright. Personal tip: I once used a silicone muffin tray when I ran out of molds—it worked like a charm, just a little messier to remove the popsicles.
Preparation Method

- Prepare the Red Layer: In a blender, puree the strawberries with honey until smooth. Taste and adjust sweetness if needed. Pour about 1/3 cup of the mixture into each popsicle mold, filling the bottom layer. Freeze for 30-45 minutes until firm but not rock solid.
- Prepare the White Layer: In a mixing bowl, whisk together the Greek yogurt, honey, and vanilla extract until smooth and creamy. Once the red layer is set, spoon or ladle about 1/3 cup of the yogurt mixture on top of each red layer. Gently tap the molds to smooth the surface. Freeze again for 30-45 minutes.
- Prepare the Blue Layer: Blend the blueberries with honey until smooth. Pour this final layer on top of the white layer carefully to keep the layers defined. Insert popsicle sticks, then freeze for at least 4 hours or until completely solid.
- Unmold and Serve: To remove the popsicles, run warm water briefly over the outside of the molds to loosen them. Gently pull on the sticks and enjoy your colorful, refreshing treat!
Pro tip: Don’t overfill the molds or the layers will blend together. Patience in freezing each layer helps keep the popsicles looking sharp and professional. Also, if your blender struggles with frozen fruit, let it thaw slightly or add a splash of water to ease blending.
Cooking Tips & Techniques
Working with layered popsicles can be a bit tricky if you’ve never tried it before, but a few tricks make all the difference. First, the key is letting each layer freeze just enough to hold its shape but not so hard that the next layer cracks it when poured.
When blending fruit, don’t overdo it; a slightly textured puree adds a nice bite and visual appeal. If you want an ultra-smooth texture, blend a little longer, but watch out for too much liquid which can mess with freezing.
One common mistake is rushing the freezing time. I learned this the hard way when my first batch ended up with colors bleeding into each other. A quick freeze in between layers solves this. Also, tapping the molds gently after adding each layer helps settle the mixture and prevent air bubbles.
Multitasking tip: While the popsicles freeze, clean your workspace and prep your next ingredients to streamline the process. And honestly, don’t stress perfection—slight color blending can give a charming homemade look that’s just as delightful.
Variations & Adaptations
- Dairy-Free Version: Swap Greek yogurt with coconut or almond milk yogurt. Use maple syrup instead of honey to keep it vegan.
- Flavor Twists: Add a squeeze of lemon juice to the red and blue layers for a tangy punch. Or mix in a handful of fresh mint leaves while blending for a refreshing herbal note.
- Seasonal Adaptation: In fall or winter, substitute the berries with pomegranate seeds or frozen cherries to keep the festive red and blue theme alive.
- Less Sweet Option: Omit the sweeteners entirely and rely on ripe, naturally sweet fruit—perfect if you prefer a tart bite.
- Adult Version: Add a tablespoon of your favorite liqueur to each fruit layer for a boozy summer treat—think raspberry vodka or blueberry gin.
I once made a batch with blackberries instead of blueberries, and the deeper purple hue added a beautiful rustic vibe. It was a hit at a casual backyard cookout—proof these popsicles can be customized endlessly without losing their charm.
Serving & Storage Suggestions
Serve these Fresh Layered Red White and Blue Yogurt Popsicles straight from the freezer for the best texture. They pair wonderfully with light summer salads, grilled chicken, or even a chilled glass of lemonade. Presentation tip: Arrange them on a platter lined with fresh mint or edible flowers for a party-ready look.
Store leftover popsicles in an airtight container or tightly sealed plastic bag in the freezer for up to 1 week. When reheating (if you want to soften slightly), leave them at room temperature for 5 minutes or run warm water over the mold briefly. Avoid microwaving as it melts unevenly and ruins the layers.
Flavors tend to deepen after a day in the freezer, so if you can wait, they taste even better the next day. Just don’t expect them to last long once you serve—they vanish fast!
Nutritional Information & Benefits
Each popsicle contains approximately:
| Calories | 90-110 kcal |
|---|---|
| Protein | 6-8 grams (thanks to Greek yogurt) |
| Fat | 1-2 grams |
| Carbohydrates | 12-15 grams (mostly from natural fruit sugars) |
This recipe offers a good dose of probiotics from the yogurt, which supports digestion and gut health. The berries bring antioxidants and vitamins, especially vitamin C, making these popsicles a healthier alternative to traditional sugary frozen treats. Plus, they’re gluten-free and can be adapted for dairy-free diets.
Conclusion
These Fresh Layered Red White and Blue Yogurt Popsicles are worth every minute spent layering and freezing. They’re a simple, fun way to bring a splash of color and a burst of fresh flavor to your summer celebrations. Honestly, they’ve become my secret weapon for impressing guests without breaking a sweat.
Feel free to tweak the recipe to suit your taste or dietary needs—maybe you’ll find your own signature spin. I love how this recipe combines ease and elegance in a way that feels personal and joyful. If you try making them, I’d love to hear how you customize your layers or what moments these popsicles inspire in your summer.
Go ahead, grab those molds, and make some memories (and popsicles) that are as cool as they are delicious.
Frequently Asked Questions
Can I use frozen fruit instead of fresh for these popsicles?
Yes! Frozen fruit works great and can even make blending easier. Just thaw slightly before pureeing for best results.
How long do these yogurt popsicles take to freeze completely?
After layering, the final freeze should be at least 4 hours or overnight to ensure they’re fully set.
Can I make these popsicles ahead of time for a party?
Absolutely. They store well in the freezer for up to a week. Just remove a few minutes before serving to soften slightly.
What if I don’t have popsicle molds?
You can use small paper cups and wooden sticks or even silicone muffin trays as an alternative.
Is it possible to make these popsicles without sweeteners?
Yes, the natural sweetness of ripe fruit often suffices. You can omit honey or maple syrup if you prefer a less sweet treat.
Pin This Recipe!
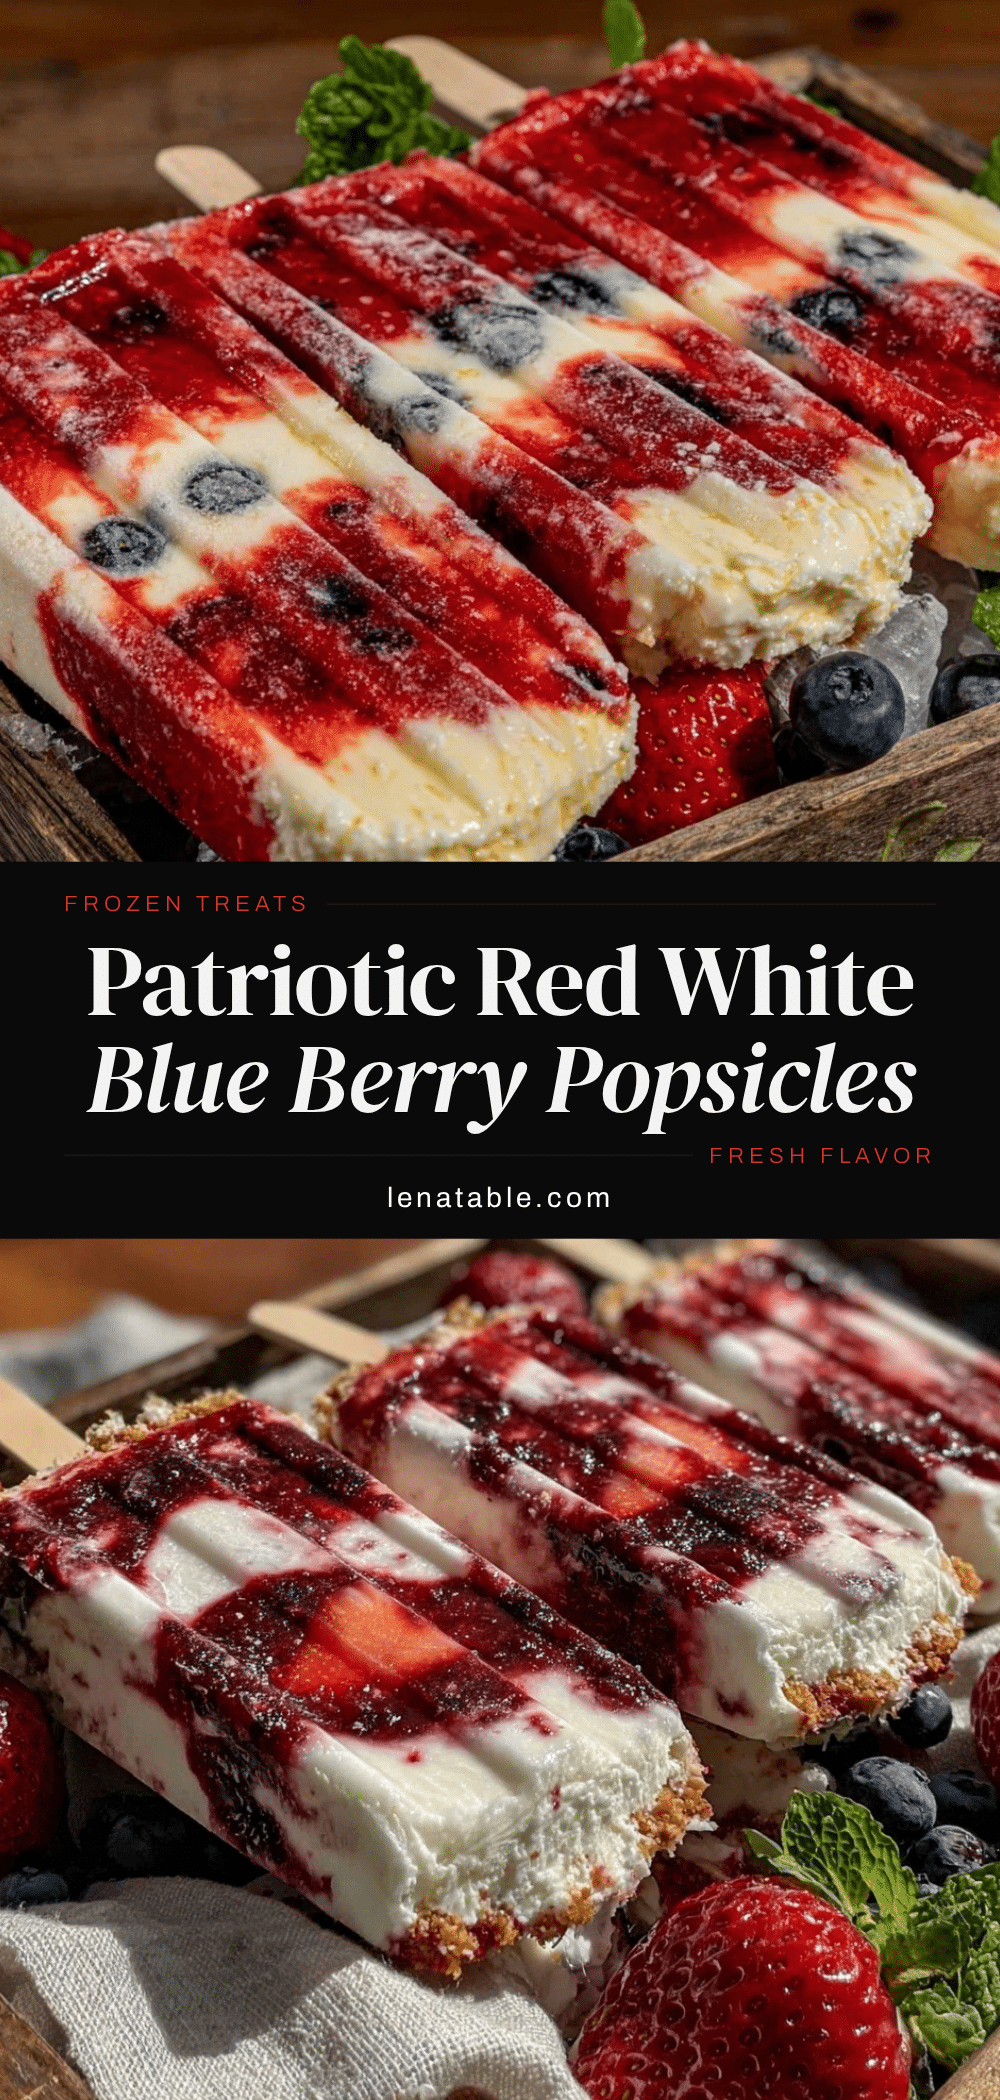
Fresh Layered Red White and Blue Yogurt Popsicles
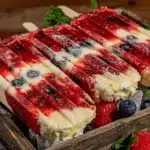
These refreshing layered yogurt popsicles combine strawberries, Greek yogurt, and blueberries for a patriotic and healthy summer treat that’s easy to make and perfect for celebrations.
- Prep Time: 15 minutes
- Cook Time: 5 hours
- Total Time: 5 hours 15 minutes
- Yield: 6 popsicles 1x
- Category: Dessert
- Cuisine: American
Ingredients
- 1 cup fresh or frozen strawberries, hulled and sliced
- 1 tablespoon honey or maple syrup (optional)
- 1 ½ cups plain Greek yogurt
- 2 tablespoons honey or agave syrup (optional)
- 1 teaspoon vanilla extract
- 1 cup fresh or frozen blueberries
- 1 tablespoon honey or sweetener of choice (optional)
Instructions
- Prepare the Red Layer: In a blender, puree the strawberries with honey until smooth. Taste and adjust sweetness if needed. Pour about 1/3 cup of the mixture into each popsicle mold, filling the bottom layer. Freeze for 30-45 minutes until firm but not rock solid.
- Prepare the White Layer: In a mixing bowl, whisk together the Greek yogurt, honey, and vanilla extract until smooth and creamy. Once the red layer is set, spoon or ladle about 1/3 cup of the yogurt mixture on top of each red layer. Gently tap the molds to smooth the surface. Freeze again for 30-45 minutes.
- Prepare the Blue Layer: Blend the blueberries with honey until smooth. Pour this final layer on top of the white layer carefully to keep the layers defined. Insert popsicle sticks, then freeze for at least 4 hours or until completely solid.
- Unmold and Serve: To remove the popsicles, run warm water briefly over the outside of the molds to loosen them. Gently pull on the sticks and enjoy your colorful, refreshing treat!
Notes
Do not overfill molds to prevent layers from blending. Freeze each layer until firm but not rock solid before adding the next. Slightly textured purees add visual appeal. If blender struggles with frozen fruit, thaw slightly or add a splash of water. Warm water helps unmold popsicles easily. Can substitute Greek yogurt with dairy-free coconut or almond yogurt for vegan option. Sweeteners are optional depending on fruit sweetness.
Nutrition
- Serving Size: 1 popsicle
- Calories: 90110
- Sugar: 1012
- Sodium: 40
- Fat: 12
- Saturated Fat: 0.5
- Carbohydrates: 1215
- Fiber: 2
- Protein: 68
Keywords: yogurt popsicles, layered popsicles, patriotic dessert, Fourth of July recipe, summer treats, healthy popsicles, Greek yogurt, berry popsicles