Love this? Save it for later!
Share the inspiration with your friends
My neighbor, a retired baker named Mrs. Kowalski, watched me one rainy October afternoon as I struggled to peel a mountain of apples for a pie. I was determined, sure, but also a little grumpy—the peeler kept slipping, and apple skin was flying everywhere. She didn’t say anything at first. Then she just shook her head, chuckled, and said, “You’re working too hard. Come with me.”
I followed her into her tiny, warm kitchen, which smelled like cinnamon and butter in a way that felt like a hug. She pulled out a bag of store-bought apple cider, a stick of butter, and a bag of flour. “Forget the peeling,” she said, handing me a measuring cup. “The flavor is in the cider, not the chore.” That day, she didn’t teach me a recipe so much as she handed me a shortcut that tasted like a secret. And honestly, I’ve never looked back.
These Kid-Approved Apple Cider Cookies with Brown Butter Icing are the direct result of that afternoon. They have all the cozy, spiced comfort of a fresh apple pie but without the fuss. The brown butter icing? That was my addition, a little tip I picked up from a pastry chef I used to work with. It adds this nutty, almost caramel-like depth that makes the cookies taste like a bakery find. Maybe you’ve been there—standing in your kitchen, wanting to make something special for your family but running out of time and patience. These cookies are the answer. They come together fast, they make the house smell incredible, and they are, without a doubt, the cookie that made my picky nephew actually ask for seconds. I keep making them because they prove that the best recipes aren’t about perfection; they’re about sharing a moment that tastes good.
Why You’ll Love This Recipe
Let’s be real for a second. Finding a cookie recipe that checks all the boxes—easy, affordable, and actually loved by everyone at the table—is like finding a golden ticket. These Apple Cider Cookies are that ticket. They are the definition of a family-friendly win.
- Quick & Easy: From start to finish, these cookies are ready in under 30 minutes. No chilling the dough, no complicated techniques. Just mix, scoop, and bake. Perfect for a last-minute school bake sale or a Tuesday night treat.
- Simple Ingredients: You won’t need to hunt down fancy apple butter or expensive extracts. The star of the show is good old-fashioned apple cider, which you can grab at any grocery store for a couple of dollars. Most of the other ingredients are already in your pantry.
- Perfect for Family Time: Whether it’s a weekend baking project with the kids or a quick dessert for a weeknight dinner, these cookies fit right in. They’re sturdy enough to pack in lunchboxes and fancy enough to serve at a fall gathering.
- Crowd-Pleaser: I’ve served these to kids, grandparents, and everyone in between. The soft, cake-like texture is a hit with little ones, while the sophisticated brown butter icing wins over the adults. They disappear fast.
- Unbelievably Delicious: The secret is reducing the apple cider. It concentrates the flavor into a sweet, tangy syrup that packs a punch. Then you add that brown butter icing, which is basically liquid gold. It’s a flavor combo that feels special without being fussy.
What makes this recipe different is that it doesn’t pretend to be something it’s not. It’s not a healthy snack. It’s a real, honest-to-goodness cookie that tastes like fall in the best way possible. It’s the kind of cookie that makes you close your eyes after the first bite, just for a second, because it tastes like home. And honestly, that’s the best kind of comfort food there is.
What Ingredients You Will Need
This recipe uses simple, wholesome ingredients to deliver a big, cozy flavor. You don’t need a trip to a specialty store—just a quick stop for fresh apple cider. Here’s what you’ll need and why each ingredient matters.
For the Cookies
- 1 cup (2 sticks) unsalted butter, softened: Butter is the backbone here. I always use unsalted so I can control the salt level. Let it sit out for about 30 minutes before you start so it creams easily with the sugar.
- 1 cup granulated sugar: Adds sweetness and helps create a soft, tender crumb.
- 1 large egg, room temperature: An egg that’s at room temperature mixes more evenly into the batter, creating a smoother dough. If you forgot to take it out, just place it in a bowl of warm water for 5 minutes.
- 1/2 cup apple cider, reduced (see note below): This is the secret! You’ll simmer the cider on the stove until it thickens into a syrup. This concentrates the apple flavor without adding extra liquid that would make the cookies flat.
- 2 cups all-purpose flour: Standard flour gives these cookies their soft, cake-like structure. I’ve tested this with a 1:1 gluten-free blend, and it works great too!
- 1 teaspoon baking powder: This is your leavening agent. It helps the cookies puff up in the oven. Make sure it’s not expired, or your cookies will be dense.
- 1/2 teaspoon baking soda: Works with the acid in the apple cider to create a light texture.
- 1/2 teaspoon salt: Don’t skip this! Salt balances the sweetness and makes the apple flavor pop.
- 1 1/2 teaspoons ground cinnamon: The classic fall spice. It pairs beautifully with the apple cider.
- 1/2 teaspoon ground nutmeg: Adds a warm, slightly nutty note. Freshly grated is best, but pre-ground works fine.
For the Brown Butter Icing
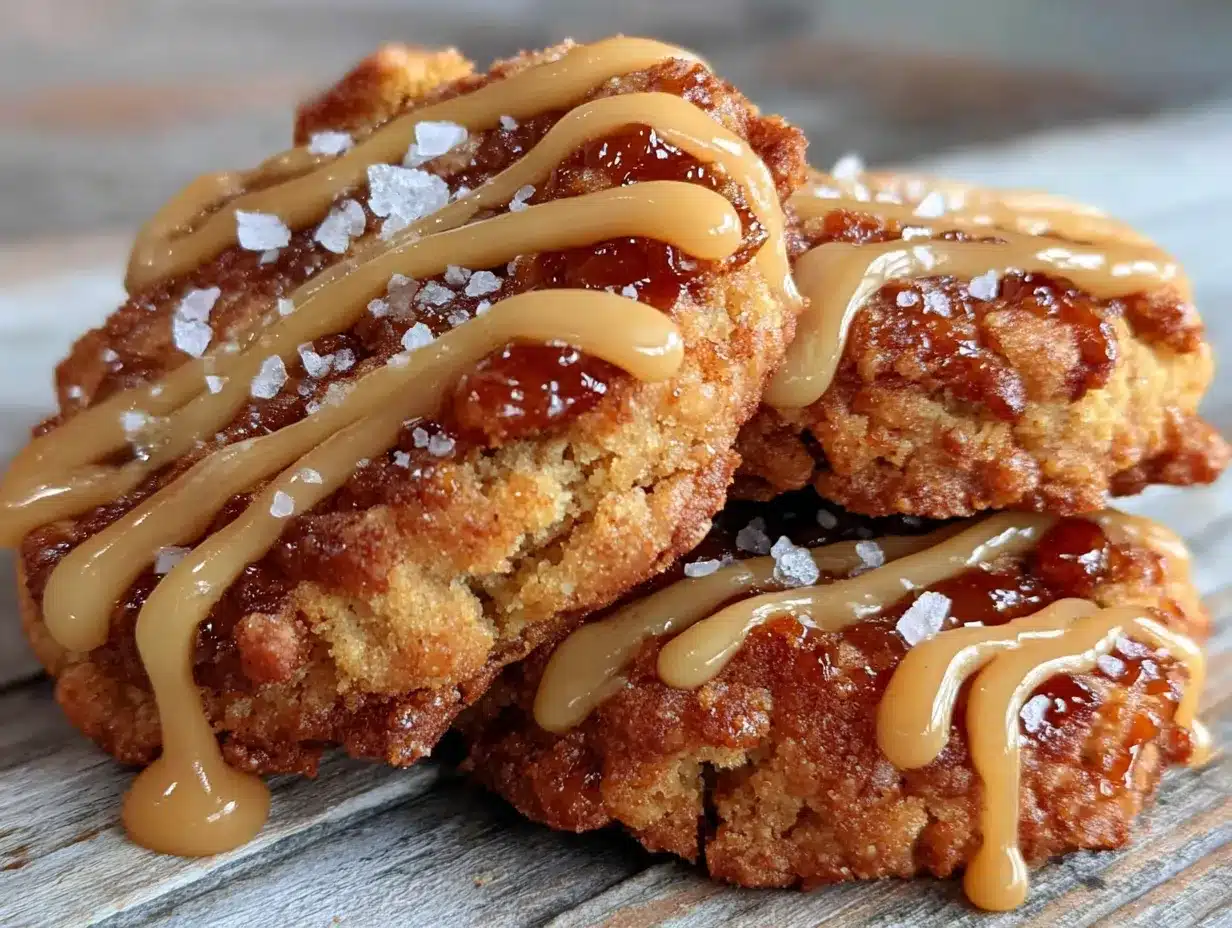
- 1/4 cup (1/2 stick) unsalted butter: You’ll brown this butter, which is the whole point. It adds a deep, nutty flavor that’s absolutely magical with the apple.
- 1 1/2 cups powdered sugar: This gives the icing its smooth, spreadable texture. Sift it if it’s lumpy to avoid a grainy icing.
- 2-3 tablespoons milk: Whole milk works best for a creamy icing, but 2% or even oat milk will do the job. Add it slowly until you reach your desired consistency.
- 1/2 teaspoon vanilla extract: A little vanilla rounds out the flavors. I prefer pure vanilla extract, but imitation is fine in a pinch.
- Pinch of salt: Just a tiny pinch in the icing will cut the sweetness and make the brown butter flavor shine.
Note on Reducing the Apple Cider: This step is non-negotiable for the best flavor. Pour 1 cup of apple cider into a small saucepan. Bring it to a simmer over medium heat, then let it cook for about 10-15 minutes, stirring occasionally, until it reduces to about 1/2 cup. It will look syrupy and smell intensely of apples. Let it cool completely before using. I like to do this first while I gather the rest of my ingredients.
Equipment Needed
You don’t need a fancy bakery setup for these cookies. Here’s what you’ll need to get the job done.
- Baking Sheets: Two standard half-sheet pans work perfectly. If you only have one, just bake the cookies in batches and let the pan cool between uses.
- Parchment Paper or Silicone Baking Mats: These are lifesavers. They prevent the cookies from sticking and make cleanup a breeze. I’m a big fan of silicone mats because they’re reusable and eco-friendly.
- Mixing Bowls: You’ll need a large bowl for the cookie dough and a small bowl for the icing. Glass or stainless steel are my go-tos.
- Electric Mixer (Hand or Stand): A hand mixer works great for creaming the butter and sugar. A stand mixer is even easier. You can do it by hand with a wooden spoon, but your arm will get a workout!
- Small Saucepan: You’ll need this for two things: reducing the apple cider and browning the butter for the icing. A light-colored pan is best for browning butter so you can see the color change.
- Cookie Scoop (1.5 tablespoon size): This is my favorite tool for even-sized cookies. It makes the process so much faster and ensures they all bake evenly. A standard tablespoon works too, but the scoop is worth the few dollars it costs.
- Cooling Rack: Essential for letting the cookies cool completely before you ice them. If you ice them while they’re warm, the icing will just slide right off.
If you don’t have a cookie scoop, don’t worry. Just use two spoons to drop the dough onto the baking sheet. The cookies will still be delicious!
Preparation Method
Alright, let’s get baking! This process is straightforward, but I’ve included some little tips I’ve learned along the way to make sure your cookies turn out perfect every time.
- Preheat and Prep: First things first, preheat your oven to 350°F (175°C). Line your baking sheets with parchment paper or silicone mats. This is a step you don’t want to skip—trust me, scraping cookies off a bare pan is no fun.
- Reduce the Apple Cider: In your small saucepan, pour 1 cup of apple cider. Bring it to a simmer over medium heat. Let it bubble away for about 10-15 minutes, stirring occasionally, until it’s reduced to about 1/2 cup. It should look thick and syrupy. Set it aside to cool completely. I usually do this step first so it has time to cool while I mix the dough.
- Cream the Butter and Sugar: In your large mixing bowl, beat the softened butter and granulated sugar together until it’s light and fluffy. This takes about 2-3 minutes with an electric mixer. You’ll know it’s ready when it looks pale and a little bit like whipped cream. Don’t rush this step—creaming incorporates air, which makes your cookies soft.
- Add the Wet Ingredients: Beat in the room-temperature egg until it’s fully combined. Then, add the cooled, reduced apple cider and mix until smooth. The batter might look a little separated for a second, but keep mixing and it will come together.
- Mix the Dry Ingredients: In a separate bowl, whisk together the flour, baking powder, baking soda, salt, cinnamon, and nutmeg. Whisking ensures everything is evenly distributed so you don’t end up with a pocket of baking powder in one cookie.
- Combine Wet and Dry: Gradually add the dry ingredients to the wet mixture. Mix on low speed until just combined. Do not overmix! Overmixing develops the gluten and makes the cookies tough. Stop as soon as you don’t see any more streaks of flour. The dough will be soft and slightly sticky—that’s perfect.
- Scoop the Dough: Using your cookie scoop or a tablespoon, drop rounded balls of dough onto your prepared baking sheets. Leave about 2 inches of space between each one. They will spread a little, but not too much. I usually fit 12 cookies per sheet.
- Bake: Bake for 10-12 minutes, or until the edges are just set and lightly golden. The centers will look soft and slightly underdone—that’s what you want for a soft, cake-like cookie. If you overbake them, they’ll be dry.
- Cool: Let the cookies cool on the baking sheet for 5 minutes. This allows them to set up a bit. Then, carefully transfer them to a wire cooling rack to cool completely. Don’t skip this cooling time before icing!
- Make the Brown Butter Icing: While the cookies are cooling, make the icing. In the same small saucepan you used for the cider (less dishes!), melt the 1/4 cup of butter over medium heat. Swirl the pan constantly. The butter will foam, then the foam will subside, and you’ll see little brown specks forming at the bottom. As soon as it smells nutty and turns a golden-brown color (about 4-5 minutes), remove it from the heat immediately. Pour it into a small heatproof bowl to stop it from burning.
- Finish the Icing: Let the brown butter cool for about 5 minutes. Then, whisk in the powdered sugar, 2 tablespoons of milk, the vanilla extract, and a pinch of salt. Whisk until smooth. If it’s too thick, add the remaining tablespoon of milk. If it’s too thin, add a little more powdered sugar. The icing should be thick but pourable.
- Ice the Cookies: Once the cookies are completely cool, drizzle or spread the brown butter icing over the tops. I like to use a small spoon to drizzle it in a zigzag pattern. Let the icing set for about 15 minutes before serving.
Cooking Tips & Techniques
I’ve made these cookies more times than I can count, and I’ve learned a few things the hard way. Here are my best tips to help you avoid my mistakes.
Don’t Rush the Brown Butter. This is the most important tip. Brown butter can go from perfect to burnt in about 10 seconds. Once you see those brown specks and smell that nutty aroma, pull it off the heat immediately. I once got distracted by a phone call, and my butter turned black. The whole kitchen smelled like burnt popcorn, and I had to start over. Keep your eyes on the pan!
Measure Your Flour Correctly. If you scoop your measuring cup directly into the flour bag, you’ll likely pack it in and end up with too much flour. This makes the cookies dry. Instead, spoon the flour into your measuring cup and level it off with a knife. It’s a small step that makes a big difference.
Use Room Temperature Ingredients. I know it’s tempting to use a cold egg straight from the fridge, but it won’t mix into the creamed butter as well. A cold egg can cause the batter to look curdled. A room-temperature egg creates a smooth, emulsified batter that bakes up evenly.
Let the Reduced Cider Cool. If you add hot cider syrup to your creamed butter, it will melt the butter and ruin the texture of your cookies. The batter will be greasy, and the cookies will spread too much. Patience is key here. I usually reduce the cider first, then let it sit on the counter while I prepare everything else.
Bake One Sheet at a Time. If you put both baking sheets in the oven at the same time, they won’t bake evenly. The heat needs to circulate. Bake one sheet on the middle rack, then let the oven come back to temperature for a minute before baking the next batch.
Watch the Clock. These cookies bake fast. Start checking them at the 10-minute mark. The edges should be set, but the center should still look a little soft. They will continue to cook on the hot baking sheet for the first few minutes out of the oven.
Variations & Adaptations
One of the best things about this recipe is how easy it is to change it up. Here are some of my favorite variations.
Gluten-Free Version
I’ve tested this with a 1:1 gluten-free baking flour blend (like Bob’s Red Mill or King Arthur), and it works beautifully. The texture is slightly more delicate, but the flavor is still spot on. Just make sure your blend contains xanthan gum for structure.
Dairy-Free Adaptation
Use a high-quality vegan butter stick for both the cookies and the icing. For the icing, use a plant-based milk like oat or almond milk. The brown butter flavor won’t be exactly the same (since you can’t brown vegan butter in the same way), but it will still be delicious. You can add a tiny drop of vanilla extract to mimic the nutty flavor.
Spiced-Up Version
For a more intense autumn flavor, add 1/4 teaspoon of ground cloves and 1/4 teaspoon of ground ginger to the dry ingredients. This turns them into a chai-spiced apple cider cookie, which is absolutely divine with a cup of hot tea.
Apple Cider Cookies with Maple Glaze
Instead of the brown butter icing, swap it for a simple maple glaze. Just whisk together 1 cup of powdered sugar, 2 tablespoons of pure maple syrup, and 1-2 tablespoons of milk until smooth. It’s a little less rich but still perfectly sweet.
Add-In Ideas
Fold in 1/2 cup of white chocolate chips or 1/2 cup of chopped pecans to the dough before baking. The white chocolate adds a creamy sweetness, while the pecans add a lovely crunch. I once made a batch with both, and they were gone in an hour.
Serving & Storage Suggestions
These cookies are wonderful just as they are, but here are a few ways to make them even better.
Serving Temperature: These cookies are best served at room temperature. The icing sets up nicely, and the texture is soft and tender. If you want a warm cookie, you can pop one in the microwave for about 10 seconds, but be careful—the icing will get a little melty.
Presentation: For a pretty presentation, arrange the cookies on a wooden board or a cake stand. A light dusting of cinnamon on top of the icing adds a beautiful finishing touch. They also look lovely stacked in a glass jar tied with a ribbon—perfect for a homemade gift.
Complementary Dishes: These cookies are fantastic with a cold glass of milk for the kids or a hot cup of coffee for the adults. They also pair wonderfully with a scoop of vanilla ice cream for a quick dessert. Serve them alongside a warm mug of spiced apple cider for the ultimate fall treat.
Storage: Store the cookies in an airtight container at room temperature. They will stay fresh for up to 3 days. Place a slice of plain bread in the container to keep them soft—the bread will absorb any excess moisture and the cookies will stay tender.
Freezing: These cookies freeze beautifully. You can freeze the baked, un-iced cookies for up to 3 months. Just place them in a single layer in a freezer-safe bag or container. When you’re ready to serve, thaw them at room temperature and then make the fresh icing. I also like to freeze the unbaked cookie dough balls. Just scoop them onto a baking sheet, freeze until solid, then transfer to a freezer bag. You can bake them straight from the freezer—just add a minute or two to the baking time.
How Flavors Develop: Honestly, these cookies taste even better the next day. The apple and spice flavors have time to meld together, and the texture becomes even softer. If you can resist eating them all right away, you’re in for a treat.
Nutritional Information & Benefits
While these are definitely a treat, here’s the estimated nutritional breakdown for one cookie (based on a batch of 24 cookies). Please note that these are estimates and can vary based on specific brands and substitutions.
| Nutritional Value | Amount Per Cookie |
|---|---|
| Calories | 185 |
| Total Fat | 9g |
| Saturated Fat | 5g |
| Cholesterol | 30mg |
| Sodium | 115mg |
| Total Carbohydrates | 25g |
| Sugars | 16g |
| Protein | 2g |
Health Benefits of Key Ingredients: The apple cider provides a small amount of vitamin C and antioxidants. Cinnamon is known for its anti-inflammatory properties and can help regulate blood sugar. While these cookies aren’t a health food, they are made with real, recognizable ingredients—no preservatives or artificial flavors.
Dietary Considerations: This recipe contains gluten, dairy, and eggs. For gluten-free and dairy-free options, check the variations section above. These cookies are also nut-free as written, making them a safe option for school bake sales.
My Personal Wellness Perspective: I believe in balance. We eat plenty of vegetables and whole foods in our house, but there is always room for a homemade cookie. Baking with my kids is a way to connect, and sharing these cookies with neighbors is a way to build community. A cookie isn’t just a cookie—it’s a small moment of joy.
Conclusion
So there you have it—my go-to recipe for Kid-Approved Apple Cider Cookies with Brown Butter Icing. They are everything I want in a fall cookie: simple to make, packed with cozy flavor, and loved by every single person who tries them.
I love this recipe because it’s proof that you don’t need a complicated technique or a long list of fancy ingredients to create something truly special. It’s a recipe that honors the spirit of Mrs. Kowalski’s kitchen—resourceful, warm, and focused on what really matters: good food shared with the people you love.
I hope you give these cookies a try. Make them for a rainy afternoon. Make them for a school party. Make them just because it’s Tuesday. And when you do, I’d love to hear about it. Leave a comment below and tell me how they turned out! Did you add a special twist? Did your kids help you bake them? Share your story—I read every single comment, and your ideas often inspire my next recipe.
Happy baking, friends. May your kitchen smell like cinnamon and your heart feel full.
Frequently Asked Questions
Can I use apple juice instead of apple cider?
I wouldn’t recommend it. Apple juice is much thinner and less concentrated in flavor. The reduction step is what gives these cookies their intense apple taste. If you only have apple juice, you can try reducing it, but the final flavor will be much milder.
Why did my brown butter icing turn out grainy?
This usually happens if the brown butter is too hot when you add the powdered sugar. Let the browned butter cool for at least 5 minutes before whisking in the sugar. Also, make sure your powdered sugar is sifted to remove any lumps.
Can I make the dough ahead of time?
Absolutely! You can prepare the cookie dough and refrigerate it for up to 2 days. Just let it sit at room temperature for about 10 minutes before scooping and baking, as the dough will be very firm. You can also freeze the dough balls for up to 3 months.
My cookies spread too much in the oven. What went wrong?
This can happen for a few reasons. First, make sure your butter was softened but not melted. Melted butter causes cookies to spread. Second, check that you measured your flour correctly. Too little flour can also lead to spreading. Finally, make sure your baking sheet is cool before placing dough on it. A hot pan will start melting the butter before the cookies even hit the oven.
Can I skip the brown butter step and use regular melted butter?
You can, but you’ll be missing out on the best part! Brown butter adds a deep, nutty, caramel-like flavor that plain butter just can’t match. It’s what makes this icing feel so special. If you’re short on time, a simple powdered sugar and milk glaze is better than using unmelted butter.
Pin This Recipe!
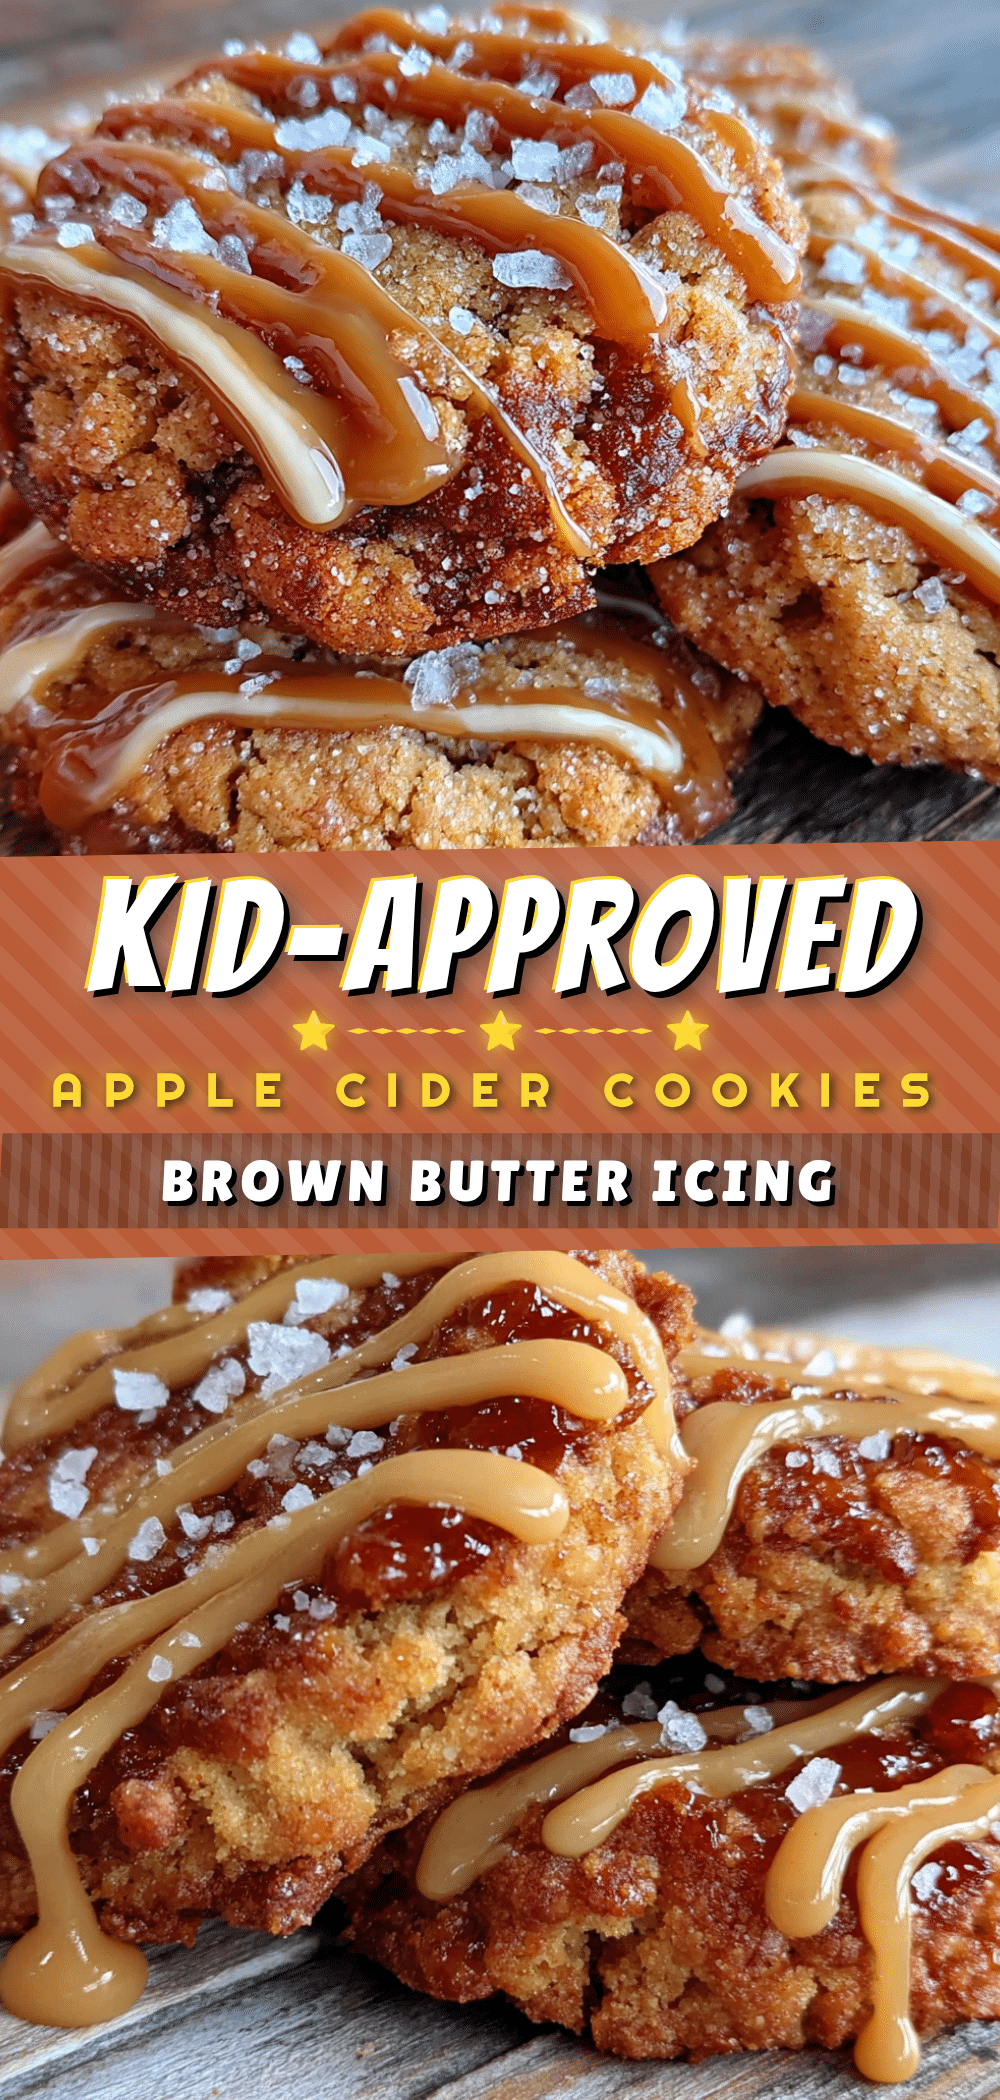
Kid-Approved Apple Cider Cookies: Easy Brown Butter Icing Recipe
These soft, cake-like apple cider cookies are packed with cozy fall flavor and topped with a nutty brown butter icing. They come together in under 30 minutes with simple ingredients, making them a perfect family-friendly treat.
- Prep Time: 15 minutes
- Cook Time: 12 minutes
- Total Time: 27 minutes
- Yield: 24 servings 1x
- Category: Dessert
- Cuisine: American
Ingredients
- 1 cup (2 sticks) unsalted butter, softened
- 1 cup granulated sugar
- 1 large egg, room temperature
- 1/2 cup apple cider, reduced (from 1 cup)
- 2 cups all-purpose flour
- 1 teaspoon baking powder
- 1/2 teaspoon baking soda
- 1/2 teaspoon salt
- 1 1/2 teaspoons ground cinnamon
- 1/2 teaspoon ground nutmeg
- 1/4 cup (1/2 stick) unsalted butter (for icing)
- 1 1/2 cups powdered sugar
- 2–3 tablespoons milk
- 1/2 teaspoon vanilla extract
- Pinch of salt (for icing)
Instructions
- Preheat oven to 350°F (175°C). Line baking sheets with parchment paper or silicone mats.
- In a small saucepan, bring 1 cup apple cider to a simmer over medium heat. Cook for 10-15 minutes, stirring occasionally, until reduced to about 1/2 cup. Set aside to cool completely.
- In a large mixing bowl, beat softened butter and granulated sugar together until light and fluffy, about 2-3 minutes.
- Beat in the room-temperature egg until fully combined. Add the cooled reduced apple cider and mix until smooth.
- In a separate bowl, whisk together flour, baking powder, baking soda, salt, cinnamon, and nutmeg.
- Gradually add the dry ingredients to the wet mixture, mixing on low speed until just combined. Do not overmix.
- Using a cookie scoop or tablespoon, drop rounded balls of dough onto prepared baking sheets, spacing them about 2 inches apart.
- Bake for 10-12 minutes, until edges are set and lightly golden. Centers should look soft. Cool on baking sheet for 5 minutes, then transfer to a wire rack to cool completely.
- While cookies cool, make the icing: In the same small saucepan, melt 1/4 cup butter over medium heat, swirling constantly. Cook until butter turns golden brown and smells nutty, about 4-5 minutes. Remove from heat immediately and pour into a heatproof bowl.
- Let brown butter cool for 5 minutes. Whisk in powdered sugar, 2 tablespoons milk, vanilla extract, and a pinch of salt until smooth. Add remaining milk if needed for desired consistency.
- Once cookies are completely cool, drizzle or spread icing over tops. Let icing set for about 15 minutes before serving.
Notes
Don’t rush the brown butter; it can burn quickly. Measure flour correctly by spooning it into the cup and leveling off. Use room temperature ingredients for best results. Let reduced cider cool completely before adding to batter. Bake one sheet at a time for even baking. Cookies taste even better the next day.
Nutrition
- Serving Size: 1 cookie
- Calories: 185
- Sugar: 16
- Sodium: 115
- Fat: 9
- Saturated Fat: 5
- Carbohydrates: 25
- Protein: 2
Keywords: apple cider cookies, brown butter icing, fall cookies, easy cookie recipe, kid-approved cookies


