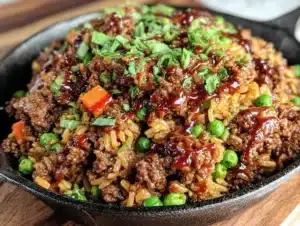
Love this? Save it for later!
Share the inspiration with your friends
I was standing in line at the hardware store, of all places, holding a new showerhead and trying to remember if I needed plumber’s tape, when the woman ahead of me turned around and started talking about dinner. Not to the cashier. To me. She was maybe seventy, with flour dusted on her sleeve like it was a permanent accessory, and she had this look—like she’d just solved world hunger on a Tuesday night. “You look tired,” she said, which, honestly, I was. “Here’s what you make tonight.” And then she just rattled it off: ground beef, rice, cheese, one pan, twenty minutes. I scribbled it on the back of my receipt while the guy behind the counter waited. I mean, who gets a life-changing dinner recipe at the hardware store? Apparently, I do.
That was three years ago, and I’ve made this Kid-Approved Cheesy Beef and Rice Skillet more times than I can count. It’s become my secret weapon for those nights when the kids are hungry, the fridge looks sad, and I have about as much energy as a deflated balloon. The first time I made it, I burned the rice a little—okay, a lot—but my daughter still asked for seconds. That’s when I knew this one was special. It’s not fancy, and it doesn’t pretend to be. It’s just honest, cheesy, beefy goodness that comes together in a single pan and makes everyone at the table happy. Maybe you’ve been there, staring into the pantry, wondering if you can pass off crackers and peanut butter as a balanced meal. This recipe is for those nights.
Why You’ll Love This Recipe
Let me tell you why this skillet dinner has earned a permanent spot in my weekly rotation. I’ve tested it on picky eaters, hungry teenagers, and even my neighbor who “doesn’t really like casseroles.” It passed every test.
- Quick & Easy: From start to finish, this meal is on the table in 30 minutes. No marinating, no complicated steps, no waiting around. It’s perfect for those evenings when you walk through the door and everyone is already asking what’s for dinner.
- Simple Ingredients: You probably have most of these in your kitchen right now. Ground beef, rice, cheese, a few pantry staples—no special trips to the fancy grocery store required. This is cooking on a budget, the way it should be.
- Perfect for Family Meals: This isn’t a “kids’ table” recipe and an “adult table” recipe. It’s one dish that pleases everyone. The cheese makes it kid-friendly, and the savory beef and rice make it satisfying for grown-ups.
- Crowd-Pleaser: I’ve brought this to potlucks and watched it disappear. I’ve made it for my own family on a random Wednesday and seen my son, who usually eats like a bird, ask for thirds. It’s that good.
- Unbelievably Delicious: The magic is in the simplicity. The rice absorbs all the beefy, cheesy flavor, and the top gets just a little golden under the broiler. It’s comfort food that doesn’t weigh you down.
What makes this recipe different from all the other cheesy beef and rice recipes out there? It’s the technique. I cook the rice right in the pan with the beef and broth, so every grain soaks up that savory flavor. No separate pot, no draining, no extra dishes. And I use a blend of cheeses—sharp cheddar for flavor and mozzarella for that perfect stretchy pull. It’s not just another version; it’s the version I keep coming back to.
This recipe isn’t just good—it’s the kind that makes you close your eyes after the first bite. It’s comfort food reimagined: faster, simpler, but with the same soul-soothing satisfaction. Perfect for impressing your family without stress, or turning a chaotic Tuesday into something memorable.
What Ingredients You Will Need
This recipe uses simple, wholesome ingredients to deliver big flavor and satisfying texture without the fuss. Most of these are pantry staples, which is exactly what you want on a busy weeknight.
- 1 pound ground beef (80/20 works best for flavor; drain excess fat if needed)
- 1 medium yellow onion, diced (about 1 cup; adds savory depth)
- 3 cloves garlic, minced (fresh is best, but jarred minced garlic works in a pinch)
- 1 cup long-grain white rice (uncooked; jasmine or basmati also work well)
- 2 cups beef broth (low-sodium preferred, so you control the salt)
- 1 can (14.5 oz) diced tomatoes, undrained (fire-roasted adds a lovely smoky note)
- 1 teaspoon smoked paprika (regular paprika works, but smoked is worth the swap)
- 1/2 teaspoon dried oregano (or Italian seasoning if that’s what you have)
- 1/2 teaspoon salt (plus more to taste)
- 1/4 teaspoon black pepper
- 1 1/2 cups shredded sharp cheddar cheese (I prefer Tillamook or Cabot for bold flavor)
- 1/2 cup shredded mozzarella cheese (for that perfect stretchy texture)
- 2 tablespoons chopped fresh parsley (optional, for garnish; adds a fresh pop of color)
Ingredient Selection Tips: For the best texture, use long-grain white rice rather than short-grain or brown rice, which needs more liquid and a longer cooking time. If you want to use ground turkey or chicken, go for it—just add a tablespoon of olive oil to the pan first, since lean poultry can dry out. I’ve also made this with ground pork, and honestly, it’s fantastic. For the cheese, shred it yourself from a block if you can—pre-shredded cheese has anti-caking agents that prevent it from melting as smoothly.
Substitution Guidance: Need a gluten-free option? This recipe is naturally gluten-free as written—just double-check your beef broth label. For a dairy-free version, use your favorite dairy-free shredded cheese and skip the mozzarella. The texture will be slightly different, but it’s still delicious. If you’re watching your sodium, use no-salt-added diced tomatoes and low-sodium broth, then adjust the salt at the end.
Equipment Needed
The beauty of this recipe is how little equipment it requires. You don’t need a fancy kitchen to pull this off.
- Large skillet or Dutch oven with a lid: A 12-inch skillet with high sides is ideal. I use my trusty cast-iron skillet for this—it holds heat beautifully and gives the bottom a nice little crust. If you don’t have a lid, a sheet of aluminum foil works in a pinch.
- Wooden spoon or spatula: For breaking up the beef and stirring the rice. A silicone spatula also works.
- Cheese grater: If you’re shredding your own cheese (which I highly recommend).
- Cutting board and knife: For dicing the onion and mincing the garlic.
- Measuring cups and spoons: For accuracy, especially with the rice and broth.
Budget-Friendly Tip: Don’t have a Dutch oven? No problem. Any deep skillet with a lid will work. I’ve even made this in a large saucepan in a pinch—just keep an eye on the rice and stir more frequently to prevent sticking. If you’re in the market for a new skillet, check out your local thrift store. I found my favorite cast-iron pan for eight dollars, and it’s been going strong for years.
Preparation Method
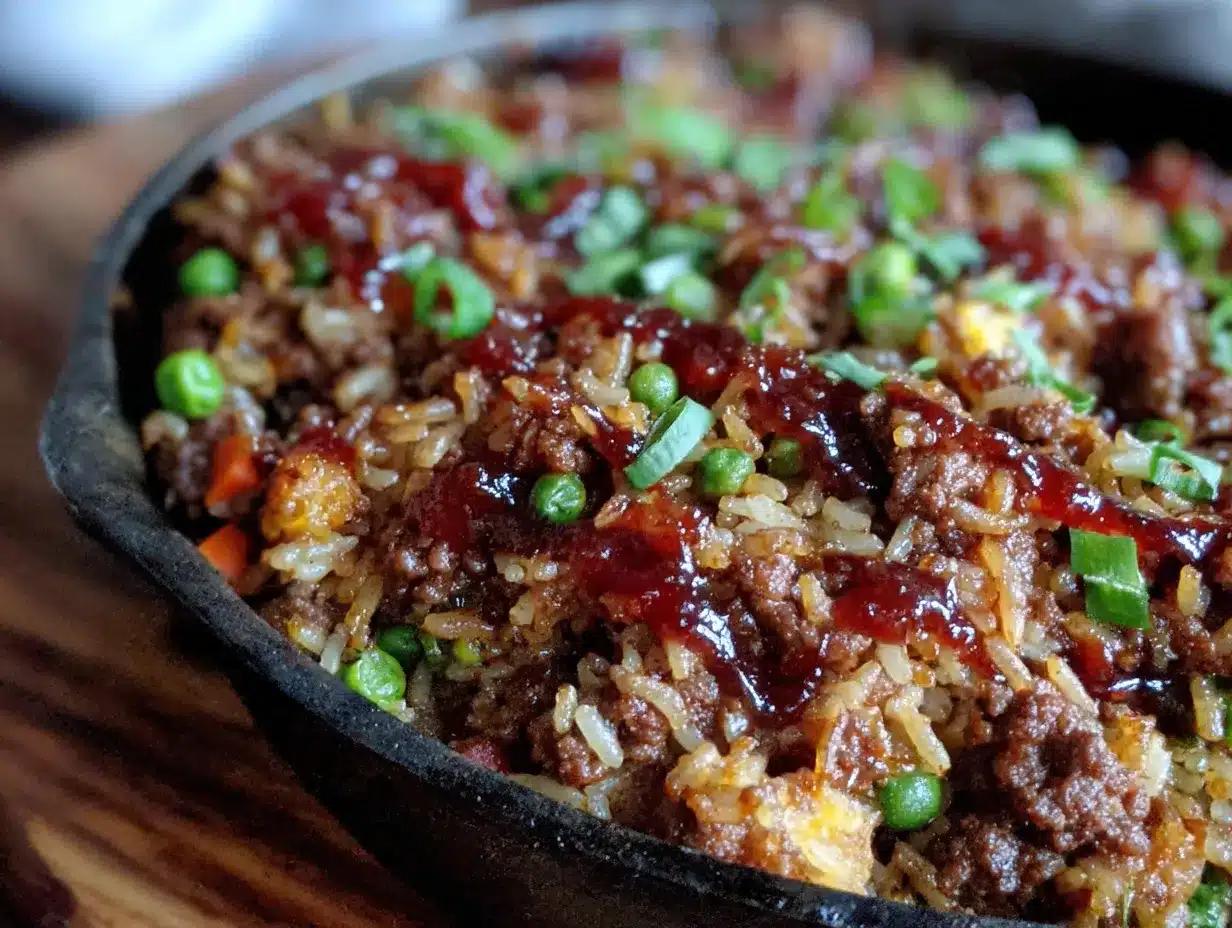
Follow these steps, and you’ll have a steaming, cheesy skillet dinner on the table in about 30 minutes. I’ve included all the little tricks I’ve learned from making this dozens of times.
- Brown the beef. Place your skillet over medium-high heat and add the ground beef. Break it up with your spoon as it cooks. Let it get nice and brown—about 5 to 6 minutes—without stirring too much. You want some caramelization, not just gray meat. If there’s more than a tablespoon of fat, drain it off, leaving a little for flavor.
- Sauté the aromatics. Reduce the heat to medium. Add the diced onion to the pan and cook for 2 to 3 minutes, until it starts to soften and turn translucent. Stir in the minced garlic and cook for another 30 seconds, until it smells amazing. Don’t let the garlic burn—it turns bitter fast.
- Add the rice and seasonings. Sprinkle the uncooked rice over the beef and onion mixture. Add the smoked paprika, oregano, salt, and pepper. Stir everything together for about a minute, coating the rice in the flavorful fat. This little step toasts the rice slightly and adds a nutty depth.
- Pour in the liquids. Add the beef broth and the can of diced tomatoes (with all their juices). Stir well, scraping up any browned bits from the bottom of the pan—that’s pure flavor. Bring the mixture to a boil.
- Simmer and cover. Once it’s boiling, reduce the heat to low, cover the skillet with a tight-fitting lid, and let it simmer gently for 18 to 20 minutes. Don’t peek too often—lifting the lid lets out steam and can make the rice mushy. I learned this the hard way after a few soggy batches.
- Check the rice. After 18 minutes, remove the lid and check the rice. It should be tender and have absorbed most of the liquid. If it’s still a little firm, cover and cook for another 2 to 3 minutes. If it looks dry but the rice isn’t done, add a splash of broth or water.
- Add the cheese. Once the rice is perfect, remove the pan from the heat. Sprinkle the shredded cheddar and mozzarella evenly over the top. Cover the pan again and let it sit for 2 to 3 minutes—the residual heat will melt the cheese into a glorious, gooey blanket.
- Optional broil for a golden top. If you want that beautiful browned cheese crust, pop the skillet under the broiler for 1 to 2 minutes. Watch it closely—it goes from golden to burnt in seconds. I’ve definitely learned that lesson.
- Garnish and serve. Sprinkle with fresh parsley if you’re using it, and serve straight from the skillet. The leftovers reheat beautifully, so don’t worry if you make extra.
Sensory Cues: When you lift the lid after simmering, you should see steam rising and tiny bubbles breaking through the rice. The cheese should be melted and stretchy when you pull a spoon through it. The aroma—beefy, smoky, cheesy—is the kind that makes everyone wander into the kitchen asking, “What’s for dinner?”
Cooking Tips & Techniques
I’ve made this recipe at least thirty times, and I’ve learned a few things along the way. Here are my best tips to make sure yours turns out perfect every time.
Don’t rush the browning. Let the beef sit in the pan for a minute or two before you start breaking it up. A good sear adds flavor you just can’t get from gray meat. I used to stir constantly, thinking I was being efficient, but the crust that forms on the bottom of the pan is what makes the rice taste so good.
Toast the rice. That minute you spend stirring the rice with the beef and onions before adding liquid? It’s not optional. Toasting the grains for just 60 seconds keeps them from turning mushy and adds a subtle nuttiness. Trust me on this one.
Use the right lid. A tight seal is crucial for cooking rice evenly. If your lid wobbles or lets steam escape, your rice might end up crunchy on top and soggy on the bottom. I’ve used a sheet of heavy-duty foil crimped around the edges in a pinch, and it worked fine.
Resist the urge to stir. Once you’ve covered the pan and reduced the heat, leave it alone. Every time you lift the lid, you release steam and lower the temperature, which messes with the rice’s cooking time. I know it’s tempting to peek, but trust the process.
Shred your own cheese. I know, I know—it’s an extra step. But pre-shredded cheese is coated in starches and anti-caking agents that prevent it from melting smoothly. Freshly shredded cheese melts into a creamy, cohesive layer instead of a clumpy, oily mess. It takes two minutes and makes a noticeable difference.
One mistake I still make: Sometimes I get distracted and let the rice cook a minute too long, and the bottom gets a little stuck. If that happens, don’t scrape it into the serving—just serve from the top. The stuck bits are easy to clean after a soak in hot water.
Variations & Adaptations
This recipe is endlessly adaptable, which is one of the reasons I love it. Here are some ways to switch it up based on what you have on hand or who you’re feeding.
Vegetarian Version: Swap the ground beef for two cans of black beans or lentils (rinsed and drained). Use vegetable broth instead of beef broth, and add a teaspoon of cumin and chili powder for extra depth. My vegetarian friend makes this version for her family, and she says the cheese makes it feel just as indulgent.
Spicy Southwest Twist: Add one diced jalapeño (seeds removed if you want less heat) along with the onion. Use pepper jack cheese instead of cheddar, and stir in half a cup of frozen corn kernels right before you add the cheese. A squeeze of lime juice at the end brightens everything up.
Low-Carb Adaptation: Replace the rice with cauliflower rice (about 3 cups). Sauté the cauliflower rice in the pan after cooking the beef and onions, then add the broth and tomatoes and simmer for only 5 to 7 minutes, since cauliflower cooks much faster. The texture is different, but the cheesy, beefy flavor is still there.
Pick a Different Protein: Ground turkey, chicken, or pork all work beautifully. If you use a lean protein, add a tablespoon of olive oil to the pan before cooking to prevent dryness. I’ve even used leftover shredded rotisserie chicken—just stir it in after the rice is cooked, then add the cheese.
My Personal Variation: When I’m feeling extra hungry, I stir in a cup of frozen peas and carrots during the last 5 minutes of cooking. It adds color, a little sweetness, and makes me feel like I’ve snuck in some vegetables without anyone complaining. My kids don’t even notice.
Serving & Storage Suggestions
This skillet dinner is best served hot, straight from the pan, with the cheese still stretchy and the rice fluffy. But it’s also forgiving enough to work as leftovers, which is a blessing on busy weeks.
Serving Temperature and Presentation: Serve it right in the skillet for a casual, family-style meal. Garnish with fresh parsley or a sprinkle of green onions for color. A dollop of sour cream on top adds a nice tangy contrast to the rich cheese. If you’re feeling fancy, serve it with warm tortillas or crusty bread to scoop up every last bit.
What to Serve With It: A simple green salad with a vinaigrette cuts through the richness beautifully. Steamed broccoli or roasted green beans also pair well. For a complete meal, add a side of black beans or a simple fruit salad. My kids love it with a side of sliced apples—the sweetness balances the savory flavors.
Storage Instructions: Let any leftovers cool completely, then transfer to an airtight container. It will keep in the refrigerator for up to 4 days. The flavors actually meld together overnight, so leftovers taste even better the next day.
Reheating Methods: The best way to reheat is in a skillet over medium-low heat with a splash of broth or water to loosen it up. Stir occasionally until heated through, about 5 to 7 minutes. You can also microwave individual portions in 30-second bursts, but the rice might get a little softer. For the crispiest reheated version, spread it in a thin layer in a non-stick pan and let it cook undisturbed for a few minutes—you’ll get a lovely golden crust on the bottom.
Freezer Instructions: This recipe freezes beautifully. Portion it into freezer-safe containers or zip-top bags, and freeze for up to 3 months. Thaw overnight in the refrigerator before reheating. I often make a double batch and freeze half for those weeks when I just can’t face cooking.
Nutritional Information & Benefits
While this is definitely comfort food, it also has some nutritional perks worth mentioning. Here’s an estimated breakdown per serving (based on 6 servings):
- Calories: Approximately 420
- Protein: 28 grams (thanks to the beef and cheese)
- Carbohydrates: 38 grams (mostly from the rice)
- Fat: 18 grams (with about 9 grams of saturated fat)
- Fiber: 2 grams
- Iron: 3.5 mg (about 20% of your daily needs)
- Calcium: 280 mg (from the cheese—great for bone health)
Health Benefits: Ground beef is an excellent source of high-quality protein, iron, and B vitamins, especially B12, which supports energy production. The tomatoes provide lycopene, a powerful antioxidant. And while white rice isn’t as fiber-rich as brown rice, it’s easy to digest and provides quick energy—perfect for active kids.
Dietary Considerations: This recipe is naturally gluten-free. For a lower-fat version, use lean ground beef (93/7) and reduce the cheese to 1 cup total. You can also swap the white rice for brown rice—just increase the broth to 2 1/2 cups and simmer for 40 to 45 minutes instead of 20. If you’re watching your sodium, use low-sodium broth and no-salt-added tomatoes, and go easy on the added salt.
Frequently Asked Questions
Can I use brown rice instead of white rice?
Yes, but you’ll need to adjust the cooking time and liquid. Brown rice takes about 40 to 45 minutes to cook and needs about 2 1/2 cups of broth instead of 2. You might also need to add a little extra liquid halfway through if it looks dry. The texture will be chewier and nuttier, which some people prefer.
Can I make this in a slow cooker or Instant Pot?
For the slow cooker, brown the beef and onions first, then transfer everything except the cheese to the slow cooker. Cook on low for 4 to 5 hours or on high for 2 to 3 hours. Stir in the cheese at the end. For the Instant Pot, use the sauté function to brown the beef, then add the remaining ingredients (except cheese), close the lid, and cook on high pressure for 5 minutes with a natural release. Stir in the cheese after releasing the pressure.
How do I prevent the rice from getting mushy?
Don’t stir the rice too much after adding the liquid, and keep the lid on during cooking. Also, make sure your heat is low enough—a gentle simmer, not a rolling boil. Toasting the rice in the fat before adding liquid also helps keep the grains separate.
Can I freeze the leftovers?
Absolutely. Let the skillet cool completely, then portion it into freezer-safe containers. It will keep for up to 3 months. Thaw overnight in the refrigerator and reheat in a skillet with a splash of broth. The texture of the rice will soften slightly, but the flavor remains excellent.
What can I use instead of ground beef?
Ground turkey, chicken, or pork all work well. For a vegetarian option, use two cans of black beans or lentils. If you use a lean protein, add a tablespoon of oil to the pan to prevent drying out. Leftover shredded rotisserie chicken is another great shortcut—just stir it in after the rice is cooked.
Conclusion
This Kid-Approved Cheesy Beef and Rice Skillet is the kind of recipe that saves your sanity on busy nights without breaking the bank. It’s simple enough for a beginner cook, flexible enough for whatever you have in the pantry, and delicious enough that everyone asks for seconds. I love that I can make it in one pan, clean up in minutes, and still feel like I’ve put a real, honest meal on the table.
I hope you give this recipe a try and make it your own. Maybe you’ll add extra vegetables, swap in a different cheese, or serve it with a side of something unexpected. That’s the beauty of a good skillet dinner—it’s a starting point, not a rulebook. And honestly? The fact that I got this recipe from a stranger at the hardware store still makes me smile every time I make it.
If you try this recipe, I’d love to hear how it turned out. Leave a comment below and let me know what variations you tried, or tag me in your photos on social media. Your feedback helps other home cooks discover the joy of a simple, satisfying meal. Happy cooking!
Pin This Recipe!
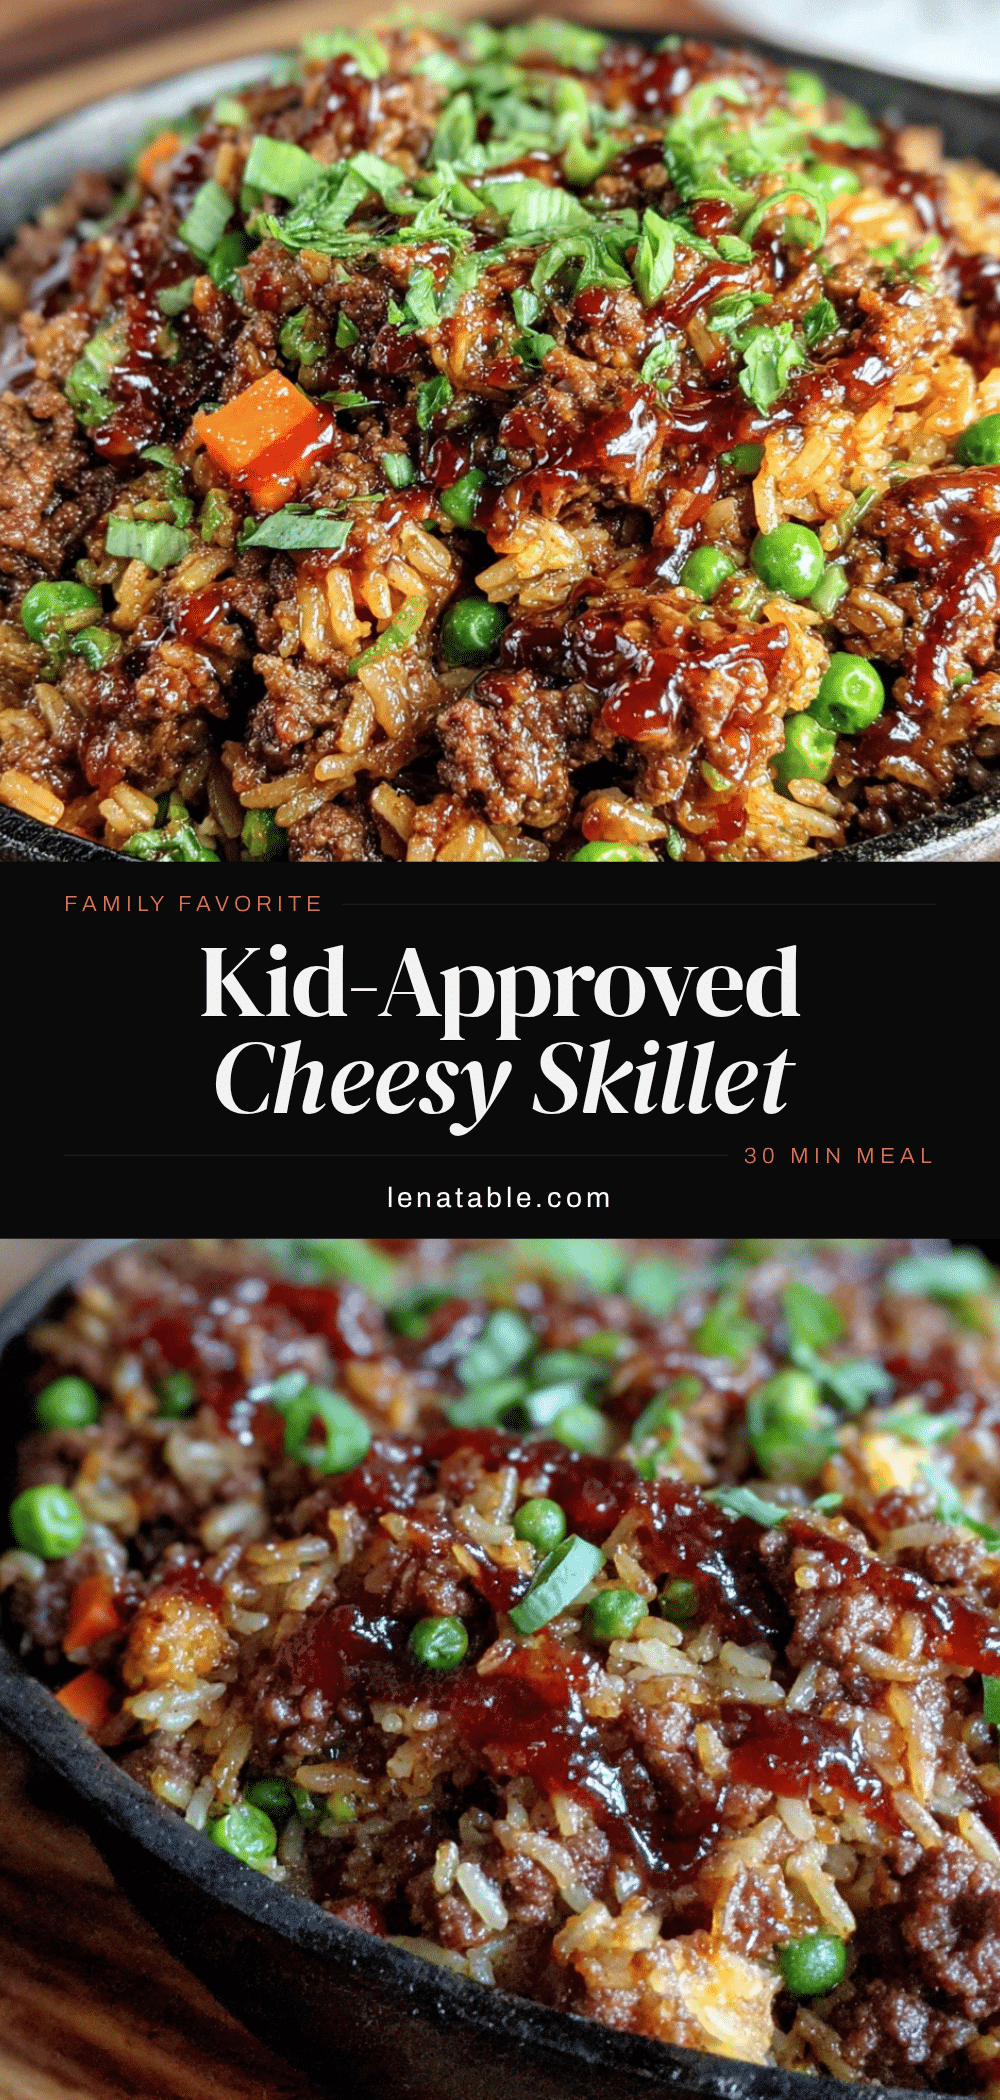
Kid-Approved Cheesy Beef and Rice Skillet: Easy One-Pan Dinner in 30 Minutes

A quick and easy one-pan dinner featuring ground beef, rice, and melted cheese, perfect for busy weeknights. This family-friendly recipe comes together in 30 minutes with simple ingredients.
- Prep Time: 10 minutes
- Cook Time: 20 minutes
- Total Time: 30 minutes
- Yield: 6 servings 1x
- Category: Main Course
- Cuisine: American
Ingredients
- 1 pound ground beef (80/20 works best)
- 1 medium yellow onion, diced (about 1 cup)
- 3 cloves garlic, minced
- 1 cup long-grain white rice, uncooked
- 2 cups beef broth, low-sodium preferred
- 1 can (14.5 oz) diced tomatoes, undrained
- 1 teaspoon smoked paprika
- 1/2 teaspoon dried oregano
- 1/2 teaspoon salt
- 1/4 teaspoon black pepper
- 1 1/2 cups shredded sharp cheddar cheese
- 1/2 cup shredded mozzarella cheese
- 2 tablespoons chopped fresh parsley (optional, for garnish)
Instructions
- Brown the beef. Place your skillet over medium-high heat and add the ground beef. Break it up with your spoon as it cooks. Let it get nice and brown—about 5 to 6 minutes—without stirring too much. If there’s more than a tablespoon of fat, drain it off, leaving a little for flavor.
- Sauté the aromatics. Reduce the heat to medium. Add the diced onion to the pan and cook for 2 to 3 minutes, until it starts to soften and turn translucent. Stir in the minced garlic and cook for another 30 seconds, until fragrant.
- Add the rice and seasonings. Sprinkle the uncooked rice over the beef and onion mixture. Add the smoked paprika, oregano, salt, and pepper. Stir everything together for about a minute, coating the rice in the flavorful fat.
- Pour in the liquids. Add the beef broth and the can of diced tomatoes (with all their juices). Stir well, scraping up any browned bits from the bottom of the pan. Bring the mixture to a boil.
- Simmer and cover. Once it’s boiling, reduce the heat to low, cover the skillet with a tight-fitting lid, and let it simmer gently for 18 to 20 minutes. Do not lift the lid often.
- Check the rice. After 18 minutes, remove the lid and check the rice. It should be tender and have absorbed most of the liquid. If it’s still a little firm, cover and cook for another 2 to 3 minutes. If it looks dry but the rice isn’t done, add a splash of broth or water.
- Add the cheese. Once the rice is perfect, remove the pan from the heat. Sprinkle the shredded cheddar and mozzarella evenly over the top. Cover the pan again and let it sit for 2 to 3 minutes—the residual heat will melt the cheese.
- Optional broil for a golden top. If you want that beautiful browned cheese crust, pop the skillet under the broiler for 1 to 2 minutes. Watch it closely.
- Garnish and serve. Sprinkle with fresh parsley if you’re using it, and serve straight from the skillet.
Notes
For best results, use freshly shredded cheese (pre-shredded has anti-caking agents that affect melting). Toast the rice for 60 seconds before adding liquid to prevent mushiness. Use a tight-fitting lid and avoid lifting it during simmering. If the bottom sticks slightly, don’t scrape it into the serving; soak the pan in hot water for easy cleaning.
Nutrition
- Serving Size: 1 serving (about 1.5
- Calories: 420
- Sugar: 4
- Sodium: 680
- Fat: 18
- Saturated Fat: 9
- Carbohydrates: 38
- Fiber: 2
- Protein: 28
Keywords: cheesy beef and rice skillet, one-pan dinner, 30-minute meal, ground beef recipe, family dinner, kid-friendly, easy weeknight dinner