Love this? Save it for later!
Share the inspiration with your friends
My neighbor wasn’t trying to impress anyone. I’d stopped by to borrow a whisk—mine had mysteriously vanished into the abyss of my kitchen drawers—and the smell hit me before I even made it past her doorway. It was this warm, savory aroma that wrapped around me like a cozy blanket. Honestly, I stood there for a second, just breathing it in, probably looking a little ridiculous.
“What is that?” I asked, probably a little too eagerly. She just shrugged, stirring something in a big baking dish. “Oh, just a chicken and rice thing. Threw it together for dinner.” Just a chicken and rice thing. Let me tell you, there was nothing “just” about it. The rice was perfectly tender, the chicken was juicy, and it all had this comforting, homey flavor that made me want to pull up a chair and stay for dinner. She was completely nonchalant about it, like she hadn’t just created magic with a few simple ingredients.
I stood there, whisk forgotten, watching her pull it out of the oven. The top was golden, with little bits of chicken peeking through. She’d even thrown in some peas, which I normally think are kind of boring, but in that dish, they looked like little green jewels. Maybe you’ve been there—standing in someone else’s kitchen, tasting something simple that feels like a revelation. That’s what this chicken and rice bake was for me. I asked for the recipe, and she just laughed and said, “It’s nothing special. You probably have everything in your pantry.” She was right. And that’s exactly why I’ve been making it ever since.
Why You’ll Love This Recipe
This isn’t just another chicken and rice casserole. After making it at least a dozen times, tweaking the seasonings and testing different add-ins, I can honestly say this version is the one. It’s the kind of meal that makes you feel like you’ve got it all together, even on a Tuesday night when you barely have the energy to chop an onion.
- Budget-Friendly: The whole dish comes together for around $10, using ingredients you probably already have in your pantry. It’s a lifesaver for those weeks when you’re trying to stretch your grocery budget.
- One-Dish Wonder: Everything bakes in a single dish, which means less cleanup. I’m all about recipes that don’t leave me with a mountain of dishes to wash.
- Simple Ingredients: No fancy grocery trips needed. You’ll use basic staples like rice, canned soup, and chicken thighs. It’s comfort food at its most accessible.
- Perfect for Meal Prep: This chicken and rice bake reheats beautifully, making it ideal for lunches throughout the week. The flavors actually get better after a day or two in the fridge.
- Crowd-Pleaser: I’ve served this to picky eaters, hungry teenagers, and dinner guests, and it always gets rave reviews. It’s simple, satisfying, and just plain good.
What makes this recipe different from the rest? It’s the little things. The way the rice soaks up all the flavorful broth while staying fluffy instead of mushy. The golden, slightly crispy edges that form on the chicken. It’s not trying to be fancy—it’s just trying to be delicious. And honestly, it succeeds every single time. This is the kind of meal that makes you close your eyes after the first bite, not because it’s complicated, but because it’s perfect in its simplicity.
What Ingredients You Will Need
This recipe uses simple, wholesome ingredients to deliver bold flavor and satisfying texture without the fuss. Most of these are pantry staples, so you probably won’t need to make a special trip to the store.
- Chicken Thighs (1.5 lbs or 680g): I prefer boneless, skinless thighs for this dish. They stay juicy and tender during the longer bake time, unlike chicken breasts which can dry out. If you’re on a tight budget, bone-in thighs work too—just increase the cooking time by about 10 minutes.
- Long-Grain White Rice (1 cup or 200g): This is my go-to for this recipe. It holds its shape well and doesn’t get gummy. Avoid using instant rice or short-grain varieties, as they can turn mushy. Basmati or jasmine rice also work beautifully here.
- Can of Cream of Chicken Soup (10.5 oz or 298g): I know, I know—canned soup isn’t glamorous. But it’s the secret to this dish’s creamy, savory sauce without any extra work. I recommend Campbell’s for the best flavor. If you want to make your own cream sauce from scratch, you certainly can, but the convenience factor here is hard to beat.
- Chicken Broth (1.5 cups or 355ml): Use low-sodium broth so you can control the salt level. The broth helps cook the rice and creates the base for the sauce. I like Swanson’s or Kitchen Basics.
- Frozen Peas (1 cup or 150g): They add a pop of color and a touch of sweetness. No need to thaw them first—just toss them in frozen. You can also use frozen mixed vegetables if you prefer.
- Onion (1 medium, diced): A yellow or white onion adds a savory depth to the dish. If you’re in a hurry, you can use 1 teaspoon of onion powder instead, but fresh onion gives better flavor.
- Garlic (2 cloves, minced): Fresh garlic is best, but jarred minced garlic works in a pinch. Garlic powder (1/2 teaspoon) can also substitute.
- Paprika (1 teaspoon): This adds a mild, smoky flavor and gives the chicken a beautiful color. Smoked paprika is even better if you have it.
- Dried Thyme (1/2 teaspoon): A classic herb that pairs perfectly with chicken and rice. Dried oregano or rosemary can be used instead.
- Salt and Black Pepper (to taste): Don’t be shy with the seasoning. I usually add about 1 teaspoon of salt and 1/2 teaspoon of pepper.
- Butter (2 tablespoons or 28g): A little butter goes a long way in adding richness. You can use olive oil if you prefer, but butter gives a nicer flavor.
- Optional Garnish: Fresh parsley or chives for a pop of color before serving.
Equipment Needed
You don’t need a fancy kitchen to make this chicken and rice bake. Here’s what you’ll need:
- 9×13-inch Baking Dish: This is the perfect size for this recipe. If you don’t have one, a similar-sized casserole dish will work. Glass or ceramic dishes are ideal because they distribute heat evenly.
- Large Skillet: For browning the chicken and sautéing the onion and garlic. A 12-inch skillet is a good size. If you don’t have one, you can skip the browning step and just add the raw chicken to the dish—it will still cook through, but you’ll miss out on some flavor.
- Cutting Board and Knife: For dicing the onion and mincing the garlic. A sharp chef’s knife makes the job much easier.
- Measuring Cups and Spoons: For accurate measurements. I’ve learned the hard way that eyeballing ingredients in baking dishes can lead to disaster.
- Mixing Bowl: For combining the soup, broth, and seasonings. A medium-sized bowl works well.
- Foil: For covering the dish during the first part of baking. This traps steam and helps the rice cook evenly.
I picked up my baking dish at a thrift store for three dollars, and it works like a charm. You really don’t need to spend a lot on equipment for this recipe.
Preparation Method
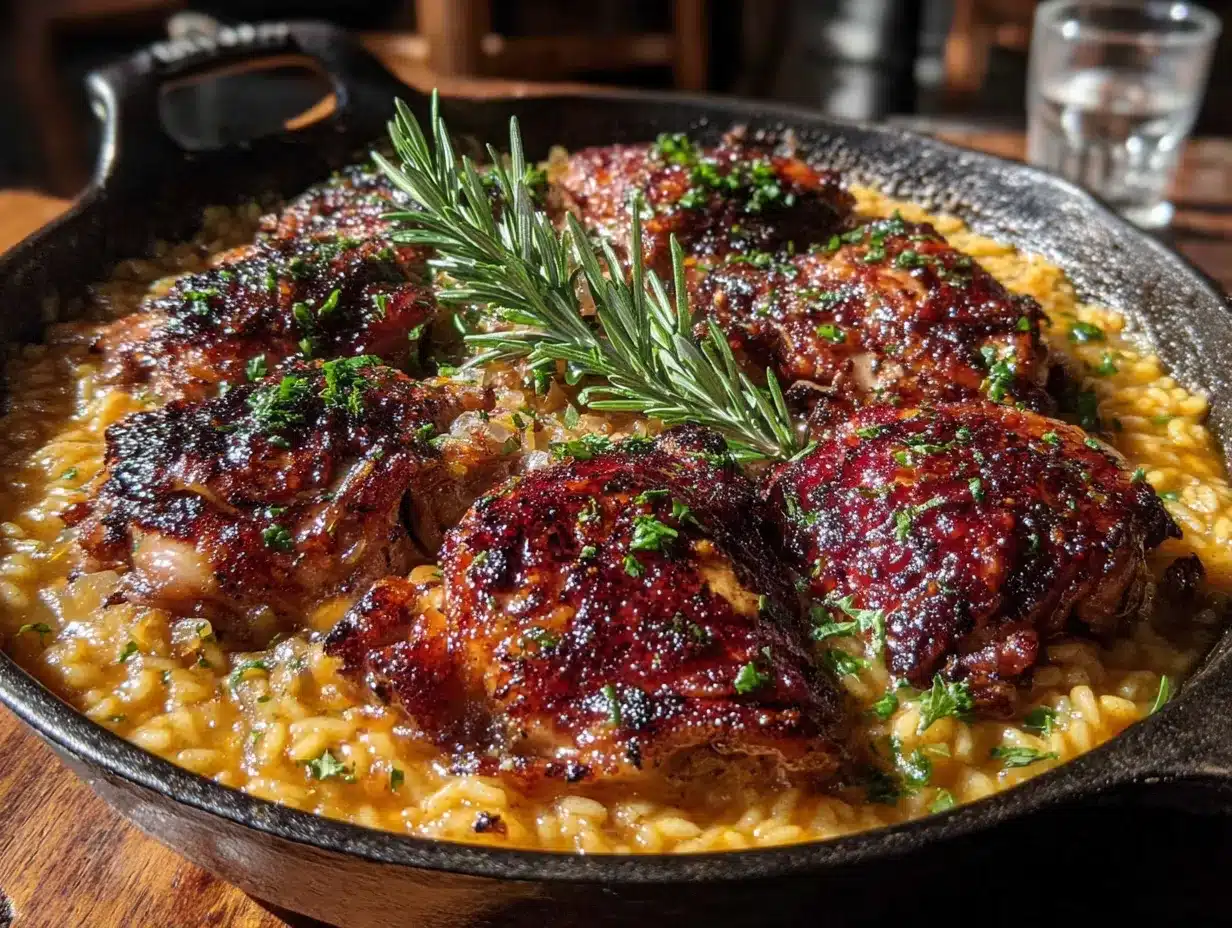
Let’s get cooking! This chicken and rice bake comes together in a few simple steps. Trust me, the aroma that fills your kitchen is worth every minute.
- Preheat your oven to 375°F (190°C). While it’s heating up, get your ingredients ready. Dice the onion and mince the garlic. Measure out the rice, broth, and seasonings. Having everything prepped makes the process so much smoother.
- Season the chicken thighs with salt, pepper, and paprika on both sides. Don’t be shy—this is where the flavor starts. Let them sit while you prepare the rest.
- Heat 1 tablespoon of butter in a large skillet over medium-high heat. Once it’s melted and sizzling, add the chicken thighs in a single layer. Cook for 3-4 minutes per side, until they’re golden brown. They don’t need to be cooked through at this point—just nicely browned. Transfer them to a plate and set aside.
- In the same skillet, add the remaining tablespoon of butter. Toss in the diced onion and cook for 2-3 minutes, until it’s softened and translucent. Add the minced garlic and cook for another 30 seconds, until fragrant. Scrape up any browned bits from the bottom of the pan—that’s flavor gold.
- In a mixing bowl, whisk together the can of cream of chicken soup, chicken broth, dried thyme, and a pinch of salt and pepper. Stir in the sautéed onions and garlic. This mixture is the base of your sauce.
- Spread the uncooked rice evenly across the bottom of your 9×13-inch baking dish. Pour the soup mixture over the rice and stir gently to combine. Make sure the rice is evenly distributed so it cooks properly.
- Nestle the browned chicken thighs into the rice mixture, skin side up if you used skin-on thighs. Pour any accumulated juices from the chicken plate over the top.
- Sprinkle the frozen peas evenly over the dish. Don’t stir them in—they’ll cook perfectly on top.
- Cover the dish tightly with foil. This is crucial—the steam helps the rice cook without drying out. Bake for 45 minutes.
- After 45 minutes, remove the foil and continue baking for another 10-15 minutes, until the chicken is golden and the rice is tender. The liquid should be mostly absorbed. If the rice still looks a bit wet, give it a few more minutes.
- Let the dish rest for 5 minutes before serving. This allows the rice to finish absorbing any remaining liquid and makes it easier to serve. Garnish with fresh parsley or chives if you like.
A quick tip: if you’re using a glass baking dish, place it on a baking sheet before putting it in the oven. This catches any potential spills and makes it easier to handle. I learned this the hard way after a messy oven cleanup!
Cooking Tips & Techniques
After making this chicken and rice bake more times than I can count, I’ve picked up a few tricks that make a real difference. Here are my best tips for success:
Don’t skip browning the chicken. I know it adds an extra step, but it’s worth it. Browning creates a rich, savory flavor through the Maillard reaction. That golden crust adds depth that you just can’t get from baking raw chicken. If you’re really short on time, you can skip it, but the dish won’t be quite as flavorful.
Use the right rice. Long-grain white rice is your best friend here. I’ve tried using brown rice, and it takes much longer to cook and can end up chewy. Instant rice turns to mush. Stick with standard long-grain for the best texture. Basmati or jasmine are also great options.
Watch your liquid ratio. The rice needs enough liquid to cook properly, but too much will make it soggy. I’ve found that 1.5 cups of broth plus the can of soup is the perfect amount for 1 cup of rice. If you like your rice a little drier, you can reduce the broth by a quarter cup.
Let it rest. I know it’s tempting to dig in right away, but letting the dish rest for 5-10 minutes is crucial. The rice continues to absorb liquid as it cools, and the flavors meld together. Plus, it’s easier to serve without it falling apart.
Check for doneness. The chicken should reach an internal temperature of 165°F (74°C). The rice should be tender and fluffy, not crunchy or mushy. If the rice is still hard after the recommended baking time, add a splash of broth, cover, and bake for another 5-10 minutes.
I once forgot to cover the dish for the first 45 minutes, and the rice came out crunchy and dry. It was a sad dinner, let me tell you. So trust me on the foil thing—it’s non-negotiable!
Variations & Adaptations
This chicken and rice bake is incredibly versatile. Here are some of my favorite ways to change it up:
Vegetable-Packed Version: Add a cup of diced carrots, celery, or bell peppers along with the onion. You can also throw in a handful of spinach or kale during the last 10 minutes of baking for extra nutrients. I’ve done this, and it turns the dish into a complete one-pot meal.
Cheesy Chicken and Rice: Stir in 1 cup of shredded cheddar cheese into the soup mixture before baking. Sprinkle another 1/2 cup on top during the last 5 minutes of baking for a golden, bubbly crust. It’s indulgent and absolutely delicious.
Spicy Kick: Add 1/2 teaspoon of cayenne pepper or red pepper flakes to the soup mixture. You can also use a can of cream of chicken with herbs and spices for extra flavor. This version is great for those who like a little heat.
Herb-Infused: Swap the dried thyme for a teaspoon of Italian seasoning or herbes de Provence. Fresh herbs like rosemary or parsley can also be stirred in at the end for a bright, fresh flavor.
Dairy-Free Option: Use a dairy-free cream of mushroom soup and replace the butter with olive oil or a plant-based butter. The dish will still be creamy and satisfying.
Gluten-Free Adaptation: Most canned cream soups contain gluten, so look for a gluten-free version. You can also make a quick gluten-free cream sauce using cornstarch and broth. Use certified gluten-free broth and seasonings as well.
I’ve tried the cheesy version for a potluck, and it disappeared in minutes. It’s now my go-to when I need to feed a crowd without breaking the bank.
Serving & Storage Suggestions
This chicken and rice bake is a meal in itself, but it pairs beautifully with a few simple sides. Here’s how I like to serve it:
Serving Temperature: Serve it hot, straight from the oven. Let it rest for 5 minutes so the rice sets, then scoop generous portions onto plates. The steam rising from the dish is pure comfort.
Complementary Sides: A simple green salad with a lemon vinaigrette cuts through the richness of the dish. Steamed green beans or roasted broccoli also work wonderfully. If you want something starchy, crusty bread is perfect for sopping up any extra sauce.
Beverage Pairings: A crisp white wine like Sauvignon Blanc or a light lager pairs nicely. For non-alcoholic options, iced tea with lemon or sparkling water with a splash of cranberry juice are refreshing choices.
Storage Instructions: Store leftovers in an airtight container in the refrigerator for up to 4 days. The flavors actually deepen overnight, making it even better the next day. To reheat, microwave individual portions for 1-2 minutes, or reheat in a 350°F oven for 10-15 minutes. Add a splash of broth or water if the rice seems dry.
Freezing: This chicken and rice bake freezes beautifully. Let it cool completely, then transfer to a freezer-safe container. It will keep for up to 3 months. Thaw overnight in the refrigerator before reheating. I often make a double batch and freeze one for busy weeks.
Make-Ahead Tip: You can assemble the entire dish (without the peas) a day in advance. Cover and refrigerate, then add the peas and bake as directed. You may need to add 10-15 minutes to the baking time since you’re starting from cold.
Nutritional Information & Benefits
This chicken and rice bake is a balanced meal that provides protein, carbohydrates, and vegetables. Here’s a rough estimate per serving (based on 6 servings):
- Calories: Approximately 380-420
- Protein: 28-32g
- Carbohydrates: 35-40g
- Fat: 12-15g
- Fiber: 2-3g
- Sodium: 600-800mg (varies based on broth and soup)
Health Benefits: Chicken thighs are a good source of protein, iron, and B vitamins, which support energy metabolism. Rice provides easily digestible carbohydrates for sustained energy. Peas add fiber, vitamin C, and vitamin K. This meal is satisfying without being heavy, making it a great option for balanced eating.
Dietary Considerations: This recipe is naturally nut-free and egg-free. For a lower-sodium version, use low-sodium broth and soup, and reduce added salt. For a lower-fat version, use chicken breasts instead of thighs and reduce the butter to 1 tablespoon.
Potential Allergens: This dish contains dairy (butter and cream soup) and gluten (cream soup). Use the substitutions mentioned above for allergen-free versions.
I love that this meal feels indulgent but is actually quite balanced. It’s the kind of dinner that leaves you feeling satisfied, not stuffed.
Conclusion
This light and easy chicken and rice bake has become a staple in my kitchen for good reason. It’s affordable, simple, and delivers incredible flavor with minimal effort. Whether you’re feeding a family on a budget, meal-prepping for the week, or just craving a comforting meal without the fuss, this recipe delivers every time.
I love that it’s endlessly adaptable—you can throw in whatever vegetables you have on hand, swap the chicken for turkey, or add a little cheese for extra indulgence. It’s a recipe that works with you, not against you. And honestly, that’s the best kind of recipe to have in your back pocket.
So go ahead, give this chicken and rice bake a try. I promise it’ll become a regular in your rotation too. And when you do, come back and let me know how it turned out. Did you add your own twist? Did the whole family love it? I’d love to hear your stories in the comments below!
Happy cooking, and remember—the best meals are the ones made with love, even on a budget.
Frequently Asked Questions
Can I use chicken breasts instead of thighs?
Absolutely! Chicken breasts work well, but they can dry out more easily. To prevent this, reduce the initial baking time by 5-10 minutes and check for doneness earlier. You can also pound the breasts to an even thickness for more consistent cooking.
Can I make this in a slow cooker?
Yes, you can adapt this for a slow cooker. Brown the chicken and sauté the onions first, then add everything to the slow cooker. Cook on low for 4-5 hours or on high for 2-3 hours. The rice may turn out a bit softer than the oven version, but it’s still delicious.
Why is my rice still crunchy after baking?
Crunchy rice usually means it didn’t have enough liquid or wasn’t covered properly. Make sure you’re using the right amount of broth and soup, and that the dish is tightly covered with foil. If it’s still crunchy, add a splash of broth, cover, and bake for another 10 minutes.
Can I add other vegetables to this dish?
Definitely! This recipe is very forgiving. Try adding diced carrots, celery, bell peppers, or mushrooms. Just sauté them along with the onion so they soften before baking. Frozen mixed vegetables are also a great shortcut.
How do I prevent the dish from becoming too salty?
Use low-sodium chicken broth and cream of chicken soup. Also, go easy on the added salt—you can always add more at the table. If you’re using regular broth and soup, taste the sauce mixture before adding it to the rice and adjust accordingly.
Pin This Recipe!
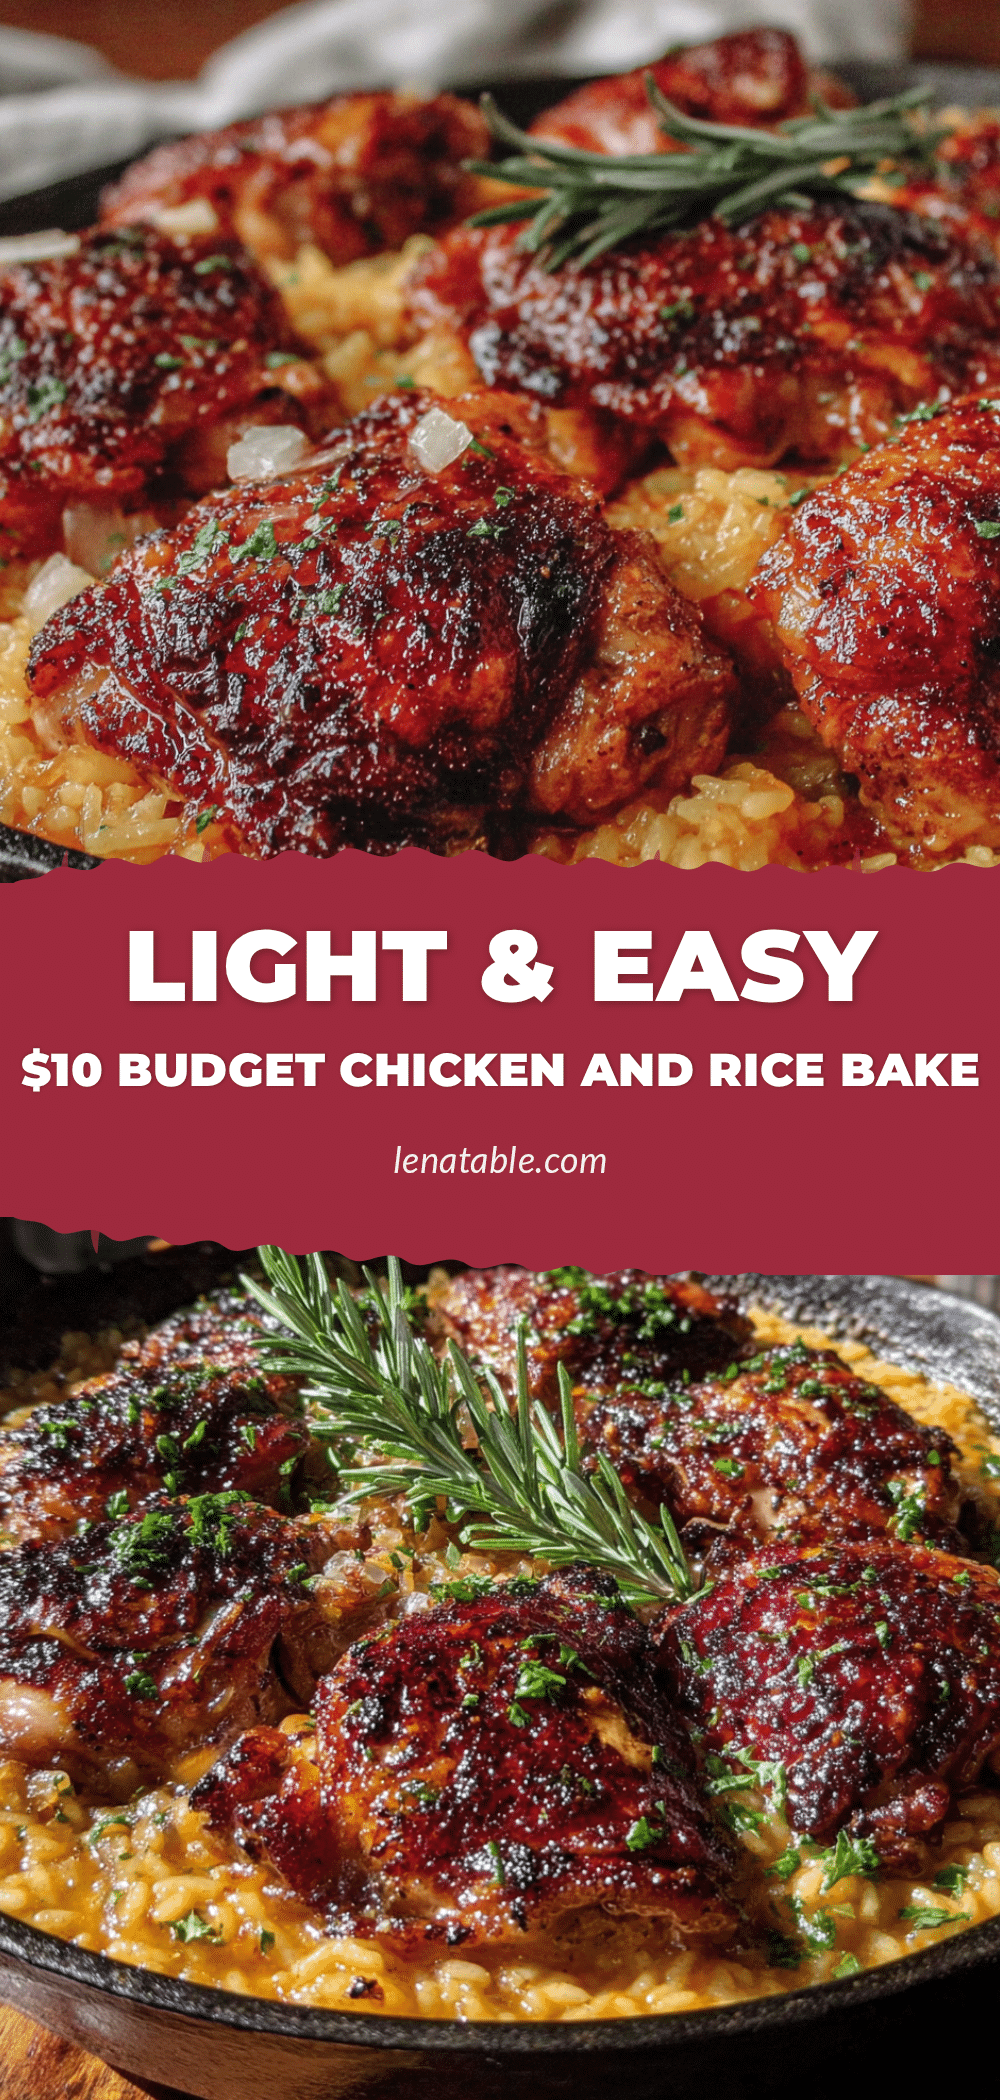
Light & Easy $10 Chicken and Rice Bake – Perfect Budget Meal

This budget-friendly chicken and rice bake is a one-dish wonder that combines juicy chicken thighs, tender rice, and sweet peas in a creamy, savory sauce. Perfect for busy weeknights, it’s simple, satisfying, and made with pantry staples.
- Prep Time: 15 minutes
- Cook Time: 55 minutes
- Total Time: 1 hour 10 minutes
- Yield: 6 servings 1x
- Category: Main Course
- Cuisine: American
Ingredients
- 1.5 lbs (680g) boneless, skinless chicken thighs
- 1 cup (200g) long-grain white rice
- 1 can (10.5 oz / 298g) cream of chicken soup
- 1.5 cups (355ml) low-sodium chicken broth
- 1 cup (150g) frozen peas
- 1 medium onion, diced
- 2 cloves garlic, minced
- 1 teaspoon paprika
- 1/2 teaspoon dried thyme
- Salt and black pepper to taste
- 2 tablespoons (28g) butter
- Optional: fresh parsley or chives for garnish
Instructions
- Preheat oven to 375°F (190°C).
- Season chicken thighs with salt, pepper, and paprika on both sides.
- Heat 1 tablespoon butter in a large skillet over medium-high heat. Brown chicken thighs for 3-4 minutes per side. Transfer to a plate.
- In the same skillet, add remaining 1 tablespoon butter. Sauté diced onion for 2-3 minutes until softened. Add minced garlic and cook for 30 seconds.
- In a mixing bowl, whisk together cream of chicken soup, chicken broth, dried thyme, and a pinch of salt and pepper. Stir in sautéed onions and garlic.
- Spread uncooked rice evenly in a 9×13-inch baking dish. Pour soup mixture over rice and stir gently.
- Nestle browned chicken thighs into the rice mixture. Pour any accumulated juices over the top.
- Sprinkle frozen peas evenly over the dish.
- Cover tightly with foil and bake for 45 minutes.
- Remove foil and bake for another 10-15 minutes until chicken is golden and rice is tender.
- Let rest for 5 minutes before serving. Garnish with fresh parsley or chives if desired.
Notes
Don’t skip browning the chicken for best flavor. Use long-grain white rice; avoid instant or short-grain. Cover tightly with foil for the first 45 minutes to ensure rice cooks properly. Let rest before serving. For a lower-sodium version, use low-sodium broth and soup.
Nutrition
- Serving Size: 1 serving (about 1/6
- Calories: 400
- Sugar: 4
- Sodium: 700
- Fat: 14
- Saturated Fat: 5
- Carbohydrates: 38
- Fiber: 3
- Protein: 30
Keywords: chicken and rice bake, budget meal, one-dish dinner, easy chicken recipe, comfort food