Love this? Save it for later!
Share the inspiration with your friends
Introduction
The office cookie swap was in less than two hours and I’d completely blanked on bringing anything. Everyone else was rolling in with these fancy layered cakes or homemade tarts that looked like they’d taken days to perfect. Meanwhile, I had a measly half-bag of chocolate chips and a kitchen that was more chaos than calm. Honestly, I wasn’t sure I could pull off even a simple batch of cookies, let alone something that would stand out among those dazzling desserts.
But then, something clicked. I remembered a recipe I’d once scribbled down from an old bakery cookbook I’d found buried in my mom’s pantry. It was supposed to make cookies with that perfect bakery-style texture—crispy on the edges, chewy in the middle, with just the right balance of buttery sweetness and melty chocolate. I scrambled to gather the ingredients, cracked a bowl (of course I did, because what’s a rushed baking moment without a little mess?), and got to work.
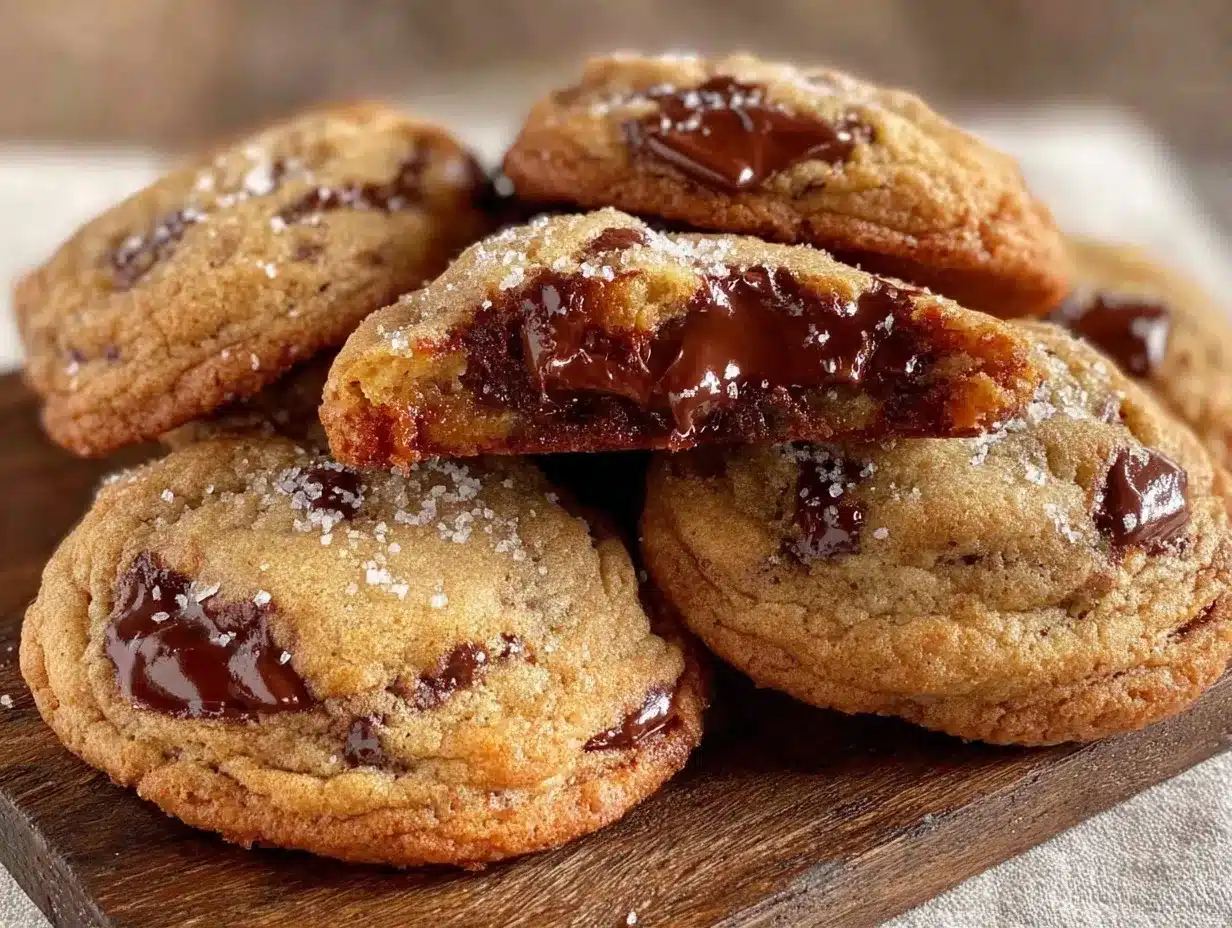
By the time I arrived at the swap, my cookies were still warm in the tin, their golden tops glistening with pockets of chocolate. I was sure they’d be the underdog, but the funny thing is, they ended up the unexpected star of the table. I mean, maybe you’ve been there—rushing last minute, thinking you’re out of options, then surprise yourself with something simple yet just right. That recipe has stayed with me ever since, because it’s proof that even when you’re pressed for time, you can still whip up perfect classic chocolate chip cookies with bakery-style texture that feel like a real treat.
Why You’ll Love This Recipe
Honestly, making these perfect classic chocolate chip cookies with bakery-style texture is like hitting the sweet spot every single time. I’ve tested this recipe over countless batches—each one better than the last—so you know it’s got that trusted, foolproof vibe. Here’s why it’s a keeper:
- Quick & Easy: Ready in under 30 minutes, perfect for those last-minute cravings or busy afternoons when you just need a little comfort.
- Simple Ingredients: No fancy or hard-to-find stuff—just pantry staples that you probably already have hanging out in your kitchen.
- Perfect for Any Occasion: Whether it’s a casual snack, a potluck, or those cozy movie nights, these cookies fit right in.
- Crowd-Pleaser: Kids, adults, picky eaters—everyone seems to love the chewy center with crisp edges and melty chocolate chunks.
- Unbelievably Delicious: The texture is what sets these apart—soft but structured, with just enough crunch to make every bite interesting.
What really makes this recipe stand out is the little twist in technique—like chilling the dough just long enough to get that bakery-style chew without waiting all day. Plus, I’ve played around with the mix of sugars to get the perfect caramelized flavor that you just don’t find in your average cookie. It’s comfort food, but with a little something extra that makes you close your eyes when you bite into one. Trust me, this isn’t just another chocolate chip cookie—it’s the recipe I reach for when I want that homemade bakery feel without the wait or fuss.
What Ingredients You Will Need
This recipe uses simple, wholesome ingredients to deliver bold flavor and satisfying texture without the fuss. Most are pantry staples, and many have easy swaps if you’re out of something or want to tweak it to your taste.
- Unsalted butter, softened (adds richness and helps with that tender crumb; I usually go for Land O’ Lakes for consistent results)
- Granulated sugar (for that crisp edge and sweetness)
- Light brown sugar, packed (brings moisture and caramel notes—don’t skip this!)
- Large eggs, room temperature (helps bind everything together)
- Pure vanilla extract (a must for that classic chocolate chip cookie aroma—Nielsen-Massey is a favorite of mine)
- All-purpose flour (for the structure; King Arthur flour works great here)
- Baking soda (the leavening agent that gives just the right rise)
- Salt (balances the sweetness and enhances flavor)
- Semi-sweet chocolate chips or chunks (feel free to swap in dark chocolate or mixed chips for variety; Ghirardelli chips melt beautifully)
Substitutions & Tips: Use almond flour for a gluten-free version, but expect a slightly different texture. If you’re dairy-free, swap butter for a plant-based butter and chocolate chips for dairy-free versions. For a seasonal twist, I sometimes add chopped pecans or walnuts, or a sprinkle of flaky sea salt on top before baking for that extra wow factor.
Equipment Needed
- Mixing bowls: At least two—one for wet ingredients, one for dry. Glass or stainless steel works best.
- Electric mixer: Handheld or stand mixer makes creaming butter and sugars a breeze, but you can do it by hand if you’re feeling strong.
- Measuring cups and spoons: Precision is key for consistent cookies.
- Baking sheets: Two standard half-sheet pans are ideal; line them with parchment paper or silicone mats to prevent sticking.
- Cooling rack: Essential for letting cookies cool evenly and keep their texture perfect.
- Spoon or cookie scoop: A medium-sized cookie scoop helps keep the cookies uniform in size.
If you don’t have a mixer, a sturdy wooden spoon and a bit of elbow grease can do the trick—though it might take a little longer. For budget-friendly baking sheets, I recommend aluminum pans with a non-stick finish; they heat evenly and clean up well. Also, I’ve learned the hard way that parchment paper isn’t reusable forever, so keep a fresh roll handy when you’re baking multiple batches.
Preparation Method
- Preheat your oven to 350°F (175°C). Line two baking sheets with parchment paper or silicone mats to prevent sticking.
- Cream the butter and sugars: In a large bowl, beat 1 cup (227g) softened unsalted butter, 3/4 cup (150g) granulated sugar, and 3/4 cup (165g) packed light brown sugar together until light and fluffy. This usually takes about 3-4 minutes with an electric mixer at medium speed. The mixture should look pale and airy—that’s your cue.
- Add eggs and vanilla: Crack in 2 large eggs, one at a time, beating well after each addition. Then stir in 2 teaspoons pure vanilla extract. Mixing thoroughly here ensures a smooth batter and evenly distributed flavor.
- Combine dry ingredients: In a separate bowl, whisk together 2 1/4 cups (280g) all-purpose flour, 1 teaspoon baking soda, and 1 teaspoon salt. This step is key to prevent clumping and to evenly distribute the rising agent.
- Mix dry into wet: Gradually add the dry ingredients to the wet mixture in three parts, mixing on low speed just until combined. Don’t overmix here—overworked dough leads to tougher cookies.
- Fold in the chocolate chips: Stir in 2 cups (340g) semi-sweet chocolate chips or chunks by hand with a spatula. This keeps the chips intact and evenly distributed.
- Chill the dough: For best bakery-style texture, cover the dough and refrigerate for at least 30 minutes. This step helps the flavors meld and prevents cookies from spreading too much.
- Scoop and bake: Using a medium cookie scoop (about 1.5 tablespoons or 25g), drop dough balls onto the prepared baking sheets, spacing them about 2 inches apart. Bake for 10-12 minutes until edges are golden brown but centers still look slightly soft.
- Cool properly: Let cookies rest on the baking sheet for 5 minutes before transferring to a wire rack to cool completely. This helps them set with that perfect chewy center and crisp edge.
Pro tip: If your oven runs hot or uneven, rotate the baking sheets halfway through baking to keep cookies baking evenly. Also, don’t skip chilling the dough—even 30 minutes makes a difference you’ll notice in texture.
Cooking Tips & Techniques
Making perfect classic chocolate chip cookies with bakery-style texture isn’t rocket science, but a few technique tweaks can really change the game. First off, creaming the butter and sugars thoroughly traps air, giving you that light texture. I used to rush this step, and my cookies turned out flat and dense every time.
Watch your flour measurement—it’s tempting to heap it up, but too much flour dries out your cookies. I spoon the flour into the cup and level it off with a knife for accuracy. Also, chilling your dough is a must. I once skipped this step completely, figuring I was too pressed for time. Big mistake. The cookies spread too much and lost that chewy center.
When it comes to baking, timing is everything. Pull them out when the edges are golden but the centers look a bit underdone. They’ll continue baking on the hot baking sheet, giving you that soft, gooey middle that’s just irresistible. If you overbake, you’ll end up with crumbly, dry cookies, which nobody wants.
Lastly, don’t overcrowd your baking sheet. Give each cookie enough room to spread. I’ve learned the hard way that cramming them all in results in one giant cookie blob, which might be delicious but isn’t exactly classic.
Variations & Adaptations
- Gluten-Free Option: Swap all-purpose flour for a 1:1 gluten-free baking flour blend. I recommend brands like Bob’s Red Mill for reliable results. Your cookies might be a bit softer but just as tasty.
- Nutty Twist: Add 1 cup chopped walnuts or pecans for crunch and flavor. Toast them lightly beforehand for an extra toasty note.
- Dairy-Free Version: Use a plant-based butter alternative and dairy-free chocolate chips. The texture stays surprisingly close to the original.
- Seasonal Flavor: Stir in 1 teaspoon ground cinnamon or a pinch of espresso powder to deepen flavor. Around holidays, a dash of nutmeg or cloves works wonders too.
- Sea Salt Finish: Sprinkle flaky sea salt on top of each cookie dough ball before baking. This salty-sweet combo is one of my favorite personal twists.
If you ever want to switch things up, these cookies also bake beautifully in a convection oven—just reduce the temperature by 25°F (about 15°C). Or, try mini cookie versions for bite-sized treats perfect for lunchboxes or party platters.
Serving & Storage Suggestions
These cookies are best enjoyed fresh and slightly warm, when the chocolate is still melty and the edges have that perfect crisp. Serve them with a cold glass of milk, or pair with your favorite coffee or tea for a comforting treat. Honestly, they make any afternoon feel like a mini celebration.
To store, keep cookies in an airtight container at room temperature for up to 4 days. If you want to save them longer, freeze the baked cookies in a sealed bag for up to 3 months. When you’re ready to eat, just pop a cookie or two in the microwave for about 10 seconds to bring back that fresh-baked warmth.
Leftover dough freezes well too—just scoop onto a baking sheet and flash freeze before transferring to a bag. When you want fresh cookies, bake straight from the freezer, adding a couple of extra minutes to the baking time. This is a lifesaver for those unexpected cookie cravings.
Nutritional Information & Benefits
Each cookie (based on about 24 cookies per batch) contains approximately:
| Calories | 180 |
|---|---|
| Fat | 9g |
| Carbohydrates | 24g |
| Protein | 2g |
| Sugar | 15g |
The rich butter provides a good source of energy and adds to the satisfying texture. Chocolate chips bring antioxidants, and the use of both granulated and brown sugar helps create a complex flavor profile without overly processed ingredients. While these are definitely a treat, they can fit into a balanced diet when enjoyed in moderation.
For those watching dietary needs, the recipe can be adapted for gluten-free or dairy-free diets as mentioned earlier, making it accessible for various preferences without losing that bakery-style charm.
Conclusion
So, there you have it—the perfect classic chocolate chip cookies with bakery-style texture that come together quickly, use everyday ingredients, and taste like you spent hours on them. I love this recipe because it’s reliable, comforting, and adaptable. Whether you’re a seasoned baker or just looking for a quick sweet fix, these cookies hit all the right notes.
Feel free to play around with the variations or even add your own spin. Baking is as much about experimenting as it is about tradition, right? If you try this recipe, I’d love to hear how it goes for you—drop a comment below or share your tweaks. Happy baking, and may your kitchen always smell of warm cookies!
FAQs About Perfect Classic Chocolate Chip Cookies
Can I use melted butter instead of softened butter?
It’s best to use softened butter for this recipe. Melted butter can make the dough spread too much and create thinner, crispier cookies rather than that chewy bakery texture.
Why should I chill the cookie dough?
Chilling the dough helps control spreading during baking and allows the flavors to develop more fully, resulting in a chewier, more flavorful cookie.
Can I substitute the chocolate chips with other mix-ins?
Absolutely! Chopped nuts, white chocolate chips, or even dried fruit can be great additions or swaps depending on your preference.
How do I store leftover cookies to keep them fresh?
Store cookies in an airtight container at room temperature for up to 4 days. For longer storage, freeze them in a sealed container or bag for up to 3 months.
What’s the secret to getting soft centers and crispy edges?
The key is baking just until the edges are set and golden while the centers still look slightly underbaked. They’ll firm up as they cool, giving that perfect contrast in texture.
Pin This Recipe!
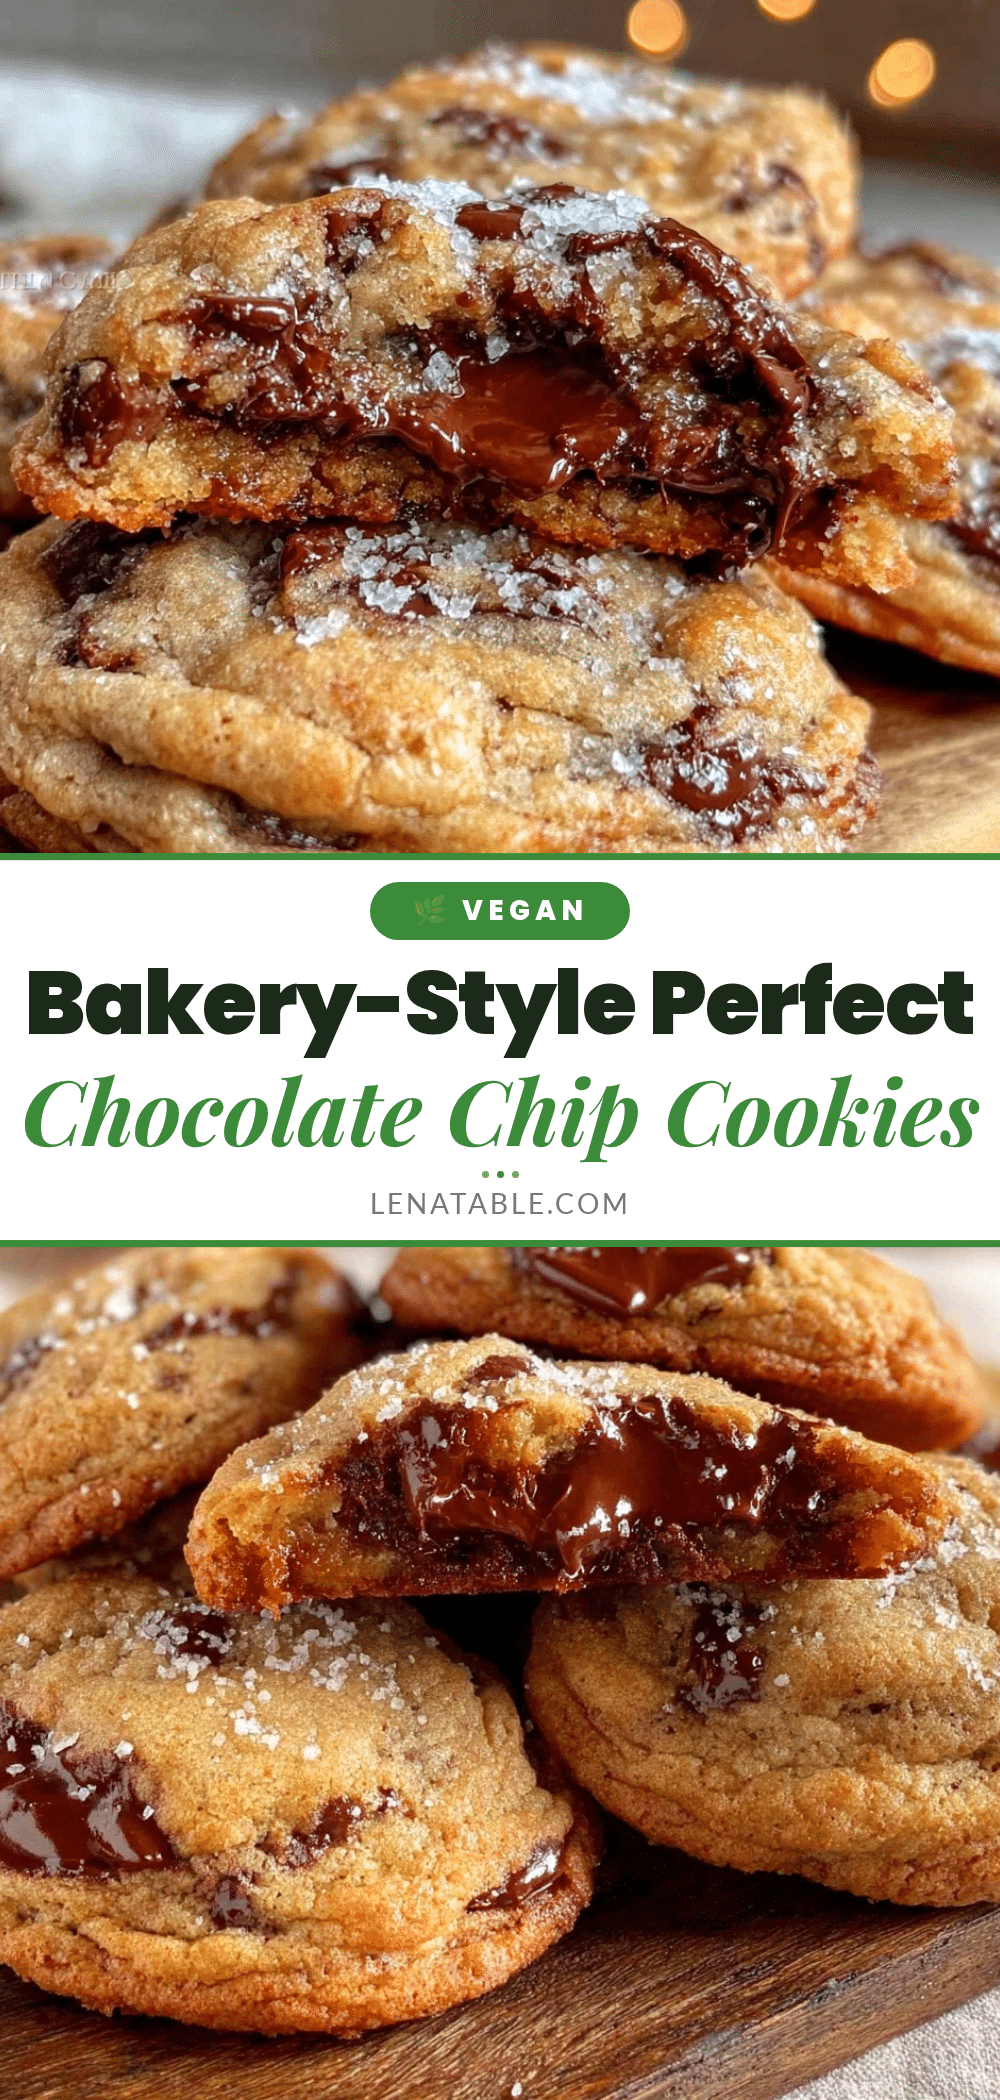
Perfect Classic Chocolate Chip Cookies Recipe Easy Bakery-Style Texture

This recipe delivers classic chocolate chip cookies with a perfect bakery-style texture—crispy edges and chewy centers—using simple pantry ingredients and a quick method.
- Prep Time: 10 minutes
- Cook Time: 12 minutes
- Total Time: 42 minutes
- Yield: 24 cookies 1x
- Category: Dessert
- Cuisine: American
Ingredients
- 1 cup (227g) unsalted butter, softened
- 3/4 cup (150g) granulated sugar
- 3/4 cup (165g) packed light brown sugar
- 2 large eggs, room temperature
- 2 teaspoons pure vanilla extract
- 2 1/4 cups (280g) all-purpose flour
- 1 teaspoon baking soda
- 1 teaspoon salt
- 2 cups (340g) semi-sweet chocolate chips or chunks
Instructions
- Preheat your oven to 350°F (175°C). Line two baking sheets with parchment paper or silicone mats to prevent sticking.
- In a large bowl, beat 1 cup softened unsalted butter, 3/4 cup granulated sugar, and 3/4 cup packed light brown sugar together until light and fluffy, about 3-4 minutes with an electric mixer at medium speed.
- Add 2 large eggs one at a time, beating well after each addition. Stir in 2 teaspoons pure vanilla extract.
- In a separate bowl, whisk together 2 1/4 cups all-purpose flour, 1 teaspoon baking soda, and 1 teaspoon salt.
- Gradually add the dry ingredients to the wet mixture in three parts, mixing on low speed just until combined. Do not overmix.
- Fold in 2 cups semi-sweet chocolate chips or chunks by hand with a spatula.
- Cover the dough and refrigerate for at least 30 minutes to chill.
- Using a medium cookie scoop (about 1.5 tablespoons or 25g), drop dough balls onto the prepared baking sheets, spacing them about 2 inches apart.
- Bake for 10-12 minutes until edges are golden brown but centers still look slightly soft.
- Let cookies rest on the baking sheet for 5 minutes before transferring to a wire rack to cool completely.
Notes
Chilling the dough for at least 30 minutes is essential for the perfect bakery-style texture. Rotate baking sheets halfway through baking if your oven runs hot or uneven. Do not overmix the dough to avoid tough cookies. Use softened butter, not melted, for best texture.
Nutrition
- Serving Size: 1 cookie
- Calories: 180
- Sugar: 15
- Fat: 9
- Carbohydrates: 24
- Protein: 2
Keywords: chocolate chip cookies, classic cookies, bakery-style cookies, easy cookie recipe, chewy cookies, crispy edges, homemade cookies


