Love this? Save it for later!
Share the inspiration with your friends
“I wasn’t planning to bake anything that day,” I admit. It was a random Thursday afternoon, and the sky looked like it might burst into rain any minute. I was rummaging through my pantry when I spotted a lonely box of cake mix I’d forgotten about. You know that feeling when you suddenly get hit with a craving for something sweet, but also a little special? That’s exactly what happened. I thought, why not try making a red velvet cake? But not just any red velvet cake—something with a fun twist that would catch the eye and taste amazing.
So, I started playing around, trying to create the perfect red velvet flag cake with cream cheese frosting. Honestly, it was almost an accident. I mixed the batter a little too quickly, and the kitchen quickly turned into a bit of a mess (flour everywhere, of course). But the real magic happened when I layered it all together and decorated it to look like a flag—bold, vibrant, and surprisingly easy to pull off.
Maybe you’ve been there—wanting to wow a crowd but not having hours to spend in the kitchen. This recipe stuck with me because it’s that rare combo of stunning and simple. Plus, the cream cheese frosting is silky smooth, tangy, and just the right balance for the cake’s richness. I’ll be honest: I’ve made this cake for last-minute celebrations, potlucks, and even just when I want to impress myself. And every single time, it disappears fast. Let me tell you, once you try this, you’ll keep coming back for more.
Why You’ll Love This Recipe
This perfect red velvet flag cake with cream cheese frosting is the kind of dessert that makes you want to bake again and again. After testing several variations, this version stood out for a few reasons:
- Quick & Easy: Comes together in under 90 minutes, perfect for when you want something special but don’t have all day.
- Simple Ingredients: Nothing fancy or hard to find—just classic pantry staples and a few fresh ingredients.
- Perfect for Celebrations: Whether it’s a Fourth of July BBQ, a birthday, or a casual get-together, this flag cake steals the spotlight.
- Crowd-Pleaser: The rich red velvet paired with tangy cream cheese frosting always gets rave reviews from both kids and adults.
- Unbelievably Delicious: The moist, tender crumb and smooth, luscious frosting create a perfect balance of flavors and textures.
What sets this recipe apart is the layering technique that creates a striking flag design inside the cake. It’s not just a typical red velvet cake with frosting slapped on top—this one has personality. Plus, the frosting is whipped just right to be creamy without being too sweet, thanks to a little secret ingredient I’ll share later.
If you’re someone who loves desserts that look as good as they taste (and honestly, who doesn’t?), this cake will quickly become your go-to. It’s like a slice of celebration on a plate, every time.
What Ingredients You Will Need
This recipe uses simple, wholesome ingredients to deliver bold flavor and a satisfying texture without fuss. Most of these are pantry staples, so you might already have everything on hand.
- For the Cake Batter:
- All-purpose flour – 2 ½ cups (300 g)
- Sugar – 1 ½ cups (300 g), granulated
- Unsweetened cocoa powder – 2 tablespoons (15 g) (I prefer Ghirardelli for a deep chocolate flavor)
- Baking soda – 1 teaspoon
- Salt – ½ teaspoon
- Buttermilk – 1 cup (240 ml), room temperature (or homemade: milk + vinegar)
- Vegetable oil – 1 cup (240 ml)
- Large eggs – 2, room temperature
- Red food coloring – 2 tablespoons (I use gel-based food coloring for vibrant color without thinning batter)
- Vanilla extract – 1 teaspoon
- White vinegar – 1 teaspoon (helps the cake rise and keeps it moist)
- For the Cream Cheese Frosting:
- Cream cheese – 8 oz (225 g), softened (full fat for best texture)
- Unsalted butter – ½ cup (115 g), softened
- Powdered sugar – 4 cups (480 g), sifted
- Vanilla extract – 1 teaspoon
- Pinch of salt (balances the sweetness)
- Lemon juice – 1 teaspoon (optional but adds brightness)
Substitution tips: Use almond flour for a gluten-free version, but note the texture will be denser. Swap dairy cream cheese with a plant-based alternative if needed. For a lower sugar option, reduce powdered sugar but the frosting will be less firm.
Equipment Needed
- Two 9-inch (23 cm) round cake pans – non-stick or well-greased works best
- Mixing bowls – at least two, medium and large
- Electric mixer or stand mixer – for smooth batter and creamy frosting
- Rubber spatula – for folding ingredients
- Measuring cups and spoons – precise measuring is key
- Cooling racks – to cool cakes evenly
- Offset spatula or butter knife – for frosting the cake smoothly
- Toothpicks or skewer – to test cake doneness
If you don’t have round pans, square ones can work, but the flag design might need some creative tweaking. I’ve used a hand mixer before and it’s fine, though a stand mixer makes the frosting especially fluffy. Keep your tools clean and dry for best results—grease buildup can affect frosting texture.
Preparation Method
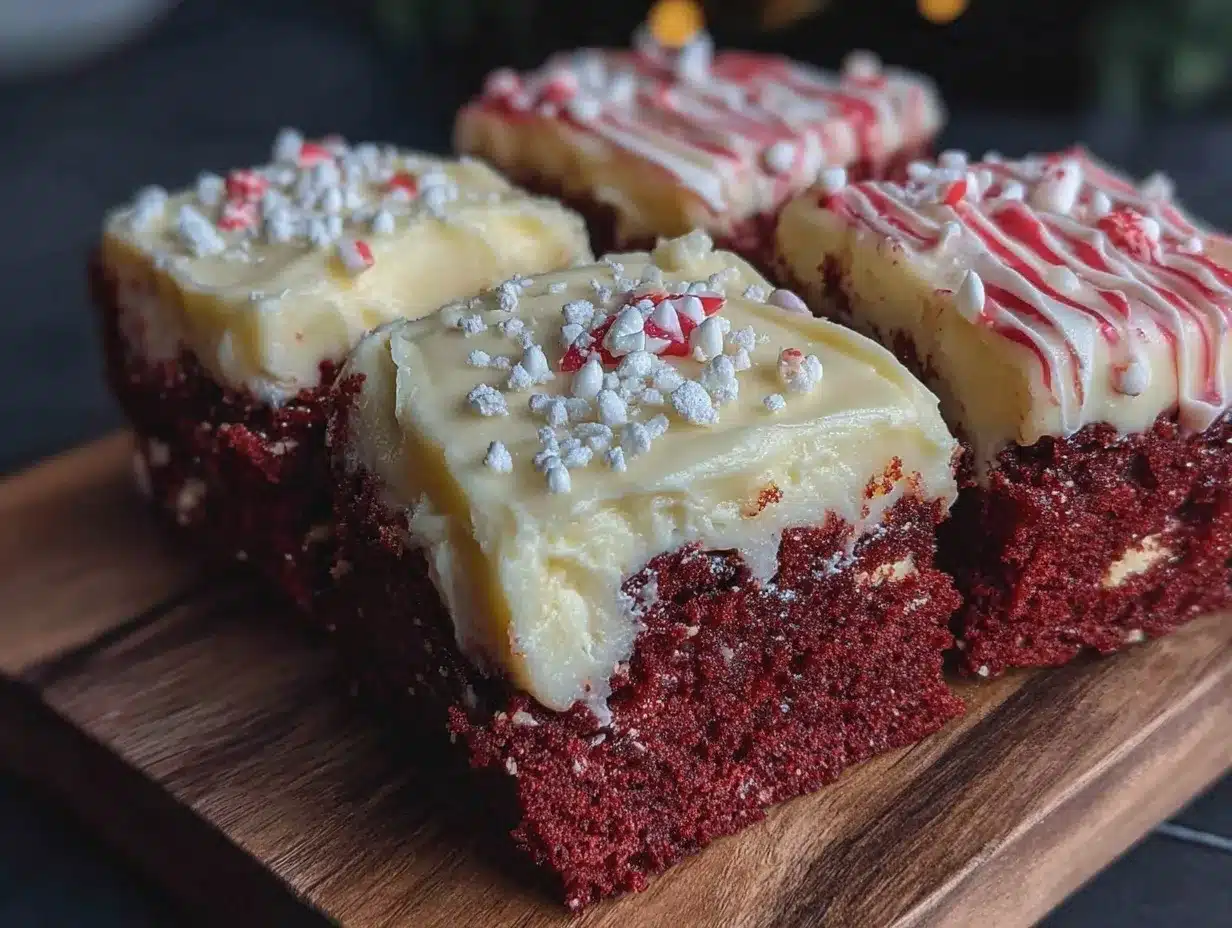
- Preheat and Prep: Preheat your oven to 350°F (175°C). Grease two 9-inch round cake pans, and line the bottoms with parchment paper. This helps the cakes release easily after baking. (Time: 10 minutes)
- Mix Dry Ingredients: In a large bowl, sift together the flour, cocoa powder, baking soda, and salt. Sifting prevents lumps and ensures even distribution. Set aside. (Time: 5 minutes)
- Mix Wet Ingredients: In a separate bowl, whisk together the sugar and oil until smooth. Add the eggs one at a time, beating well after each addition. Then mix in the buttermilk, vanilla, red food coloring, and vinegar. The batter will be bright and vivid. (Time: 5–7 minutes)
- Combine and Fold: Gradually add the dry ingredients to the wet mixture, folding gently with a spatula. Avoid overmixing—stop when just combined to keep the cake tender. The batter should be smooth and thick. (Time: 3 minutes)
- Divide and Bake: Pour half the batter into each prepared pan. Tap the pans gently on the counter to release air bubbles. Bake for 30–35 minutes, or until a toothpick inserted in the center comes out clean. The cakes will spring back lightly when touched. (Time: 30–35 minutes)
- Cool Completely: Let cakes cool in pans for 10 minutes, then transfer to wire racks to cool fully. This prevents the frosting from melting later. (Time: 1 hour)
- Prepare the Cream Cheese Frosting: Beat cream cheese and butter together until smooth. Gradually add powdered sugar, mixing on low speed to avoid a sugar cloud. Add vanilla, salt, and lemon juice, then increase speed to whip until fluffy. (Time: 10 minutes)
- Assemble the Flag Cake: Once cakes are cooled, level the tops with a serrated knife if needed. Cut one cake into strips to create the flag stripes. Arrange them in a baking dish or cake board in the flag pattern. Use frosting between layers and to seal the sides. Chill for 30 minutes to set. Then frost the top and sides evenly. (Time: 30–45 minutes)
- Final Touches: Use leftover frosting to pipe stars or decorations, or keep it simple and elegant. Refrigerate the cake for at least 1 hour before serving to let flavors meld. (Time: 1 hour)
Troubleshooting tip: If your cake seems dry, a thin layer of simple syrup brushed on before frosting helps lock in moisture. If frosting is too soft, chill it briefly before applying.
Cooking Tips & Techniques
- Use room temperature ingredients: Eggs, buttermilk, and cream cheese at room temp blend better and create a smooth batter and frosting.
- Don’t overmix the batter: It’s tempting to stir thoroughly, but overmixing develops gluten and leads to a dense cake.
- Gel food coloring works best: Liquid colors can thin your batter, altering texture and baking times.
- Chill frosting if too soft: If your frosting feels runny, pop it in the fridge for 15 minutes, then whip again before spreading.
- Cut cakes carefully: Use a serrated knife and a steady hand to keep strips even for the flag design.
- Plan your time: Bake and cool cakes early so you’re not rushing assembly. I like to bake the night before and decorate the next day.
- Multitasking: While cakes bake, prep your frosting and clean up to save time.
Honestly, I learned these tips after a few messy attempts. There was one time I forgot to grease the pans properly—let’s just say the cake didn’t want to cooperate! You know that feeling when you’re juggling everything and the timer goes off? Yep, me too.
Variations & Adaptations
- Gluten-Free Version: Swap all-purpose flour with a gluten-free blend. The texture will be slightly different but still delicious.
- Vegan Adaptation: Use flax eggs (1 tablespoon ground flax + 3 tablespoons water per egg) and dairy-free cream cheese and butter alternatives.
- Flavor Twists: Add a teaspoon of espresso powder to the batter for a richer chocolate undertone or swap vanilla extract with almond extract for a subtle nutty hint.
- Seasonal Fruits: Incorporate fresh raspberries between layers for a tart contrast or top with strawberries for a summer vibe.
One of my favorite tweaks was swapping the white cream cheese frosting for a whipped coconut cream version when I was out of cream cheese. It was lighter and equally tasty, especially for a summer picnic.
Serving & Storage Suggestions
This cake is best served chilled or at cool room temperature. The cream cheese frosting shines when it’s a little firm—not too cold that the cake tastes dense, but not warm enough to melt the frosting.
Pair this red velvet flag cake with a simple cup of black coffee or a glass of cold milk to balance the sweetness. It also goes surprisingly well with sparkling rosé for festive occasions.
Store leftovers covered in the refrigerator for up to 4 days. The flavors actually deepen with time, so leftovers can be even better the next day. For longer storage, you can freeze slices wrapped tightly in plastic wrap and foil for up to 2 months. Thaw overnight in the fridge.
When reheating, avoid microwaving directly; instead, let slices warm to room temperature naturally or briefly sit out for 20 minutes to soften the frosting.
Nutritional Information & Benefits
Estimated per serving (1/12th of cake): approximately 350 calories, 18g fat, 45g carbohydrates, 3g protein.
This recipe includes buttermilk, which adds calcium and probiotics. Cream cheese provides protein and calcium as well, though this dessert is still an indulgence. You can adjust sugar levels slightly for a lighter option.
For those watching gluten, the gluten-free variation makes this cake accessible without sacrificing much flavor. The moderate fat content comes mainly from cream cheese and butter, contributing to that rich mouthfeel that makes red velvet so irresistible.
Personally, I find this cake perfect as a treat to share rather than an everyday indulgence—something to look forward to and enjoy mindfully.
Conclusion
So, if you’re chasing a showstopper that’s not complicated but will impress everyone at your next party, this perfect red velvet flag cake with cream cheese frosting is your answer. It’s got the eye-catching design, rich flavor, and creamy frosting that make every bite memorable.
Feel free to make it your own by playing with colors, flavors, or toppings. I love this recipe because it brings a bit of celebration to ordinary days and makes special occasions even sweeter.
Give it a try, and drop a comment below sharing your results or any fun twists you added. I’d love to hear how your flag cake turns out—because honestly, baking is better when it’s shared!
Happy baking and celebrating!
FAQs
Can I make this red velvet flag cake ahead of time?
Yes! You can bake the cakes a day or two ahead and store them wrapped in plastic wrap in the fridge. Assemble and frost the day you plan to serve for the freshest look and taste.
What can I use if I don’t have buttermilk?
Simply mix 1 cup (240 ml) of milk with 1 tablespoon vinegar or lemon juice. Let it sit for 5 minutes before using. This homemade buttermilk substitute works well in this recipe.
How do I get the vibrant red color without food coloring?
Traditional red velvet relies on food coloring, but you can use natural alternatives like beet juice. Keep in mind, natural colors may give a slightly different shade and can affect the batter’s moisture slightly.
Can I use a box mix instead of making the batter from scratch?
You can, but scratch recipes like this one give better texture and flavor. If you do use a mix, add a bit of cocoa powder and vinegar to mimic the traditional red velvet taste.
How do I store leftover cream cheese frosting?
Keep it in an airtight container in the fridge for up to one week. Whip it again briefly before using if it firms up too much.
Pin This Recipe!
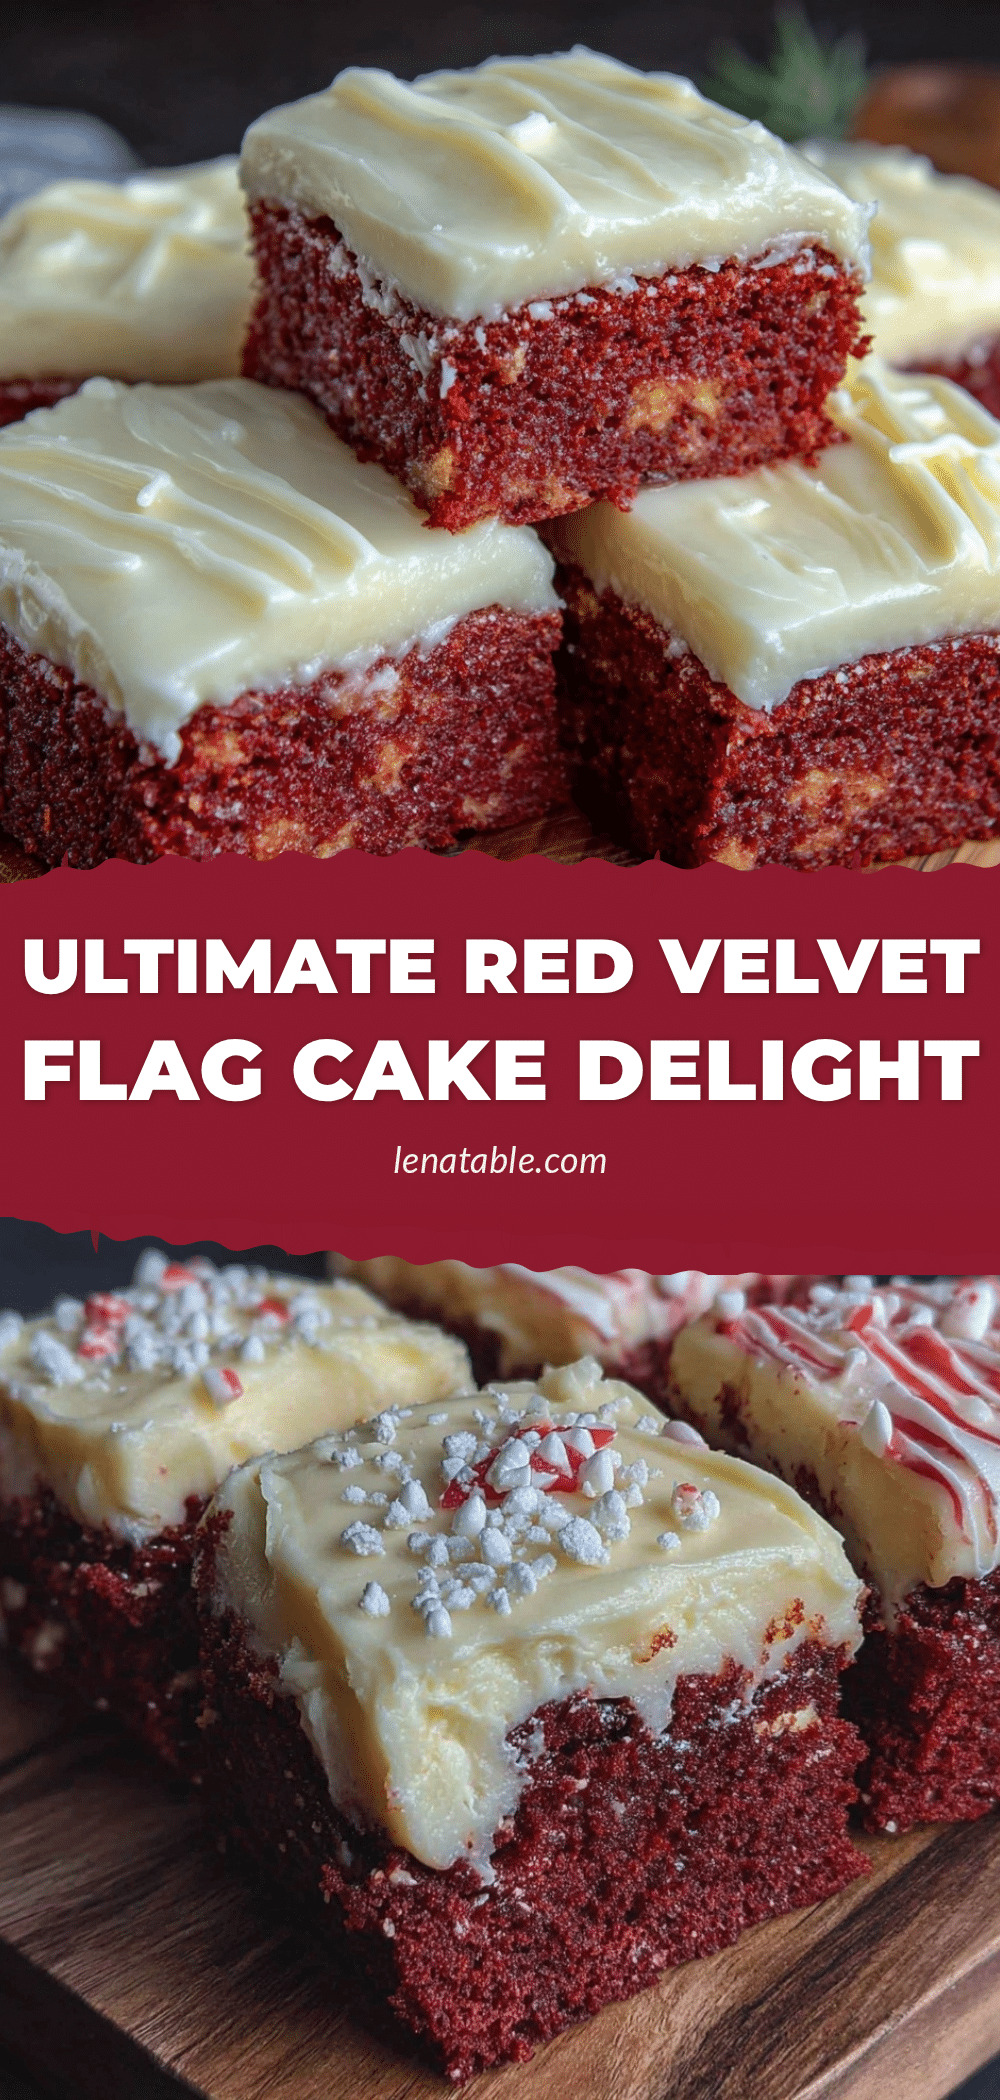
Perfect Red Velvet Flag Cake Recipe Easy Homemade Cream Cheese Frosting
A stunning and simple red velvet flag cake with silky smooth cream cheese frosting, perfect for celebrations and quick to make in under 90 minutes.
- Prep Time: 25 minutes
- Cook Time: 35 minutes
- Total Time: 1 hour 50 minutes
- Yield: 12 servings
- Category: Dessert
- Cuisine: American
Ingredients
- All-purpose flour – 2 ½ cups (300 g)
- Sugar – 1 ½ cups (300 g), granulated
- Unsweetened cocoa powder – 2 tablespoons (15 g)
- Baking soda – 1 teaspoon
- Salt – ½ teaspoon
- Buttermilk – 1 cup (240 ml), room temperature (or homemade: milk + vinegar)
- Vegetable oil – 1 cup (240 ml)
- Large eggs – 2, room temperature
- Red food coloring – 2 tablespoons (gel-based preferred)
- Vanilla extract – 1 teaspoon
- White vinegar – 1 teaspoon
- Cream cheese – 8 oz (225 g), softened (full fat)
- Unsalted butter – ½ cup (115 g), softened
- Powdered sugar – 4 cups (480 g), sifted
- Vanilla extract – 1 teaspoon
- Pinch of salt
- Lemon juice – 1 teaspoon (optional)
Instructions
- Preheat oven to 350°F (175°C). Grease two 9-inch round cake pans and line bottoms with parchment paper.
- In a large bowl, sift together flour, cocoa powder, baking soda, and salt.
- In a separate bowl, whisk sugar and oil until smooth. Add eggs one at a time, beating well after each addition. Mix in buttermilk, vanilla, red food coloring, and vinegar.
- Gradually fold dry ingredients into wet mixture with a spatula until just combined.
- Divide batter evenly between prepared pans. Tap pans gently to release air bubbles.
- Bake for 30–35 minutes or until a toothpick inserted in the center comes out clean.
- Cool cakes in pans for 10 minutes, then transfer to wire racks to cool completely.
- Beat cream cheese and butter until smooth. Gradually add powdered sugar on low speed. Add vanilla, salt, and lemon juice, then whip until fluffy.
- Level cake tops if needed. Cut one cake into strips to create flag stripes. Arrange strips in flag pattern using frosting between layers and to seal sides.
- Chill assembled cake for 30 minutes to set. Frost top and sides evenly.
- Decorate with leftover frosting as desired. Refrigerate cake for at least 1 hour before serving.
Notes
Use room temperature ingredients for best results. Avoid overmixing batter to keep cake tender. Gel food coloring provides vibrant color without thinning batter. Chill frosting if too soft before applying. Brush cake with simple syrup if dry. Cut cake strips carefully with serrated knife for flag design. Bake and cool cakes ahead to save time.
Nutrition
- Serving Size: 1 slice (1/12th of c
- Calories: 350
- Sugar: 30
- Sodium: 250
- Fat: 18
- Saturated Fat: 7
- Carbohydrates: 45
- Fiber: 2
- Protein: 3
Keywords: red velvet cake, flag cake, cream cheese frosting, celebration cake, easy red velvet, homemade frosting, layered cake


