Love this? Save it for later!
Share the inspiration with your friends
“The power went out halfway through decorating the backyard last Fourth of July,” I remember telling my friends, laughing as I recounted that chaotic afternoon. Honestly, I thought the whole celebration was going to flop. But then, in the dim light of my phone’s flashlight, I started whipping up what would become my signature Perfect Red White and Blue Pavlova Wreath for Festive Celebrations. It was supposed to be a simple dessert, but that night, with the stars as our only spotlight, it turned into a memorable centerpiece that stole the show.
You know that feeling when a recipe almost doesn’t happen, and yet somehow it ends up being your best creation? That’s exactly how this pavlova wreath came to be—unexpected, a little messy, but utterly delicious. I didn’t have all the ingredients lined up perfectly, and I admit I forgot to preheat the oven, which made me panic a bit. But the crackling meringue, the vibrant red strawberries, the fresh blueberries, and the whipped cream all came together like a celebration on a plate.
Maybe you’ve been there—scrambling last minute, trying to put together something festive that looks as good as it tastes. This pavlova wreath is that kind of recipe. Light, airy meringue with a crisp shell and soft marshmallow-like inside, topped with fresh berries in patriotic colors, it’s both eye-catching and crowd-pleasing. I keep making it every year now, not just for July 4th but for any occasion that calls for a little sparkle on the dessert table.
Why You’ll Love This Recipe
- Quick & Easy: Ready in about 1 hour and 15 minutes, perfect for last-minute plans or relaxed celebrations.
- Simple Ingredients: You probably already have egg whites, sugar, and fresh berries sitting in your fridge—it’s fuss-free!
- Perfect for Festive Occasions: Whether it’s Independence Day, Memorial Day, or any summer gathering, this wreath brings instant patriotic charm.
- Crowd-Pleaser: The combination of crispy meringue and juicy berries always gets compliments from kids and adults alike.
- Unbelievably Delicious: The contrast of textures—crisp outside, soft inside, creamy and fruity topping—is truly next-level comfort food.
This recipe is different because it’s not just a pavlova—it’s a wreath! That little twist makes it festive and fun. Plus, I’ve tested it over several summers, tweaking the sugar ratios and baking times until the meringue is perfectly crisp without a hint of chewiness. And the berry placement? I like to arrange them artfully so it looks like a real celebratory wreath, not just a pile of fruit.
Honestly, this Perfect Red White and Blue Pavlova Wreath isn’t just dessert; it’s a conversation starter, a piece of edible joy that makes you close your eyes at the first bite. If you want a showstopper that’s both easy and impressive, this is your recipe.
What Ingredients You Will Need
This recipe uses simple, wholesome ingredients to deliver bold flavor and satisfying texture without the fuss. Most are pantry staples or fresh produce you can grab at any grocery store. Here’s everything you’ll want on hand:
- Egg Whites – 4 large, at room temperature (room temperature helps achieve better volume)
- Granulated Sugar – 1 cup (200g), I recommend C&H for consistent sweetness and texture
- White Vinegar – 1 teaspoon (helps stabilize the meringue)
- Cornstarch – 1 tablespoon (adds that soft marshmallow center)
- Vanilla Extract – 1 teaspoon (pure vanilla extract suits this best)
- Heavy Whipping Cream – 1 cup (240ml), chilled, for the topping
- Powdered Sugar – 2 tablespoons, for sweetening the whipped cream
- Strawberries – 1 cup, fresh, hulled and sliced (adds vibrant red color)
- Blueberries – 1 cup, fresh (provides the perfect blue contrast)
- Raspberries – ½ cup, optional for extra red variety
If you want a dairy-free option, swap the heavy cream with coconut cream (chilled and whipped). For a gluten-free version, this recipe is naturally safe, but always check your cornstarch brand to be sure. When selecting berries, go for firm, ripe but not mushy fruit. In summer, local berries work wonderfully, but frozen can be a standby if fresh aren’t available.
Equipment Needed
- Mixing Bowls: One large for egg whites and another for whipping cream. Glass or metal bowls work best because plastic can hold grease that hinders meringue formation.
- Electric Mixer: Stand mixer or hand mixer with beaters to whip the egg whites to stiff peaks and the cream to soft peaks. I’ve tried both; stand mixers free your hands but hand mixers do the job just fine.
- Baking Sheet: A flat, rimmed sheet for the pavlova base. Line it with parchment paper to prevent sticking.
- Piping Bag or Spoon: To shape the wreath. Piping creates a pretty, textured look, but a spoon works well if you’re less fussy.
- Spatula: For folding in cornstarch and vanilla smoothly without deflating the meringue.
- Oven Thermometer: Optional but handy. Meringues bake best at a low, steady temperature—mine’s saved me from a few overbakes.
Preparation Method
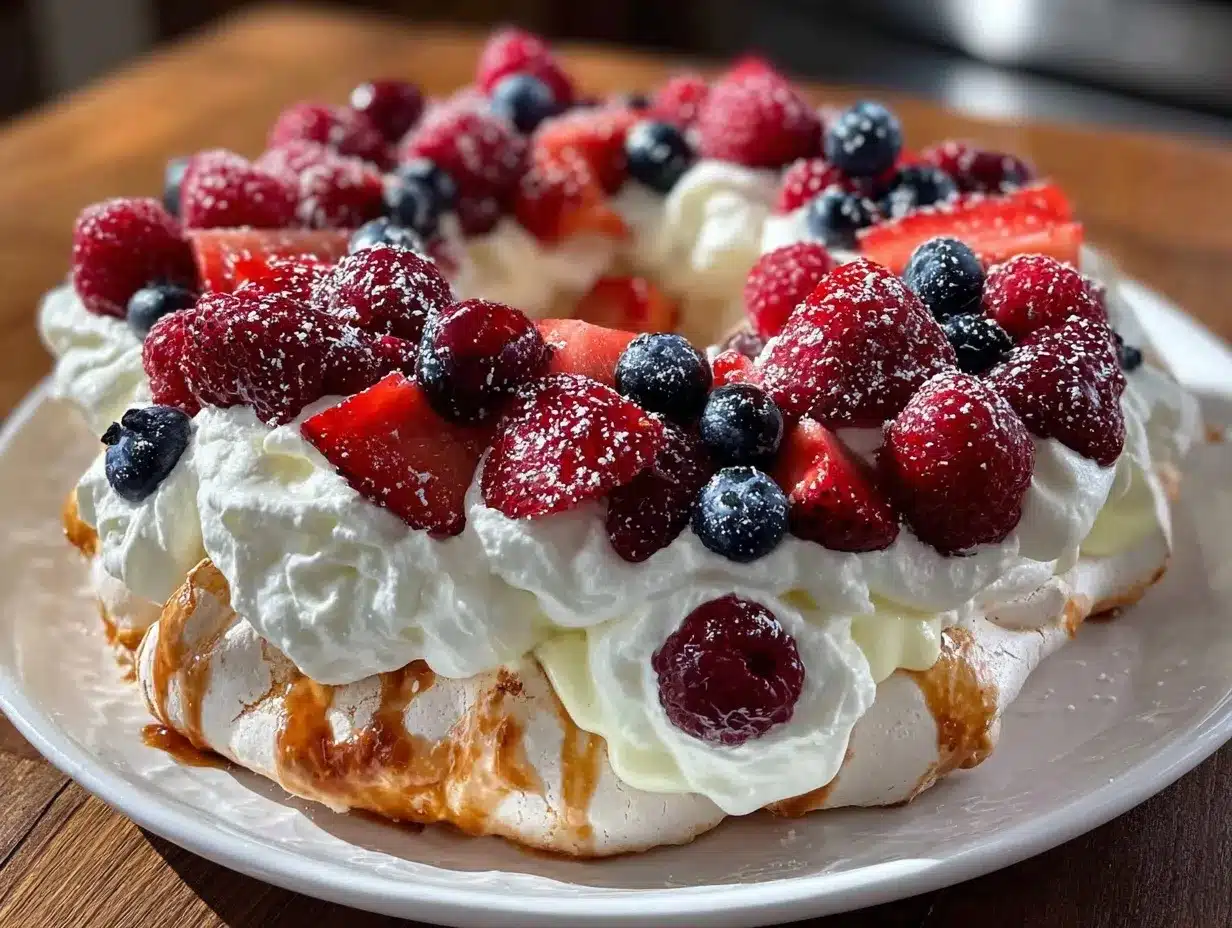
- Preheat your oven to 250°F (120°C). Line a baking sheet with parchment paper. If you want to get fancy, draw a 9-inch (23 cm) circle on the paper as a guide for your wreath shape, then flip the paper over so the ink doesn’t touch the meringue.
- Beat the egg whites: In a clean, dry bowl, start whipping 4 large egg whites on medium speed until soft peaks form (about 2-3 minutes). This means when you lift the beaters, the peaks gently flop over.
- Gradually add sugar: Increase the mixer speed to high and add 1 cup (200g) of granulated sugar one tablespoon at a time, beating well between additions. Keep going until the meringue is glossy and stiff peaks form (about 5-7 minutes). To test, rub a little between your fingers; it should feel smooth, not gritty.
- Fold in stabilizers: Gently fold in 1 teaspoon white vinegar, 1 tablespoon cornstarch, and 1 teaspoon vanilla extract using a spatula. Be careful not to deflate the mixture.
- Shape the wreath: Spoon or pipe the meringue onto the parchment in a ring shape, about 9 inches in diameter. Build the edges slightly higher than the center to create a shallow well for the toppings.
- Bake low and slow: Place in the oven and bake for 1 hour and 15 minutes. The pavlova should look dry and crisp on the outside but still soft inside. Turn off oven and leave the door slightly open, letting it cool completely inside for 1-2 hours — this prevents cracks and keeps it tender inside.
- Prepare the whipped cream: While the pavlova cools, whip 1 cup (240ml) heavy cream with 2 tablespoons powdered sugar until soft peaks form. Keep chilled until ready to assemble.
- Assemble the wreath: Place the cooled pavlova on your serving plate. Spread or pipe the whipped cream inside the center well, then decorate generously with sliced strawberries, blueberries, and optional raspberries arranged in a festive pattern.
- Serve immediately: Pavlova is best enjoyed the day it’s made. The crisp exterior will soften over time as the cream and fruit release moisture.
Cooking Tips & Techniques
Making the perfect pavlova wreath might seem tricky, but a few tricks can save you from common pitfalls. First, make sure your mixing bowl and beaters are completely grease-free—any fat can prevent the egg whites from whipping properly. I once had a batch fail because I used a plastic bowl that looked clean but wasn’t.
Whip your egg whites to stiff peaks but don’t overbeat or they’ll become dry and grainy. Adding sugar slowly is key; if you dump it all in at once, the meringue won’t be glossy or stable. And yes, the vinegar and cornstarch combo might sound odd, but it’s what keeps the inside soft and marshmallowy while the outside crisps up nicely.
Baking at a low temperature is essential to avoid browning and cracking. I recommend an oven thermometer because not all ovens run true to their set temps. Leaving the pavlova to cool in the oven with the door slightly ajar is a game changer—it prevents sudden temperature changes that cause cracks.
When whipping cream, keep everything cold and stop whipping when soft peaks form; overwhipping turns it grainy and butter-like. For assembly, don’t pile fruit too high or it might weigh down the delicate meringue shell.
Variations & Adaptations
- Dairy-Free Version: Use chilled coconut cream instead of heavy cream for a luscious, non-dairy topping. It whips up surprisingly well and pairs beautifully with berries.
- Seasonal Fruit Swap: In winter, swap fresh berries for pomegranate seeds and mandarins for a festive twist. The bright colors still pop, and the tartness balances the sweet meringue.
- Chocolate Drizzle: For a richer version, drizzle melted dark chocolate over the whipped cream before adding berries. It adds a sophisticated touch without overpowering the classic flavors.
- Mini Pavlova Wreaths: Scale down the recipe to make individual pavlova wreaths for party favors or elegant plating.
- Personal Favorite Variation: One summer, I added a few mint leaves and a sprinkle of lemon zest on top. It added a refreshing brightness that my guests loved.
Serving & Storage Suggestions
Serve your Perfect Red White and Blue Pavlova Wreath chilled or at room temperature for maximum flavor. It pairs wonderfully with a crisp sparkling rosé or a cold lemonade for the kids. The visual impact alone makes it a centerpiece, so place it where everyone can admire before digging in.
If you have leftovers (rare, but possible!), store the pavlova base separately from the cream and fruit in airtight containers. The meringue keeps well at room temperature for up to 2 days, but once topped, it’s best eaten within 4-6 hours to avoid sogginess.
To reheat the pavlova base, pop it in a low oven (about 200°F/95°C) for 5-10 minutes to crisp it up again, but avoid doing this once it’s topped. Flavors tend to develop and meld beautifully if you prepare the base a day ahead and add toppings fresh on serving day.
Nutritional Information & Benefits
Each slice of this pavlova wreath offers a light dessert option with approximately 250 calories, 6g fat, 40g carbohydrates, and 3g protein. The fresh berries provide antioxidants, vitamins C and K, and dietary fiber, making this treat a bit more nutritious than your average dessert.
Egg whites are naturally low in fat and a good source of protein, while the whipped cream adds richness but also calories, so moderation is key. This recipe is gluten-free and can easily be adapted for dairy-free diets as mentioned.
From a wellness standpoint, I appreciate how this dessert feels indulgent but isn’t overly heavy or dense. It satisfies sweet cravings with a fresh, airy touch and real fruit benefits.
Conclusion
So, why try this Perfect Red White and Blue Pavlova Wreath for Festive Celebrations? Because it’s the kind of dessert that looks stunning, tastes spectacular, and doesn’t require a culinary degree to pull off. Whether you’re marking a holiday or just want a show-stopping centerpiece, this wreath delivers every time.
Feel free to customize the berries or try my chocolate drizzle trick to make it your own. I love how versatile it is—sometimes, I even sneak a little extra whipped cream when no one’s looking!
Give it a go, and let me know how your pavlova wreath turns out. I’m always curious about your spins on this recipe or any festive celebrations you’ve brightened with it. Happy baking, and here’s to delicious, joyful moments!
FAQs
How long can I store the pavlova wreath before serving?
The pavlova base can be stored at room temperature for up to 2 days if kept in an airtight container. Once topped with cream and berries, it’s best served within 4-6 hours to keep the meringue crisp.
Can I make this pavlova wreath gluten-free?
Absolutely! This recipe is naturally gluten-free as it contains no flour. Just double-check your cornstarch to ensure it’s gluten-free certified.
What’s the best way to achieve stiff peaks when whipping egg whites?
Use a clean, grease-free bowl and beaters. Start at medium speed until soft peaks form, then gradually add sugar while increasing to high speed until stiff, glossy peaks develop.
Can I prepare the pavlova base ahead of time?
Yes! Bake and cool the base a day before your event. Store it in an airtight container and add the whipped cream and berries just before serving for best texture.
What can I substitute for heavy cream if I’m dairy-free?
Chilled coconut cream works great as a dairy-free alternative. Chill a can overnight, scoop out the solid part, and whip it just like heavy cream.
For a summer twist on your celebrations, this pavlova wreath pairs nicely with dishes like grilled salmon with herb salsa or the light and zesty citrus avocado salad, giving your festive table a well-rounded flavor profile.
Pin This Recipe!
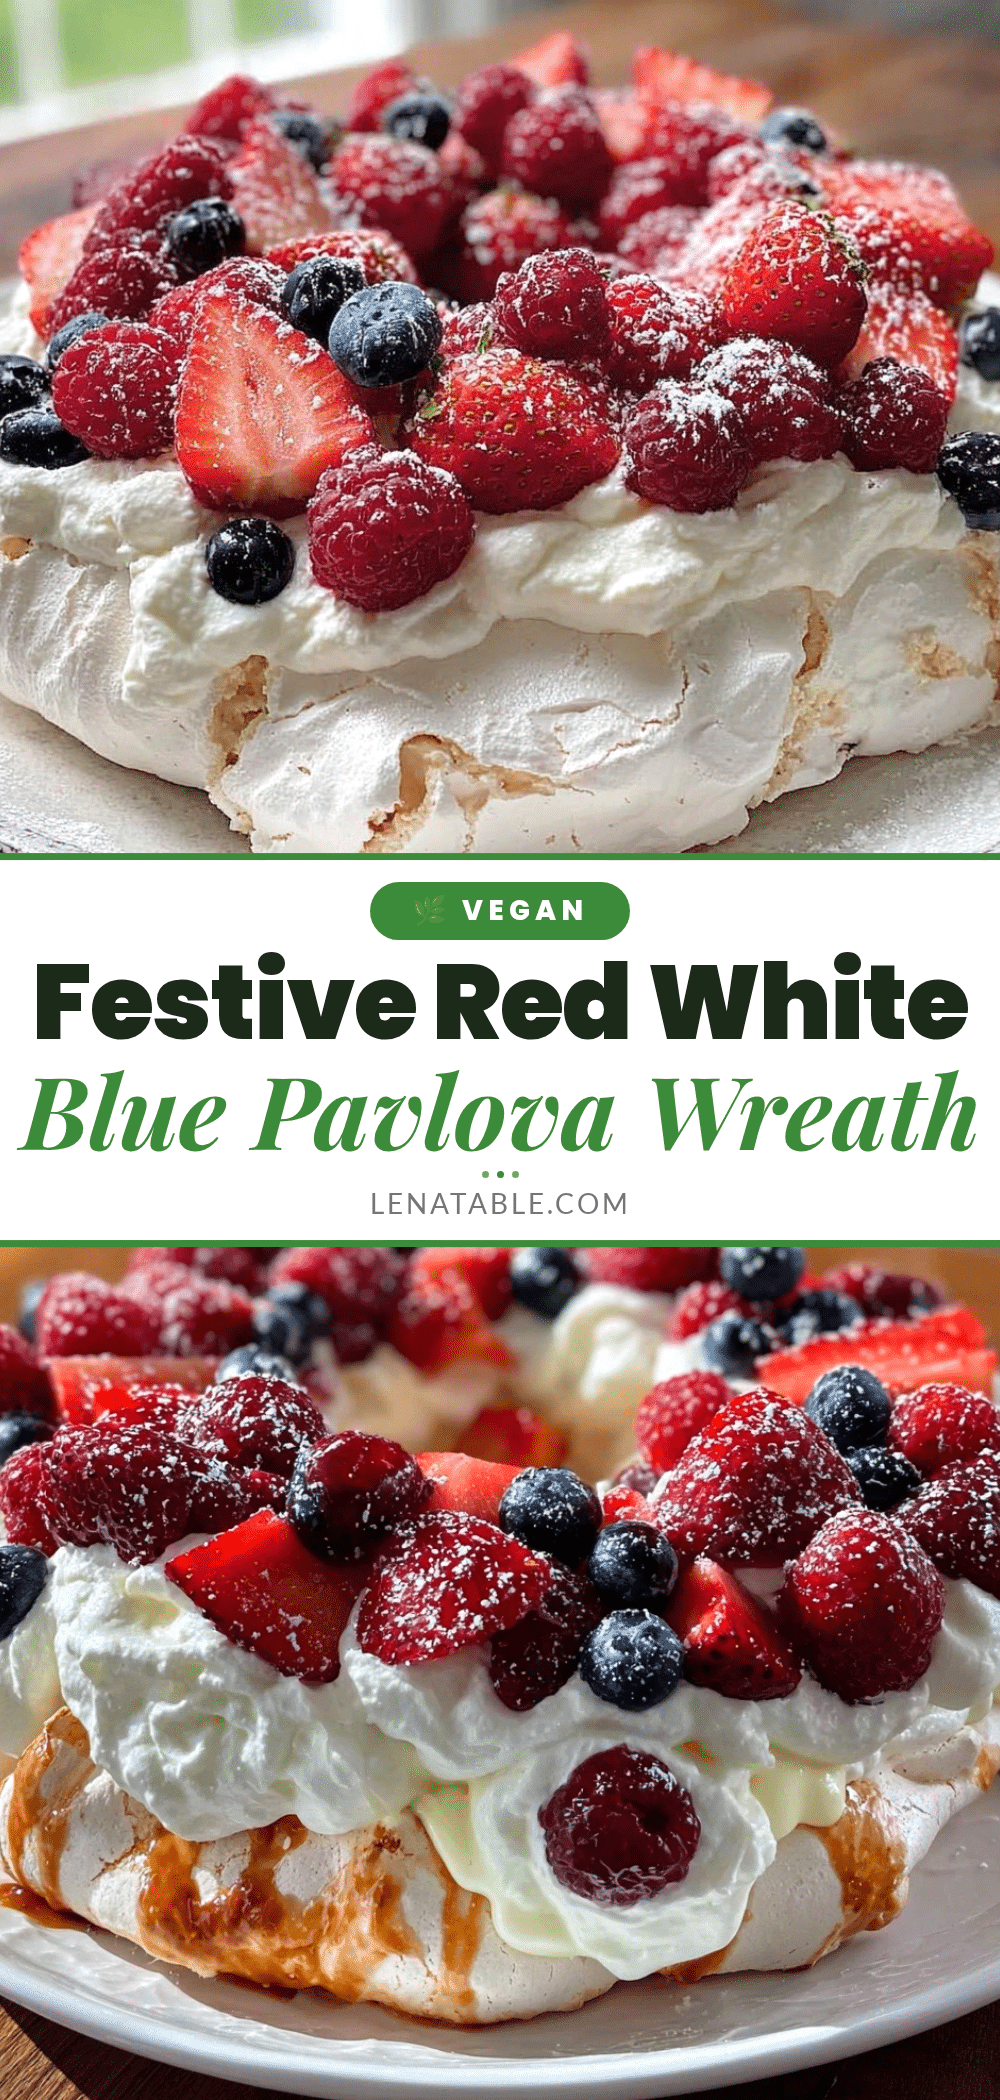
Perfect Red White and Blue Pavlova Wreath
A light and airy pavlova wreath with a crisp shell and soft marshmallow-like inside, topped with fresh strawberries, blueberries, raspberries, and whipped cream. Perfect for festive celebrations like July 4th.
- Prep Time: 15 minutes
- Cook Time: 1 hour 15 minutes
- Total Time: 1 hour 30 minutes to 2 hours 30 minutes (including cooling time)
- Yield: 8 servings 1x
- Category: Dessert
- Cuisine: Australian/New Zealand (Pavlova origin)
Ingredients
- 4 large egg whites, at room temperature
- 1 cup (200g) granulated sugar
- 1 teaspoon white vinegar
- 1 tablespoon cornstarch
- 1 teaspoon vanilla extract
- 1 cup (240ml) heavy whipping cream, chilled
- 2 tablespoons powdered sugar
- 1 cup fresh strawberries, hulled and sliced
- 1 cup fresh blueberries
- ½ cup raspberries (optional)
Instructions
- Preheat your oven to 250°F (120°C). Line a baking sheet with parchment paper. Draw a 9-inch (23 cm) circle on the paper as a guide for your wreath shape, then flip the paper over so the ink doesn’t touch the meringue.
- In a clean, dry bowl, whip 4 large egg whites on medium speed until soft peaks form (about 2-3 minutes).
- Gradually add 1 cup (200g) granulated sugar one tablespoon at a time, increasing mixer speed to high, beating well between additions until glossy and stiff peaks form (about 5-7 minutes).
- Gently fold in 1 teaspoon white vinegar, 1 tablespoon cornstarch, and 1 teaspoon vanilla extract using a spatula without deflating the mixture.
- Spoon or pipe the meringue onto the parchment in a 9-inch diameter ring shape, building edges slightly higher than the center to create a shallow well.
- Bake for 1 hour and 15 minutes until dry and crisp outside but soft inside. Turn off oven and leave door slightly open, letting pavlova cool completely inside for 1-2 hours.
- While pavlova cools, whip 1 cup (240ml) heavy cream with 2 tablespoons powdered sugar until soft peaks form. Keep chilled until assembly.
- Place cooled pavlova on serving plate. Spread or pipe whipped cream inside the center well, then decorate with sliced strawberries, blueberries, and optional raspberries arranged festively.
- Serve immediately for best texture and flavor.
Notes
Use a grease-free bowl and beaters to achieve stiff peaks. Add sugar slowly to ensure glossy, stable meringue. Bake at low temperature to avoid browning and cracking. Cool pavlova in oven with door slightly open to prevent cracks. For dairy-free, substitute heavy cream with chilled whipped coconut cream. Store pavlova base separately from toppings to maintain crispness. Best served the day it is made.
Nutrition
- Serving Size: 1 slice
- Calories: 250
- Fat: 6
- Carbohydrates: 40
- Protein: 3
Keywords: pavlova, pavlova wreath, red white and blue dessert, Fourth of July dessert, festive dessert, meringue wreath, berry pavlova, gluten-free dessert, dairy-free option


