Love this? Save it for later!
Share the inspiration with your friends
My roommate Jen asked why I couldn’t just mash the bananas with a fork instead of dragging out the stand mixer. I started to explain why that wouldn’t work—then stopped. Honestly, I had no good reason. I just assumed you needed the mixer for that perfectly smooth, bakery-style crumb. But she was standing there with a bowl and a fork, looking at me like I was overcomplicating things. So I shrugged and said, “Fine, prove me wrong.”
That Tuesday evening, I watched her mash three overripe bananas with a regular old dinner fork. It took maybe two minutes. She stirred in the melted butter, the sugar, the egg, and the vanilla with nothing but a wooden spoon. No electric beaters, no whisk attachments, no countertop appliance taking up space. When she poured that batter into the loaf pan, I was already mentally preparing my “I told you so.” But then the kitchen started smelling like my grandmother’s house—that warm, caramelized banana scent that makes you close your eyes for a second.
An hour later, I was eating my words along with a slice of the most tender, moist banana bread I’d ever made. Or rather, that she had made while I watched. The texture was perfect—dense but not heavy, with that crackly top that every banana bread lover chases. I had been lugging that stand mixer out of the cabinet for years, and all I needed was a fork and a bowl. Maybe you’ve been there too, convinced you need fancy equipment for something simple. Let me tell you, I learned my lesson that night. This is the only banana bread recipe I’ve used since, and I’m never going back.
Why You’ll Love This Recipe
This classic banana bread is the kind of recipe that makes you wonder why you ever complicated things. I’ve tested it at least a dozen times—with different ripeness levels of bananas, with various fats, even at high altitude for a friend in Colorado. It holds up every single time. Here is why this version stands out from every other banana bread recipe you’ve seen:
- No Mixer Required: You need exactly one bowl, one fork, and one wooden spoon. That is it. Less cleanup means more time actually enjoying your bread.
- Pantry Staples Only: Butter, sugar, eggs, flour, baking soda, salt, and bananas. No buttermilk, no sour cream, no specialty flours. You probably have everything right now.
- Perfect for Hosting: This bread tastes like you spent hours in the kitchen. Slice it up for brunch, set it out with coffee for a book club, or wrap it as a hostess gift. It always impresses.
- Foolproof Texture: The fork-mashing method leaves small banana chunks throughout the batter. Those little pockets of fruit melt as they bake, creating an incredibly moist crumb that even mixers can’t replicate.
- Freezes Beautifully: Bake it a day or two before your gathering. It actually tastes better on day two, and it freezes for up to three months. Stress-free hosting at its finest.
This isn’t just another banana bread recipe you will forget about. It is the one you will text your friends about. The one your family will request for every holiday brunch. The one that makes you look like a hero with zero effort. I mean, honestly, what more could you want from a simple loaf of bread?
What Ingredients You Will Need
This recipe uses simple, wholesome ingredients to deliver that classic banana bread flavor without any fuss. Most of these are pantry staples, so you likely have everything on hand already.
- 3 large ripe bananas, mashed (about 1 ½ cups or 340g) — The riper the better. Look for bananas with plenty of brown spots. They are sweeter and easier to mash. If yours aren’t ripe enough, pop them in a 300°F oven for 15 minutes to speed things up.
- ⅓ cup (75g) unsalted butter, melted — I prefer unsalted so I can control the salt level. You can use salted butter and just reduce the added salt to ¼ teaspoon. Let the butter cool slightly before mixing so it doesn’t scramble the egg.
- ¾ cup (150g) granulated sugar — White sugar gives this bread its light, tender crumb. You can substitute coconut sugar for a deeper flavor, but the texture will be slightly denser.
- 1 large egg, room temperature — A room-temperature egg mixes more evenly into the batter. If you forgot to take it out of the fridge, place it in a bowl of warm water for 5 minutes.
- 1 teaspoon vanilla extract — Pure vanilla extract makes a difference here. Imitation vanilla works in a pinch, but the flavor won’t be as rich.
- 1 ½ cups (190g) all-purpose flour — Spoon and level your flour for the most accurate measurement. Scooping directly from the bag packs in too much flour and makes the bread dry.
- 1 teaspoon baking soda — This is your leavening agent. Make sure it is fresh. Test it by dropping a little into vinegar—if it fizzes vigorously, it is good to go.
- ½ teaspoon salt — Salt balances the sweetness and enhances the banana flavor. Don’t skip it, even if you are using salted butter.
- Optional: ½ cup (65g) chopped walnuts or pecans — I love the crunch they add. Toast them lightly in a dry pan for 3-4 minutes first for even more flavor.
That’s genuinely everything you need. No weird ingredients, no special trips to the store. The beauty of this recipe is its simplicity. I have made it with gluten-free all-purpose flour blends too, and it works beautifully—just add 1 teaspoon of xanthan gum if your blend doesn’t already include it.
Equipment Needed
One of the best things about this recipe is how little equipment it requires. Here is what you will need:
- One large mixing bowl — Any medium-to-large bowl works. I use a classic ceramic mixing bowl I picked up at a thrift store years ago.
- A dinner fork — For mashing the bananas. A potato masher works too, but a fork gives you more control over the texture.
- A wooden spoon or rubber spatula — For mixing the batter. A wooden spoon is my go-to because it feels sturdy and doesn’t flex.
- A 9×5-inch loaf pan — Standard size works perfectly. If you only have an 8×4-inch pan, increase the baking time by 5-10 minutes and check often.
- Parchment paper — Not strictly necessary, but it makes lifting the bread out of the pan so much easier. I leave an overhang on two sides for handles.
- Cooling rack — Lets air circulate around the bread so it cools evenly and doesn’t get soggy on the bottom.
That is genuinely it. No stand mixer, no hand mixer, no food processor. If you have a fork and a bowl, you can make this banana bread. I have made it in a rental cabin with mismatched kitchen tools, and it turned out just as good as the one I make at home.
Preparation Method
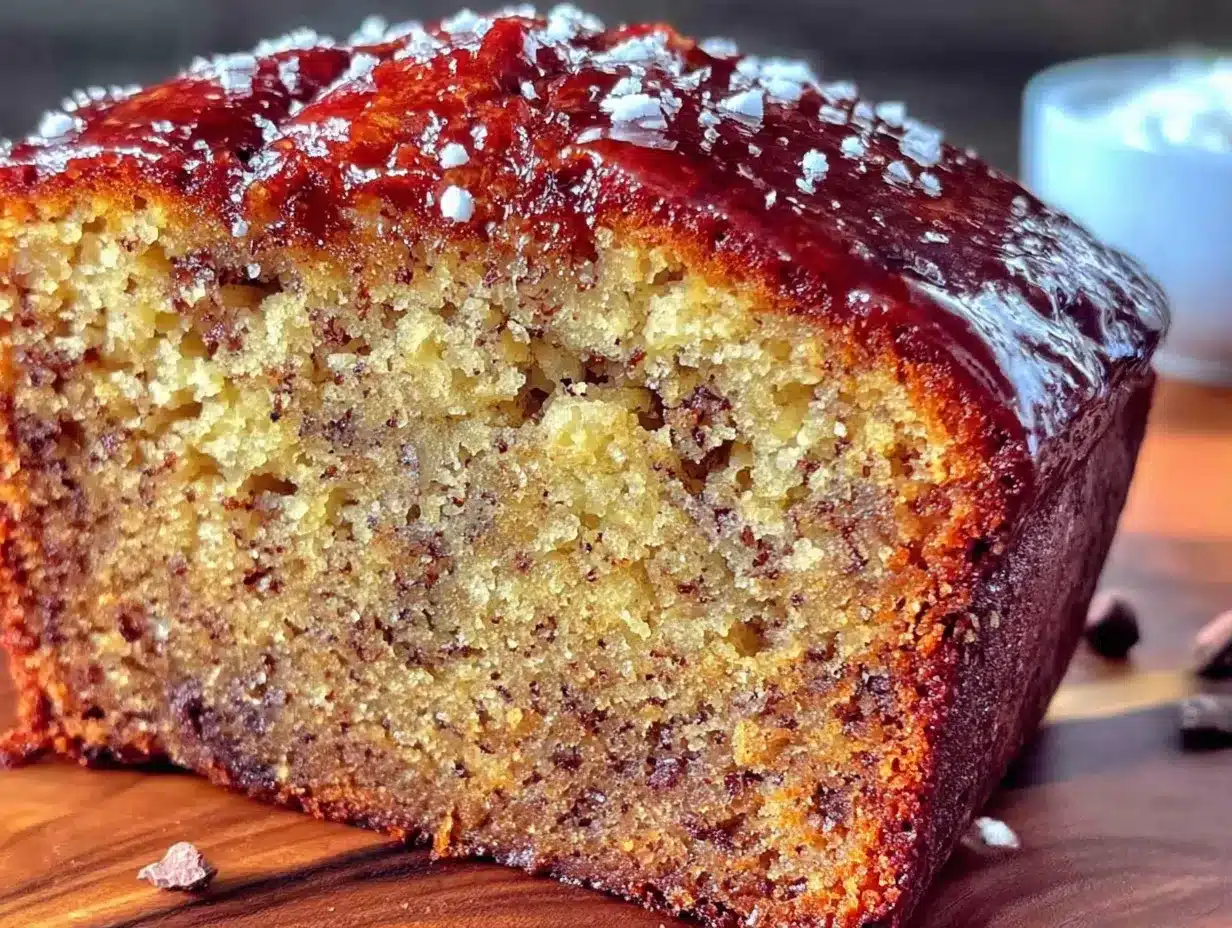
Follow these steps carefully, and you will have perfect banana bread every single time. I have numbered everything so you can follow along without missing a beat.
- Preheat your oven to 350°F (175°C). Position the rack in the center of the oven. Grease your 9×5-inch loaf pan with butter or non-stick spray. If using parchment paper, cut a strip that fits the width of the pan with extra hanging over the long sides.
- Mash the bananas. Place your three ripe bananas in the large mixing bowl. Use a fork to mash them until they are mostly smooth with a few small lumps remaining. You want some texture here—completely smooth puree makes the bread denser. It should take about 60 seconds of mashing.
- Add the melted butter. Pour the cooled melted butter over the mashed bananas. Stir with your wooden spoon until combined. The mixture will look a little separated at first—that is normal. Keep stirring until it comes together into a pale, creamy mixture.
- Mix in the sugar, egg, and vanilla. Add the granulated sugar and stir vigorously for about 30 seconds until the sugar dissolves slightly. Crack the room-temperature egg into the bowl and add the vanilla extract. Stir until everything is well combined and the batter looks smooth and glossy.
- Combine the dry ingredients separately. In a small bowl, whisk together the all-purpose flour, baking soda, and salt. This ensures the baking soda is evenly distributed so your bread rises evenly. If you are adding nuts, stir them into the flour mixture now—this prevents them from sinking to the bottom of the loaf.
- Fold the dry ingredients into the wet. Add the flour mixture to the banana mixture in two additions. Use a gentle folding motion—scrape down the sides and fold the batter over itself. Stop mixing as soon as you no longer see streaks of flour. Overmixing develops gluten and makes the bread tough. A few small lumps are perfectly fine.
- Pour the batter into the prepared pan. Scrape every last bit of batter into your loaf pan. Use your spatula to spread it evenly to the corners. Tap the pan gently on the counter two or three times to release any air bubbles.
- Bake for 55-65 minutes. Place the pan in the preheated oven. Bake until the top is deep golden brown and a toothpick inserted into the center comes out clean or with a few moist crumbs. If the top is browning too quickly after 40 minutes, tent the pan loosely with aluminum foil.
- Cool in the pan for 10 minutes. Set the loaf pan on a cooling rack. Let it rest for exactly 10 minutes. This allows the structure to set so the bread doesn’t fall apart when you remove it.
- Transfer to the cooling rack. Run a knife around the edges if you didn’t use parchment. Lift the bread out using the parchment handles or by carefully turning the pan over. Let it cool completely on the rack—at least 1 hour. Slicing while warm will result in crumbly, gummy pieces.
That is it. Ten simple steps and you have the best banana bread of your life. The hardest part is waiting for it to cool before you slice into it. Trust me, I have burned my tongue more than once rushing this step.
Cooking Tips & Techniques
After making this recipe what feels like a hundred times, I have picked up a few tricks that make a real difference. Here are the ones I wish someone had told me sooner:
Use the darkest bananas you can find. I am talking black-peel, practically liquefied bananas. They look terrible, but they are packed with sugar and flavor. Green or yellow bananas will give you bland, starchy bread. If you only have slightly ripe bananas, roast them in their skins at 350°F for 15 minutes until they soften and darken.
Don’t overmix the batter. This is the most common mistake I see. Mix until the flour just disappears. A few streaks are better than a tough, rubbery loaf. I learned this the hard way when I made a batch for a potluck and it came out dense and chewy. Everyone still ate it, but I knew better.
Check your baking soda freshness. Baking soda loses its potency over time. If your bread isn’t rising properly, stale baking soda is usually the culprit. I date my box when I open it and replace it every three months. For this recipe, the baking soda reacts with the acidic bananas to create lift—without fresh soda, you get a flat, sad loaf.
Let it cool completely. I know it is tempting to cut into that warm, fragrant loaf immediately. But the internal structure is still setting. Cutting too early releases steam and makes the bread gummy. I have ruined more than one loaf this way. Set a timer if you have to. Your patience will be rewarded.
Toast leftover slices. Day-old banana bread is amazing when toasted. Pop a slice in the toaster or under the broiler for 2-3 minutes until the edges are crispy. Spread a little butter on top. Honestly, I sometimes make this bread just so I can have toasted leftovers the next morning.
Variations & Adaptations
This base recipe is incredibly forgiving. Here are some of my favorite variations that I have tested and loved:
Chocolate Chip Banana Bread: Fold in ½ cup of semi-sweet chocolate chips along with the flour. I prefer dark chocolate chips because they balance the sweetness of the bananas. My friend Sarah adds white chocolate chips and dried cranberries for a completely different vibe.
Gluten-Free Version: Substitute the all-purpose flour with a 1:1 gluten-free baking flour blend. I use Bob’s Red Mill or King Arthur Measure for Measure. Add 1 teaspoon of xanthan gum if your blend doesn’t include it. The texture is slightly more tender, but the flavor is identical.
Vegan Adaptation: Replace the butter with melted coconut oil or vegan butter. Swap the egg with a flax egg (1 tablespoon ground flaxseed mixed with 3 tablespoons water, left to sit for 5 minutes). The bread will be a bit denser but still delicious. I made this version for a vegan friend’s birthday brunch, and no one noticed the difference.
Spiced Banana Bread: Add 1 teaspoon of cinnamon, ½ teaspoon of nutmeg, and ¼ teaspoon of ground ginger to the flour mixture. The warm spices complement the banana flavor beautifully. This is my go-to version during fall.
Streusel Topping: Mix ¼ cup flour, ¼ cup brown sugar, 2 tablespoons cold butter, and ½ teaspoon cinnamon until crumbly. Sprinkle over the batter before baking. It creates a crunchy, buttery crust that is absolutely irresistible.
Feel free to experiment based on what you have in your pantry. I once added a handful of shredded coconut and some chopped dark chocolate, and it was incredible. This recipe is your canvas—make it your own.
Serving & Storage Suggestions
This banana bread is incredibly versatile when it comes to serving. Here is how I recommend enjoying and storing it:
Serving Temperature: Banana bread is best at room temperature or slightly warm. If you are serving it for a gathering, let it come to room temperature after baking. Slice it into 1-inch thick pieces and arrange them on a wooden board or cake stand. A dusting of powdered sugar makes it look extra special.
What to Serve Alongside: A pat of salted butter is the classic pairing. For brunch, serve it with coffee, tea, or a glass of cold milk. I also love it with a dollop of Greek yogurt and a drizzle of honey for a more substantial breakfast. If you are hosting a dessert table, pair it with vanilla ice cream and caramel sauce.
Storage Instructions: Wrap the cooled loaf tightly in plastic wrap or aluminum foil. Store at room temperature for up to 4 days. Do not refrigerate—the cold air dries out the bread and makes it stale faster. If you live in a humid climate, store it in an airtight container instead of wrapping it.
Freezing Instructions: Banana bread freezes beautifully. Wrap the cooled loaf in plastic wrap, then a layer of aluminum foil. Freeze for up to 3 months. To thaw, leave it on the counter overnight still wrapped. You can also freeze individual slices for quick breakfasts—just wrap each slice in plastic wrap and store in a freezer bag.
Reheating Tips: For that fresh-baked taste, warm individual slices in the microwave for 15-20 seconds. For a crispy exterior, toast slices in a toaster or under the broiler for 2 minutes. I actually prefer day-old banana bread because the flavors have melded together overnight.
Nutritional Information & Benefits
Here is the approximate nutritional breakdown for one slice (based on 10 slices per loaf, without walnuts):
- Calories: 210
- Total Fat: 8g
- Saturated Fat: 5g
- Carbohydrates: 33g
- Fiber: 1g
- Sugar: 18g
- Protein: 3g
- Sodium: 220mg
Bananas are packed with potassium, vitamin B6, and vitamin C. They also contain resistant starch, which acts as a prebiotic and supports gut health. The butter provides vitamin A and healthy fats that help your body absorb fat-soluble nutrients. While this is certainly a treat rather than a health food, it uses simple, whole ingredients without any artificial additives or preservatives.
For a lower-sugar version, you can reduce the sugar to ½ cup and add an extra ripe banana for sweetness. The texture will be slightly less tender, but the flavor will still be wonderful. If you are watching your fat intake, substitute half the butter with unsweetened applesauce—just know the crumb will be a bit denser.
Conclusion
This classic banana bread is proof that you don’t need fancy equipment or complicated techniques to make something truly memorable. It is the recipe I turn to when I need a quick dessert for unexpected guests, a thoughtful homemade gift, or simply a comforting slice of something familiar. The fact that it comes together with nothing more than a fork and a bowl still makes me smile every time I make it.
I hope you give this recipe a try and make it your own. Maybe you will add chocolate chips, or a handful of walnuts, or a sprinkle of cinnamon sugar on top before baking. Whatever you choose, I promise it will be delicious. And if you mess up? That is okay too. I have made flat banana bread, burnt banana bread, and undercooked banana bread. They were all still eaten with smiles.
When you make yours, I would love to hear about it. Leave a comment below and tell me how it turned out. Did you add your own twist? Did your family fight over the last slice? Share your story—I read every single comment. And if you loved this recipe, please share it with a friend who needs a little comfort food in their life. Happy baking!
Frequently Asked Questions
Can I use frozen bananas for this recipe?
Yes, absolutely. Thaw them completely at room temperature, then drain off any excess liquid before mashing. The texture will be slightly softer, but the flavor is even more concentrated. I actually keep a bag of overripe bananas in my freezer specifically for this recipe.
Why did my banana bread sink in the middle?
This usually happens when the bread is underbaked or the oven temperature is too low. Make sure your oven is properly preheated to 350°F. You can also check your baking soda freshness—old baking soda loses its leavening power. Another common cause is opening the oven door too often during baking.
Can I make this into muffins instead?
Yes, this batter works perfectly for muffins. Divide the batter among a 12-cup muffin tin lined with paper liners. Bake at 350°F for 18-22 minutes, or until a toothpick inserted into the center comes out clean. The baking time is much shorter, so keep an eye on them.
How do I know when the banana bread is fully baked?
Insert a toothpick or wooden skewer into the center of the loaf. If it comes out clean or with just a few moist crumbs attached, it is done. You can also check the internal temperature with an instant-read thermometer—it should read 200-205°F in the center.
Can I reduce the sugar in this recipe?
You can reduce the sugar to ½ cup without significantly affecting the texture. The bananas provide natural sweetness, so the bread will still taste sweet. If you reduce it further, the bread may be less tender and have a slightly different crumb structure. I have tested it with ⅓ cup sugar, and it works—it just tastes more like a breakfast bread than a dessert.
Pin This Recipe!
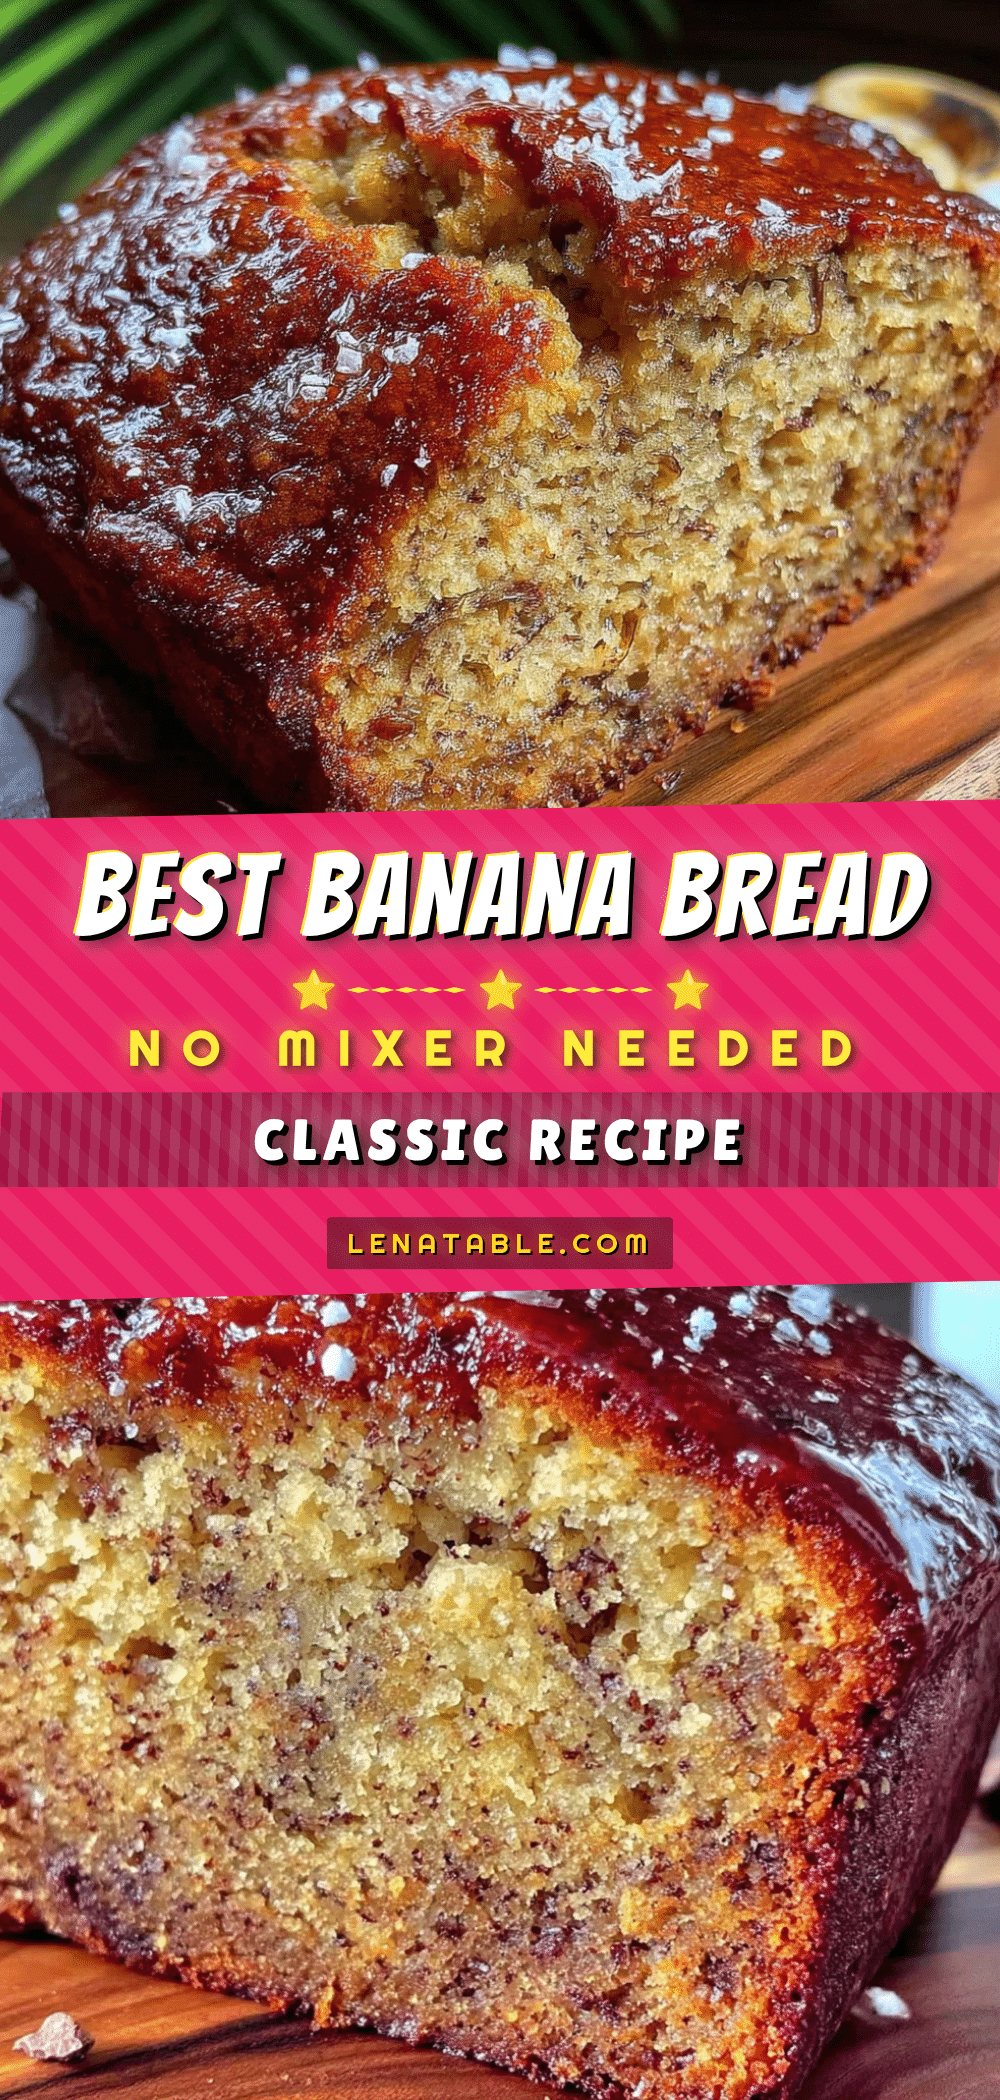
The Best Classic Banana Bread – No Mixer Recipe
This classic banana bread is made with just a fork and a bowl—no mixer required. It’s tender, moist, and packed with banana flavor, perfect for brunch, gifts, or a comforting treat.
- Prep Time: 15 minutes
- Cook Time: 55-65 minutes
- Total Time: 1 hour 20 minutes
- Yield: 10 servings 1x
- Category: Dessert
- Cuisine: American
Ingredients
- 3 large ripe bananas, mashed (about 1 ½ cups or 340g)
- ⅓ cup (75g) unsalted butter, melted
- ¾ cup (150g) granulated sugar
- 1 large egg, room temperature
- 1 teaspoon vanilla extract
- 1 ½ cups (190g) all-purpose flour
- 1 teaspoon baking soda
- ½ teaspoon salt
- Optional: ½ cup (65g) chopped walnuts or pecans
Instructions
- Preheat your oven to 350°F (175°C). Position the rack in the center of the oven. Grease your 9×5-inch loaf pan with butter or non-stick spray. If using parchment paper, cut a strip that fits the width of the pan with extra hanging over the long sides.
- Mash the bananas. Place your three ripe bananas in the large mixing bowl. Use a fork to mash them until they are mostly smooth with a few small lumps remaining. It should take about 60 seconds of mashing.
- Add the melted butter. Pour the cooled melted butter over the mashed bananas. Stir with your wooden spoon until combined. The mixture will look a little separated at first—keep stirring until it comes together into a pale, creamy mixture.
- Mix in the sugar, egg, and vanilla. Add the granulated sugar and stir vigorously for about 30 seconds until the sugar dissolves slightly. Crack the room-temperature egg into the bowl and add the vanilla extract. Stir until everything is well combined and the batter looks smooth and glossy.
- Combine the dry ingredients separately. In a small bowl, whisk together the all-purpose flour, baking soda, and salt. If you are adding nuts, stir them into the flour mixture now.
- Fold the dry ingredients into the wet. Add the flour mixture to the banana mixture in two additions. Use a gentle folding motion—scrape down the sides and fold the batter over itself. Stop mixing as soon as you no longer see streaks of flour. A few small lumps are perfectly fine.
- Pour the batter into the prepared pan. Scrape every last bit of batter into your loaf pan. Use your spatula to spread it evenly to the corners. Tap the pan gently on the counter two or three times to release any air bubbles.
- Bake for 55-65 minutes. Place the pan in the preheated oven. Bake until the top is deep golden brown and a toothpick inserted into the center comes out clean or with a few moist crumbs. If the top is browning too quickly after 40 minutes, tent the pan loosely with aluminum foil.
- Cool in the pan for 10 minutes. Set the loaf pan on a cooling rack. Let it rest for exactly 10 minutes.
- Transfer to the cooling rack. Run a knife around the edges if you didn’t use parchment. Lift the bread out using the parchment handles or by carefully turning the pan over. Let it cool completely on the rack—at least 1 hour.
Notes
Use the darkest bananas you can find for the best flavor. Don’t overmix the batter to avoid a tough loaf. Let the bread cool completely before slicing to prevent a gummy texture. Toasted leftover slices are amazing with butter.
Nutrition
- Serving Size: 1 slice
- Calories: 210
- Sugar: 18
- Sodium: 220
- Fat: 8
- Saturated Fat: 5
- Carbohydrates: 33
- Fiber: 1
- Protein: 3
Keywords: banana bread, classic banana bread, no mixer banana bread, easy banana bread, moist banana bread


