Love this? Save it for later!
Share the inspiration with your friends
My neighbor Karen watched me hauling a grocery bag full of chocolate bars and peanut butter into my apartment last Tuesday. She didn’t say anything at first. Then she just shook her head and laughed. “You’re making that poke cake again, aren’t you?” she called out from her doorway. I’d only mentioned it once, months ago, during a power outage when we were both standing in the hallway with flashlights. She remembered. Honestly, that moment made me realize this cake had become more than just a dessert in my life—it had become my signature move.
The Ultimate Reese’s Peanut Butter Poke Cake started as a happy accident. I was trying to impress my sister-in-law for her birthday, and I wanted something that screamed “celebration” without requiring me to break out my piping bags and stress over frosting swirls. I mean, let’s face it—some days you want a showstopper, but you also want to be able to sit on the couch while it bakes. This cake gives you both.
You know that feeling when you take a bite of something and it hits every single craving you’ve had all week? That’s this cake. The chocolate cake base gets soaked with sweetened condensed milk and melted peanut butter, creating these little pockets of gooey richness throughout. Then you top it with chocolate pudding, Cool Whip, and enough chopped Reese’s cups to make any peanut butter lover weak in the knees. Maybe you’ve been there, staring at a box of cake mix and wondering if you could turn it into something truly memorable. The answer is yes, and I promise it’s easier than you think.
This recipe stayed with me because it taught me something important: you don’t need complicated techniques to create something that feels special. You just need the right combination of flavors and a little bit of patience for the soaking step. Every time I make it, someone asks for the recipe. And every time, I think of Karen standing in that dim hallway, already knowing what was in my grocery bag before I even said a word.
Why You’ll Love This Recipe
Let me tell you why this Ultimate Reese’s Peanut Butter Poke Cake has earned a permanent spot in my dessert rotation. I’ve tested this recipe at least half a dozen times, tweaking the soak time and the pudding ratio until everything came together perfectly. My family has been my unofficial taste-testing panel, and they’ve never once complained about the leftovers.
- Quick & Easy: This cake comes together in under 30 minutes of active prep time. The hardest part is waiting for it to chill, and honestly, that’s not hard at all. Perfect for busy weeknights when you need dessert fast.
- Simple Ingredients: You likely have most of these things in your kitchen already. A box of chocolate cake mix, sweetened condensed milk, peanut butter, pudding mix, Cool Whip, and some Reese’s cups. No special trips to fancy grocery stores required.
- Perfect for Celebrations: This cake is ideal for birthdays, potlucks, game day parties, or just a Tuesday that needs a little extra joy. It feeds a crowd and looks impressive without demanding hours of your time.
- Crowd-Pleaser: I have yet to meet someone who doesn’t love this cake. Kids go crazy for it, adults sneak seconds, and even my picky uncle asked for the recipe. It’s the kind of dessert that makes people close their eyes after the first bite.
- Unbelievably Delicious: The texture is what sets this cake apart. You get the fluffy cake, the gooey peanut butter pockets from the soak, the creamy pudding layer, and the crunch from the chopped Reese’s cups. It’s a symphony of textures and flavors that somehow all work together perfectly.
What makes this version different from every other poke cake out there? It’s the double peanut butter punch. Most recipes just drizzle peanut butter on top, but this one incorporates it into the soak mixture so it seeps deep into every bite. Then you get another layer of peanut butter goodness from the chopped cups on top. It’s not just another version—it’s the best version, and I’ll stand by that.
This cake is comfort food reimagined. It’s nostalgic and familiar, but somehow more satisfying than you remember. Perfect for impressing guests without stress, or turning an ordinary evening into something memorable. Honestly, it’s the kind of dessert that makes you grateful for leftovers the next day.
What Ingredients You Will Need
This recipe uses simple, mostly pantry-staple ingredients to create something that tastes far more complicated than it actually is. The magic happens when these humble components come together in layers.
- 1 box (15.25 oz) chocolate cake mix (I prefer Duncan Hines Devil’s Food for the richest flavor, but any brand works fine)
- Eggs, oil, and water (as called for on the cake mix box—usually 3 eggs, 1/3 cup oil, and 1 cup water)
- 1 can (14 oz) sweetened condensed milk (this is the secret to the gooey pockets—don’t skip it)
- 1/2 cup creamy peanut butter (use the standard processed kind like Jif or Skippy for best results; natural peanut butter separates and doesn’t soak in as well)
- 1 package (3.9 oz) instant chocolate pudding mix (Jello brand works great, but store brands are fine too)
- 2 cups cold milk (whole milk gives the richest pudding, but 2% works perfectly—avoid skim for the best texture)
- 1 container (8 oz) Cool Whip, thawed (or about 3 cups of homemade whipped cream if you’re feeling fancy)
- 10-12 full-size Reese’s Peanut Butter Cups, chopped (about 1.5 cups chopped—I buy the regular size and chop them myself for the best texture)
- Optional: 1/4 cup chocolate syrup for drizzling (adds a nice visual touch, but totally optional)
Now let me share a little insider tip I learned the hard way. The first time I made this, I used natural peanut butter for the soak. Big mistake. It separated and left oily patches on top of the cake instead of soaking in properly. Stick with the standard processed peanut butter for this step—it blends smoothly with the condensed milk and creates those beautiful gooey pockets you’re looking for.
For the pudding, instant pudding mix is non-negotiable here. Cook-and-serve pudding won’t set up properly in the fridge, and you’ll end up with a soupy mess. Trust me on this one—I learned that lesson during a particularly disappointing test batch.
If you want to make this gluten-free, use a gluten-free chocolate cake mix and double-check that your pudding mix is certified gluten-free. Most instant pudding mixes are, but always read the label to be safe.
Equipment Needed
The beauty of this recipe is that it doesn’t require any fancy equipment. You probably have everything you need already sitting in your kitchen cabinets.
- 9×13 inch baking pan (glass or metal both work fine—I use a glass Pyrex dish and love it)
- Large mixing bowl (for the cake batter)
- Medium mixing bowl (for the pudding)
- Small bowl (for the peanut butter soak mixture)
- Whisk (for mixing the pudding and the soak)
- Wooden spoon or spatula (for mixing the cake batter)
- Measuring cups and spoons
- Cutting board and sharp knife (for chopping the Reese’s cups—a serrated knife works best to get clean cuts without smashing them)
- Refrigerator space (this cake needs at least 4 hours to chill, so clear a shelf beforehand)
If you don’t have a 9×13 pan, you can use two 8×8 square pans instead. Just reduce the baking time by about 5 minutes and keep an eye on them. I’ve also made this in a disposable aluminum pan for potlucks, and it works beautifully—just make sure to place it on a baking sheet for stability.
One tip for the knife situation: if your Reese’s cups keep crumbling instead of cutting cleanly, try chilling them in the freezer for 10 minutes before chopping. It makes a world of difference and gives you those beautiful chunks that look so pretty on top of the finished cake.
Preparation Method
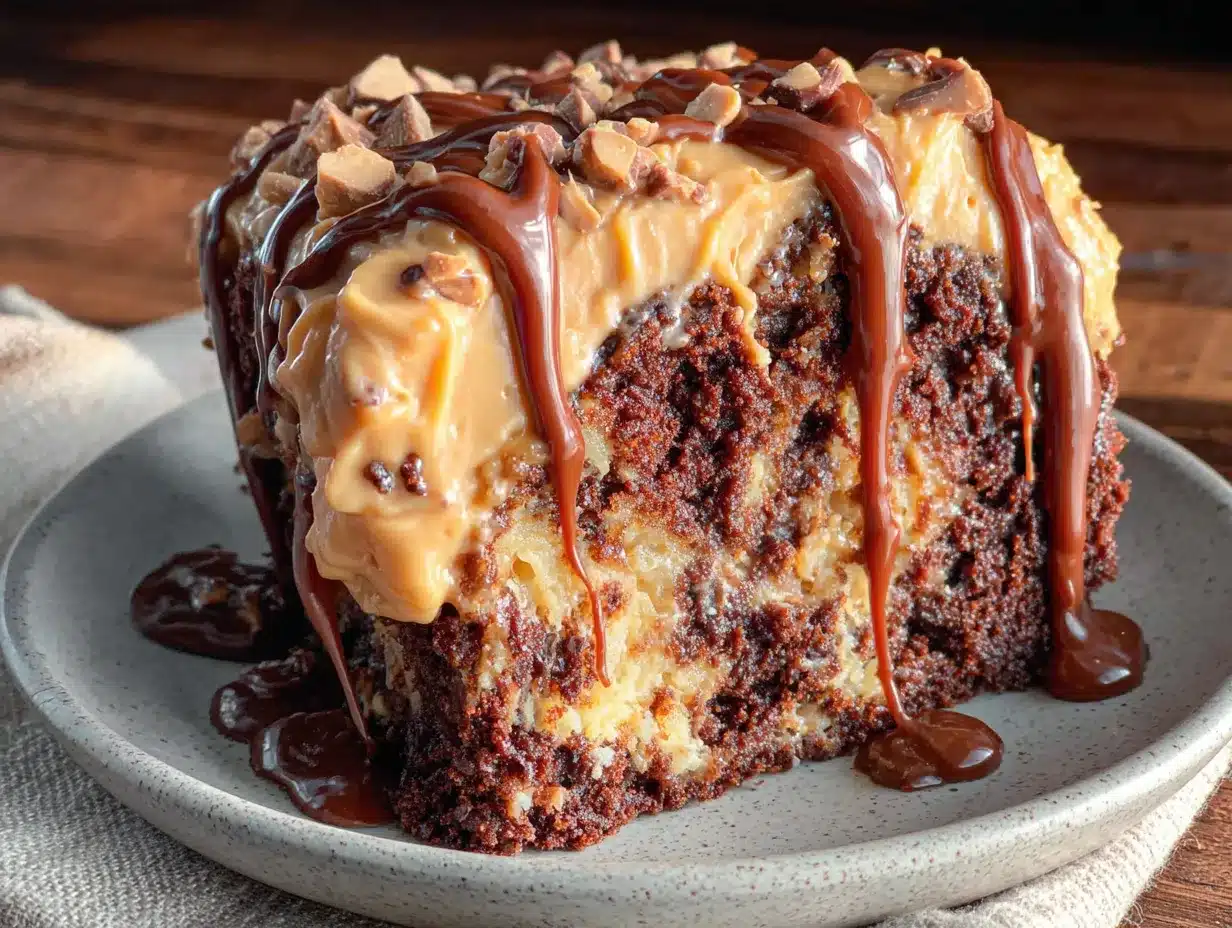
Let me walk you through this step by step. I’ve made this cake more times than I can count, so I’ve figured out all the little tricks that make the process smoother.
- Preheat your oven to 350°F (175°C) and grease your 9×13 baking pan with butter or non-stick spray. I like to use Baker’s Joy spray—it has flour in it and never lets anything stick.
- Prepare the cake batter according to the package directions. In a large bowl, combine the cake mix with the eggs, oil, and water called for on the box. Mix until smooth, about 2 minutes. Don’t overmix—you want it combined, not beaten to death. Pour the batter into your prepared pan and spread it evenly.
- Bake the cake according to the package directions, usually 28-33 minutes. You’ll know it’s done when a toothpick inserted into the center comes out clean or with just a few moist crumbs. Let the cake cool in the pan on a wire rack for about 10 minutes. This is important—you want it warm but not piping hot for the next step.
- While the cake cools slightly, make the soak mixture. In a small bowl, combine the sweetened condensed milk and the 1/2 cup of creamy peanut butter. Microwave for 20-30 seconds, then stir until smooth. The mixture should be warm and pourable. If it’s too thick, microwave for another 10 seconds.
- Poke holes all over the warm cake using the handle of a wooden spoon or a chopstick. Space the holes about 1 inch apart. Don’t be shy—poke all the way to the bottom of the cake. This is where the magic happens, so get in there and make plenty of holes. I usually do about 20-25 pokes across the entire cake.
- Pour the peanut butter soak mixture evenly over the warm cake, making sure it fills all the holes. Use a spatula to spread it around if needed. You’ll see it sink into the cake and create those beautiful gooey pockets. Let the cake cool completely at room temperature, about 30-40 minutes. Don’t rush this—if the cake is too warm when you add the pudding, it will melt and turn into a mess.
- While the cake cools, make the pudding. In a medium bowl, whisk together the instant chocolate pudding mix and 2 cups of cold milk. Whisk for about 2 minutes until it starts to thicken. Let it sit for 5 minutes to set up properly. It should be thick and creamy, not runny.
- Spread the pudding evenly over the cooled cake. Use an offset spatula or the back of a spoon to get it smooth. Don’t worry if it looks a little messy—the next layer will cover it up anyway.
- Spread the Cool Whip over the pudding layer. Again, smooth it out as best you can. I like to leave a few little peaks and swirls for texture, but that’s just my personal preference.
- Sprinkle the chopped Reese’s cups generously over the top. Press them in gently so they stick to the Cool Whip. If you’re using the chocolate syrup drizzle, now’s the time to add it—just drizzle it back and forth over the top.
- Cover and refrigerate for at least 4 hours, but overnight is even better. This is the hardest step because the cake smells incredible and you’ll want to dig in immediately. Trust me, the wait is worth it. The flavors meld together and the cake becomes incredibly moist and tender.
A quick note about timing: I usually make this cake the night before I plan to serve it. That way it has plenty of time to chill and set up, and I don’t have to stress about timing on the day of the event. Plus, it actually tastes better the next day—the flavors have more time to develop and mingle.
Cooking Tips & Techniques
After making this cake more times than I care to count, I’ve collected a few hard-won tips that will save you from my early mistakes.
Don’t skip the cooling step between layers. I know it’s tempting to rush, but adding warm pudding to a warm cake is a recipe for disaster. The pudding will melt and slide right off, leaving you with a sad, soupy mess. Let the cake cool completely after the soak step before adding the pudding layer. I usually pop it in the fridge for 15-20 minutes to speed things up.
Use room temperature ingredients for the pudding. Cold milk straight from the fridge is fine, but if your pudding mix is cold too, it will take longer to set up. Let the pudding mix sit at room temperature for a few minutes before you start. This little trick makes the pudding come together faster and smoother.
Chop the Reese’s cups just before serving. If you chop them too early, they’ll get soft and melty from sitting in the fridge. I like to chop them right before I add them to the top of the cake. If I’m making the cake the night before, I’ll add the Cool Whip layer and refrigerate, then add the chopped cups and chocolate drizzle about an hour before serving.
I once made the mistake of adding the chopped cups too early, and by the next morning they had absorbed moisture from the Cool Whip and turned into sad, soggy blobs. The texture was all wrong. Now I always wait until closer to serving time to add the topping.
For cleaner slices, use a sharp knife dipped in hot water. Wipe the knife dry between cuts, and you’ll get beautiful, clean slices without dragging the toppings around. This is especially helpful if you’re serving this at a party where presentation matters.
If your soak mixture seems too thick to pour, microwave it for another 10-15 seconds. It should be thin enough to flow into the holes but thick enough to stay in place. You want it to soak in, not run off the sides of the cake.
Variations & Adaptations
One of the things I love about this recipe is how easy it is to customize. Here are a few variations I’ve tried and loved.
Peanut Butter Lover’s Dream: For the ultimate peanut butter experience, add 1/2 cup of creamy peanut butter to the pudding mixture. Just whisk it in along with the milk. It makes the pudding layer extra rich and peanut-buttery. I tried this for a friend’s birthday and it was gone in 10 minutes.
Chocolate Overload: Use chocolate pudding instead of vanilla, and add a layer of chocolate ganache on top before the Cool Whip. For the ganache, heat 1/2 cup of heavy cream and pour it over 1 cup of semi-sweet chocolate chips. Let it sit for 5 minutes, then stir until smooth. Spread it over the pudding layer and let it set before adding the Cool Whip.
Gluten-Free Version: Use a gluten-free chocolate cake mix and confirm your pudding mix is gluten-free. Most instant pudding mixes are, but always double-check. Everything else in the recipe is naturally gluten-free, so this adaptation is surprisingly easy.
Dairy-Free Adaptation: Use a dairy-free cake mix and substitute the sweetened condensed milk with a dairy-free version (they do make coconut-based sweetened condensed milk now). Use almond or oat milk for the pudding, and swap the Cool Whip for a dairy-free whipped topping like CocoWhip. The texture will be slightly different, but it’s still delicious.
Mini Poke Cakes: Make this in individual serving dishes or small ramekins for a fun twist. Just bake the cake in a 9×13 pan as usual, then cut it into squares and layer them in individual dishes with the soak, pudding, and toppings. It’s perfect for parties where everyone wants their own little dessert.
Serving & Storage Suggestions
This cake is best served cold, straight from the refrigerator. The chilled layers hold together beautifully, and the flavors are at their peak when everything is nice and cold. I like to let it sit at room temperature for about 10 minutes before serving—it takes the edge off the chill without letting the layers get too soft.
For presentation, I usually sprinkle a few extra chopped Reese’s cups on top just before serving to make it look fresh and inviting. A drizzle of chocolate syrup and a few dollops of extra Cool Whip never hurt anyone either.
This cake pairs beautifully with a tall glass of cold milk or a scoop of vanilla ice cream on the side. If you’re feeling extra indulgent, warm up a little hot fudge sauce and drizzle it over each slice before serving. The contrast between the cold cake and the warm sauce is absolutely divine.
Storage: Cover the cake tightly with plastic wrap or aluminum foil and store it in the refrigerator for up to 5 days. The cake actually gets better after a day or two as the flavors continue to meld together. Just make sure it’s well-covered to prevent it from absorbing any fridge odors.
Freezing: This cake freezes surprisingly well. Wrap individual slices in plastic wrap, then place them in a freezer-safe container. They’ll keep for up to 3 months. To thaw, transfer a slice to the refrigerator overnight. The texture might be slightly softer after freezing, but it’s still incredibly delicious.
One thing I’ve noticed is that the Reese’s cups on top can lose their crunch after a couple of days in the fridge. If you’re planning to keep the cake for more than a day, I recommend adding the chopped cups just before serving. The rest of the cake stays perfect for days.
Nutritional Information & Benefits
Let’s be real—this is a dessert, and it’s meant to be enjoyed as a treat. But here’s the approximate nutritional breakdown for one serving (assuming 12 servings per cake):
| Nutrient | Amount per Serving |
|---|---|
| Calories | 420-450 |
| Total Fat | 22g |
| Saturated Fat | 8g |
| Cholesterol | 35mg |
| Sodium | 450mg |
| Total Carbohydrates | 55g |
| Dietary Fiber | 2g |
| Sugars | 38g |
| Protein | 8g |
Now, on the positive side, peanut butter does provide some protein and healthy fats. The chocolate adds a little dose of antioxidants, and let’s be honest—sometimes your soul needs dessert more than your body needs kale. I believe in balance, and this cake fits perfectly into a “treat yourself” mindset.
If you’re watching your sugar intake, you can use sugar-free pudding mix and light Cool Whip to cut down on the sugar a bit. The cake itself will still be delicious, just slightly less indulgent.
Potential allergens include dairy, wheat, peanuts, and soy (check your specific ingredients for soy lecithin, which is common in chocolate products). Always check labels if you’re serving guests with allergies.
Conclusion
This Ultimate Reese’s Peanut Butter Poke Cake is the dessert you’ll turn to again and again. It’s simple enough for a Tuesday night but impressive enough for a birthday party. The combination of moist chocolate cake, gooey peanut butter pockets, creamy pudding, and crunchy Reese’s cups is honestly unbeatable.
I love this recipe because it reminds me that you don’t need to be a professional baker to create something truly special. A box of cake mix, a few simple ingredients, and a little bit of patience is all it takes. Every time I make it, someone asks for the recipe, and I love watching their faces light up when they realize how easy it is.
I’d love to hear how yours turns out! Did you try any of the variations? Did you add your own twist? Drop a comment below and let me know. And if you share a photo on social media, tag me—I always love seeing your creations. Happy baking, friends!
Frequently Asked Questions
Can I make this cake ahead of time?
Absolutely! In fact, I recommend it. This cake needs at least 4 hours to chill, but overnight is even better. The flavors meld together and the texture becomes incredibly moist and tender. Just cover it tightly and refrigerate until you’re ready to serve.
Can I use homemade whipped cream instead of Cool Whip?
Yes, you can substitute about 3 cups of homemade whipped cream for the Cool Whip. Just whip 1.5 cups of heavy cream with 2-3 tablespoons of powdered sugar until stiff peaks form. The texture will be slightly lighter, but it’s delicious either way.
Why did my soak mixture not soak into the cake?
This usually happens if the cake isn’t warm enough when you pour the soak mixture. The holes need to be open and the cake needs to be warm so the mixture can flow in. Also, make sure your soak mixture is thin enough to pour—if it’s too thick, microwave it for another 10-15 seconds.
Can I use crunchy peanut butter instead of creamy?
You can, but I don’t recommend it for the soak mixture. The peanut pieces can clog the holes and prevent the mixture from soaking in properly. Save the crunchy peanut butter for a topping or mix it into the pudding layer instead.
How do I get clean slices without the toppings sliding off?
Use a sharp knife dipped in hot water, then wipe it dry between each cut. This helps the knife glide through the layers without dragging the toppings around. Also, make sure the cake is thoroughly chilled—at least 4 hours, but overnight is best.
Pin This Recipe!
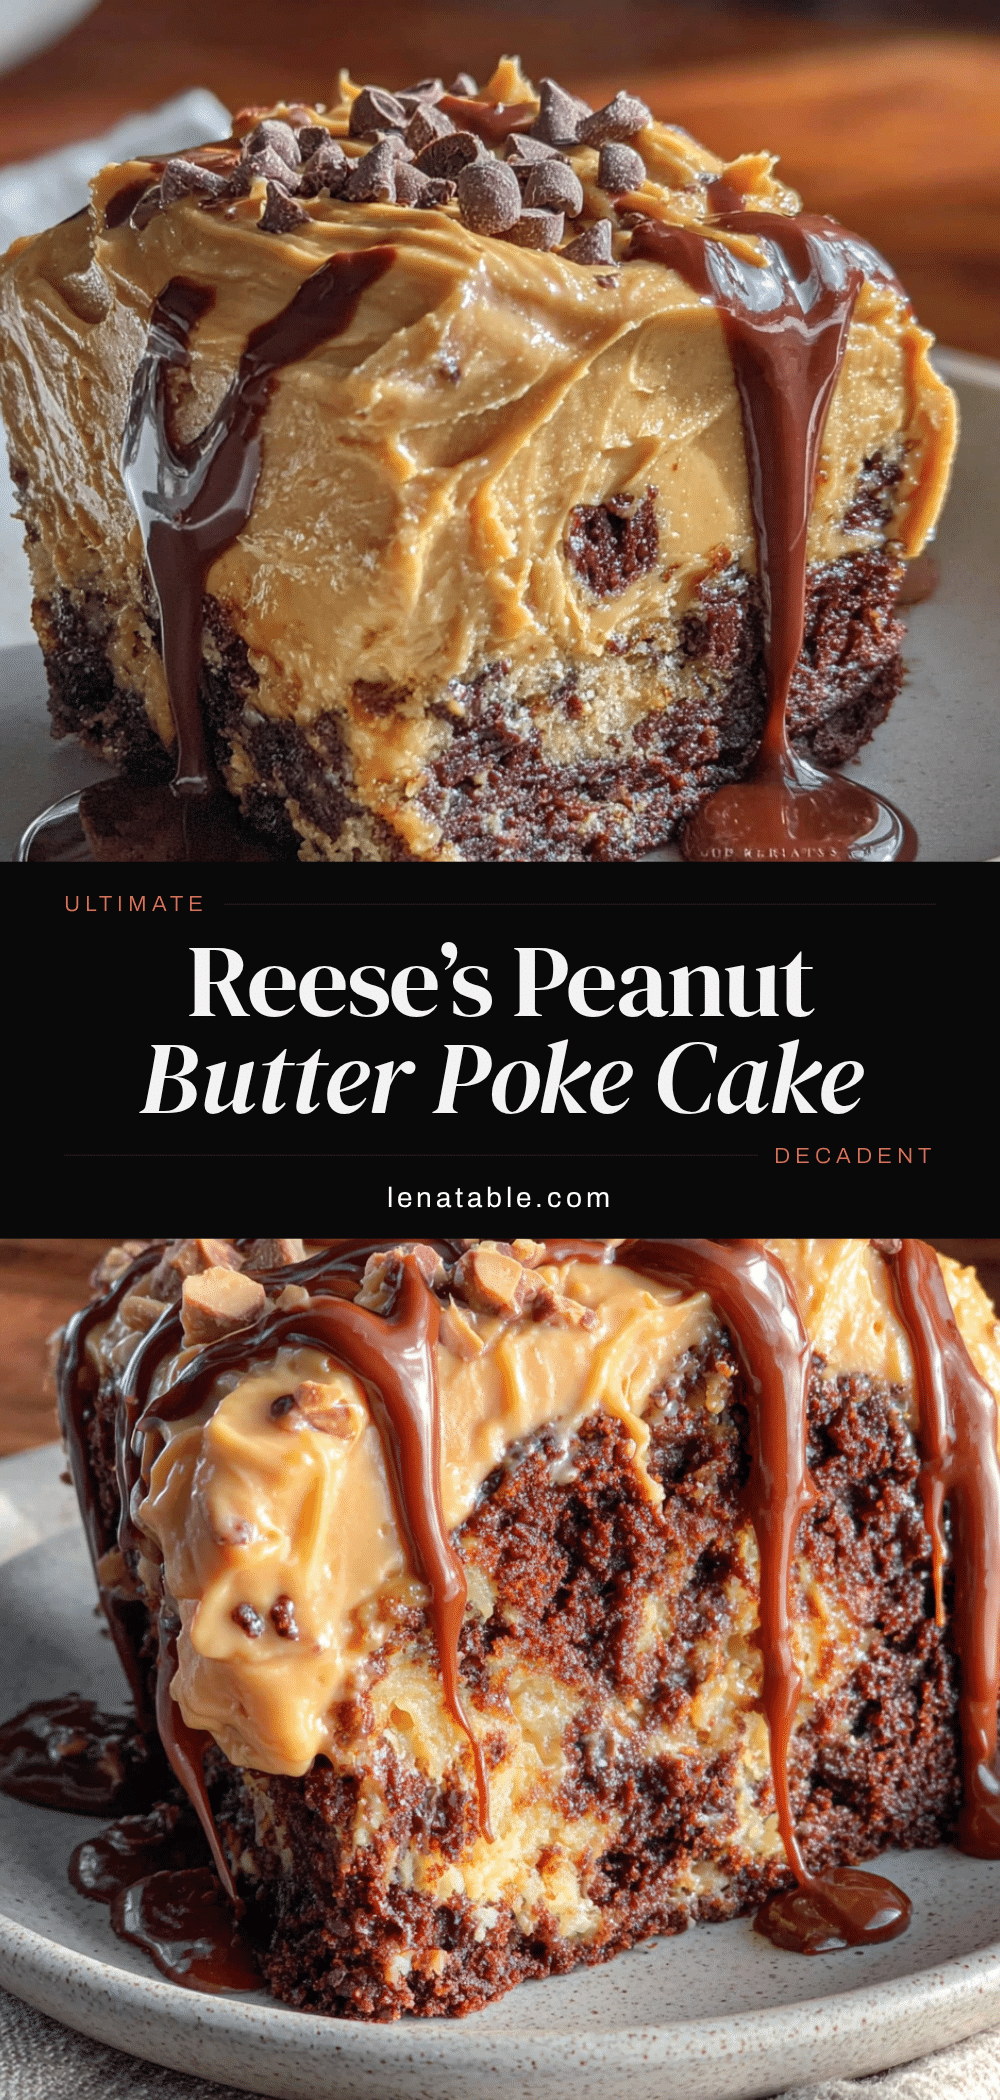
Ultimate Reese’s Peanut Butter Poke Cake – Easy Homemade Dessert

A decadent chocolate poke cake soaked with sweetened condensed milk and peanut butter, topped with chocolate pudding, Cool Whip, and chopped Reese’s cups. This easy, crowd-pleasing dessert is perfect for celebrations or any day that needs a little extra joy.
- Prep Time: 30 minutes
- Cook Time: 30 minutes
- Total Time: 4 hours 30 minutes (includes chilling)
- Yield: 12 servings 1x
- Category: Dessert
- Cuisine: American
Ingredients
- 1 box (15.25 oz) chocolate cake mix (preferably Duncan Hines Devil’s Food)
- Eggs, oil, and water (as called for on the cake mix box: usually 3 eggs, 1/3 cup oil, and 1 cup water)
- 1 can (14 oz) sweetened condensed milk
- 1/2 cup creamy peanut butter (standard processed kind like Jif or Skippy)
- 1 package (3.9 oz) instant chocolate pudding mix
- 2 cups cold milk (whole or 2%)
- 1 container (8 oz) Cool Whip, thawed (or 3 cups homemade whipped cream)
- 10–12 full-size Reese’s Peanut Butter Cups, chopped (about 1.5 cups)
- Optional: 1/4 cup chocolate syrup for drizzling
Instructions
- Preheat oven to 350°F (175°C). Grease a 9×13 inch baking pan with butter or non-stick spray.
- Prepare the cake batter according to package directions: combine cake mix with eggs, oil, and water. Mix until smooth (about 2 minutes). Pour into prepared pan and spread evenly.
- Bake according to package directions (usually 28-33 minutes) until a toothpick inserted in center comes out clean or with a few moist crumbs. Let cool in pan on a wire rack for 10 minutes.
- While cake cools slightly, make the soak mixture: In a small bowl, combine sweetened condensed milk and 1/2 cup creamy peanut butter. Microwave for 20-30 seconds, then stir until smooth and pourable.
- Poke holes all over the warm cake using the handle of a wooden spoon or a chopstick, spacing holes about 1 inch apart and poking all the way to the bottom.
- Pour the peanut butter soak mixture evenly over the warm cake, making sure it fills all the holes. Let cake cool completely at room temperature (about 30-40 minutes).
- While cake cools, make the pudding: In a medium bowl, whisk together instant chocolate pudding mix and 2 cups cold milk for about 2 minutes until it thickens. Let sit for 5 minutes to set.
- Spread the pudding evenly over the cooled cake.
- Spread the Cool Whip over the pudding layer, smoothing as desired.
- Sprinkle chopped Reese’s cups generously over the top, pressing them in gently. Drizzle with chocolate syrup if using.
- Cover and refrigerate for at least 4 hours, preferably overnight. Serve cold.
Notes
For best results, use standard processed peanut butter (not natural) for the soak. Instant pudding mix is non-negotiable. Chill the cake overnight for best flavor and texture. Add chopped Reese’s cups just before serving to maintain crunch. For cleaner slices, use a sharp knife dipped in hot water and wiped dry between cuts.
Nutrition
- Serving Size: 1 slice (1/12 of cak
- Calories: 435
- Sugar: 38
- Sodium: 450
- Fat: 22
- Saturated Fat: 8
- Carbohydrates: 55
- Fiber: 2
- Protein: 8
Keywords: Reese's, peanut butter, poke cake, chocolate, easy dessert, birthday cake, potluck dessert


