Love this? Save it for later!
Share the inspiration with your friends
“Mom, why can’t we just put the cheese in a pile and let everyone grab what they want?” My seven-year-old, Ellie, asked this while I was meticulously arranging cheddar slices in a perfect fan pattern for our annual pre-Thanksgiving gathering. I started to explain why that wouldn’t work — something about presentation and grazing etiquette and the importance of having structure. Then I stopped.
She was right. Why couldn’t we?
Honestly, I’d been so caught up in making the charcuterie board look like something from a magazine that I forgot the whole point — feeding people in a way that makes them happy. Ellie wanted to help, and her idea was simpler, messier, and way more fun than my carefully planned design. So I handed her the bag of apple slices and said, “Show me what you’d do.”
What followed was the most relaxed, joyful, and genuinely kid-friendly Friendsgiving spread I’ve ever made. She dumped the grapes in a heap, stacked the cheese cubes like building blocks, and insisted on adding those little Halloween-shaped cookies she found on sale. The board looked chaotic. It also looked like ours.
That night, as the kids circled back for thirds and the adults kept sneaking extra bites of the caramel-dipped apple wedges, I realized something. This Kid-Friendly Friendsgiving Charcuterie Board with Fall Fruit wasn’t just easier — it was better. The kids actually ate more because they could see everything, reach everything, and pick exactly what they wanted. No one had to ask for help cutting a slice of brie. No one dropped a cracker trying to balance it on a perfect cheese fan.
Maybe you’ve been there — spending an hour arranging a board only to watch it get demolished in ten minutes. Let me tell you, there’s a better way. This board is designed for little hands, picky palates, and parents who want to actually enjoy the party instead of fussing over presentation. It’s the Friendsgiving board that finally made me stop being a control freak in the kitchen. And honestly? I’ve never looked back.
Why You’ll Love This Recipe
Let’s be real — traditional charcuterie boards can be stressful. They’re expensive, time-consuming, and often not very kid-friendly. This one flips all that on its head.
- Quick & Easy: Comes together in under 20 minutes — no cooking required. Just wash, slice, and arrange.
- Simple Ingredients: You likely already have most of these in your fridge or pantry. No fancy cheese shop trips needed.
- Perfect for Friendsgiving: Whether it’s a classroom party, a playdate, or a family gathering, this board feeds a crowd with zero stress.
- Crowd-Pleaser: Kids love the familiar flavors (cheese, apples, grapes, crackers), and adults appreciate the seasonal touches like dried cranberries and pecans.
- Unbelievably Delicious: The combination of sweet fall fruit, salty cheese, and crunchy nuts is basically comfort food on a board.
What makes this different from every other charcuterie board out there? It’s built around what kids actually want to eat. No weird cheeses with rinds they won’t touch. No fussy spreads that require a knife. Just real food, presented in a way that invites exploration. I’ve tested this with my own kids, their friends, and even the picky eaters at our neighborhood playgroup. It gets demolished every single time.
This isn’t just a recipe — it’s a sanity saver. It’s the kind of board that lets you actually sit down with your coffee and chat with your guests instead of hovering over the table. And when you see your five-year-old proudly showing her friend where the “apple flowers” are, you’ll know it was worth every minute.
What Ingredients You Will Need
This recipe uses simple, seasonal ingredients to create a board that feels special without being complicated. The beauty of a charcuterie board is its flexibility — you can swap things in and out based on what you have on hand or what’s on sale.
The Cheese (about 8-12 ounces total)
- Cheddar cheese, cut into cubes — 6 ounces (170g). Kids love the familiar orange color and mild flavor. I recommend Tillamook or Cabot for consistent quality.
- Colby Jack cheese, sliced into sticks — 4 ounces (113g). The fun shape makes it easy for little fingers to grab. (You can also use string cheese for an even easier option.)
- Optional: Brie or goat cheese — 2-3 ounces (57-85g). For the adults who want something a little fancier. Keep it in a small separate pile so kids can avoid it if they want.
The Fall Fruit (about 2-3 cups total)
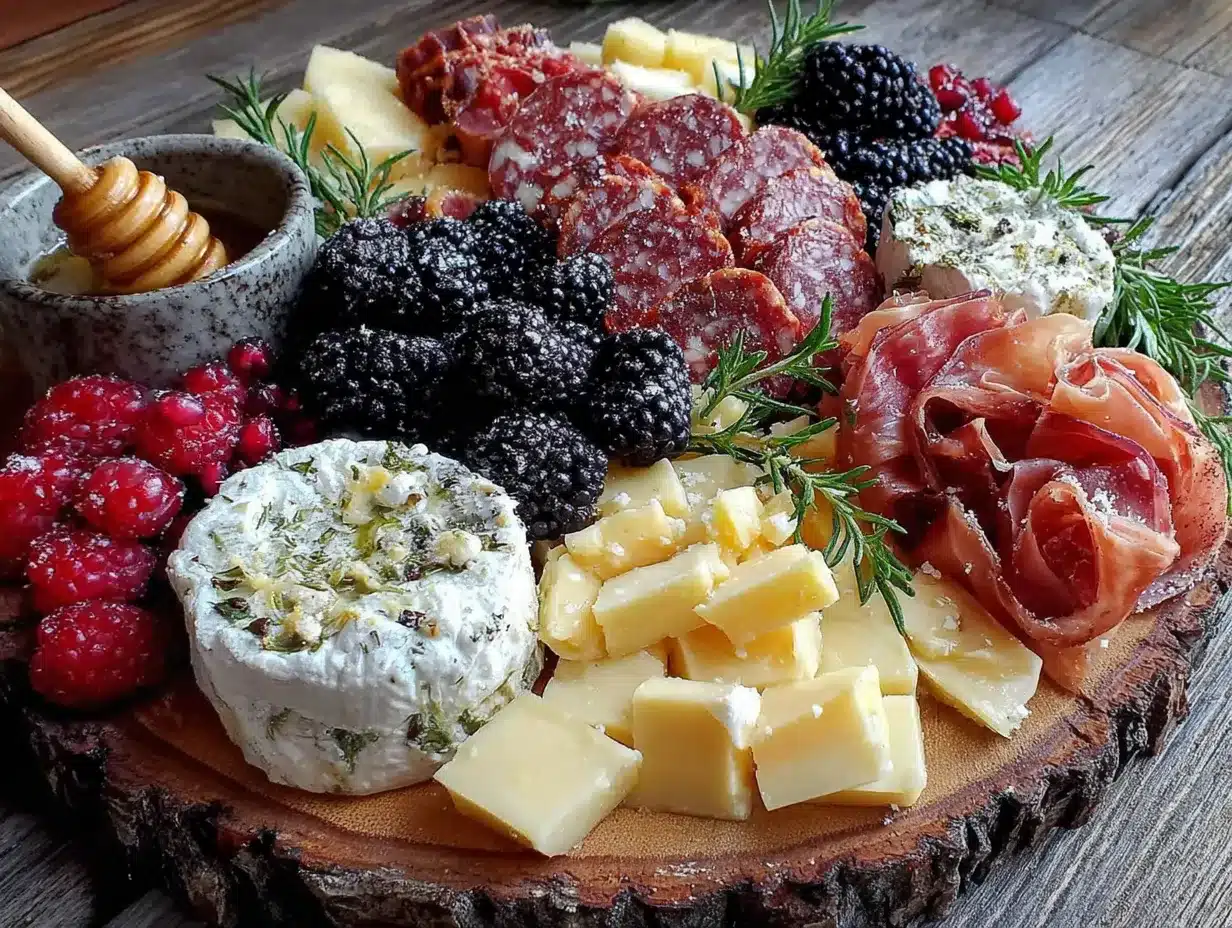
- Apples, sliced — 2 medium (about 1 cup or 150g). Honeycrisp or Fuji work best — they’re sweet and stay crisp. Toss with a little lemon juice to prevent browning.
- Red grapes, washed and pulled into small clusters — 1 cup (150g). Kids love popping these off the stem. Seedless is a must!
- Dried cranberries — 1/2 cup (60g). They add a chewy, tart pop that balances the cheese perfectly.
- Optional: Pomegranate seeds — 1/4 cup (50g). They look like little jewels and add a fun crunch. (Watch out for staining — maybe skip if you’re serving toddlers.)
The Crunchy Elements (about 1-2 cups total)
- Pretzel sticks — 1 cup (100g). They’re sturdy, salty, and perfect for dipping or scooping.
- Whole wheat crackers — 1 cup (100g). Choose a sturdy variety that won’t break when kids try to spread or scoop. I like Wheat Thins or Triscuits.
- Pecan halves — 1/2 cup (60g). Toast them lightly for extra flavor. (Skip if serving very young children — choking hazard.)
The Sweet Touches (optional but recommended)
- Caramel sauce for dipping — 1/4 cup (60ml). A small bowl of this changes everything. Kids will dip apples, pretzels, and even cheese in it. (Use store-bought to save time — I like Hershey’s or Marzetti.)
- Mini chocolate chips or M&M’s — 1/4 cup (60g). A sneaky sprinkle of chocolate makes the board feel like a treat.
- Optional: Small cookies (like animal crackers or graham crackers) — 1/2 cup (50g). These fill in gaps and add a playful touch.
Equipment Needed
You don’t need anything fancy to pull this off. Here’s what you’ll need:
- Large wooden cutting board or serving platter — At least 12×16 inches (30×40 cm). A rimless board works best for easy access. If you don’t have one, a large baking sheet lined with parchment paper works perfectly.
- Small bowls for dips and loose items — 2 to 3 small ramekins or pinch bowls. Use these for the caramel sauce, dried cranberries, and pomegranate seeds.
- Cheese knife or small spreader — Optional but nice if you’re including brie or goat cheese.
- Cutting board and sharp knife — For slicing apples and cutting cheese into cubes or sticks.
- Measuring cups and spoons — For portioning out ingredients, though honestly, you can eyeball most of this.
I’ve made this board on everything from a fancy marble slab (borrowed from a friend) to a cheap wooden cutting board from IKEA. The presentation matters less than the vibe. My favorite is a large bamboo board I found at Target for $15 — it’s lightweight, easy to clean, and big enough to hold everything without feeling cramped.
Preparation Method
This board comes together in about 15-20 minutes. Here’s how to do it without losing your mind.
- Wash and prep the fruit (5 minutes). Rinse the grapes and pull them into small clusters of 3-4 grapes each. Slice the apples into thin wedges (about 8 wedges per apple) and toss them with a squeeze of lemon juice to keep them from browning. If you’re using pomegranate seeds, pop them out now.
- Cut the cheese (3 minutes). Cut the cheddar into 1/2-inch cubes. Slice the Colby Jack into thin sticks, about 2 inches long and 1/4 inch thick. If you’re using brie, leave it in a wedge — kids can scoop it with a cracker if they want.
- Arrange the bowls first (2 minutes). Place your small bowls on the board first — this is where the caramel sauce, dried cranberries, and any loose items will go. Spread them out so they’re not all clustered in one spot. This creates natural “zones” on the board.
- Add the cheese (3 minutes). Pile the cheese cubes in one corner, and arrange the cheese sticks in a separate area. Don’t worry about perfect symmetry — just create little clusters. Kids actually prefer food that looks a bit messy because it feels more accessible.
- Distribute the fruit (3 minutes). Arrange the apple slices in a fan pattern near the cheese. Place the grape clusters in a couple of spots around the board. Sprinkle the pomegranate seeds (if using) in a small pile near the dried cranberries.
- Fill in with crackers and pretzels (2 minutes). Use the crackers and pretzel sticks to fill in any empty spaces. Don’t stack them too high — you want everything to be reachable. I like to create little “paths” of pretzels that lead from one section to another.
- Add the sweet touches and nuts (2 minutes). Sprinkle the pecans in a few empty spots. If you’re using mini chocolate chips or M&M’s, scatter them in a small pile near the fruit. Place the caramel sauce bowl front and center — trust me, it’ll be the most popular item.
- Final check (1 minute). Step back and look at your board. Are there any big empty spaces? Fill them with extra crackers or a few more apple slices. Is everything within easy reach? Move anything that’s too far to the edge. Remember: this board is for eating, not just looking at.
A quick note: if you’re making this ahead of time, cover the board loosely with plastic wrap and refrigerate for up to 2 hours. Take it out 15 minutes before serving to let the cheese come to room temperature — it tastes better that way. Just don’t add the caramel sauce or chocolate until right before serving, or they’ll get messy.
Cooking Tips & Techniques
I’ve made this board about a dozen times now, and I’ve learned a few things the hard way. Here are my best tips:
Don’t overthink the arrangement. The first time I made this, I spent 20 minutes trying to create a perfect “fall leaf” pattern with apple slices. My kids destroyed it in 30 seconds. Now I just pile things in clusters and let them go to town. The board always looks beautiful because of the colorful ingredients, not because of my arrangement skills.
Use the “three-bite rule” for picky eaters. Place a small amount of each item near each child’s spot. Encourage them to try at least three bites before deciding they don’t like something. I’ve seen kids discover they actually love dried cranberries or pecans this way — they just needed a low-pressure introduction.
Keep the caramel sauce separate. I learned this after a particularly sticky incident involving a toddler and a tipped-over bowl. Serve the caramel in a small, heavy ramekin that won’t tip easily. Alternatively, you can drizzle it directly over the apple slices right before serving — just know it’ll get messy fast.
Prep everything before the kids arrive. This board is designed to be hands-off once it’s set out. If you’re hosting a Friendsgiving party, assemble the board while the kids are playing or watching a movie. That way, you can enjoy the party instead of hovering over the food.
Double the fruit. Seriously. The apples and grapes always go first. I once made a board with what I thought was plenty of fruit, and it was gone within 20 minutes. Now I always prep extra apple slices and keep them in a bowl of lemon water in the fridge, ready to replenish.
Variations & Adaptations
This board is endlessly customizable. Here are a few ways to switch it up:
For a dairy-free version: Replace the cheese with dairy-free cheese cubes (I like Violife or Daiya), or skip the cheese entirely and double up on fruit and nuts. You can also add hummus or guacamole as a dip for the crackers and pretzels.
For a nut-free version: Omit the pecans entirely. Replace them with sunflower seeds or pumpkin seeds for crunch. Just be sure to check labels on crackers and pretzels to make sure they’re processed in a nut-free facility if you’re serving someone with allergies.
For a gluten-free version: Use gluten-free crackers and pretzels. Most cheese, fruit, nuts, and caramel sauce are naturally gluten-free, so this is an easy swap. Just double-check the ingredient list on the caramel sauce — some brands use wheat-based thickeners.
Seasonal variations: In the fall, use pears instead of apples, or add fresh figs if you can find them. In winter, swap the grapes for clementine segments. In summer, use berries and stone fruit. The beauty of this board is that it works with whatever fruit is in season and on sale.
Add a savory element: If you’re serving adults who want something more substantial, add a small bowl of olives or a pile of salami slices. Just keep them in a separate area so kids can avoid them if they want. I like to add a small pile of prosciutto on one corner — it adds a salty, savory note that balances the sweet fruit.
My personal favorite variation: I once made this board for a Halloween party and swapped the caramel sauce for chocolate dip (melted chocolate chips with a splash of coconut oil). I added candy corn and mini pumpkins as decorations. The kids lost their minds, and the adults kept sneaking the chocolate dip for their apple slices. It was a hit.
Serving & Storage Suggestions
This board is best served at room temperature, so take it out of the fridge about 15-20 minutes before you plan to eat. The cheese will be softer and more flavorful, and the fruit won’t be shockingly cold.
For presentation, I like to place the board in the center of the table and let everyone graze. If you’re serving a crowd, put out small plates and napkins so people can build their own little piles. Kids especially love having their own plate to arrange their selections.
What to serve alongside: This board pairs beautifully with warm apple cider or hot chocolate for the kids, and a crisp white wine or hard cider for the adults. If you’re making it a full meal, add a simple soup like butternut squash or tomato basil, and maybe some crusty bread.
Storage: If you have leftovers (unlikely, but possible), store the components separately. Cheese goes in an airtight container in the fridge for up to 5 days. Fruit should be stored in a separate container — apples will last 2-3 days, grapes up to a week. Crackers and pretzels should be kept in a sealed bag or container at room temperature. The caramel sauce can be refrigerated for up to 2 weeks.
Reheating: You don’t really need to reheat anything, but if you want to refresh the apple slices, toss them with a little more lemon juice or serve them with fresh caramel sauce. The cheese tastes best at room temperature, so let it sit out for 10-15 minutes before serving leftovers.
How flavors develop: Honestly, this board is best eaten the day it’s made. The fruit stays crisp, the cheese is fresh, and the crackers haven’t gone stale. But if you have leftovers, the dried cranberries and pecans actually get a little softer and more flavorful overnight — they absorb some moisture from the fruit. It’s a different texture, but still tasty.
Nutritional Information & Benefits
This board is surprisingly balanced for something that feels like a treat. Here’s a rough breakdown per serving (about 1/8 of the board):
- Calories: 280-320
- Protein: 8-10g (from cheese and nuts)
- Carbohydrates: 30-35g (from fruit, crackers, and caramel)
- Fat: 14-18g (from cheese and nuts)
- Fiber: 3-4g (from apples, grapes, and whole wheat crackers)
- Sugar: 18-22g (mostly natural from fruit)
Health benefits: Apples are packed with fiber and vitamin C. Grapes contain antioxidants that support heart health. Pecans are rich in healthy fats and magnesium. Cheese provides calcium for strong bones. Even the caramel sauce has a little bit of calcium from the dairy — though let’s be honest, we’re eating it because it tastes amazing.
Dietary considerations: This board can be easily adapted for gluten-free, dairy-free, or nut-free diets (see variations above). It’s naturally vegetarian. If you’re watching sugar, skip the caramel sauce and chocolate chips — the fruit is sweet enough on its own.
Potential allergens: This recipe contains dairy (cheese), tree nuts (pecans), and gluten (crackers, pretzels). If you’re serving someone with allergies, make sure to check all labels and provide safe alternatives.
I love that this board lets kids eat real, whole foods in a fun, stress-free way. My daughter Ellie now asks for “apple boards” for her after-school snack — she arranges her own little plate with cheese cubes, apple slices, and a handful of pretzels. It makes me happy to see her making healthy choices without even realizing it.
Conclusion
This Kid-Friendly Friendsgiving Charcuterie Board with Fall Fruit is proof that sometimes the best recipes come from letting go of control and listening to the kids in your life. It’s simple, affordable, and designed for real families with real appetites.
I love that this board brings people together — kids and adults, picky eaters and adventurous ones. There’s something magical about watching a group of children gather around a table, grabbing apple slices and cheese cubes, laughing and chatting without any pressure. It’s the kind of food that builds memories, not stress.
So go ahead — give it a try. Use whatever fruit is on sale, swap in your kids’ favorite crackers, and don’t worry about making it perfect. The best part of this board is that it’s meant to be eaten, not admired. And honestly? It’ll be gone before you know it.
I’d love to hear how your board turned out! Drop a comment below and let me know what your kids loved most. Did they go for the caramel sauce first? Did they discover a new favorite fruit? Share your photos and tag me — I can’t wait to see your creations. Happy Friendsgiving!
Frequently Asked Questions
Can I make this board ahead of time?
Yes! You can prep all the ingredients up to 2 hours in advance. Just cover the board loosely with plastic wrap and refrigerate. Add the caramel sauce and any chocolate right before serving to keep them looking fresh.
How do I keep the apple slices from turning brown?
Toss the sliced apples with a little lemon juice or orange juice — about 1 tablespoon per apple. The citric acid prevents oxidation. You can also use a commercial product like Fruit-Fresh, but lemon juice works great and adds a nice flavor.
What if my kids are super picky eaters?
Start with just a few familiar items — cheese cubes, apple slices, and plain crackers. Let them explore the board at their own pace. You can gradually introduce new items like dried cranberries or pecans once they’re comfortable. The key is low pressure!
Can I use different fruits?
Absolutely! Pears, clementines, fresh figs, and berries all work beautifully. Just make sure to cut them into kid-friendly sizes. In the summer, try peaches and nectarines. In the winter, go with citrus segments and pomegranate seeds.
How much does this board cost to make?
Depending on where you shop, this board costs about $15-20 to make. Buying cheese in blocks (rather than pre-shredded or pre-sliced) is cheaper. Use whatever fruit is on sale, and skip the fancy crackers if you’re on a tight budget. It’s still delicious!
Pin This Recipe!
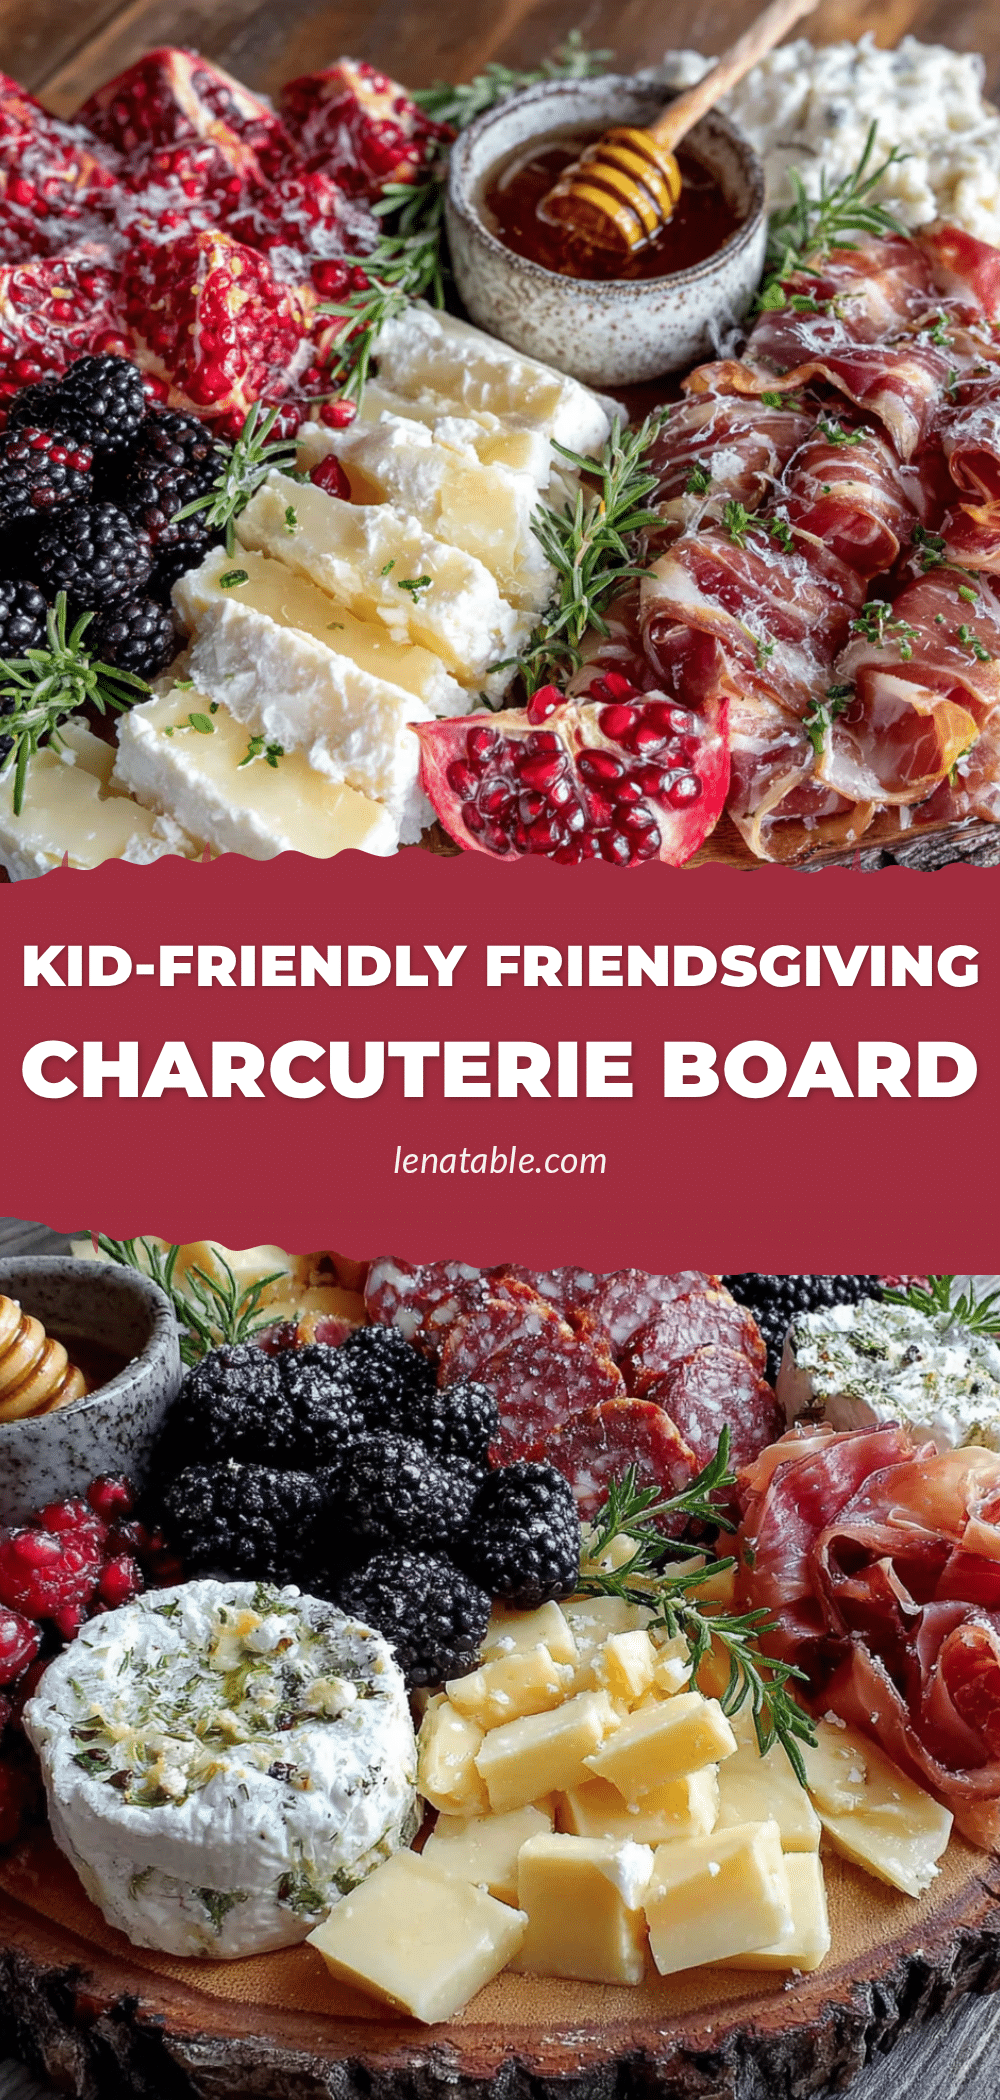
Best Kid-Friendly Friendsgiving Charcuterie Board with Fall Fruit
A stress-free, kid-approved charcuterie board featuring fall fruits, cheese, and crunchy snacks that comes together in under 20 minutes. Perfect for Friendsgiving gatherings, playdates, or family celebrations.
- Prep Time: 15 minutes
- Cook Time: 0 minutes
- Total Time: 15 minutes
- Yield: 8 servings 1x
- Category: Appetizer
- Cuisine: American
Ingredients
- 6 ounces (170g) cheddar cheese, cut into cubes
- 4 ounces (113g) Colby Jack cheese, sliced into sticks
- 2–3 ounces (57-85g) Brie or goat cheese (optional)
- 2 medium apples (Honeycrisp or Fuji), sliced (about 1 cup or 150g)
- 1 cup (150g) red grapes, washed and pulled into small clusters
- 1/2 cup (60g) dried cranberries
- 1/4 cup (50g) pomegranate seeds (optional)
- 1 cup (100g) pretzel sticks
- 1 cup (100g) whole wheat crackers (such as Wheat Thins or Triscuits)
- 1/2 cup (60g) pecan halves, lightly toasted
- 1/4 cup (60ml) caramel sauce for dipping
- 1/4 cup (60g) mini chocolate chips or M&M’s
- 1/2 cup (50g) small cookies like animal crackers or graham crackers (optional)
Instructions
- Wash and prep the fruit: Rinse the grapes and pull them into small clusters of 3-4 grapes each. Slice the apples into thin wedges (about 8 wedges per apple) and toss them with a squeeze of lemon juice to prevent browning. If using pomegranate seeds, pop them out now.
- Cut the cheese: Cut the cheddar into 1/2-inch cubes. Slice the Colby Jack into thin sticks, about 2 inches long and 1/4 inch thick. If using brie, leave it in a wedge.
- Arrange the bowls first: Place small bowls for caramel sauce, dried cranberries, and any loose items on the board, spreading them out to create natural zones.
- Add the cheese: Pile the cheese cubes in one corner and arrange the cheese sticks in a separate area, creating little clusters.
- Distribute the fruit: Arrange the apple slices in a fan pattern near the cheese. Place grape clusters in a couple of spots around the board. Sprinkle pomegranate seeds (if using) in a small pile near the dried cranberries.
- Fill in with crackers and pretzels: Use crackers and pretzel sticks to fill empty spaces, creating little paths between sections. Don’t stack too high.
- Add the sweet touches and nuts: Sprinkle pecans in empty spots. Scatter mini chocolate chips or M&M’s in a small pile near the fruit. Place the caramel sauce bowl front and center.
- Final check: Step back and look at the board. Fill any big empty spaces with extra crackers or apple slices. Ensure everything is within easy reach.
Notes
Prep everything before kids arrive. Keep caramel sauce separate until serving to avoid mess. Double the fruit as apples and grapes go first. For picky eaters, use the ‘three-bite rule’ to encourage trying new items. Can be made up to 2 hours ahead; cover loosely with plastic wrap and refrigerate, then let sit 15 minutes at room temperature before serving. Add caramel sauce and chocolate just before serving.
Nutrition
- Serving Size: 1/8 of the board
- Calories: 300
- Sugar: 20
- Sodium: 450
- Fat: 16
- Saturated Fat: 7
- Carbohydrates: 33
- Fiber: 3.5
- Protein: 9
Keywords: charcuterie board, Friendsgiving, kid-friendly, fall fruit, easy appetizer, cheese board, party food