Love this? Save it for later!
Share the inspiration with your friends
I grabbed the wrong jar of peanut butter. That’s how this whole thing started. I was standing in my kitchen last Tuesday, already running late for a workout, trying to throw together a quick snack. The recipe I had planned needed creamy peanut butter, the kind that’s smooth and spreadable. But my hand reached for the natural stuff instead, the kind with the oil separated on top. I didn’t realize my mistake until I had already mixed it in with the oats. The texture was all wrong, way too loose and greasy. I stood there staring at this sad, sticky mess, honestly ready to just toss it all in the trash. But I hate wasting food, you know? So I grabbed some extra oats, a handful of flaxseed I had bought on a whim months ago, and just started adding things to fix it. What came out was nothing like the plan, and better. These little bites turned out so much more satisfying than the original recipe ever was. They had this perfect chewy texture, a deep nutty flavor, and just the right amount of sweetness. I’ve made them every single week since then. That’s how these Easy No-Bake Peanut Butter Protein Energy Bites were born, from a distracted moment and a stubborn refusal to give up on a mistake. Honestly, it’s the kind of recipe that makes you wonder why you ever bothered with the complicated stuff in the first place.
Why You’ll Love This Recipe
Let me tell you why these energy bites have become my absolute go-to. I’ve tested this recipe more times than I can count, tweaking the ratios until every single batch comes out perfect. It’s the kind of snack that solves the “I’m hungry but have no time” problem without any fuss.
- Quick & Easy: These come together in under 5 minutes. No oven, no stove, no waiting. Just mix, roll, and eat.
- Simple Ingredients: You likely have everything in your pantry right now. Oats, peanut butter, honey, chocolate chips. That’s it.
- Perfect for Busy Days: Great for pre-workout fuel, a midday slump buster, or a healthy dessert that actually satisfies your sweet tooth.
- Crowd-Pleaser: Kids love them, adults love them, and they always disappear fast at parties or potlucks.
- Unbelievably Delicious: The texture is perfectly chewy, the flavor is rich and peanut buttery, and the chocolate chips add little pockets of melty goodness.
What makes this version different from the rest is the texture. I learned through trial and error that using natural peanut butter with the oil mixed in gives a much better consistency than the processed stuff. It creates a bite that holds together perfectly without being dry or crumbly. This isn’t just another energy ball recipe, it’s the one I reach for every single time. It’s the kind of snack that makes you close your eyes after the first bite, honestly. It’s comfort food that’s actually good for you, fast enough for a crazy schedule, but with the same soul-soothing satisfaction as a homemade cookie.
What Ingredients You Will Need
This recipe uses simple, wholesome ingredients that work together to create a perfectly balanced snack. Each one plays a specific role in the texture and flavor, so here is what you will need and why it matters.
- 1 cup old-fashioned rolled oats (use certified gluten-free oats if needed). I prefer old-fashioned over quick oats because they give the bites a better, chewier texture. Quick oats tend to get mushy.
- 1/2 cup natural creamy peanut butter (the kind with just peanuts and salt). I recommend the Kirkland brand from Costco or the Whole Foods 365 brand. Stir the oil back in well before measuring.
- 1/3 cup honey (or maple syrup for a vegan option). This binds everything together and adds natural sweetness. Local honey is great if you can find it.
- 1/4 cup dark chocolate chips (mini chips work best for even distribution). I like the Enjoy Life brand for a dairy-free option.
- 1/4 cup ground flaxseed (also called flax meal). This is my secret ingredient. It soaks up excess moisture and adds a boost of omega-3s.
- 1/4 cup shredded unsweetened coconut (optional but recommended). It adds a subtle tropical flavor and a little texture.
- 1/2 teaspoon vanilla extract. Pure vanilla is best, but imitation works fine in a pinch.
- Pinch of sea salt (skip this if your peanut butter is already salted). A little salt makes the sweetness pop.
For substitutions, you can swap the peanut butter with almond butter or sunflower seed butter for a nut-free version. Use maple syrup instead of honey to make these vegan. If you don’t have flaxseed, chia seeds work great too, just add an extra tablespoon of oats to balance the moisture. I have tried all of these variations, and they all work beautifully.
Equipment Needed
You don’t need much for this recipe, which is honestly my favorite part. Here is what you will need:
- A large mixing bowl. Any bowl will do, but a wide one makes mixing easier. I use my grandmother’s old ceramic bowl, and it works perfectly.
- A sturdy spatula or wooden spoon. The mixture gets thick, so you want something strong. A rubber spatula is my go-to because it scrapes the sides clean.
- A measuring cup and spoons. Accurate measurements matter here. Too much peanut butter and the bites won’t hold together.
- A baking sheet or large plate. For holding the rolled bites while they chill. Line it with parchment paper for easy cleanup.
- A small cookie scoop or your hands. A cookie scoop makes uniform balls, but your hands work just fine. I actually prefer using my hands because I can feel the texture.
- An airtight container. For storage in the fridge. Any container with a tight lid will do.
If you don’t have a cookie scoop, just wet your hands slightly before rolling. It prevents the mixture from sticking to your fingers. I learned that trick after my first batch turned into a sticky mess all over my hands.
Preparation Method
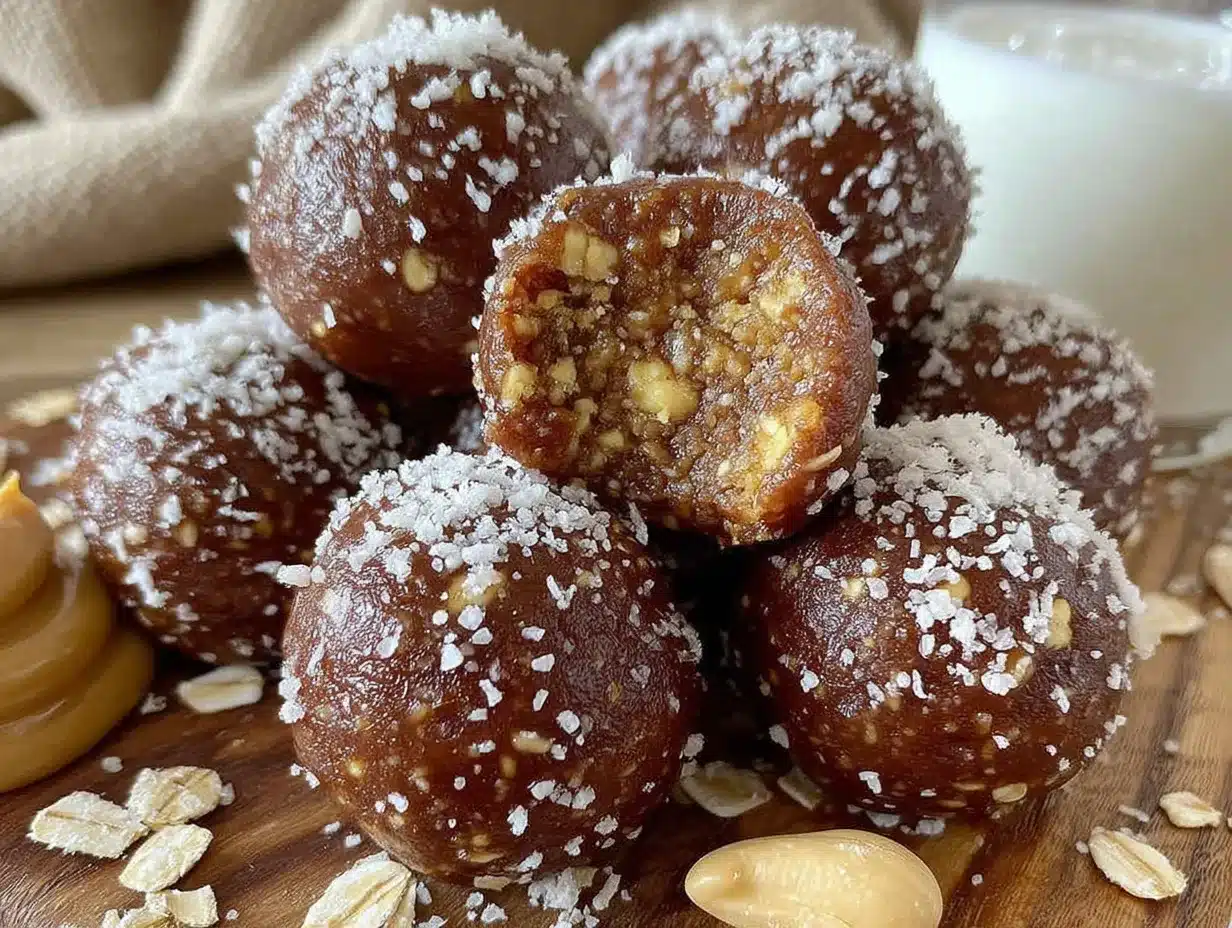
Follow these steps carefully, and you will have perfect energy bites every single time. The whole process takes about 5 minutes of active work, plus 30 minutes of chilling time.
- Combine the dry ingredients. In your large mixing bowl, add 1 cup of rolled oats, 1/4 cup of ground flaxseed, and 1/4 cup of shredded coconut if you are using it. Stir them together with your spatula until evenly distributed. This step ensures the flaxseed doesn’t clump up later.
- Add the wet ingredients. Pour in 1/2 cup of peanut butter, 1/3 cup of honey, and 1/2 teaspoon of vanilla extract. Make sure your peanut butter is well-stirred. I cannot stress this enough. If the oil is separated, your bites will be greasy and won’t hold together.
- Mix thoroughly. Start stirring everything together with your spatula. At first, it will look like a dry, crumbly mess. Do not panic. Keep mixing and pressing the mixture against the sides of the bowl. After about 30 seconds of vigorous stirring, it will suddenly come together into a cohesive dough. This is where the magic happens.
- Add the chocolate chips. Fold in 1/4 cup of chocolate chips and a pinch of sea salt. Mix just until the chips are evenly distributed. If you overmix, the chips might start melting from the warmth of your hands.
- Test the consistency. Squeeze a small amount of the mixture in your hand. It should hold together firmly without crumbling. If it falls apart, add another tablespoon of peanut butter. If it seems too sticky or wet, add another tablespoon of oats. This is the step I messed up the first few times, so trust your instincts.
- Chill the mixture. Pop the bowl into the refrigerator for 15 minutes. This step is not optional. Chilling makes the dough much easier to roll into balls without it sticking to your hands. I learned this the hard way after my first batch turned into a sticky disaster.
- Roll into balls. Remove the bowl from the fridge. Using slightly wet hands, scoop out about 1 tablespoon of the mixture and roll it between your palms into a ball. Place each ball onto your parchment-lined baking sheet. You should get about 18 to 20 bites, depending on size.
- Final chill. Place the baking sheet with the rolled bites into the refrigerator for another 15 to 30 minutes. This allows them to firm up completely. The bites will be soft but hold their shape perfectly.
Your kitchen will smell like peanut butter and honey at this point, and the bites will look perfectly round and inviting with little chocolate chip speckles throughout.
Cooking Tips & Techniques
I have made this recipe probably fifty times by now, and I have learned a few things the hard way. Let me save you the trouble.
The biggest mistake people make is using the wrong peanut butter. Do not use the processed stuff with added sugar and hydrogenated oils. It makes the bites dry and crumbly. Natural peanut butter, the kind that separates, is what you want. Just make sure you stir it really well before measuring. I forgot to stir mine once, and the bites were so greasy they fell apart in my hands. Total waste of ingredients.
Another common issue is overmixing. Once you add the chocolate chips, stop stirring. If you keep going, the heat from your hands and the friction will start melting the chips. You want those little chocolate pockets to stay intact. Trust me on this one.
If your mixture seems too dry, add a teaspoon of honey or a splash of water. If it seems too wet, add a tablespoon of oats. The humidity in your kitchen can affect the texture, so adjust as needed. I live in a humid area, so I usually need an extra tablespoon of oats during the summer months.
For the perfect texture every time, let the mixture rest in the fridge for the full 15 minutes before rolling. This is not a step you can skip. The oats need time to absorb the moisture from the peanut butter and honey. If you try to roll them immediately, you will end up with a sticky mess on your fingers and misshapen balls.
I also recommend using a small cookie scoop if you have one. It makes perfectly uniform balls that look professional. But honestly, your hands work just fine. Just wet them slightly before rolling.
Variations & Adaptations
One of the best things about this recipe is how easy it is to customize. I have tried so many variations, and they all turned out great. Here are some of my favorites.
Chocolate Peanut Butter Version: Add 1 tablespoon of cocoa powder to the dry ingredients. It gives the bites a rich, chocolatey flavor that pairs perfectly with the peanut butter. My kids beg for this version every single time.
Vegan Option: Swap the honey for maple syrup. Use dairy-free chocolate chips like the Enjoy Life brand. Everything else stays the same. The texture will be slightly softer, so add an extra tablespoon of oats if needed.
Nut-Free Version: Use sunflower seed butter instead of peanut butter. The flavor is different, but still delicious. Just note that sunflower seed butter can react with baking soda if you ever bake with it, but since this is no-bake, you are safe.
Protein Boost: Add 1 scoop of your favorite vanilla or chocolate protein powder. You will need to add an extra tablespoon of honey or water to balance the dryness. I use a plant-based protein powder, and it works beautifully.
Seasonal Twist: In the fall, add 1/2 teaspoon of pumpkin pie spice and swap the chocolate chips for dried cranberries. In the summer, add 1/4 cup of freeze-dried strawberries for a fruity pop.
Low-Sugar Version: Use sugar-free chocolate chips and reduce the honey to 1/4 cup. Add an extra tablespoon of peanut butter to compensate for the lost moisture. The bites will be less sweet, but still satisfying.
I have personally tried all of these variations, and they each have their own charm. The chocolate peanut butter version is my personal favorite, but the nut-free version is what I make for my friend’s kids who have allergies.
Serving & Storage Suggestions
These energy bites are best served cold, straight from the refrigerator. The texture is firm and chewy, and the chocolate chips are perfectly set. If you let them sit at room temperature for too long, they will soften and become a bit sticky. That is still delicious, just messier to eat.
For a beautiful presentation, arrange the bites on a wooden board or a white plate. Sprinkle a little extra shredded coconut or sea salt on top for visual appeal. They look gorgeous for parties or holiday gatherings.
These pair wonderfully with a tall glass of cold milk, a cup of hot coffee, or a smoothie for a complete breakfast. I often grab two or three before a morning workout for a quick energy boost.
For storage, place the bites in an airtight container. They will keep in the refrigerator for up to two weeks. Honestly, they never last that long in my house. They disappear within days.
You can also freeze them for up to three months. Place them in a single layer on a baking sheet and freeze until solid, then transfer to a freezer-safe bag or container. To thaw, just leave them in the refrigerator overnight or let them sit at room temperature for 10 minutes. I always keep a batch in my freezer for busy weeks.
The flavors actually develop over time. After a day or two in the fridge, the oats soften more and the flavors meld together beautifully. They taste even better on day three than they do on day one.
Nutritional Information & Benefits
Here is the estimated nutritional breakdown for one energy bite, based on a batch of 20 bites. Keep in mind that these values are approximate and will vary based on your specific ingredients.
| Nutrient | Amount Per Bite |
|---|---|
| Calories | 120 |
| Total Fat | 7g |
| Saturated Fat | 2g |
| Carbohydrates | 13g |
| Fiber | 2g |
| Sugar | 8g |
| Protein | 4g |
These bites are packed with nutritional benefits. The oats provide complex carbohydrates for sustained energy, while the peanut butter offers healthy fats and plant-based protein. The flaxseed is rich in omega-3 fatty acids, which are great for heart health and reducing inflammation. Dark chocolate chips add antioxidants, and honey provides natural sweetness without refined sugar.
This recipe is naturally gluten-free if you use certified gluten-free oats. It is also dairy-free as long as you use dairy-free chocolate chips. For a nut-free version, simply swap the peanut butter for sunflower seed butter. The only potential allergen is peanuts, so be mindful if you are serving these to someone with a peanut allergy.
I love that these bites give me a healthy snack option that actually tastes like a treat. They satisfy my sweet tooth without the crash that comes from processed snacks.
Conclusion
These Easy No-Bake Peanut Butter Protein Energy Bites are proof that the best recipes often come from happy accidents. They are quick, simple, and incredibly forgiving. Whether you are a seasoned cook or someone who barely steps foot in the kitchen, you can make these with confidence. The ingredients are flexible, the method is foolproof, and the result is always delicious.
I encourage you to make this recipe your own. Add your favorite mix-ins, adjust the sweetness to your liking, or try one of the variations I shared. That is the beauty of a simple recipe like this. It becomes yours. I love making these on Sunday afternoons and having them ready for the week ahead. They make my mornings easier and my afternoons brighter.
If you try this recipe, I would love to hear how it turned out. Leave a comment below and let me know what variations you tried. Share a photo of your creations on Pinterest and tag me. Your feedback helps other readers discover new ways to enjoy these bites. Happy snacking, my friend. You have got this.
Frequently Asked Questions
Can I use quick oats instead of rolled oats?
Yes, you can. Quick oats will work, but the texture will be softer and less chewy. Rolled oats give a better, more satisfying bite. If you only have quick oats, reduce the honey by one tablespoon to compensate for the extra absorption.
How long do these energy bites last at room temperature?
They can sit at room temperature for about 2 to 3 hours without issue. After that, they will start to soften and may become sticky. For best results, always store them in the refrigerator.
Can I make these without chocolate chips?
Absolutely. You can omit the chocolate chips entirely or swap them for dried fruit like raisins, cranberries, or chopped dates. The recipe is very forgiving, so feel free to customize.
Why are my energy bites falling apart?
This usually happens when the mixture is too dry. Add an extra tablespoon of peanut butter or honey and mix again. Also, make sure you chilled the mixture for the full 15 minutes before rolling. That step is crucial for the right texture.
Can I double this recipe?
Yes, this recipe doubles beautifully. Just use a larger bowl and make sure you mix everything thoroughly. The chilling time stays the same, so you can easily make a big batch for meal prep or parties.
Pin This Recipe!
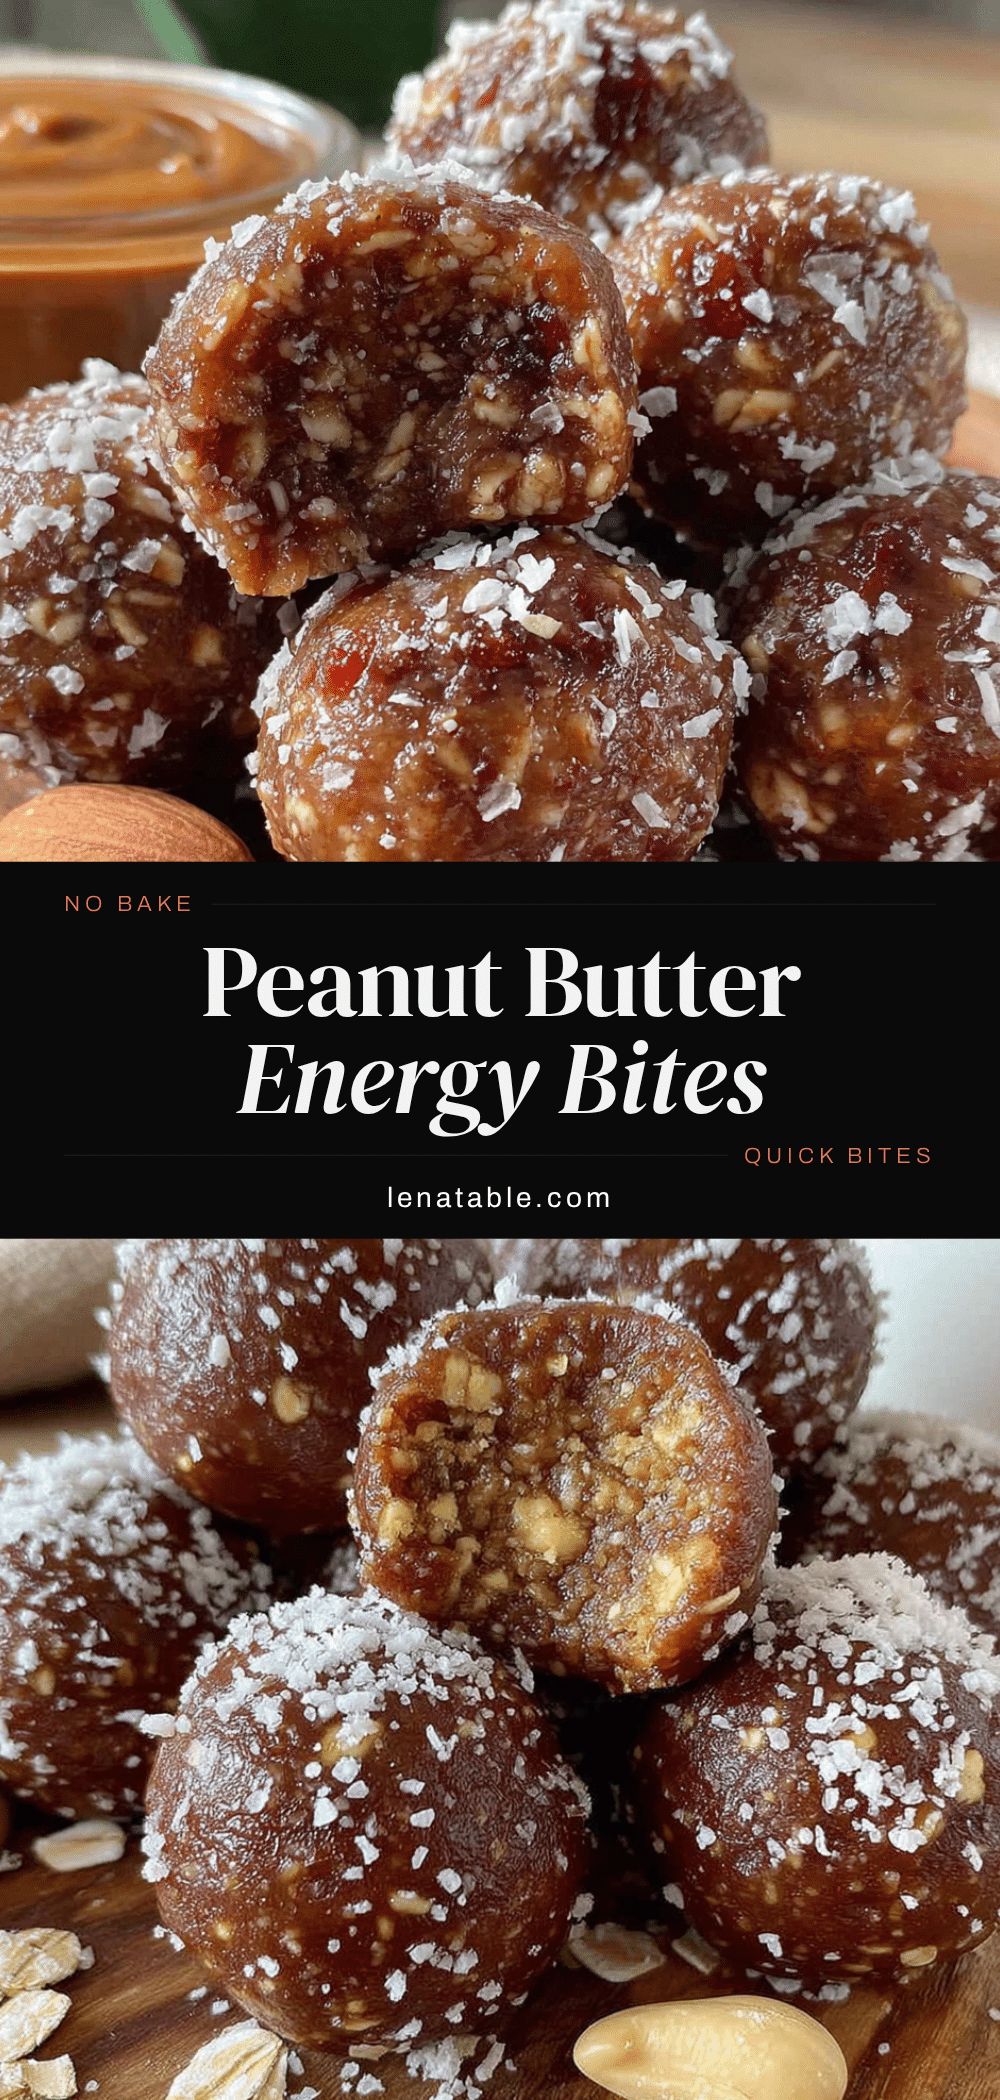
Easy No-Bake Peanut Butter Energy Bites (5-Minute Recipe)

These no-bake peanut butter energy bites come together in under 5 minutes with simple pantry ingredients. Perfect for a quick snack, pre-workout fuel, or a healthy dessert.
- Prep Time: 5 minutes
- Cook Time: 0 minutes
- Total Time: 35 minutes (including chilling)
- Yield: 18-20 bites 1x
- Category: Snack
- Cuisine: American
Ingredients
- 1 cup old-fashioned rolled oats (use certified gluten-free oats if needed)
- 1/2 cup natural creamy peanut butter (stirred well)
- 1/3 cup honey (or maple syrup for vegan)
- 1/4 cup dark chocolate chips (mini chips work best)
- 1/4 cup ground flaxseed
- 1/4 cup shredded unsweetened coconut (optional)
- 1/2 teaspoon vanilla extract
- Pinch of sea salt (skip if peanut butter is salted)
Instructions
- Combine the dry ingredients: In a large mixing bowl, add rolled oats, ground flaxseed, and shredded coconut (if using). Stir together until evenly distributed.
- Add the wet ingredients: Pour in peanut butter, honey, and vanilla extract. Make sure peanut butter is well-stirred.
- Mix thoroughly: Stir with a spatula until the mixture comes together into a cohesive dough (about 30 seconds of vigorous stirring).
- Add the chocolate chips: Fold in chocolate chips and a pinch of sea salt. Mix just until evenly distributed.
- Test the consistency: Squeeze a small amount of mixture in your hand. It should hold together firmly. If too dry, add 1 tablespoon peanut butter; if too sticky, add 1 tablespoon oats.
- Chill the mixture: Refrigerate the bowl for 15 minutes.
- Roll into balls: Using slightly wet hands, scoop about 1 tablespoon of mixture and roll into balls. Place on a parchment-lined baking sheet. You should get 18-20 bites.
- Final chill: Refrigerate the rolled bites for another 15-30 minutes to firm up completely.
Notes
Use natural peanut butter with the oil stirred in for best texture. Chilling the mixture before rolling is essential to prevent sticking. For a vegan version, use maple syrup instead of honey and dairy-free chocolate chips. For a nut-free version, use sunflower seed butter. The bites can be stored in the refrigerator for up to 2 weeks or frozen for up to 3 months.
Nutrition
- Serving Size: 1 energy bite
- Calories: 120
- Sugar: 8
- Fat: 7
- Saturated Fat: 2
- Carbohydrates: 13
- Fiber: 2
- Protein: 4
Keywords: no-bake energy bites, peanut butter energy balls, healthy snack, gluten-free snack, easy snack recipe